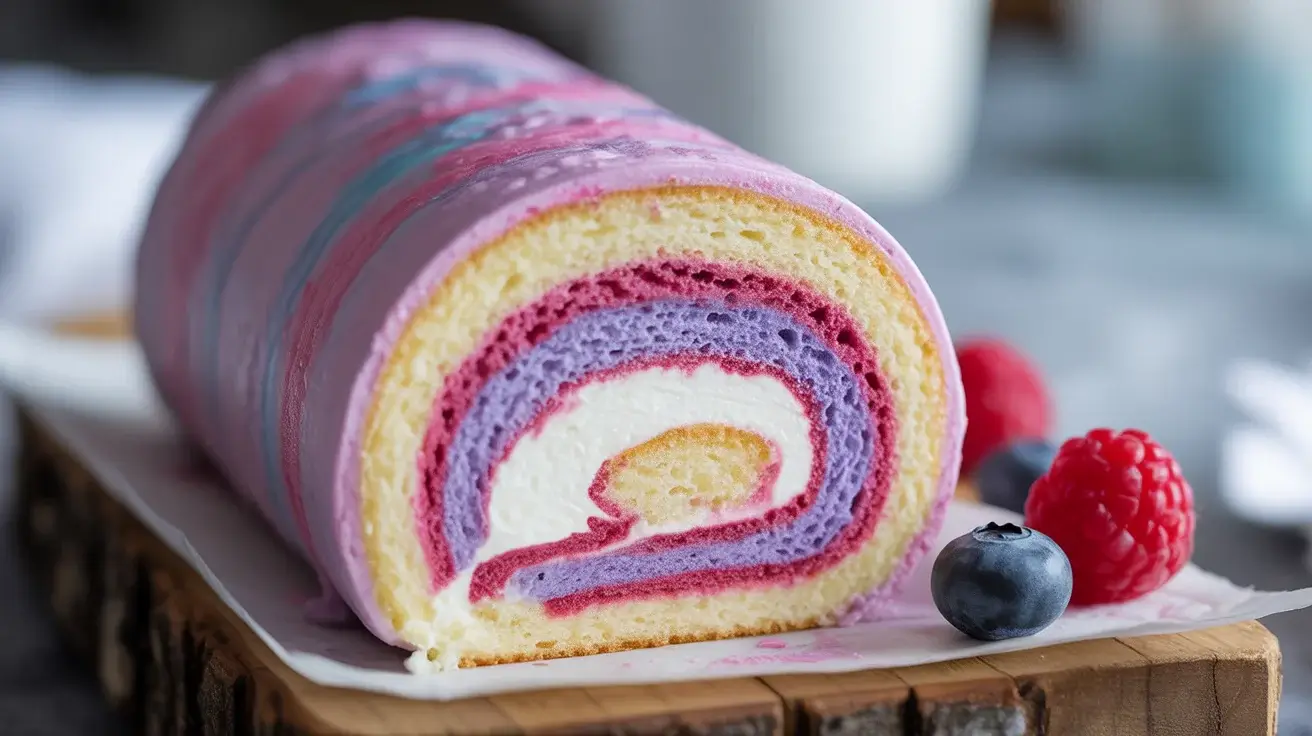
Watercolor Cake Roll: A Stunning Treat for Amateurs
This gorgeous watercolor cake roll looks like a masterpiece but is surprisingly beginner-friendly. With its dreamy swirled colors and light sponge cake, it’s perfect for impressing guests without years of baking experience.
The secret lies in the simple technique of marbling food coloring into the batter before baking. Even amateur bakers can create this Instagram-worthy dessert that tastes as amazing as it looks.
What Makes This Recipe Special
This watercolor cake roll uses a foolproof sponge cake base that won’t crack when rolled. The key is achieving the right moisture balance and rolling while the cake is still warm.
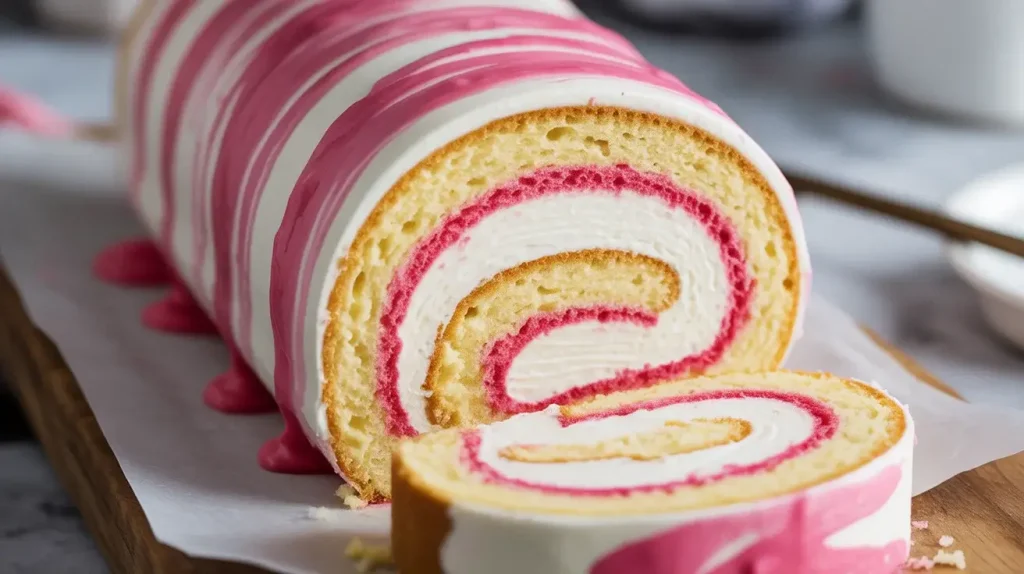
The marbling technique creates stunning results every time, even if your swirls aren’t perfect. Each slice reveals a unique pattern that makes every piece special.
Unlike complicated layer cakes, this dessert comes together in under an hour and requires no special equipment beyond basic mixing bowls.
Essential Ingredients
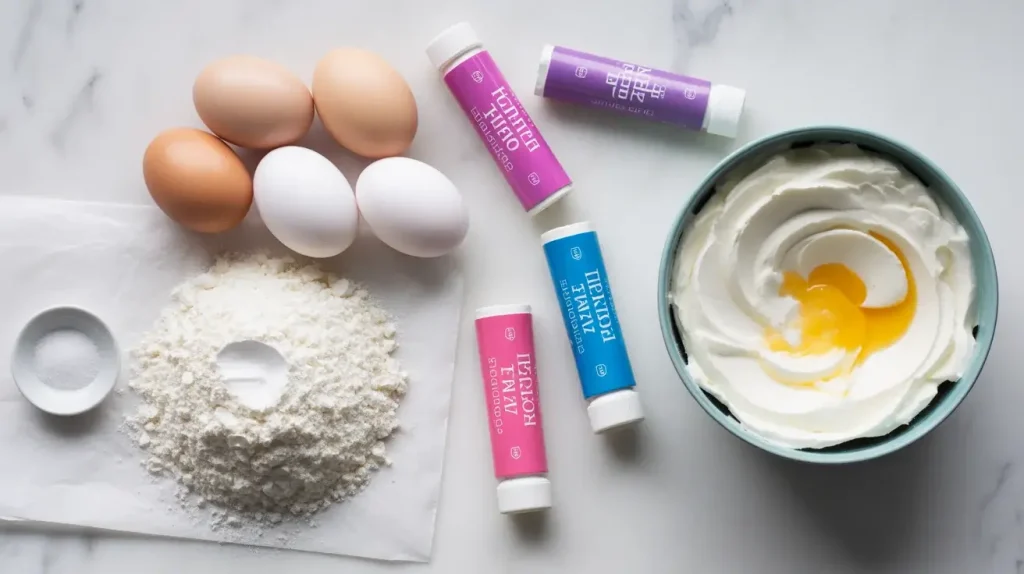
You’ll need basic pantry staples plus gel food coloring for the best results. Gel colors create vibrant hues without thinning the batter like liquid colors can.
Room temperature eggs are crucial for proper whipping, so take them out 30 minutes before starting. Cold eggs won’t incorporate air as effectively.
Step-by-Step Process
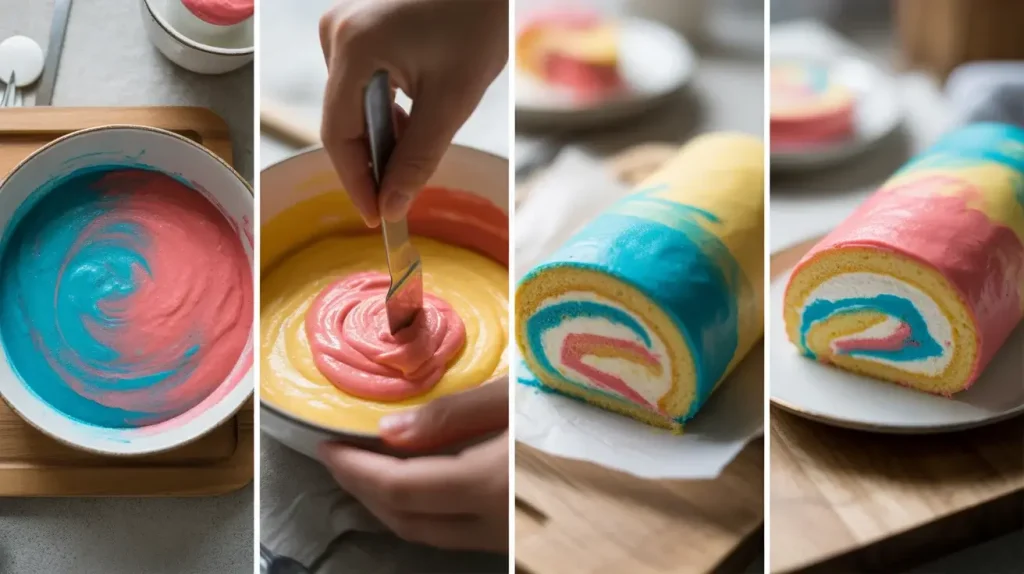
Start by preheating your oven to 375°F and lining a jelly roll pan with parchment paper. This prevents sticking and makes removal effortless.
Whip the eggs and sugar until pale and tripled in volume, about 5-7 minutes. Gently fold in flour and salt, being careful not to deflate the mixture.
Divide batter into portions and tint each with different gel colors. Drop spoonfuls onto the prepared pan and create swirls with a knife for the watercolor effect.
Read More: The Ultimate Lemon Blueberry Cake Recipe
Rolling Technique
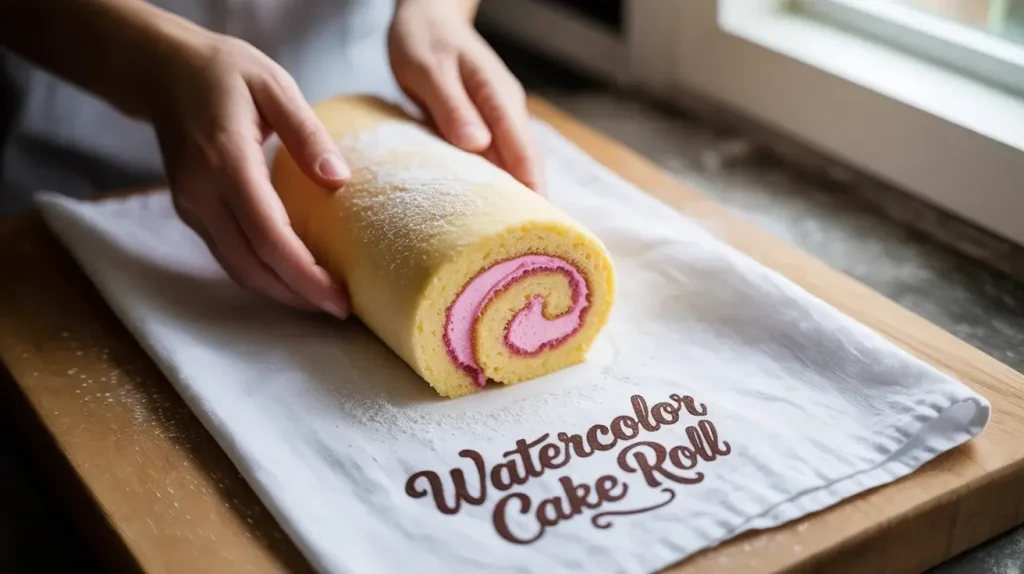
Bake for 10-12 minutes until the cake springs back when lightly touched. Immediately turn onto a clean kitchen towel dusted with powdered sugar.
Roll the warm cake in the towel and let cool completely. This prevents cracking and creates the perfect spiral shape.
Once cooled, unroll gently and spread with whipped cream filling. Re-roll without the towel and chill for at least 2 hours before slicing.

Watercolor Cake Roll: A Stunning Treat for Amateurs
Course: DessertCuisine: AmericanDifficulty: Beginner8
servings20
2
hours2
hours20
minutesLearn to make a stunning watercolor cake roll perfect for amateur bakers. Easy swirl technique creates beautiful results with simple ingredients. Step-by-step guide included.
Ingredients
6 large eggs, room temperature
¾ cup granulated sugar
¾ cup all-purpose flour
¼ teaspoon salt
Gel food coloring (pink, purple, blue)
1 cup heavy cream
3 tablespoons powdered sugar
1 teaspoon vanilla extract
Directions
- Preheat oven to 375°F. Line 15×10 inch jelly roll pan with parchment paper.
- Beat eggs and granulated sugar with electric mixer for 5-7 minutes until pale and tripled in volume.
- Sift flour and salt together. Gently fold into egg mixture until just combined.
- Divide batter into 3-4 portions. Tint each with different gel food coloring.
- Drop spoonfuls of colored batter onto prepared pan. Use knife to create swirl patterns.
- Bake 10-12 minutes until cake springs back when lightly touched.
- Immediately turn cake onto clean kitchen towel dusted with powdered sugar.
- Roll cake in towel starting from short end. Cool completely on wire rack.
- Beat heavy cream, powdered sugar, and vanilla until soft peaks form.
- Unroll cooled cake and spread with whipped cream filling.
- Re-roll cake without towel. Wrap in plastic and refrigerate 2 hours.
- Slice with sharp knife and serve chilled.
Notes
- Use gel food coloring for vibrant colors without thinning batter
Don’t overmix when folding in flour to prevent tough cake
Roll while warm to prevent cracking
Can be made 1 day ahead and stored covered in refrigerato
| Nutrient | Per Serving |
|---|---|
| Calories | 287 kcal |
| Total Fat | 16 g |
| Sugars | 19 g |
| Protein | 5 g |
| Dietary Fiber | 0 g |
Storage Tips
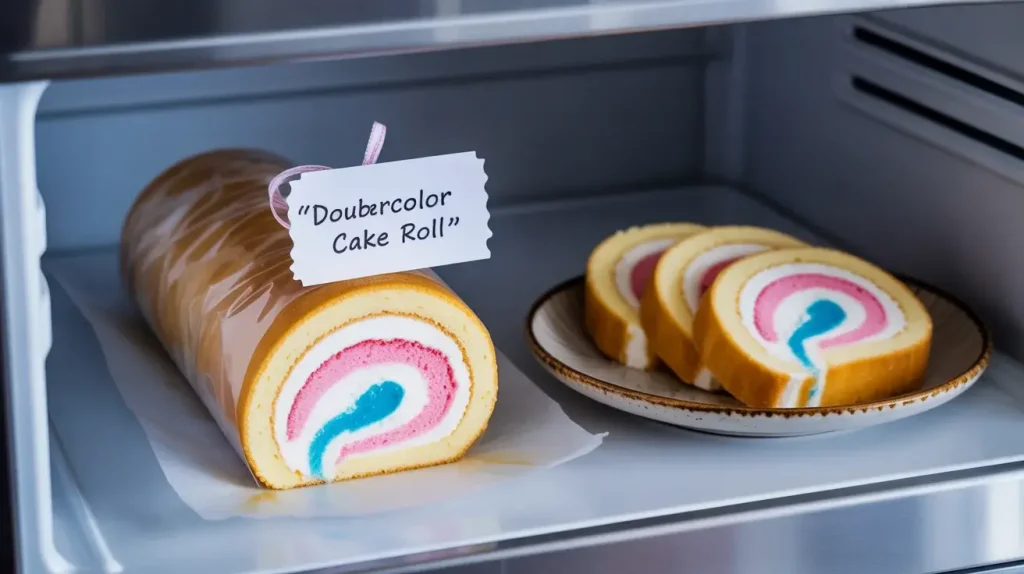
This watercolor cake roll stays fresh for up to 3 days when properly wrapped in the refrigerator. The cream filling actually helps keep the cake moist.
For best results, slice just before serving to maintain clean edges. Use a sharp knife and wipe between cuts for picture-perfect slices.
You can freeze the unfilled cake roll for up to 1 month. Thaw completely before adding filling and serving.
Flavor Variations

Try different color combinations like sunset orange and yellow, or ocean blue and teal. The possibilities are endless for customizing your watercolor effect.
Experiment with flavored extracts in the cake batter – lemon, almond, or strawberry all work beautifully. Match the colors to complement your chosen flavor.
For the filling, consider cream cheese frosting, chocolate ganache, or fresh fruit and cream for seasonal variations.
Frequently Asked Questions
Q: Why did my cake crack when rolling?
A: The cake needs to be rolled while still warm and pliable. If it’s too cool, the sponge becomes brittle and cracks. Always roll immediately after baking in a powdered sugar-dusted towel.
Q: Can I use liquid food coloring instead of gel?
A: Gel food coloring works best because it won’t thin the batter. Liquid coloring can make the cake dense and affect the texture. If you only have liquid, use it sparingly.
Q: How do I get clean slices without the filling squishing out?
A: Use a sharp knife and clean it between each cut. Chilling the cake roll for at least 2 hours helps the filling set, making slicing much easier and neater.