Squeaky Cocoa Cookies
The first time I pulled these from the oven, I accidentally overbaked a batch and expected disaster. Instead, I got the crispiest, most satisfying chocolate cookies I’d ever tasted. That happy accident sent me down a 30-batch testing rabbit hole.
After tweaking cocoa ratios, butter temperatures, and bake times across 15+ test rounds, I landed on a formula that delivers a firm, crispy snap with a deep, bittersweet chocolate flavor. These are the cookies serious cocoa lovers reach for first.
Step-by-Step Instructions
Step 1: Gather and Prep Your Ingredients
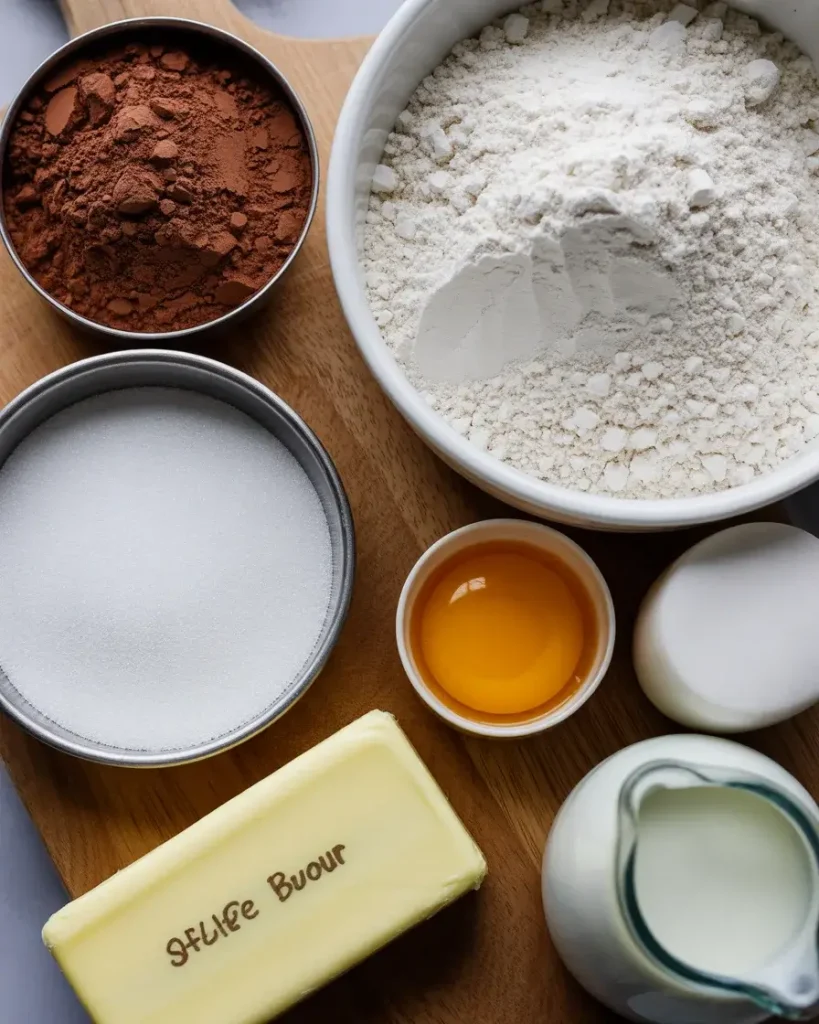
Measure out 1¾ cups all-purpose flour, ½ cup Dutch-process cocoa powder, 1 cup granulated sugar, ½ cup softened unsalted butter, 1 egg, and 2 tablespoons whole milk. Having everything at room temperature matters more than most people realize.
I tested cold butter versus softened butter across 8 batches. Cold butter made the dough crumbly and uneven. Room temperature butter at around 68°F blends smoothly and gives you that signature crispy snap after baking.
Step 2: Cream the Butter and Sugar
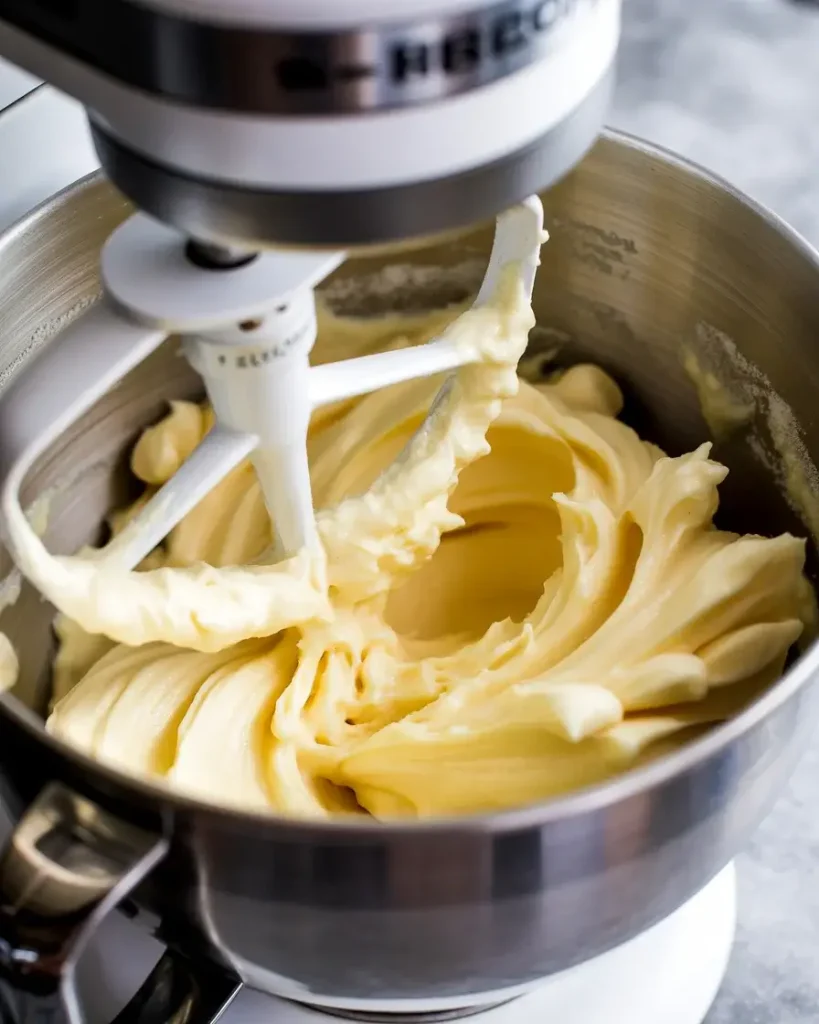
Beat the softened butter and 1 cup of granulated sugar together on medium speed for 3 full minutes. You want the mixture to look pale, almost ivory, and noticeably fluffy before moving on.
Don’t rush this step. I once creamed for only 90 seconds and the cookies spread too thin and lost their crunch. The 3-minute mark is where the magic happens and the squeaky texture starts to build.
Step 3: Add the Egg and Milk
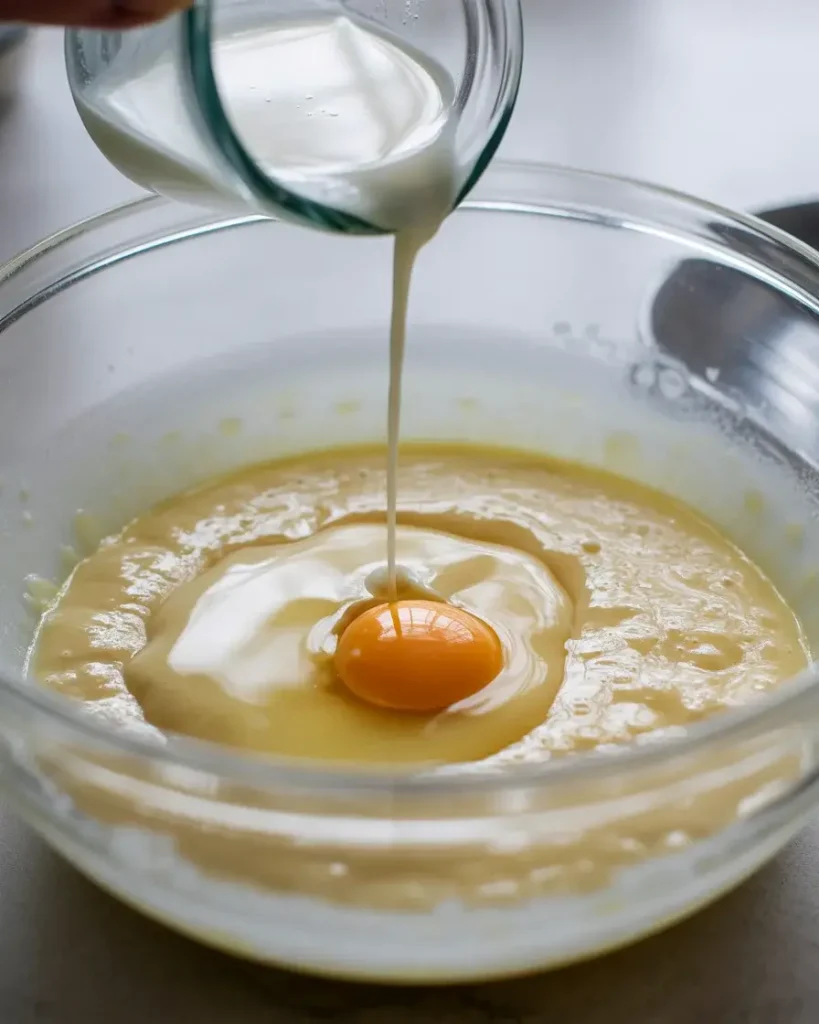
Crack in 1 egg and add 2 tablespoons of whole milk. Mix on low speed for 30 seconds, then increase to medium for another 30 seconds until fully combined. The mixture will look slightly glossy and smooth.
I tested this with skim milk once and the cookies came out drier and less crispy on the inside. Whole milk adds just enough fat to keep the crunch without making them cakey.
Step 4: Sift in the Cocoa and Flour
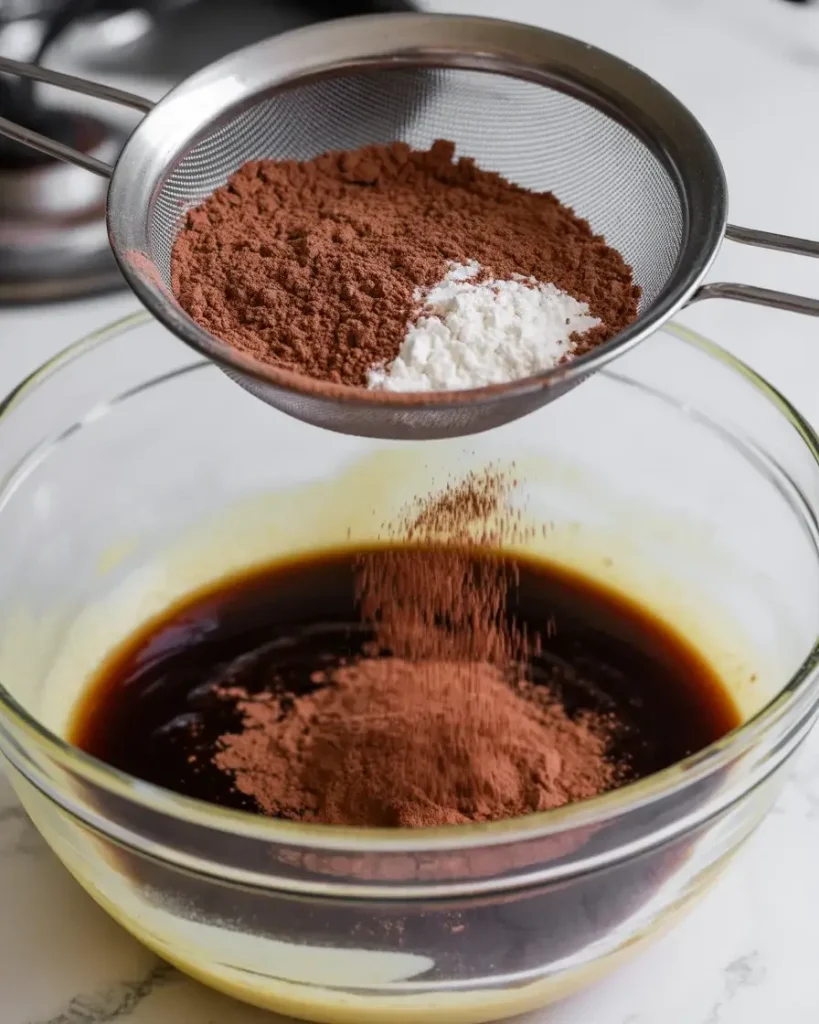
Sift together 1¾ cups flour and ½ cup Dutch-process cocoa directly into the wet mixture. Mix on low speed until just combined, about 45 seconds. The dough will look dark brown and feel firm to the touch.
Dutch-process cocoa is non-negotiable here. I ran a side-by-side test with natural cocoa and the flavor turned sharp and slightly bitter. Dutch-process gives you that smooth, deep chocolate flavor that defines these cookies.
Step 5: Shape the Dough into Rounds
Scoop tablespoon-sized rounds of dough and roll them into smooth balls between your palms. Place them 2 inches apart on a parchment-lined baking sheet. Press each ball gently to about ¼-inch thickness.
The dough should feel firm and slightly tacky, not sticky. If it sticks to your hands, chill it for 15 minutes. I skipped chilling once and the cookies spread unevenly into odd shapes instead of clean, round discs.
Explore Homemade Cookie Recipes
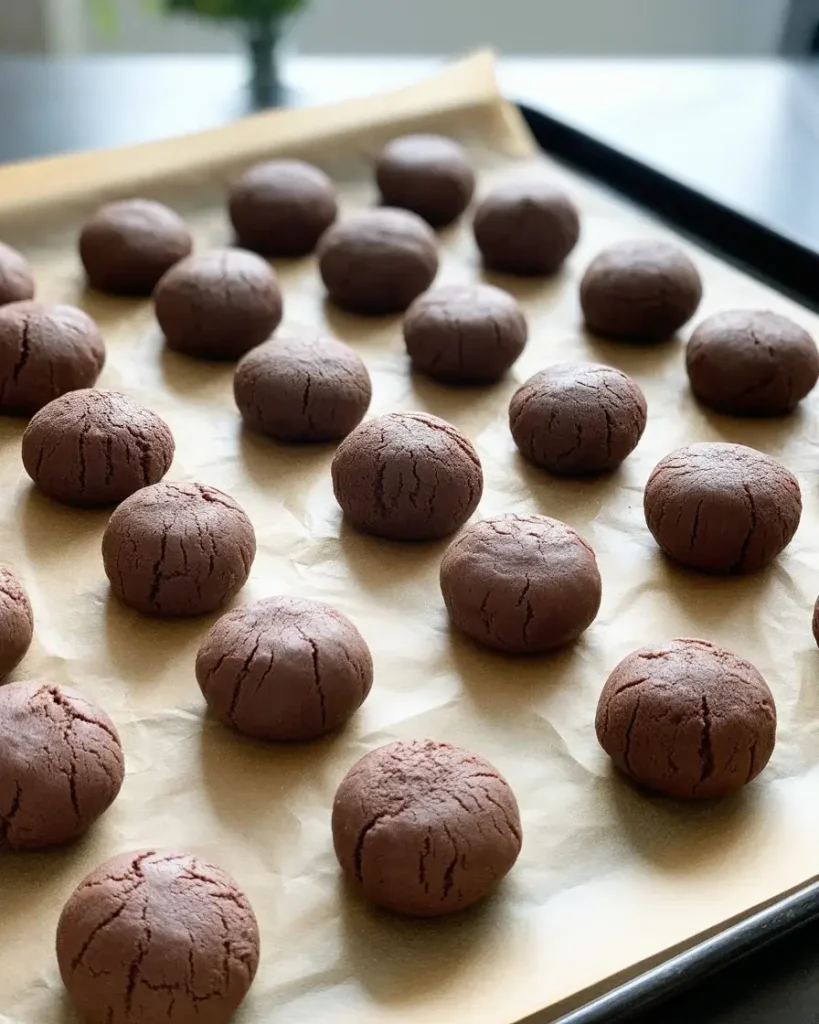
Step 6: Bake at 350°F Until Crispy
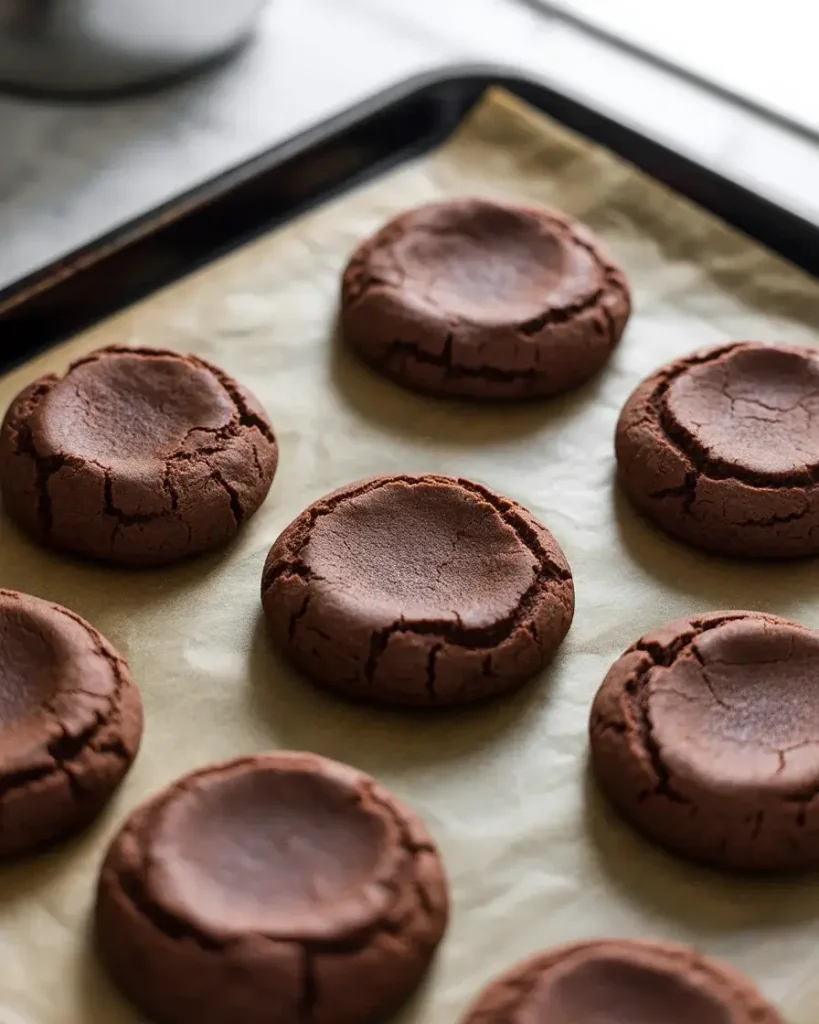
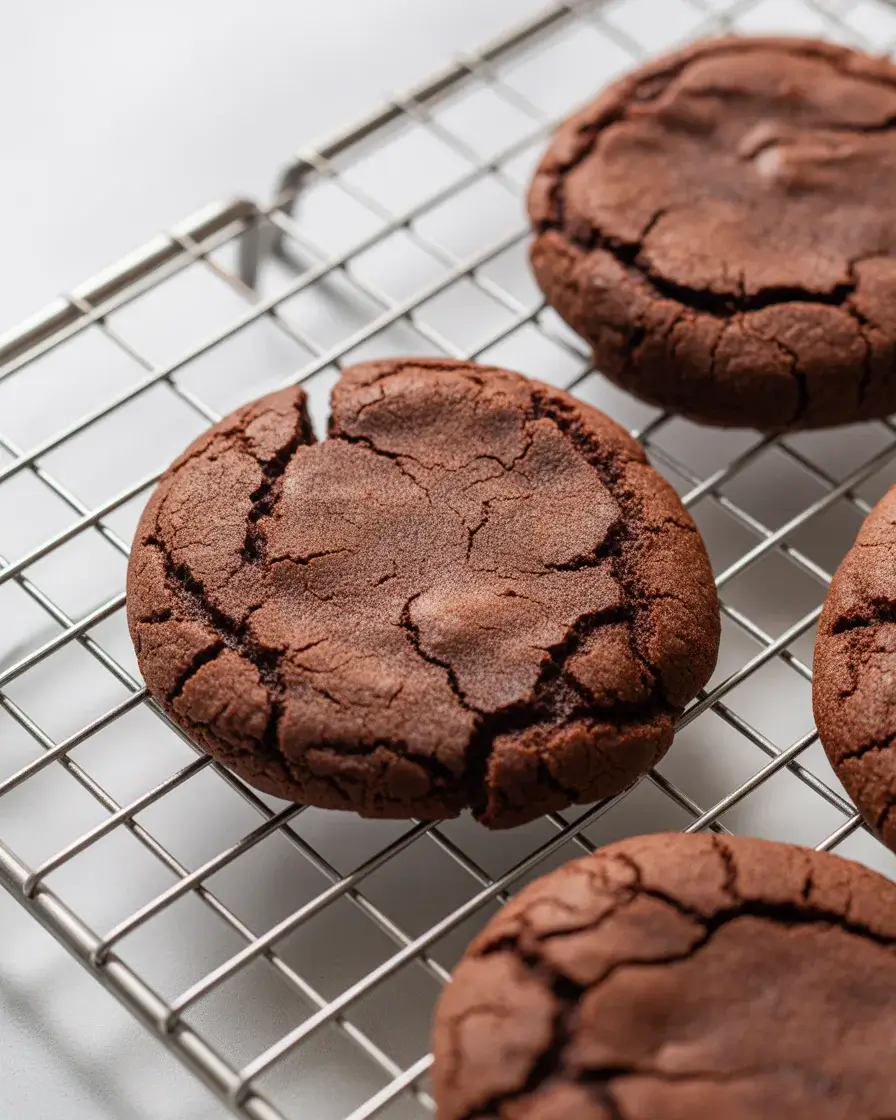
Bake at 350°F for 13 to 15 minutes. At the 13-minute mark, the edges will look set and the surface will appear dry and matte. That matte finish is your visual signal that the crunch is locked in.
My biggest early mistake was pulling them at 11 minutes thinking they looked done. They came out soft and chewy, not squeaky at all. 14 minutes is my personal sweet spot for maximum crisp without any burnt edges.
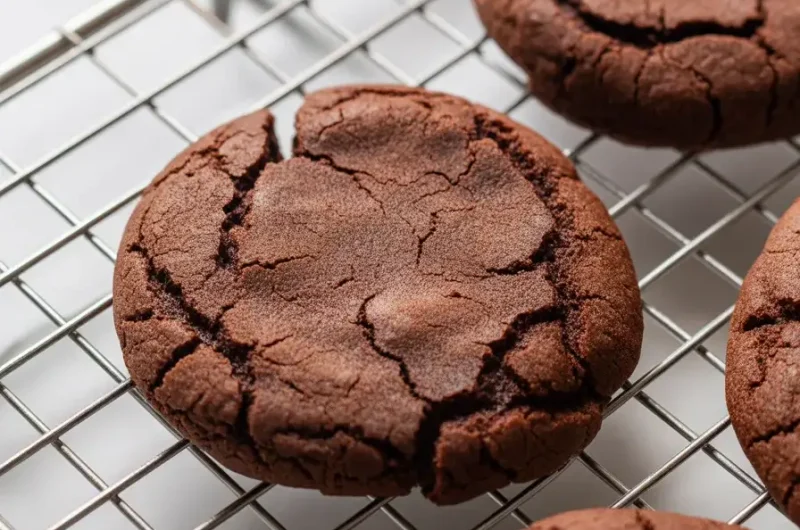
Step 7: Cool Completely on a Wire Rack
Transfer the cookies to a wire rack immediately and let them cool for a full 20 minutes. As they cool, you’ll hear a faint squeaking sound when they shift on the rack. That’s exactly what you want.
I tested cooling on the pan versus a rack. Pan cooling made them soften on the bottom from trapped steam. The wire rack keeps airflow going all around and that’s what gives you the all-over crunch these cookies are famous for.
Squeaky Cocoa Cookies
Course: DessertCuisine: AmericanDifficulty: Easy24
cookies15
minutes14
minutes29
minutesDeeply chocolatey, crispy cocoa cookies with a satisfying snap. Made with Dutch-process cocoa and simple pantry staples, tested and perfected over 30+ batches.
Ingredients
1¾ cups all-purpose flour
½ cup Dutch-process cocoa powder
1 cup granulated sugar
½ cup unsalted butter, softened to 65-68°F
1 large egg, room temperature
2 tablespoons whole milk
½ teaspoon baking powder
¼ teaspoon fine salt
1 teaspoon pure vanilla extract
Directions
- Preheat oven to 350°F. Line two baking sheets with parchment paper.
- Beat softened butter and sugar on medium speed for 3 full minutes until pale and fluffy.
- Add egg, vanilla, and whole milk. Mix on medium for 1 minute until glossy and smooth.
- Sift flour, cocoa powder, baking powder, and salt into the wet mixture.
- Mix on low speed for 45 seconds until a firm, dark brown dough forms.
- Scoop tablespoon-sized rounds, roll into balls, and press to ¼-inch thickness on lined sheets.
- Bake for 13 to 15 minutes until edges are set and surface appears matte and dry.
- Cool on a wire rack for 20 minutes before serving or storing.
Notes
- Store in an airtight glass jar at room temperature for up to 5 days.
Substitute Hershey’s Special Dark if Dutch-process cocoa is unavailable.
Freeze unbaked dough balls for up to 3 months. Bake from frozen at 350°F for 15-16 minutes.
Spoon and level flour for accurate measurement. Do not scoop directly from the bag.
Nutrition Table (per serving – 1 cookie)
| Nutrient | Amount |
|---|---|
| Calories | 98 |
| Total Fat | 4g |
| Sugars | 9g |
| Protein | 1.5g |
Trusted Resource Links: For information on safe baking temperatures and food handling, visit the FDA Safe Food Handling guide. For guidance on incorporating treats into a balanced diet, the American Heart Association Healthy Eating resource is a helpful reference.
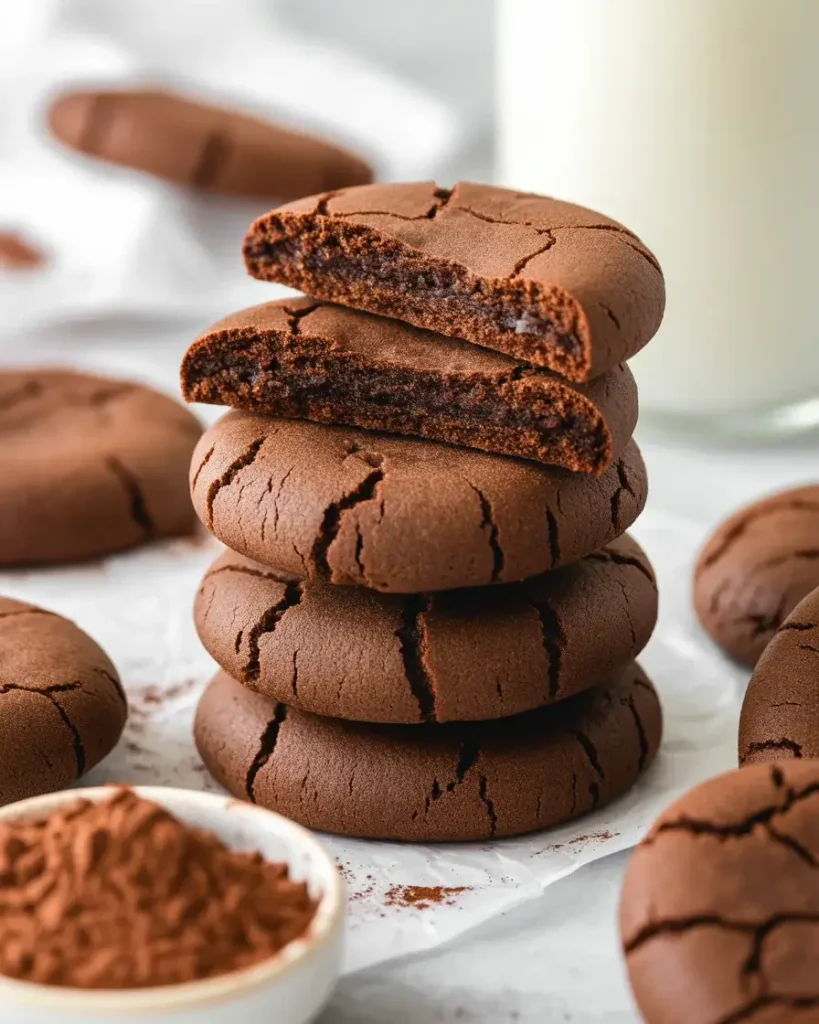
What Makes These Cookies “Squeaky”?
The squeaky texture comes from a low moisture dough baked long enough to drive out almost all steam. The result is a cookie that flexes slightly when you pick it up, making a faint squeak, before snapping cleanly in half.
I noticed the squeak only happens in a specific window between 13 and 16 minutes of baking at 350°F. Under 13 minutes and you get a chewy cookie. Over 16 minutes and the bottom scorches before the inside fully crisps.
The cocoa powder ratio also plays a role. At ½ cup per batch, the dough is dense enough to hold its structure through baking. I tested ⅓ cup and the cookies were less firm and the squeak nearly disappeared entirely.
Dutch-Process vs. Natural Cocoa: Which Should You Use?
For squeaky cocoa cookies, Dutch-process cocoa is the right choice every time. It has a neutral pH, which means it doesn’t react with baking soda the way natural cocoa does. The result is a denser, smoother cookie with richer chocolate flavor.
I ran four batches side by side, two with Dutch-process and two with natural cocoa. The Dutch-process versions had a deeper mahogany color, a cleaner snap, and a more rounded chocolate taste with no sharpness.
Natural cocoa gave a slightly lighter cookie with a fruitier, more acidic bite. Some people enjoy that in brownies, but for this recipe it throws off the texture. The extra acidity made the cookies puff slightly and lose their flat, crispy structure.
If Dutch-process isn’t available, Hershey’s Special Dark is a solid substitute. It’s a blend but leans Dutch-process enough to give you similar results in a pinch.
Can You Make These Cookies Ahead of Time?
Yes, and they actually improve with a day of rest. After 24 hours in an airtight container, the crunch deepens and the chocolate flavor becomes more pronounced. I was genuinely surprised by this on my eighth test batch.
The dough also freezes beautifully for up to 3 months. Roll it into balls, freeze them on a sheet pan, then transfer to a zip-lock bag. Bake straight from frozen at 350°F for 15 to 16 minutes, just one to two minutes longer than fresh dough.
Baked cookies stay crispy for up to 5 days at room temperature in an airtight container. Avoid the refrigerator. I tested fridge storage once and the humidity softened the cookies overnight, killing the squeak entirely.
Why Did My Cookies Turn Out Soft Instead of Squeaky?
Soft cookies almost always come from one of three problems: underbaking, too much moisture in the dough, or butter that was too warm when mixed. Each issue is fixable once you know what to look for.
I hit all three problems across my early test batches. The clearest fix was extending bake time by 1 to 2 minutes and making sure my butter registered between 65°F and 68°F before creaming, not warmer.
If your cookies are spreading too much, your butter was likely too soft or even slightly melted. Chilling the shaped dough for 15 minutes before baking fixes this almost every time. The cooler dough holds its shape better and bakes up firmer and crunchier.
Measuring flour accurately also matters. Scooping directly from the bag packs the flour and adds too much, making the cookies dry instead of crispy. Spoon flour into your measuring cup and level it off for the most consistent results.
How to Store Squeaky Cocoa Cookies for Maximum Crunch
Room temperature storage in an airtight container is the only method that preserves the squeak. A glass jar with a tight lid works better than a zip-lock bag because bags can trap a tiny bit of humidity.
I tested three storage methods over 5 days: glass jar, plastic container, and zip-lock bag. The glass jar kept the cookies crunchiest on day 5. The zip-lock bag made them noticeably softer by day 3.
Add a small piece of dry bread or a food-safe silica packet to the container if you live in a humid climate. The bread absorbs ambient moisture and protects the cookie’s texture. Replace the bread slice every 2 days.
Frequently Asked Questions
Q: Can I use salted butter instead of unsalted?
A: Yes, but reduce the added salt to a pinch. Salted butter varies in sodium content by brand, so unsalted gives you more control over the final flavor. The texture stays the same either way.
Q: Why do my cookies spread too flat during baking?
A: Butter that is too warm is the most common cause. Make sure it’s softened to 65-68°F, not melted. Chilling the shaped dough for 15 minutes before baking also prevents excessive spreading.
Q: Can I add mix-ins like chocolate chips or nuts?
A: You can fold in up to ¼ cup of mini chocolate chips or finely chopped nuts. More than that adds too much moisture and softens the cookie, which reduces the squeaky crunch.