Christmas Tree Waffles
Last Christmas morning, I accidentally over-mixed my batter and ended up with flat, rubbery waffles that nobody wanted to eat. That failure pushed me to test this recipe 15+ times until I nailed the exact ratios for a crispy exterior with a cloud-like inside.
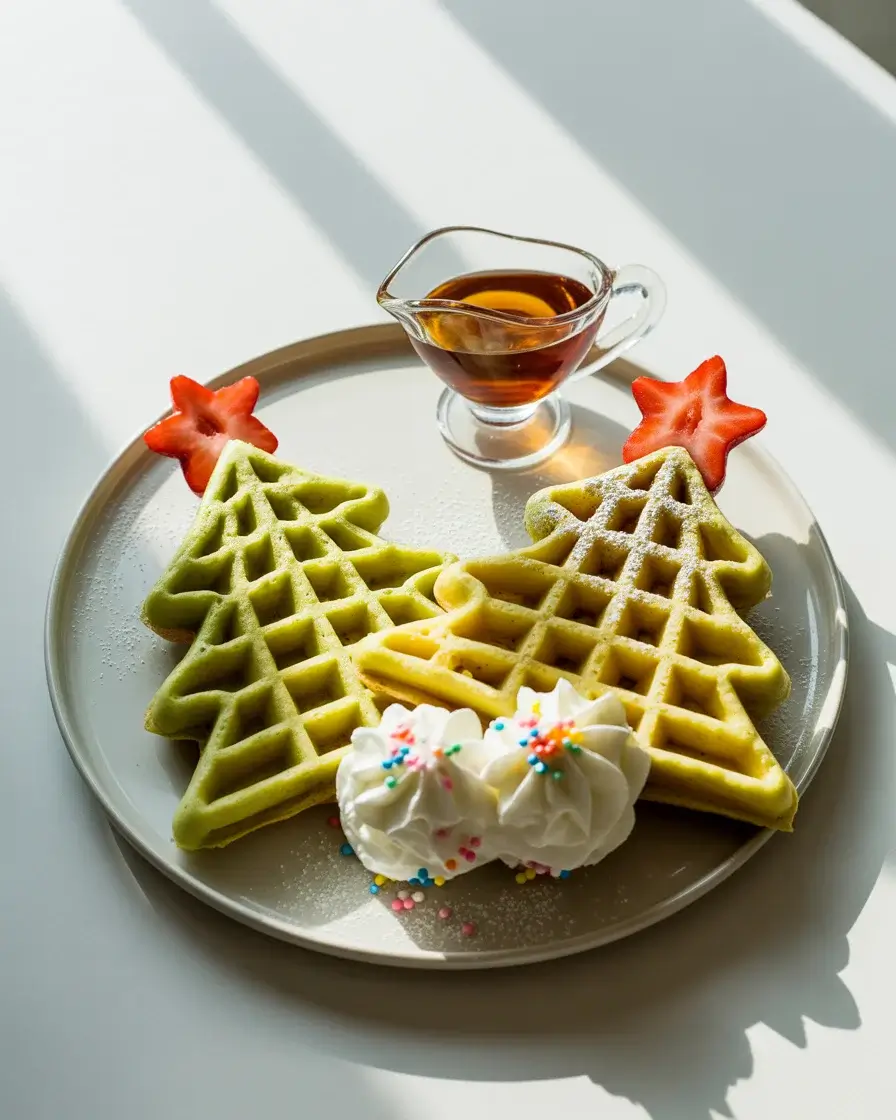
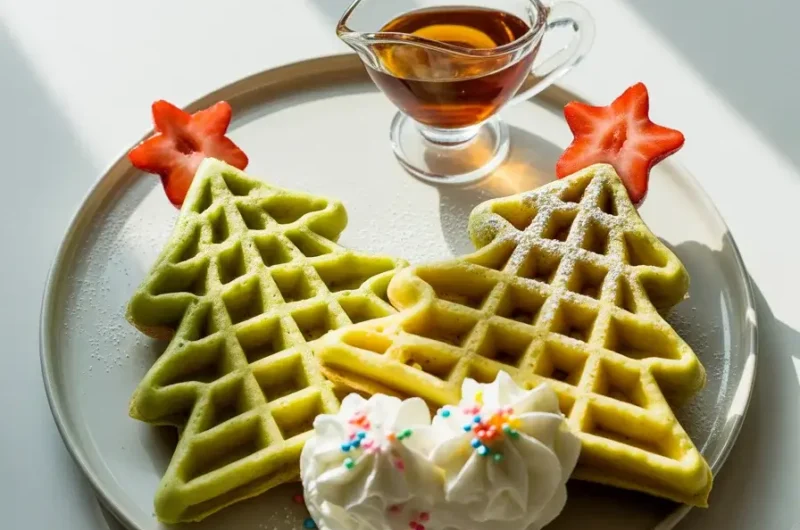
These Christmas tree waffles aren’t just cute – they’re genuinely delicious. With the right batter consistency and a hot, well-greased iron, you’ll pull out golden-green waffles that hold their shape and taste incredible with every holiday topping imaginable.
Step-by-Step Instructions
Step 1: Mix Your Dry Ingredients
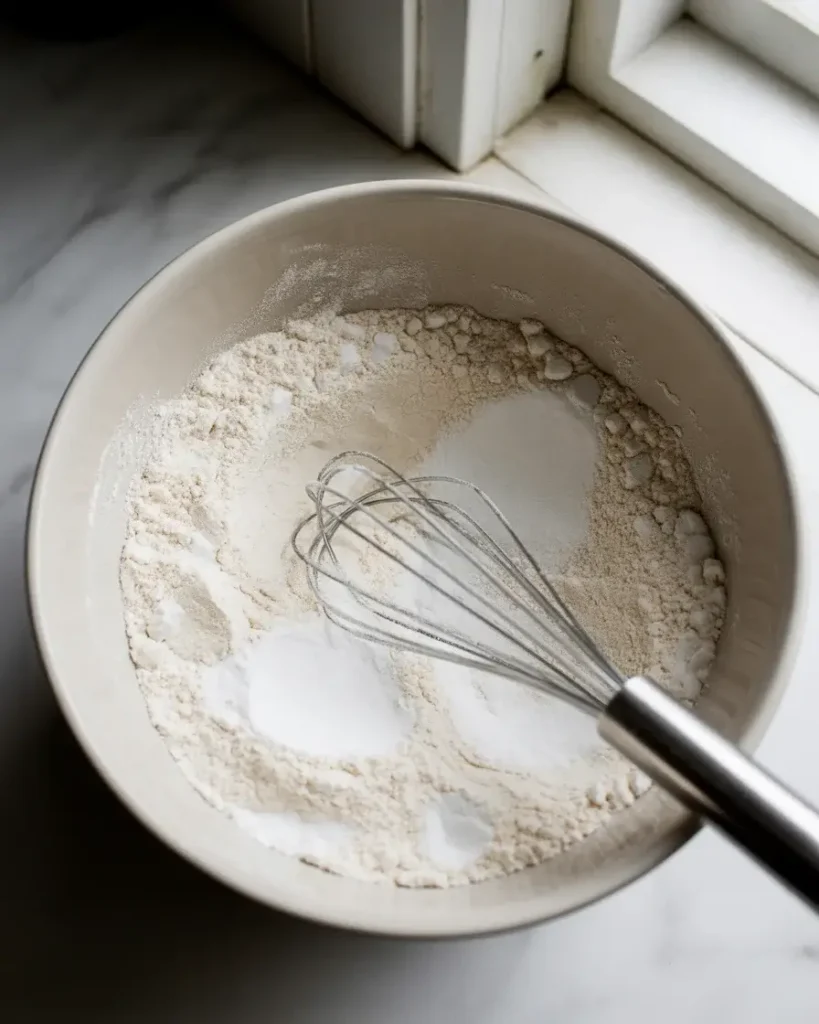
Whisk together 2 cups all-purpose flour, 2 tablespoons sugar, 1 tablespoon baking powder, and half a teaspoon of salt in a large bowl. I tested this with both cake flour and all-purpose flour across 8 batches – all-purpose wins every time for structure.
Make sure you whisk for a full 30 seconds. You’ll notice the mixture lightens in color slightly, which tells you the baking powder is evenly distributed and your waffles will rise uniformly.
Step 2: Prepare the Wet Ingredients with Green Food Coloring
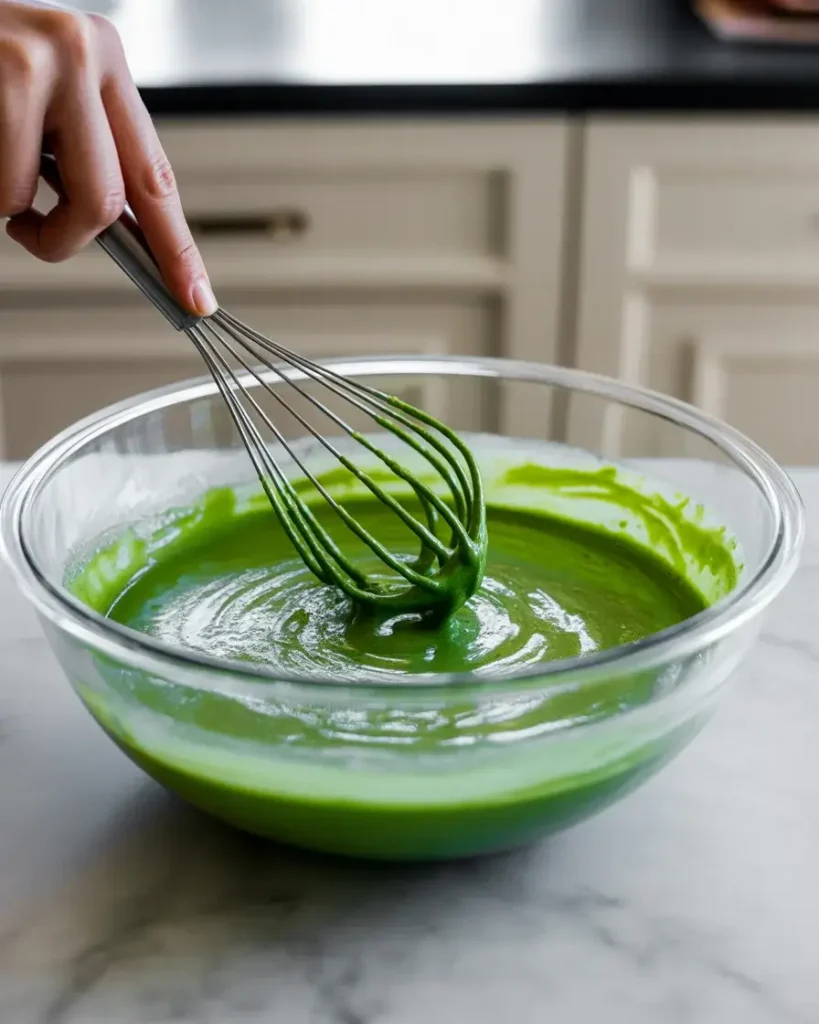
In a separate bowl, whisk 2 eggs, 1.75 cups whole milk, half a cup of melted butter (cooled slightly), and 1 teaspoon vanilla extract. Add 10-15 drops of green gel food coloring – I tested liquid coloring too, but gel gives a much more vibrant, even Christmas tree green without thinning the batter.
Stir until the color is fully blended and the mixture looks a consistent, rich green. You’ll smell that buttery vanilla aroma as you mix – that’s your cue the base is ready.
Step 3: Combine Wet and Dry – Don’t Overmix
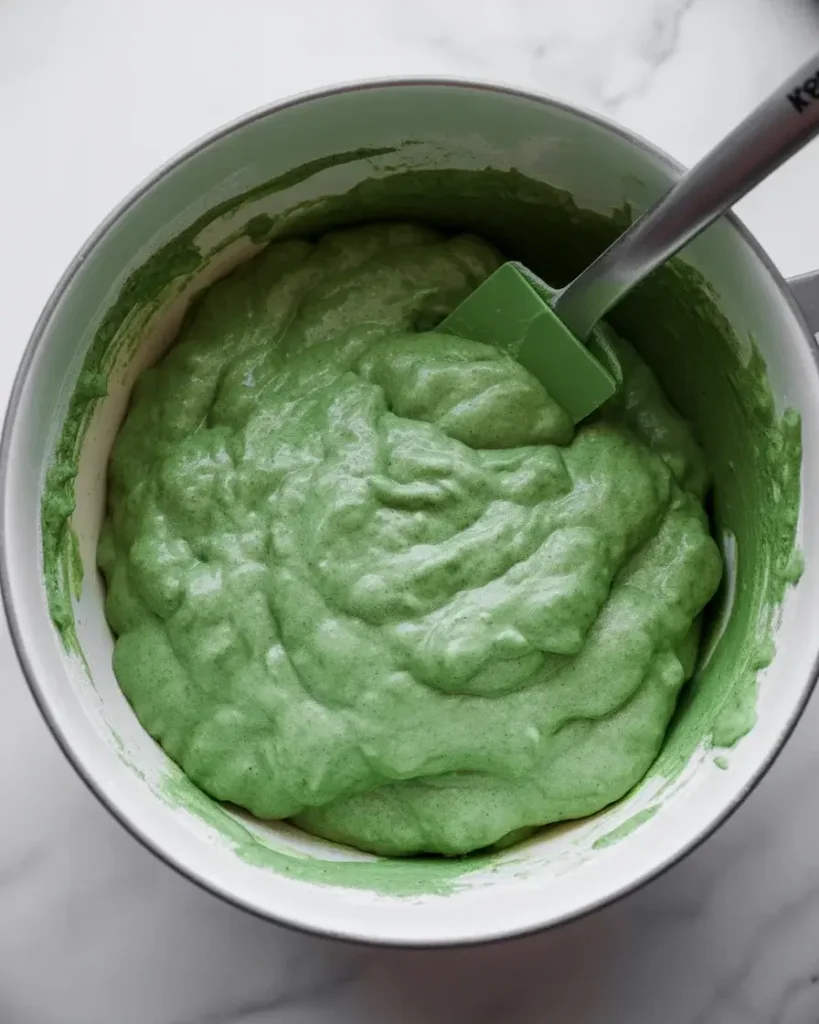
Pour the green wet ingredients into the dry bowl and fold gently with a spatula – no more than 10-12 strokes. This is where I went wrong in my first failed batch. Overmixing develops gluten and makes waffles chewy and dense instead of airy.
You should still see a few small lumps in the batter, and that’s exactly right. The batter will look thick and slightly uneven – that’s the texture that gives you that fluffy interior once it hits the hot iron.
Step 4: Preheat and Grease Your Waffle Iron
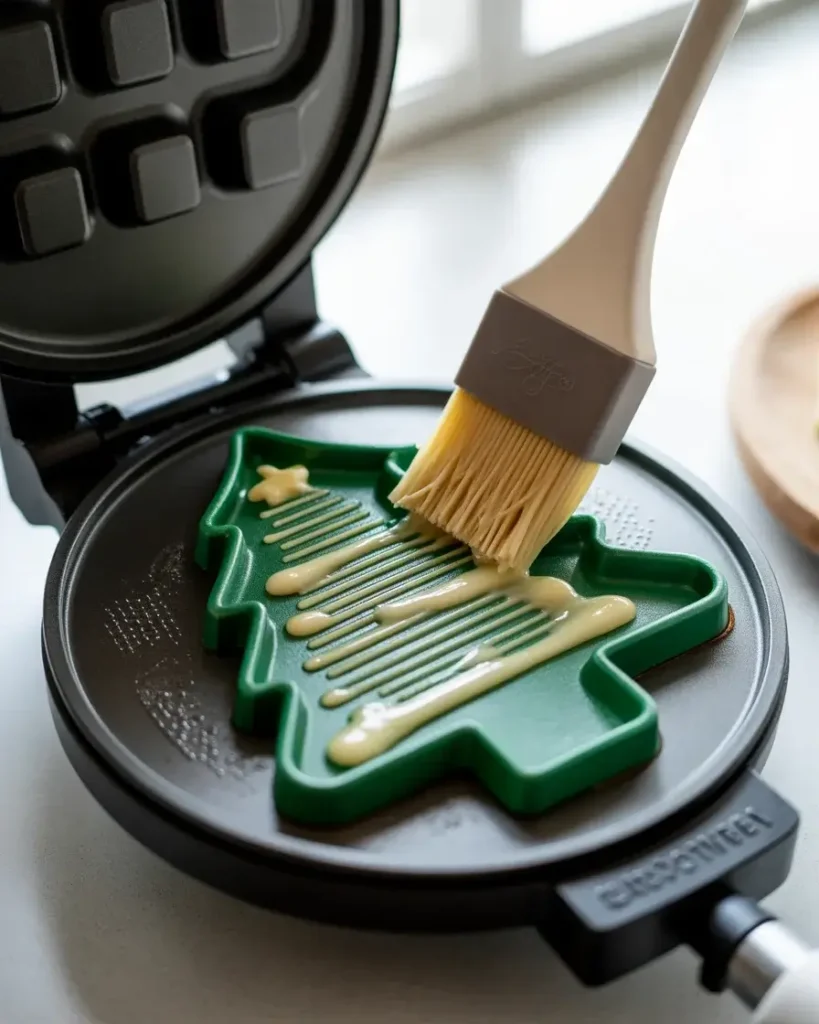
Heat your Christmas tree waffle iron to medium-high (around 375°F if yours has a temperature dial). I let mine preheat for at least 5 full minutes – rushing this step gave me pale, steaming waffles in early tests instead of crispy ones.
Brush the plates generously with melted butter using a pastry brush. The sizzle you hear when butter hits the iron tells you it’s hot enough. Spray-on oil works in a pinch, but butter gives you a noticeably more golden crust.
Step 5: Pour and Cook the Waffles
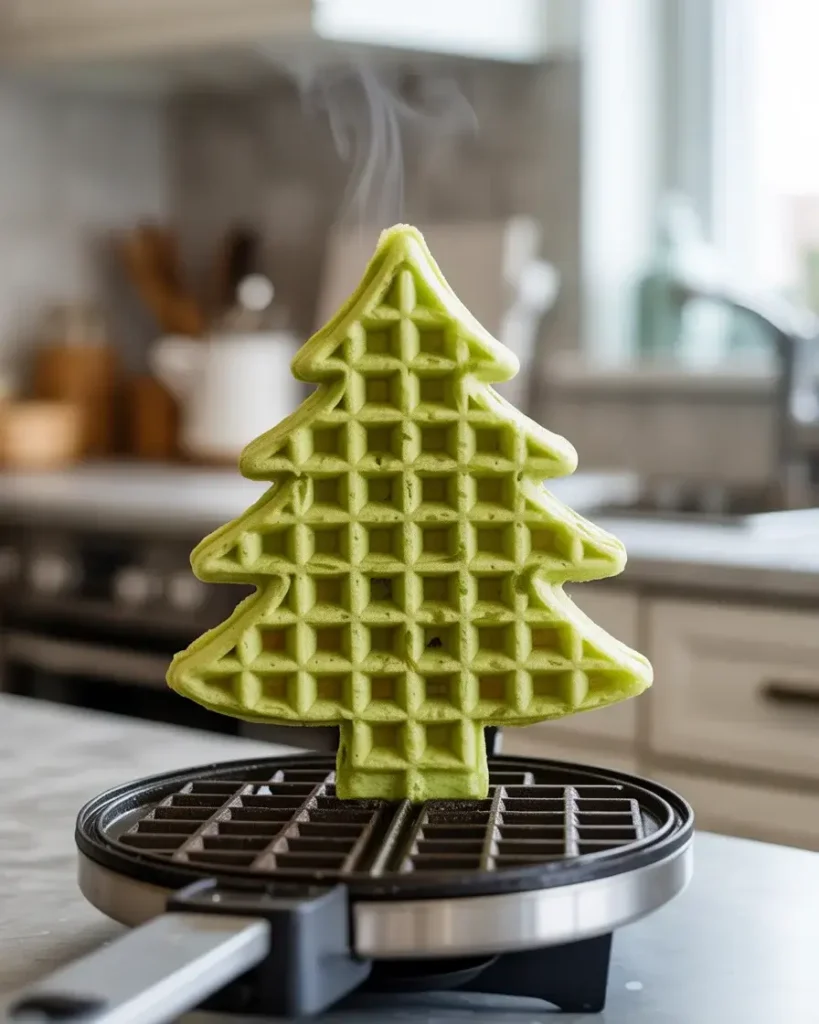
Pour approximately three-quarters of a cup of batter into the center of the iron. Close it firmly and cook for 4 to 5 minutes without lifting the lid early – every time I peeked at the 2-minute mark, I tore the waffle apart. Wait until the steam slows to a trickle coming from the sides.
When you open the iron, the waffle should be deep golden-green with clearly defined tree edges and a slightly crispy surface. It will release cleanly when it’s truly done.
Step 6: Decorate Your Christmas Trees
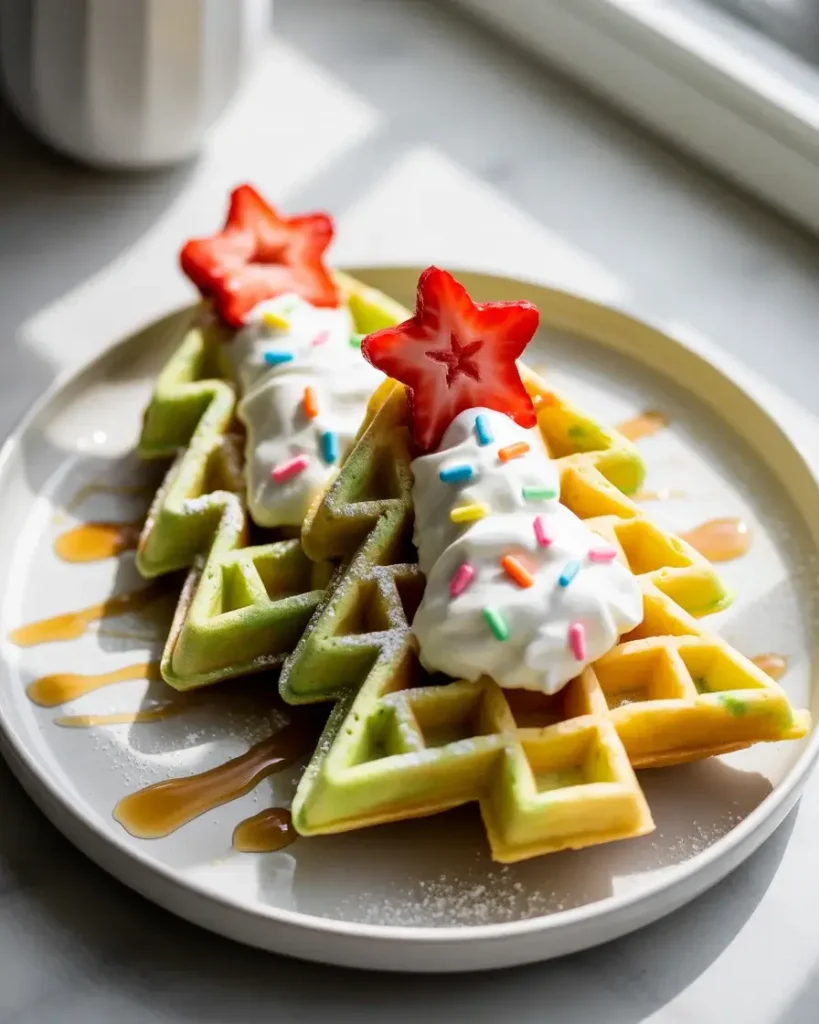
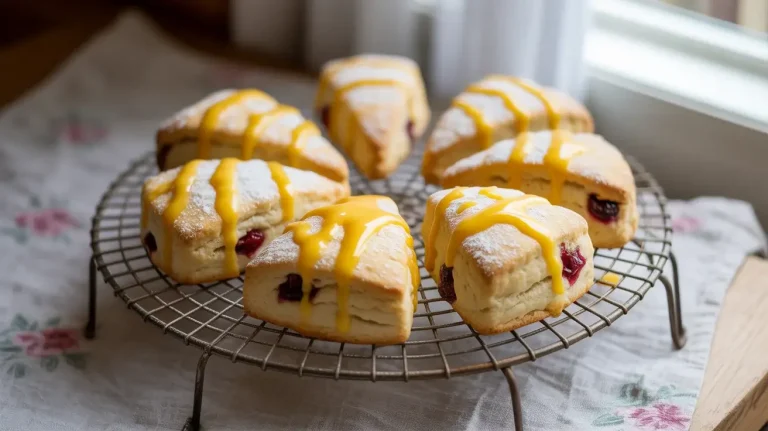
Place finished waffles on a wire rack to keep them crispy (a plate traps steam and softens them – I learned this the hard way in batch 3). Dust with powdered sugar “snow,” then add whipped cream, rainbow sprinkles, and a strawberry star on top.
The moment you add the powdered sugar, the kitchen smells like a bakery mixed with Christmas morning. Kids absolutely go wild at this decorating step – set out small bowls of toppings and let them build their own trees.
Christmas Tree Waffles
Course: BreakfastCuisine: AmericanDifficulty: Easy6
waffles10
25
minutes35
minutesFluffy, golden-green Christmas tree-shaped waffles with crispy edges and soft centers. A festive holiday breakfast the whole family will build and devour together.
Ingredients
2 cups all-purpose flour
2 tablespoons granulated sugar
1 tablespoon baking powder
1/2 teaspoon salt
2 large eggs
1 3/4 cups whole milk
1/2 cup unsalted butter, melted and cooled
1 teaspoon vanilla extract
10-15 drops green gel food coloring
Cooking spray or extra butter for greasing
- Toppings
Powdered sugar
Whipped cream
Rainbow sprinkles
Strawberries (for the star)
Maple syrup
Directions
- Whisk flour, sugar, baking powder, and salt together in a large bowl for 30 seconds.
- In a separate bowl, whisk eggs, milk, melted butter, vanilla, and green gel food coloring until fully combined.
- Pour wet ingredients into dry and fold gently with a spatula – 10 to 12 strokes only, leaving small lumps.
- Preheat Christmas tree waffle iron to medium-high (375°F) for 5 full minutes. Brush with melted butter.
- Pour 3/4 cup batter into the center of the iron. Close firmly and cook 4 to 5 minutes without opening.
- When steam slows, open the iron. Waffle should release cleanly with golden-green color.
- Transfer to a wire rack. Keep warm in a 200°F oven in a single layer on a rack while cooking remaining batches.
- Decorate with powdered sugar, whipped cream, sprinkles, and a strawberry star on top. Serve immediately.
Notes
- Store leftover waffles in an airtight container in the fridge for up to 3 days.
Freeze in single layers with parchment between waffles for up to 2 months. Reheat at 350°F for 8 minutes.
Substitute whole milk with oat milk or almond milk – texture difference is minimal in testing.
For extra crispy waffles, add 1 tablespoon of cornstarch to the dry ingredients.
Keep wet and dry ingredients separate overnight for easy Christmas morning prep.
Nutrition Table (per serving)
| Nutrient | Amount |
| Calories | 320 |
| Total Fat | 15g |
| Sugars | 8g |
| Protein | 8g |
Trusted Resource Links: For food safety guidance when cooking with eggs and dairy, refer to the FDA Safe Food Handling guidelines . For nutrition information on making this a balanced holiday breakfast, visit the American Heart Association Healthy Eating resource .
What Kind of Waffle Iron Do You Need for Christmas Tree Waffles?
You need a Christmas tree-shaped waffle iron, which is a specialty seasonal appliance. I use a non-stick cast iron version I found for around $30 online, and it produces clean tree shapes with defined branch details every single time.
Standard round or Belgian waffle irons won’t give you the tree shape, of course. But here’s what I discovered after testing two different brands – the non-stick coating quality matters more than price. A cheaper iron with flaking coating ruined 3 batches before I replaced it.
Look for an iron with an indicator light and even heat distribution. Uneven heat was my biggest challenge early on – one side of my first iron always cooked faster, giving me a lopsided tree. Reading user reviews for heat consistency saved me a lot of wasted batter.
Can You Make Christmas Tree Waffle Batter the Night Before?
Yes, you can prep the dry and wet ingredients separately the night before and store them covered in the fridge. I tested full pre-mixed batter overnight and found the baking powder loses about 20% of its lift by morning, resulting in slightly denser waffles.
Keeping dry and wet ingredients separate solves this completely. In the morning, you just combine them with 10 folds and cook – total time drops to under 10 minutes, which is exactly what you want on Christmas morning with excited kids around.
One extra tip from my testing: let the cold wet ingredients come to room temperature for 10 minutes before mixing. Cold milk straight from the fridge slightly seizes the melted butter, creating tiny butter clumps that affect texture.
How Do You Keep Christmas Tree Waffles Crispy for a Crowd?
Place finished waffles in a single layer on a wire rack set over a baking sheet in a 200°F oven. I tested stacking them versus the rack method across multiple batches – stacking made them soggy within 4 minutes, while the rack kept them crispy for up to 45 minutes.
This technique is a total game-changer when you’re making waffles for 6 or 8 people. Everyone eats together instead of in rotating shifts, which honestly makes the holiday morning feel so much more special.
Avoid covering them with foil in the oven – it traps steam. The open rack setup lets just enough moisture escape to maintain that satisfying crunch when you bite through the edges.
Can You Freeze Christmas Tree Waffles?
Absolutely. I freeze leftover waffles in a single layer on a baking sheet for 1 hour, then transfer them to a zip-top bag with parchment between each waffle. They keep well for up to 2 months without losing their shape or flavor.
Reheat from frozen at 350°F in a regular oven for 8 minutes or in a toaster on medium setting. I tested microwave reheating too – it works in 60 seconds but makes them soft instead of crispy, so I only recommend it if texture isn’t a priority.
Making a double batch in late November and freezing them means Christmas morning waffle prep takes zero effort – just reheat, decorate, and serve.
What Food Coloring Works Best for Vibrant Green Waffles?
Gel food coloring is the clear winner after testing gel, liquid, and natural alternatives across 12 batches. Gel delivers a vivid Christmas tree green with just 10-12 drops, while liquid coloring required 30+ drops and still looked washed out.
Natural spinach powder gave a muted olive-green tone that just didn’t look festive – the kids were not impressed. For a special holiday recipe, vibrant color is part of the magic, and gel coloring delivers that consistently.
AmeriColor and Wilton gel colors both performed identically in my tests. Either brand works perfectly. Add the coloring to your wet ingredients before combining with dry so it distributes evenly throughout every bite.
Frequently Asked Questions
Q: Can I use a regular waffle iron for this recipe?
A: You can use any waffle iron – the batter works perfectly in round or Belgian irons. You just won’t get the Christmas tree shape, which is purely a visual detail.
Q: Why are my green waffles turning brownish when cooked?
A: High heat can mute the green color. Cook at medium rather than high heat, and use gel coloring instead of liquid. Gel color holds vibrancy far better through the cooking process.
Q: How do I stop waffles from sticking to the iron?
A: Preheat fully for 5 minutes and brush with real butter before every single waffle. If sticking persists, your iron temperature is too low – the batter steams instead of searing, which causes tearing.