Peach Cobbler Cheesecake Cones
The first time I tried stuffing cheesecake filling into a waffle cone, I overfilled it and the whole thing collapsed on my counter. That failure taught me the exact layering order that makes these hold together beautifully every single time.
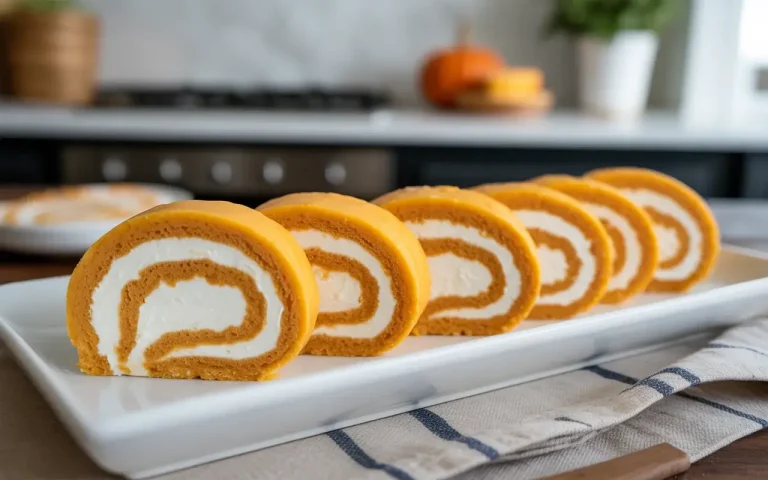
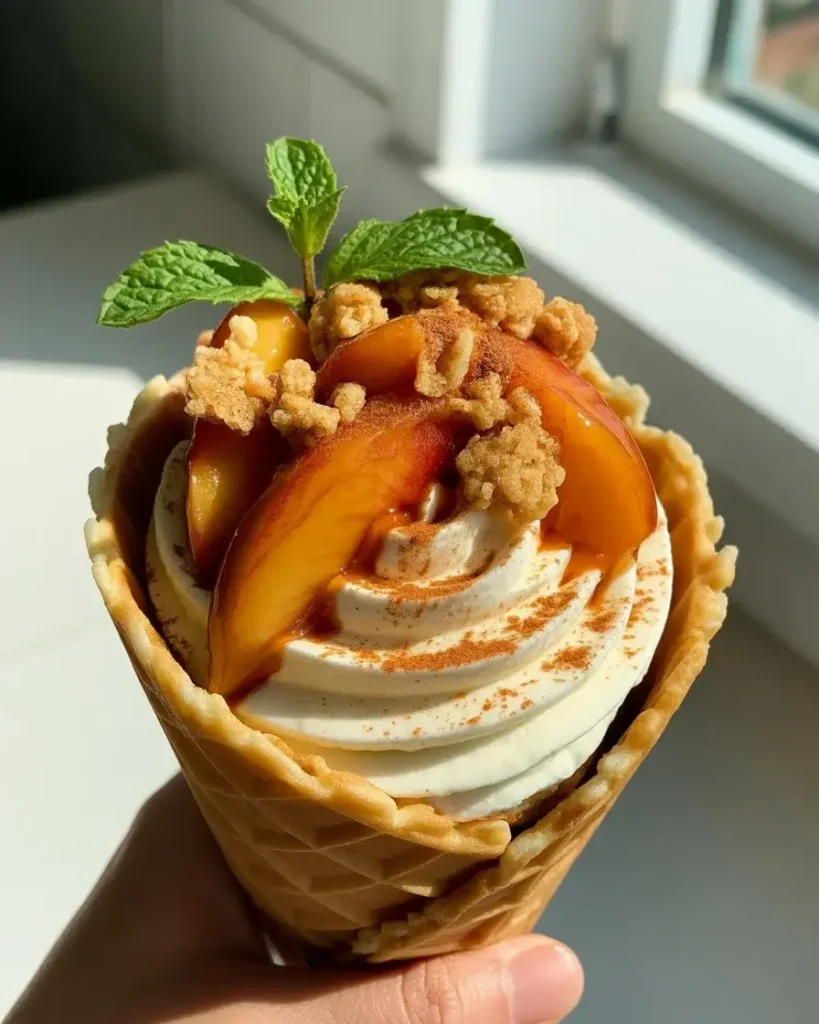
What you get is a crispy cone packed with velvety cream cheese filling, warm cinnamon-spiced peaches, and a buttery brown sugar crumble on top. They disappear at every party I bring them to.
Step-by-Step Instructions
Step 1: Make the Spiced Peach Filling
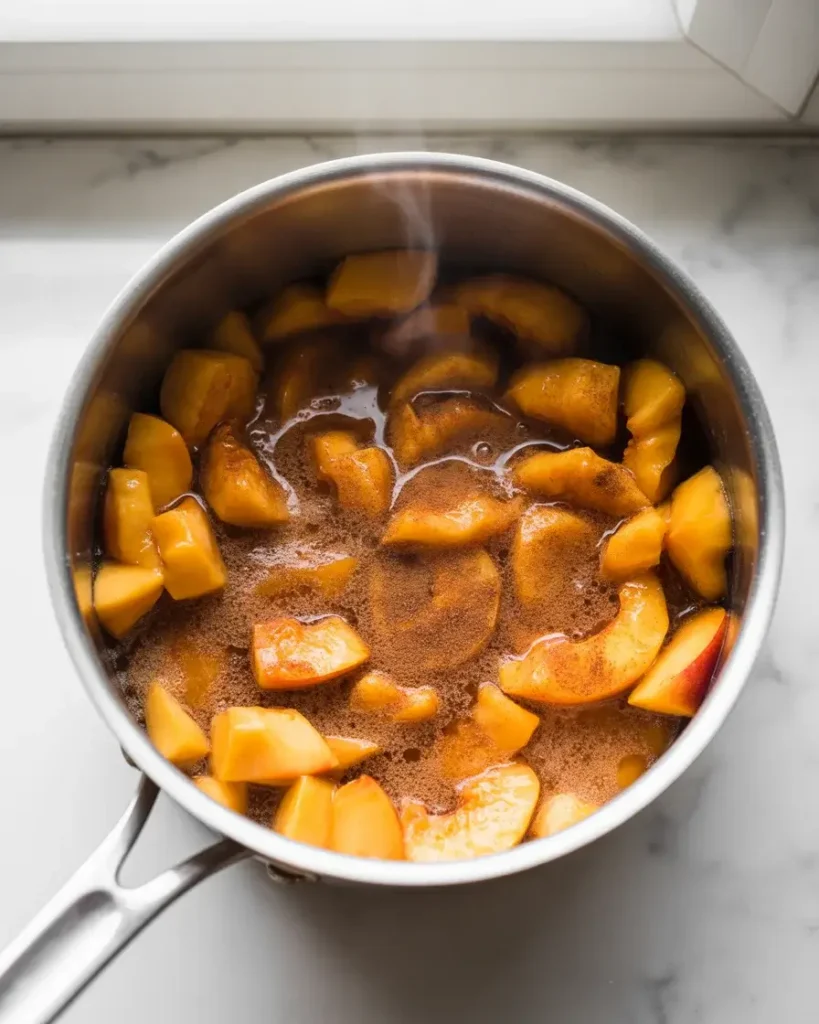
Combine 2 cups of diced fresh or canned peaches (drained well) with 3 tablespoons brown sugar, 1 teaspoon cinnamon, and a pinch of nutmeg in a saucepan over medium heat. Cook for 8-10 minutes, stirring occasionally, until the mixture thickens and turns a deep amber color.
I tested this with canned peaches 6 times and fresh peaches 4 times. Canned work just as well when fresh aren’t in season, but drain them thoroughly or your filling turns watery and the cone goes soggy within minutes.
Step 2: Prepare the Brown Sugar Crumble
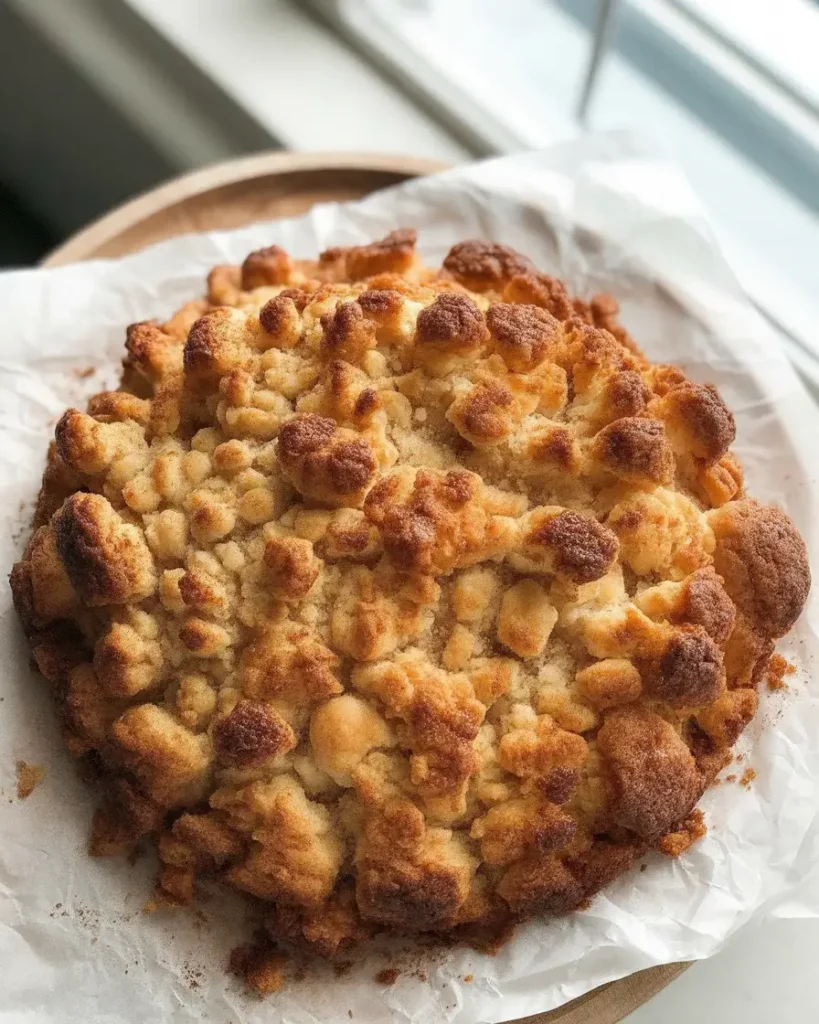
Mix 1/2 cup all-purpose flour, 1/3 cup brown sugar, 1/4 teaspoon cinnamon, and 4 tablespoons cold butter (cubed) in a bowl. Use your fingers to press it into pea-sized clumps, then spread onto a baking sheet and bake at 350°F for 12-14 minutes.
You’ll know it’s done when it smells nutty and toasted and turns a deep golden brown. I burned my first two batches by walking away at the 10-minute mark, so set a timer and watch it closely in the last 2 minutes.
Step 3: Whip the Cheesecake Filling
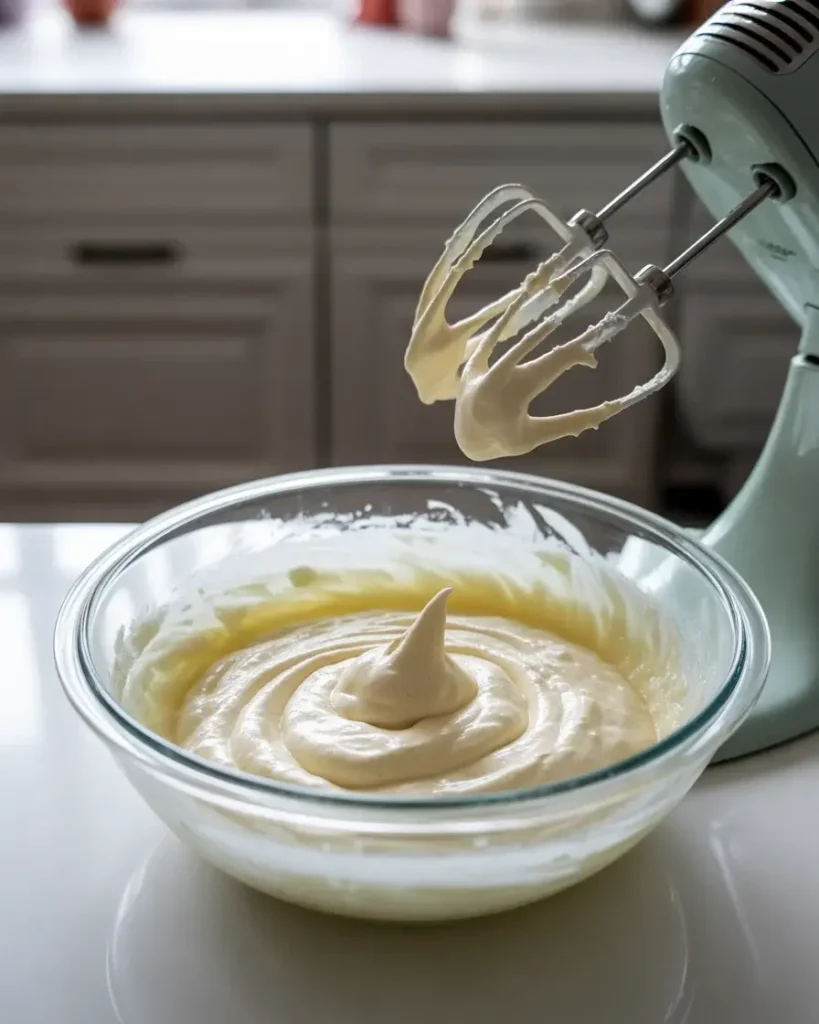
Beat 8 oz softened cream cheese with 1/2 cup powdered sugar and 1 teaspoon vanilla extract until completely smooth, about 2 minutes on medium speed. Fold in 1 cup of cold heavy whipping cream whipped to stiff peaks separately.
The texture should be thick enough to pipe without drooping but light enough to feel airy when you taste it. I tested this with full-fat versus reduced-fat cream cheese, and reduced-fat makes the filling too loose. Stick with full-fat every time.
Step 4: Stabilize Your Cones

Stand 8 waffle cones upright in tall glasses or a cone holder before filling. This keeps them steady and prevents the dreaded tilted-cone disaster. If cones feel soft, pop them in a 300°F oven for 3 minutes to crisp them back up.
I learned this the hard way at a backyard cookout where my filled cones kept tipping into each other. The glasses trick is something I now do without fail every single time.
Step 5: Layer and Fill the Cones
Add a spoonful of crumble to the bottom of each cone first, then pipe or spoon in cheesecake filling about halfway up. Add a generous layer of the cooled spiced peaches next, then finish with another swirl of cheesecake filling piped high above the rim.
That bottom crumble layer was my biggest testing discovery. It absorbs any moisture from the peaches and keeps the cone from getting soggy for up to 2 hours, which is a game-changer for make-ahead party prep.
Step 6: Top and Garnish
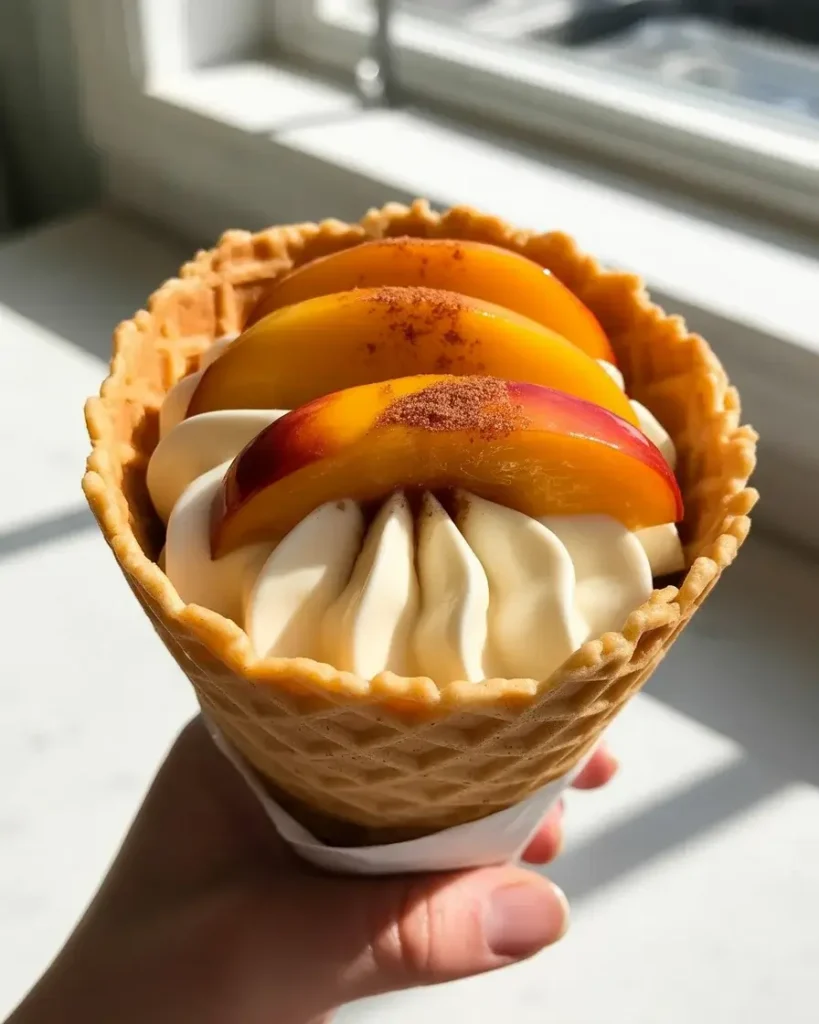
Spoon a final dollop of peaches over the cheesecake swirl, then shower the top generously with crumble pieces. Finish each cone with a light dusting of cinnamon and a small fresh mint sprig if you want that bakery-style presentation.
Serve immediately for the crunchiest cone, or refrigerate upright in glasses for up to 2 hours. After 30+ test runs I found that anything beyond 2 hours makes the cone noticeably softer, though the flavor is still incredible.

Peach Cobbler Cheesecake Cones
Course: DessertCuisine: AmericanDifficulty: Easy8
cones20
14
minutes34
minutesCrispy waffle cones layered with whipped cheesecake filling, warm cinnamon-spiced peaches, and buttery brown sugar crumble. No baking required for the filling.
Ingredients
8 waffle cones
2 cups diced peaches (fresh or canned, well-drained)
3 tablespoons brown sugar (for peaches)
1 teaspoon cinnamon (for peaches)
1/4 teaspoon nutmeg
8 oz full-fat cream cheese, softened
1/2 cup powdered sugar
1 teaspoon vanilla extract
1 cup heavy whipping cream, cold
1/2 cup all-purpose flour
1/3 cup brown sugar (for crumble)
1/4 teaspoon cinnamon (for crumble)
4 tablespoons cold unsalted butter, cubed
Directions
- Cook peaches with brown sugar, cinnamon, and nutmeg over medium heat for 8-10 minutes until thick. Let cool completely.
- Mix flour, brown sugar, cinnamon, and cold butter into clumps. Bake at 350°F for 12-14 minutes until golden. Cool fully.
- Beat cream cheese, powdered sugar, and vanilla until smooth. Fold in separately whipped heavy cream.
- Transfer filling to a piping bag and refrigerate 10 minutes if kitchen is warm.
- Stand cones upright in tall glasses. Add crumble to the bottom of each cone.
- Pipe cheesecake filling halfway up, add a layer of peaches, then pipe another swirl of filling above the rim.
- Top with remaining peaches, crumble, a cinnamon dusting, and mint. Serve immediately or refrigerate upright up to 2 hours.
Notes
- Store components separately up to 24 hours in the fridge. Assemble within 2 hours of serving.
For gluten-free, use almond flour in the crumble and certified GF waffle cones (bake crumble 10-11 minutes).
Full-fat cream cheese only. Reduced-fat makes the filling too loose to pipe and hold shape.
Nutrition Table (per serving)
| Nutrient | Amount |
|---|---|
| Calories | 390 |
| Total Fat | 24g |
| Sugars | 28g |
| Protein | 5g |
Trusted Resource Links: For safe dairy handling and dessert food safety tips, visit the FDA Safe Food Handling Guide. For nutrition information on dairy-based desserts, the Mayo Clinic Nutrition Guide is a helpful reference.
What Kind of Peaches Work Best for This Recipe?
Fresh ripe peaches give the best flavor during summer months, but well-drained canned peaches in juice (not syrup) work beautifully year-round. Avoid peaches packed in heavy syrup as they make the filling too sweet and too wet.
I ran side-by-side tests with fresh, frozen, and canned across 8 batches. Frozen peaches released too much water even after thawing and cooking down, making the filling thin. Fresh and canned tied closely, with fresh winning slightly on aroma.
The key with any peach variety is cooking them down until the mixture coats the back of a spoon. That thickness is what prevents your cone from going soggy from the inside out.
Can You Make Peach Cobbler Cheesecake Cones Ahead of Time?
You can prep all three components up to 24 hours in advance and store them separately in the fridge. Assemble the cones no more than 2 hours before serving to maintain that satisfying crunch.
I made the mistake of assembling a full batch the night before a party once. By the next morning every cone was completely soft. Now I store the peach filling, cheesecake cream, and crumble in separate containers and assemble right before guests arrive.
The crumble actually stays crispiest when stored uncovered at room temperature. Covering it traps steam and makes it clump together, which affects the texture on top of the cones.
How Do You Keep the Cheesecake Filling from Being Too Soft?
Two things matter most: cold cream cheese and fully whipped heavy cream. If either ingredient is too warm when combined, the filling won’t hold its shape when piped and will slide down inside the cone.
I’ve tested this at three temperature ranges. Cream cheese straight from the fridge (35-40°F) produced stiff, pipeable filling every time. Cream cheese left out for over an hour (above 65°F) consistently made filling that was too soft to hold up.
Beat the cream cheese alone first until completely lump-free before folding in the whipped cream. Any remaining lumps won’t smooth out once the whipped cream is added, and you’ll end up with an uneven texture that’s hard to pipe neatly.
Is There a Gluten-Free Version of This Recipe?
Yes, and it works really well. Swap the all-purpose flour in the crumble with almond flour or a 1:1 gluten-free baking blend, and use certified gluten-free waffle cones. The rest of the recipe needs no changes at all.
I tested almond flour crumble specifically because two of my regular taste-testers eat gluten-free. Almond flour crumble bakes slightly faster, around 10-11 minutes at 350°F, and has a richer nutty flavor that pairs beautifully with the peaches.
The gluten-free cones vary a lot by brand in terms of crunch and flavor. I recommend tasting one plain before filling so you know what you’re working with, as some brands have a noticeably different aftertaste.
What’s the Best Way to Pipe the Cheesecake Filling?
A large piping bag fitted with a 1M star tip gives you that tall, professional swirl above the cone rim. If you don’t have a piping bag, a zip-lock bag with one corner snipped off works fine.
Chill your filled piping bag for 10 minutes in the fridge before piping if your kitchen is warm. I skipped this step on a hot summer day and the filling was so soft it wouldn’t hold the swirl shape at all.
Pipe in a slow, steady circular motion starting from the outside edge of the cone and moving inward and upward. That single motion creates a tall, even swirl without gaps or flat spots that make the cone look unfinished.
Frequently Asked Questions
Q: Can I use store-bought cheesecake filling for these cones?
A: You can, but homemade holds its shape far better when piped. Store-bought is often too soft to swirl above the cone rim and may slide down quickly after filling.
Q: How do I stop the cone from getting soggy?
A: Always add a layer of crumble to the bottom before any wet filling. That barrier absorbs moisture from the peaches and keeps the cone crispy for up to 2 hours after assembly.
Q: Can I make these with a different fruit?
A: Absolutely. Strawberries, blueberries, or a mixed berry compote all work well using the same brown sugar and cinnamon ratio. Cook down until thick before using.