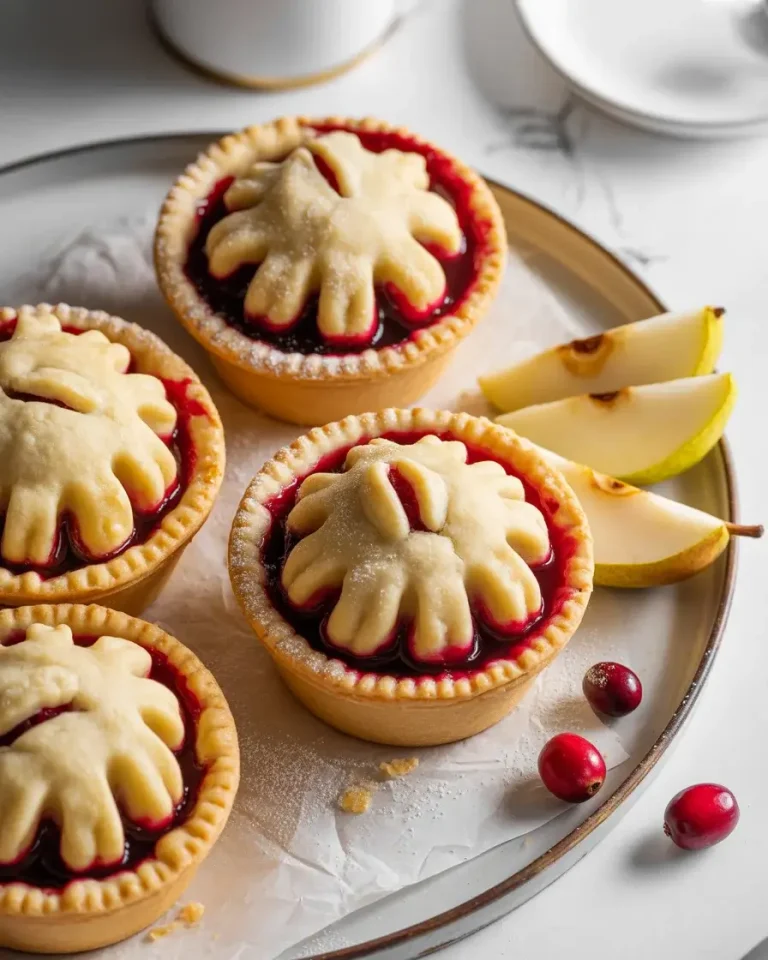
Mini Apple Pies
The first time I made mini apple pies, I pulled them out of the oven too early and ended up with soggy bottoms and runny filling everywhere. After 15+ test batches, I figured out the exact temperature and timing that gives you a perfectly set filling and a crust that holds its shape without crumbling.
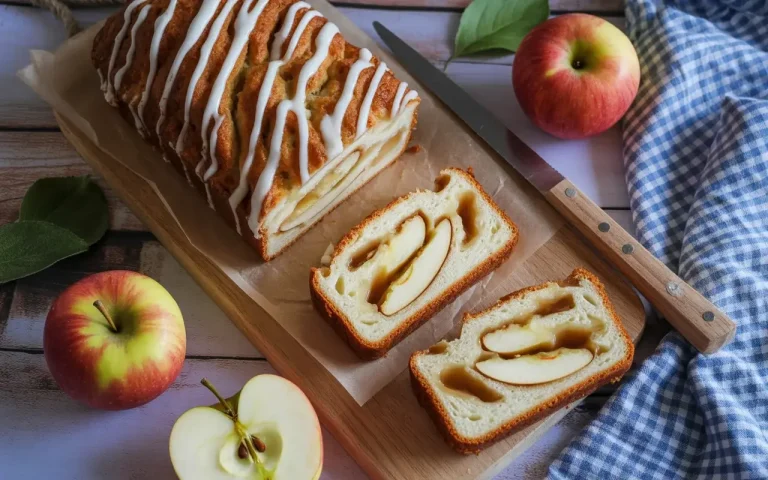
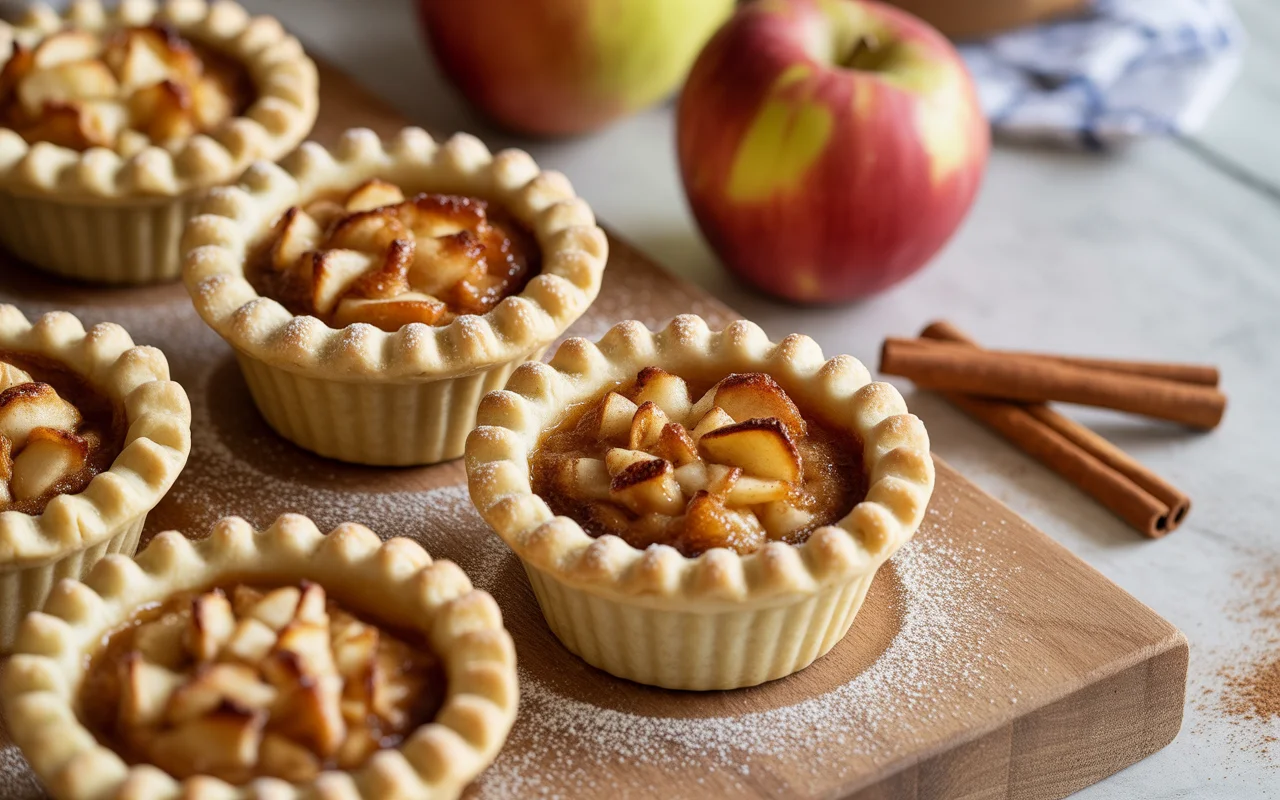
What I love most is how these little pies deliver everything a full-sized pie does – golden flaky pastry, warm cinnamon-spiced apples, bubbling caramel edges – but in a portion you can eat out of hand. They are ideal for holiday tables, potlucks, or an easy weekend baking project.

Mini Apple Pies
Course: DessertCuisine: AmericanDifficulty: Medium4
servings30
1
hour25
1
hour55
Buttery flaky mini apple pies with a warmly spiced filling, baked golden in a muffin tin. Perfect for parties, holidays, or anytime you want individual-sized comfort.
Ingredients
- For the Pie Dough
2 1/2 cups all-purpose flour
1 tablespoon granulated sugar
1 teaspoon salt
1 cup unsalted butter, cold and cubed
6-8 tablespoons ice water
- For the Apple Filling
3 medium Granny Smith apples, peeled and diced small
1/3 cup brown sugar
1 teaspoon ground cinnamon
1/4 teaspoon ground nutmeg
1 tablespoon cornstarch
1 teaspoon fresh lemon juice
- For Assembly
1 egg
1 tablespoon milk
1 tablespoon coarse sugar for topping (optional)
Directions
- Combine flour, sugar, and salt. Cut in cold butter until crumbly with pea-sized chunks. Add ice water one tablespoon at a time until dough just comes together.
- Divide dough into two discs, wrap in plastic, and refrigerate for 1 hour.
- Toss diced apples with brown sugar, cinnamon, nutmeg, cornstarch, and lemon juice. Set aside for 10 minutes.
- Preheat oven to 375°F. Grease a 12-cup standard muffin tin.
- Roll dough to 1/8-inch thickness. Cut twelve 3.5-inch circles and twelve 2.5-inch circles.
- Press larger circles into muffin cups. Fill each with about 2 tablespoons apple mixture.
- Top with smaller dough circles, crimp edges to seal, and cut 2-3 steam vents in each.
- Brush tops with egg wash (egg + milk). Sprinkle with coarse sugar if using.
- Chill assembled pies in the refrigerator for 15 minutes.
- Bake for 22-25 minutes until golden brown and filling is bubbling.
- Cool in pan 10 minutes before removing with an offset spatula.
Notes
- Store covered at room temperature for up to 2 days or refrigerate for up to 5 days.
Freeze baked pies individually for up to 2 months. Reheat at 350°F for 12-15 minutes.
Substitute half the Granny Smith with Honeycrisp for a sweeter, more complex flavor.
Dough can be made 2 days ahead and kept refrigerated.
Nutrition Table (per serving – 1 mini pie)
| Nutrient | Amount |
|---|---|
| Calories | 285 |
| Total Fat | 16g |
| Sugars | 14g |
| Protein | 3g |
For food safety guidance when handling eggs and dairy in pastry, refer to the USDA Safe Temperature Chart and FDA Safe Food Handling.
Step-by-Step Instructions
Step 1: Make the Pie Dough
Combine 2 1/2 cups all-purpose flour, 1 tablespoon sugar, and 1 teaspoon salt in a bowl. Cut in 1 cup cold cubed butter until the mixture looks like coarse crumbs – you should still see pea-sized butter chunks throughout.
Add 6-8 tablespoons ice water one tablespoon at a time, mixing just until the dough comes together. I tested this with room-temperature butter once and the crust turned out dense and tough, so keep everything cold. Divide into two discs, wrap, and chill for at least 1 hour.
Step 2: Prepare the Apple Filling
Peel and dice 3 medium Granny Smith apples into 1/4-inch cubes. In my testing, smaller cubes fill the mini shells much more evenly than large chunks, which tend to create gaps and uneven baking.
Toss the apples with 1/3 cup brown sugar, 1 teaspoon cinnamon, 1/4 teaspoon nutmeg, 1 tablespoon cornstarch, and 1 teaspoon lemon juice. Let this sit for 10 minutes – you’ll see the apples release juice and the mixture turn fragrant and glossy.
Step 3: Roll and Cut the Dough
Preheat your oven to 375°F. Roll one dough disc to about 1/8-inch thickness on a lightly floured surface. Use a 3.5-inch round cutter to punch out circles for the bases and a 2.5-inch cutter for the tops.
I’ve tested both muffin tins and a mini pie pan – a standard 12-cup muffin tin works perfectly here. Press each large circle gently into the cups, letting the edges come about 1/4 inch above the rim. The dough should feel slightly tacky but not sticky.
Step 4: Fill the Shells
Spoon the apple mixture into each shell, filling to just below the rim – about 2 tablespoons per cup. Don’t overfill or the juices will boil over onto the pan and burn.
In one test batch I packed in too much filling and ended up with erupting mini pies and a smoke-filled kitchen. A rounded tablespoon and a half is the sweet spot I keep going back to.
Step 5: Add the Tops and Seal
Lay a small dough circle over each filled shell. Press the edges together with your fingertips, then crimp with a fork for a tight seal. Cut 2-3 small slits in each top to let steam escape.
Brush each pie with egg wash – 1 egg beaten with 1 tablespoon milk – for that deep golden color. You’ll notice the surface turns slightly shiny after brushing, which tells you the coating is even.
Step 6: Bake Until Golden
Bake at 375°F for 22-25 minutes until the tops are deep golden brown and you can see the filling bubbling through the slits. The smell shifts from buttery pastry to caramelized apple right around the 20-minute mark – that’s your cue to start watching closely.
Let them cool in the pan for 10 minutes before removing. I learned the hard way that pulling them out too early causes the filling to run out. A thin offset spatula helps lift them out cleanly.
Quick Tips for the Best Mini Apple Pies
- Always use cold butter – warm butter absorbs into the flour and kills the flakiness
- Granny Smith apples hold their texture best; sweeter varieties like Fuji turn mushy
- Let the dough rest in the fridge for a full hour – rushing this causes shrinkage
- Don’t skip the cornstarch – it thickens the filling so it sets when cooled
- Cool for at least 10 minutes before lifting out of the pan
Apple Variety Comparison
| Apple Type | Flavor | Texture After Baking | Best For |
|---|---|---|---|
| Granny Smith | Tart | Firm, holds shape | Best overall choice |
| Honeycrisp | Sweet-tart | Semi-firm | Great flavor, slightly soft |
| Fuji | Very sweet | Soft, can get mushy | Mix with Granny Smith |
| Braeburn | Spiced, complex | Firm | Excellent substitute |
| Golden Delicious | Mild sweet | Soft | Avoid for mini pies |
What Kind of Apples Work Best for Mini Apple Pies?
Granny Smith is the go-to choice for most bakers, and after testing five apple varieties across multiple batches, I fully agree. Their firm texture holds up in high heat and their tartness balances the brown sugar filling without turning saccharine.
I tried Fuji apples in one batch hoping for a sweeter result. They released too much liquid and turned soft, making the filling watery and the crust soggy on the bottom. Granny Smith consistently gives you that perfect bite where the apple is tender but not falling apart.
A blend of Granny Smith and Honeycrisp is my personal favorite discovery. You get firm texture from the Granny Smith and a deeper natural sweetness from the Honeycrisp that reduces how much added sugar you need.
How Do You Keep Mini Pie Crusts from Getting Soggy?
The biggest culprit for soggy crusts is excess moisture from the filling. The cornstarch in the filling absorbs the juices as it bakes, so skipping it almost guarantees a wet bottom.
I also tested blind baking the shells for 5 minutes before adding filling. It helped slightly, but the bigger fix was getting the oven temperature right. At 350°F the crust cooked too slowly; at 375°F it sets quickly and forms a barrier before the juices fully release.
One more thing that made a real difference was chilling the assembled pies for 15 minutes in the fridge before baking. Cold dough going into a hot oven creates steam pockets faster, which is the whole secret to a flaky crust that doesn’t turn soft.
Can You Make Mini Apple Pies Ahead of Time?
Yes, and they actually taste better the next day once the filling has fully set and the flavors have melded. I’ve made them up to two days in advance and stored them covered at room temperature with no quality loss.
For longer storage, baked mini pies freeze well for up to 2 months. Wrap each individually in plastic wrap, then place in a zip-lock bag. Reheat from frozen at 350°F for 12-15 minutes.
You can also freeze the unbaked assembled pies. Pull them straight from the freezer to a 375°F oven and add 8-10 extra minutes to the bake time. I prefer this method because the crust comes out crisper than reheating already-baked ones.
How Do You Get Mini Pies Out of a Muffin Tin Without Breaking?
The biggest mistake I see is rushing this step. The filling is still liquid when the pies come out of the oven and needs at least 10 minutes to firm up before you touch them.
After testing a few release methods, I found that a thin offset spatula slid gently around the edge of each cup works best. Tilt slightly and lift – if you prepped the tin properly with butter or non-stick spray, they release cleanly.
I also tried lining cups with parchment strips as handles, which works well but adds prep time. For holidays when I’m making 3-4 dozen at a time, I stick with a well-greased tin and the offset spatula method – it’s faster and just as reliable.
Frequently Asked Questions
Q: Can I use store-bought pie crust for mini apple pies?
A: Yes, store-bought crust works fine and saves about 30 minutes. Roll it slightly thinner than it comes out of the package so it fits the muffin cups without being too thick and doughy.
Q: Why is my mini apple pie filling runny?
A: The most common cause is skipping the cornstarch or underbaking. Make sure you see the filling actively bubbling through the vents before pulling them out – that bubble tells you the starch has activated and the filling will set as it cools.
Q: Can I make mini apple pies without a muffin tin?
A: Yes – a mini pie pan or small tart molds work well. You can also fold the dough into free-form hand pie shapes and bake them flat on a parchment-lined sheet at 375°F for 20-22 minutes.