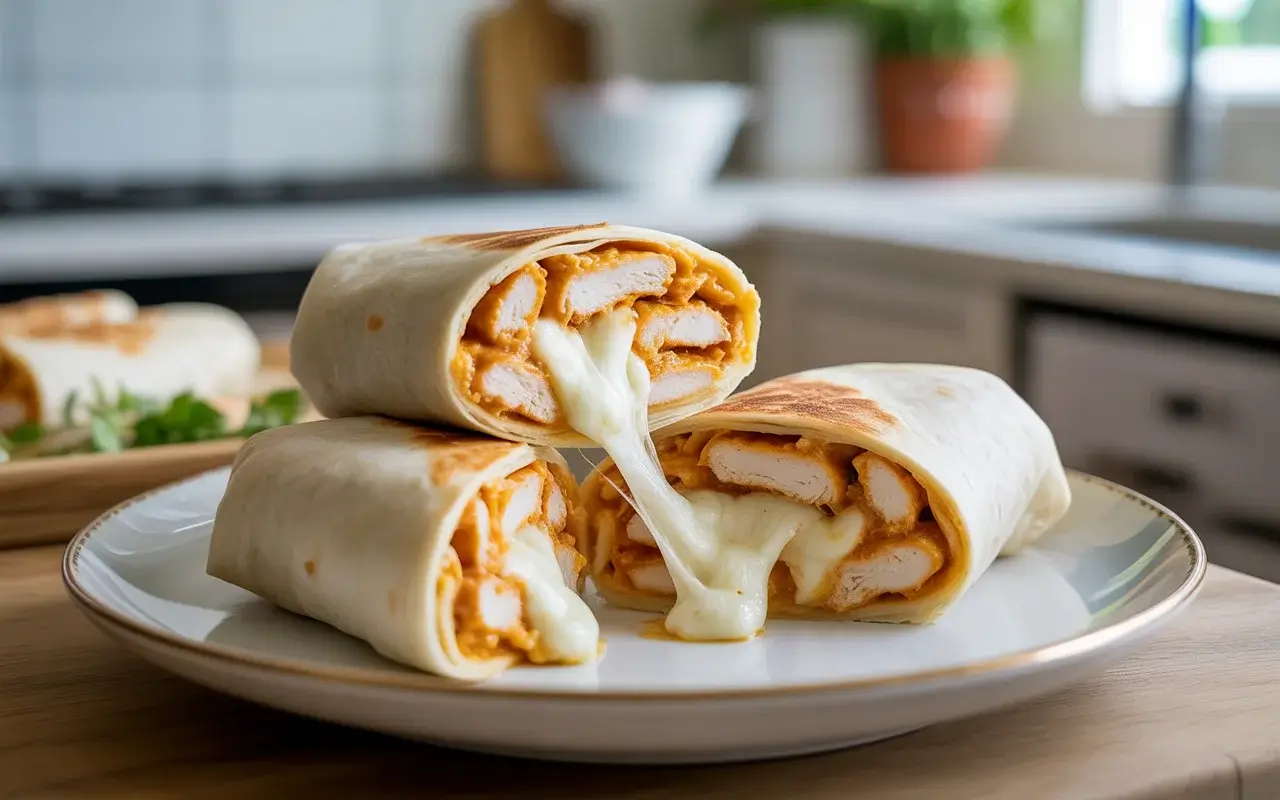
Cheesy Garlic Chicken Wraps Recipe
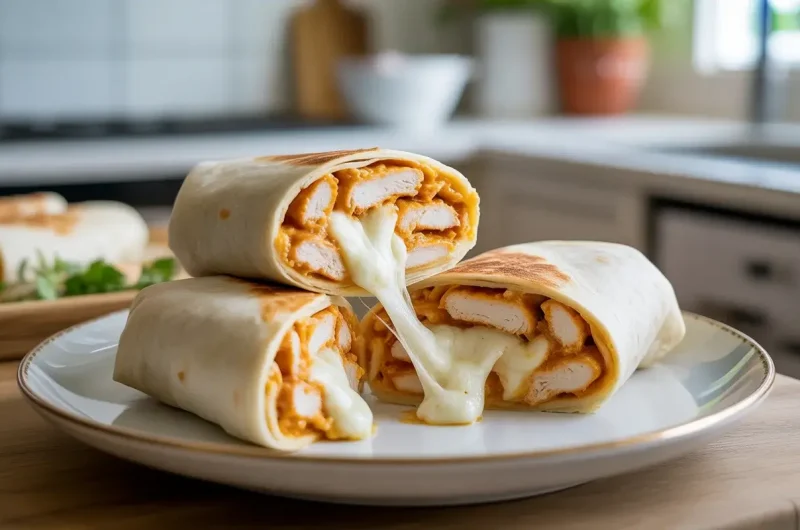
These cheesy garlic chicken wraps are the ultimate comfort food that comes together in under 30 minutes. They’re packed with juicy seasoned chicken, gooey melted cheese, and a flavor-packed garlic butter sauce that makes every bite irresistible.
Perfect for busy weeknights, meal prep, or when you’re craving something indulgent but don’t want to spend hours in the kitchen. The combination of warm tortillas, savory chicken, and that golden crispy exterior makes these wraps better than anything you’d order out.
Kids and adults love them equally, and you can easily customize the fillings based on what you have in your fridge. They’re also great for using up leftover rotisserie chicken.
Ingredients You’ll Need
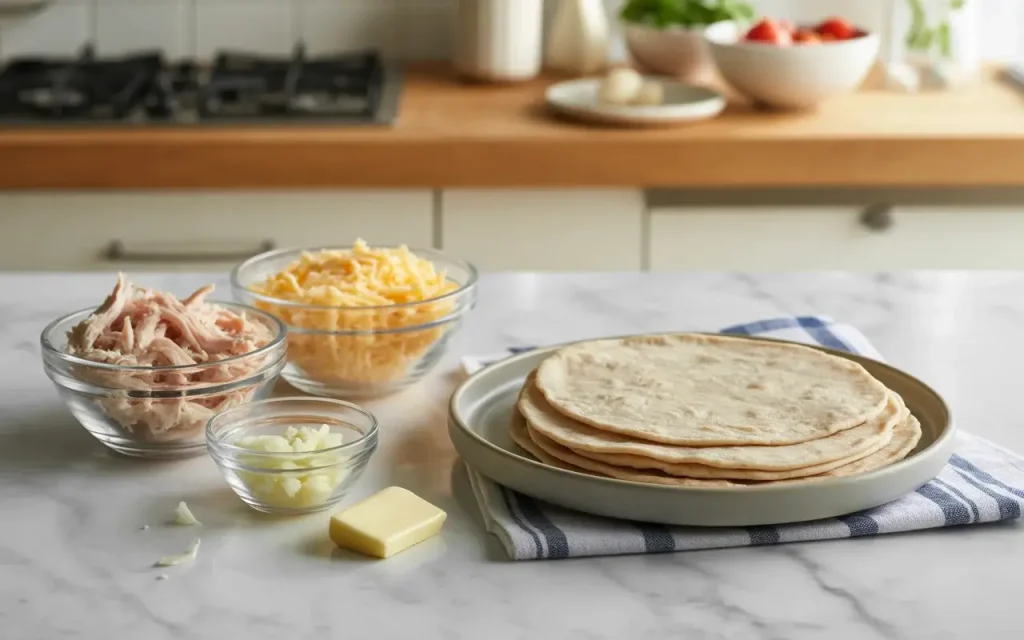
The ingredient list is simple and straightforward with items you likely already have on hand. You’ll need cooked chicken breast, shredded mozzarella and cheddar cheese, flour tortillas, and fresh garlic for that signature flavor.
For the garlic butter sauce, grab some melted butter, minced garlic, Italian seasoning, and a pinch of salt. This sauce is what takes these wraps from good to absolutely craveable.
Optional add-ins include diced tomatoes, fresh spinach, or sliced bell peppers if you want to sneak in some extra veggies. The beauty of this recipe is how adaptable it is to your preferences.
Check out our easy chicken seasoning blends for more flavor variations.
How to Make Garlic Butter Sauce
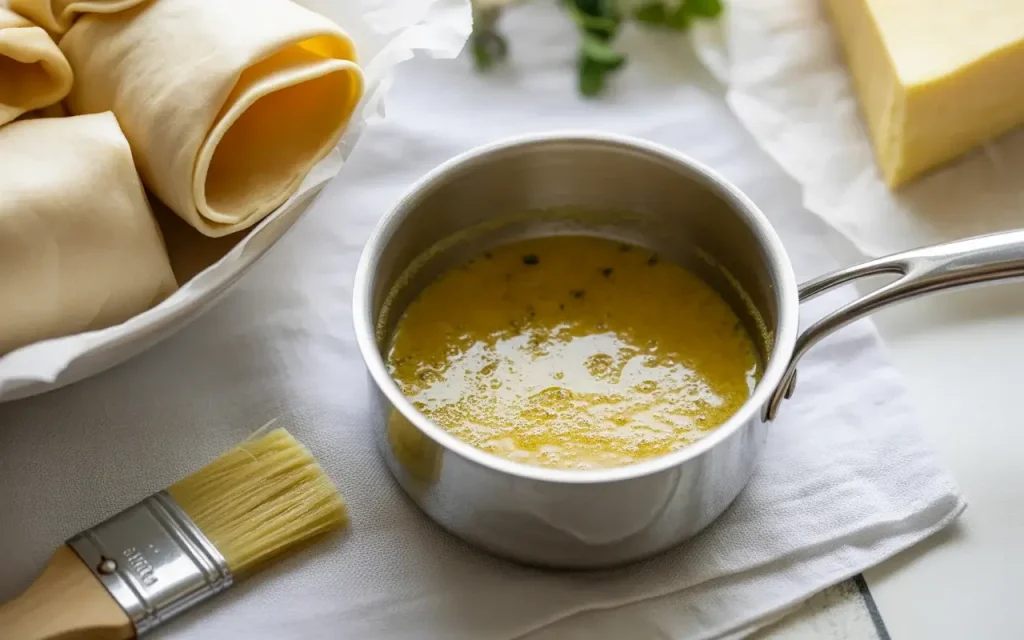
Start by melting butter in a small saucepan over low heat. Once melted, add freshly minced garlic and cook for about 1 minute until fragrant but not browned.
Stir in Italian seasoning and a pinch of salt, then remove from heat. This simple sauce is the secret weapon that gives these wraps their restaurant-quality flavor.
Learn proper: Peach Brie Sandwich
You can make extra garlic butter and brush it on the outside of the wraps before grilling for an even more indulgent golden crust. Store any leftover sauce in the fridge for up to a week.
Cheesy Garlic Chicken Wraps Recipe
Course: Lunch, DinnerCuisine: AmericanDifficulty: Easy4
servings10
minutes10
20
minutesQuick and easy cheesy garlic chicken wraps with tender seasoned chicken, melted cheese, and garlic butter wrapped in a crispy golden tortilla. Perfect for lunch or dinner!
Ingredients
2 cups cooked chicken breast, diced or shredded
4 large flour tortillas (10 inch)
2 cups shredded cheese (mozzarella and cheddar blend)
4 tablespoons butter
3 cloves garlic, minced
1 teaspoon Italian seasoning
1/2 teaspoon salt
1/4 teaspoon black pepper
1/4 teaspoon garlic powder
Optional: diced tomatoes, spinach, bell peppers
Directions
- Melt butter in a small saucepan over low heat. Add minced garlic and cook for 1 minute until fragrant. Stir in Italian seasoning and salt. Remove from heat.
- If using raw chicken, season with salt, pepper, and garlic powder. Cook until done (165°F internal temp), then dice. Toss chicken with 2 tablespoons of garlic butter.
- Lay tortilla flat. Brush center with garlic butter. Add 1/4 cup cheese, 1/2 cup chicken, then another 1/4 cup cheese on top.
- Fold in sides of tortilla, then roll tightly from bottom to top.
- Heat skillet over medium heat. Cook wrap seam-side down for 2 to 3 minutes until golden. Flip and cook another 2 to 3 minutes.
- Let rest 1 minute, cut in half, and serve hot.
Notes
- Storage: Wrap cooled wraps in foil and refrigerate up to 3 days. Reheat in skillet or oven at 350°F for 10 minutes.
Make Ahead: Assemble wraps and refrigerate uncooked for up to 24 hours. Cook fresh when ready to eat.
Substitutions: Use rotisserie chicken to save time. Swap flour tortillas for whole wheat or low-carb versions. Try pepper jack cheese for a spicy kick.
Serving Suggestions: Pair with sour cream, salsa, guacamole, or ranch dressing for dipping.
Nutrition Information (Per Wrap)
| Nutrient | Amount |
|---|---|
| Calories | 485 |
| Total Fat | 26g |
| Saturated Fat | 14g |
| Cholesterol | 105mg |
| Sodium | 780mg |
| Total Carbohydrates | 32g |
| Dietary Fiber | 2g |
| Sugars | 2g |
| Protein | 32g |
Assembly Tips
Lay your tortilla flat and brush a generous amount of garlic butter across the center. Add a layer of shredded cheese first, this helps everything stick together and creates those beautiful cheese pulls.
Top with seasoned chicken pieces, then add another layer of cheese on top. Don’t overfill or the wrap will be difficult to fold and may tear during cooking.
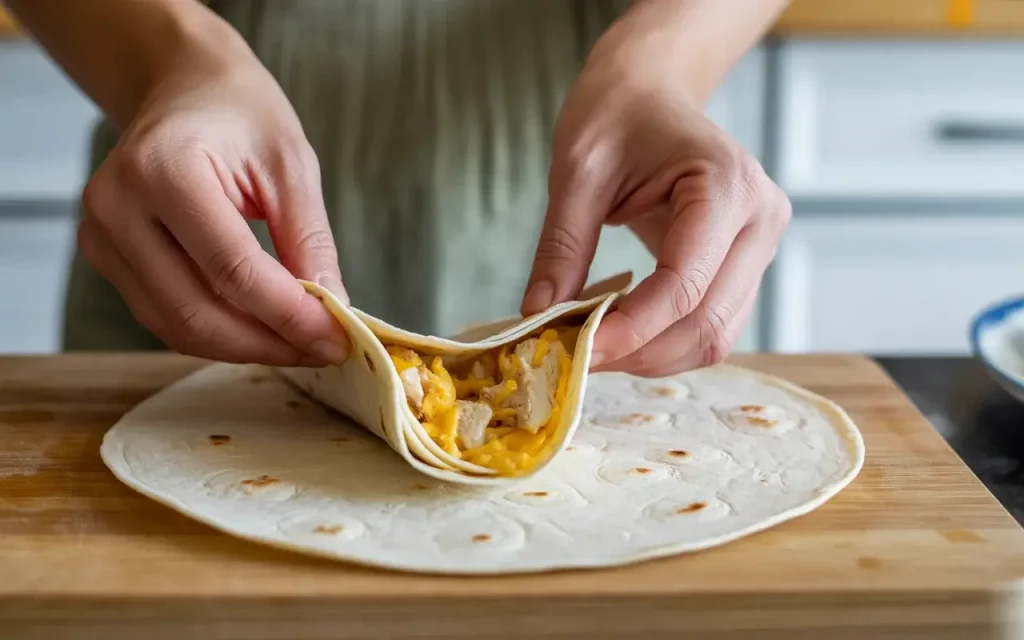
Fold in the sides first, then roll tightly from bottom to top like a burrito. The tighter you roll, the better they’ll hold together when cooking.
Cooking Methods

These wraps work beautifully in a skillet, on a griddle, or even in a panini press. For stovetop cooking, heat a large skillet over medium heat and add a small pat of butter or cooking spray.
Place wraps seam-side down first and cook for 2 to 3 minutes until golden brown and crispy. Flip carefully and cook the other side until the cheese is completely melted and gooey inside.
For extra garlic flavor, brush the outside of each wrap with remaining garlic butter before cooking. Press down gently with a spatula while cooking to help the cheese melt evenly throughout.
Step-by-Step Instructions
Step 1: Prepare the Garlic Butter
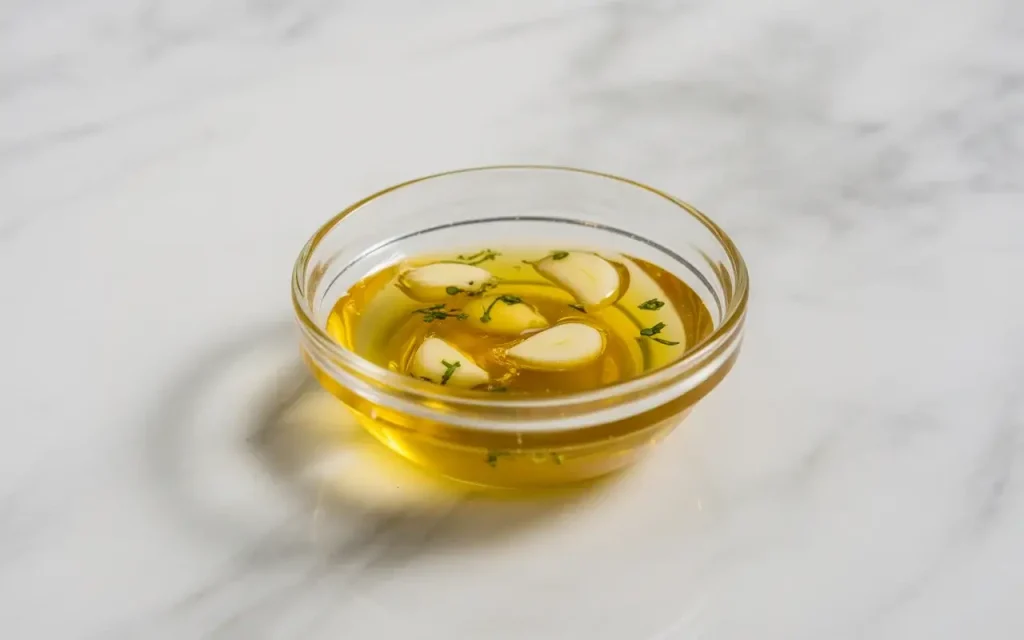
Melt 4 tablespoons of butter in a small saucepan over low heat. Add 3 cloves of minced garlic and cook gently for 60 seconds, stirring constantly to prevent burning. The garlic should become fragrant and slightly softened but not browned.
Remove from heat and stir in 1 teaspoon of Italian seasoning and a pinch of salt. Set this garlic butter aside, you’ll use it for both the filling and brushing on the wraps. This sauce is what gives these wraps their signature flavor that keeps everyone coming back for more.
Step 2: Season and Prepare the Chicken
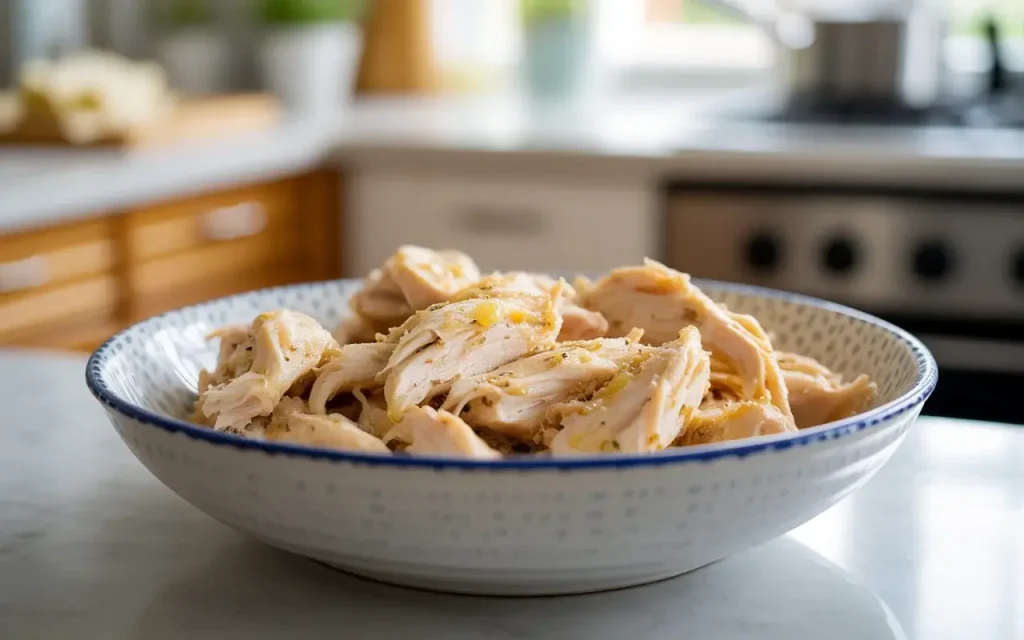
If using raw chicken breast, season with salt, pepper, and garlic powder, then cook in a skillet until fully cooked through and no longer pink inside (internal temperature of 165°F). Let it rest for 5 minutes, then dice or shred into bite-sized pieces.
If you’re using rotisserie chicken or leftover cooked chicken, simply shred or dice it into small pieces. Toss the chicken with 2 tablespoons of your prepared garlic butter to coat it evenly. This ensures every bite is packed with flavor and the chicken stays moist inside the wrap.
Step 3: Assemble the Wraps
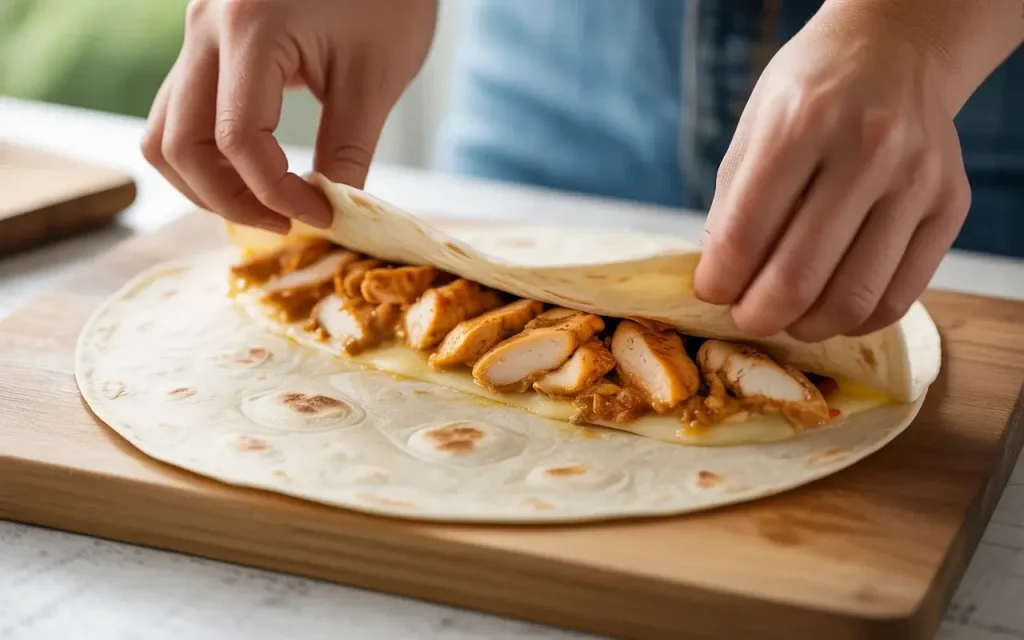
Lay one large flour tortilla flat on a clean work surface. Brush about 1 tablespoon of garlic butter across the center of the tortilla, leaving the edges clear. Sprinkle a handful of shredded mozzarella and cheddar cheese blend (about 1/4 cup) over the buttered area.
Add approximately 1/2 cup of the prepared chicken on top of the cheese layer, then top with another 1/4 cup of cheese. Fold the left and right sides of the tortilla inward, then roll tightly from the bottom up, keeping everything tucked in as you go. The double cheese layer helps seal everything together and creates amazing cheese pulls when you bite in.
Step 4: Cook Until Golden and Crispy
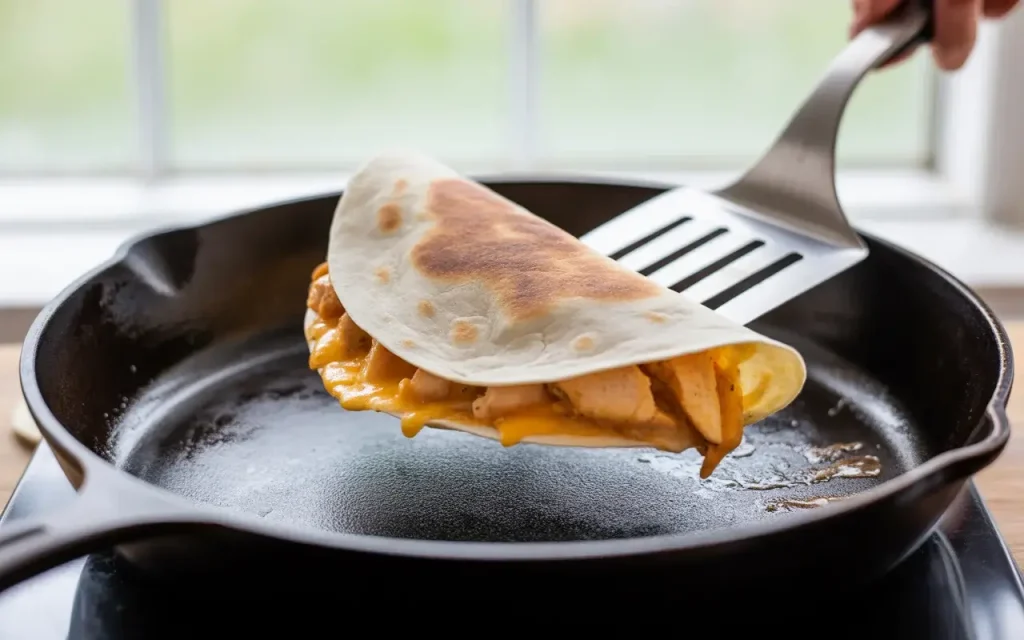
Heat a large skillet or griddle over medium heat and add 1 teaspoon of butter or brush with cooking spray. Place the assembled wrap seam-side down in the skillet and cook for 2 to 3 minutes without moving it. You should see the bottom turn golden brown and crispy.
Carefully flip the wrap using a spatula and cook the other side for another 2 to 3 minutes. Press down gently with the spatula while cooking to help the cheese melt evenly and the wrap compress slightly. The wrap is done when both sides are golden brown and you can see melted cheese starting to peek out from the edges. Remove from heat and let rest for 1 minute before cutting.
Step 5: Serve and Enjoy
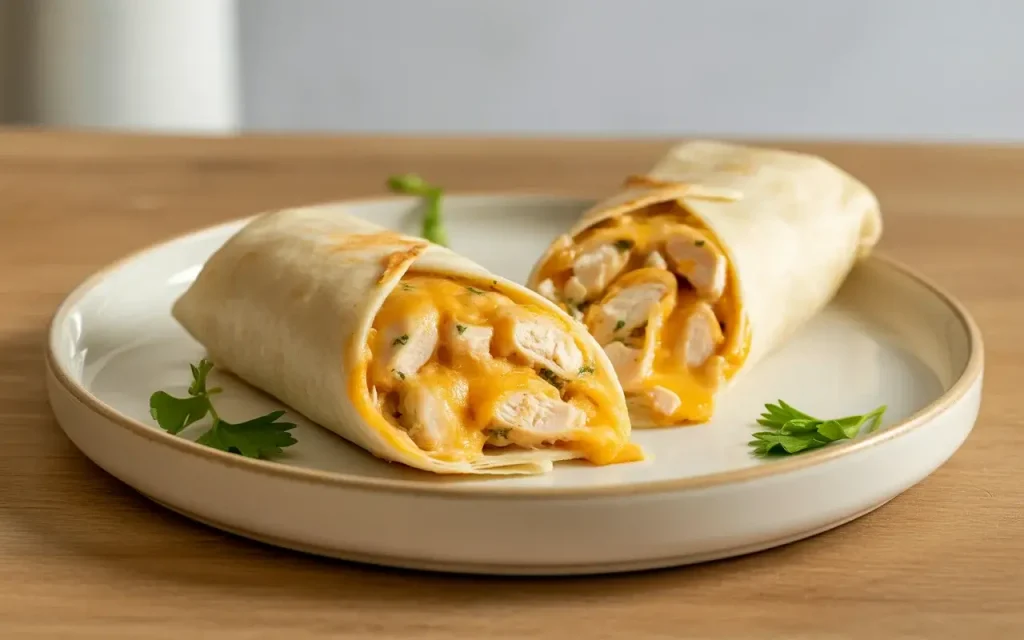
Transfer the cooked wrap to a cutting board and let it rest for about 1 minute, this helps the cheese set slightly and prevents it from all oozing out when you cut. Using a sharp knife, cut the wrap in half diagonally to show off those beautiful layers and melted cheese.
Serve immediately while hot and the cheese is at its stretchiest. These wraps pair perfectly with sour cream, salsa, ranch dressing, or a simple side salad. For extra indulgence, brush any remaining garlic butter on top of the wraps right after cutting. They’re best enjoyed fresh but can be wrapped in foil and kept warm in a low oven for up to 30 minutes if needed.
Frequently Asked Questions
Can I use rotisserie chicken for this recipe?
Yes, rotisserie chicken works perfectly and saves time. You’ll need about 2 cups of shredded meat. Just toss it with the garlic butter and proceed with the recipe as written.
How do I prevent the tortilla from tearing?
Warm your tortillas slightly before assembling (10 to 15 seconds in the microwave) to make them more pliable. Also, don’t overfill the wraps and make sure to fold tightly but gently.
Can I make these wraps in an air fryer?
Absolutely. Brush the outside of assembled wraps with garlic butter, place seam-side down in the air fryer basket, and cook at 380°F for 5 to 6 minutes, flipping halfway through, until golden and crispy.