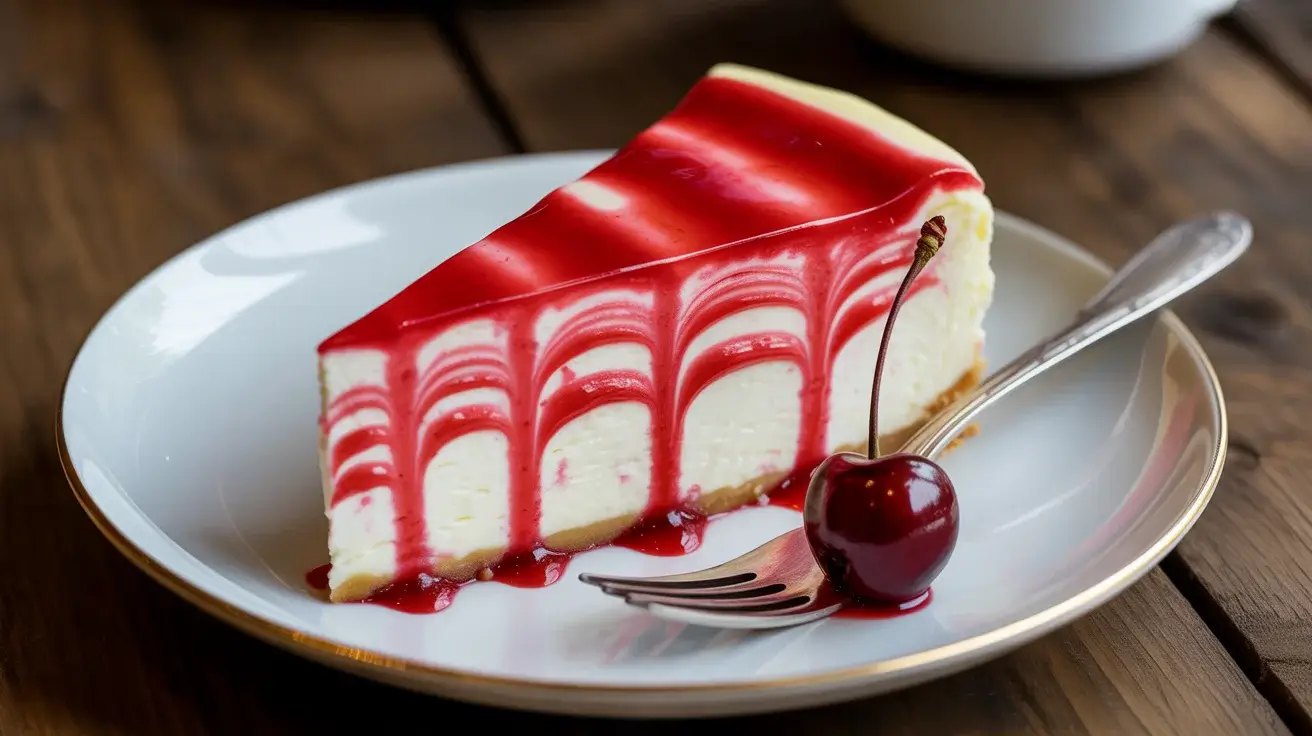
Cherry Ripple Cheesecake: The Ultimate Creamy Dessert
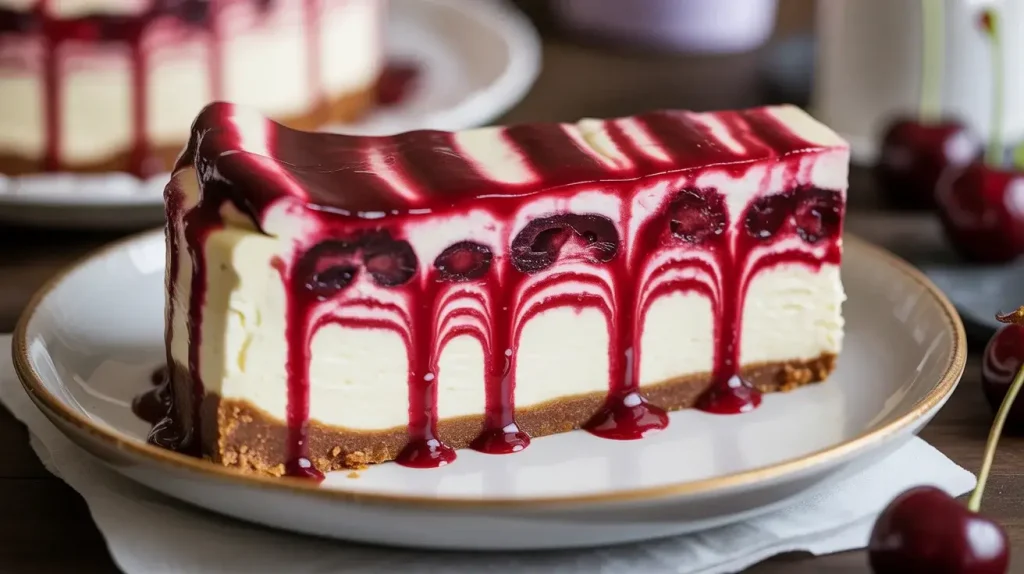
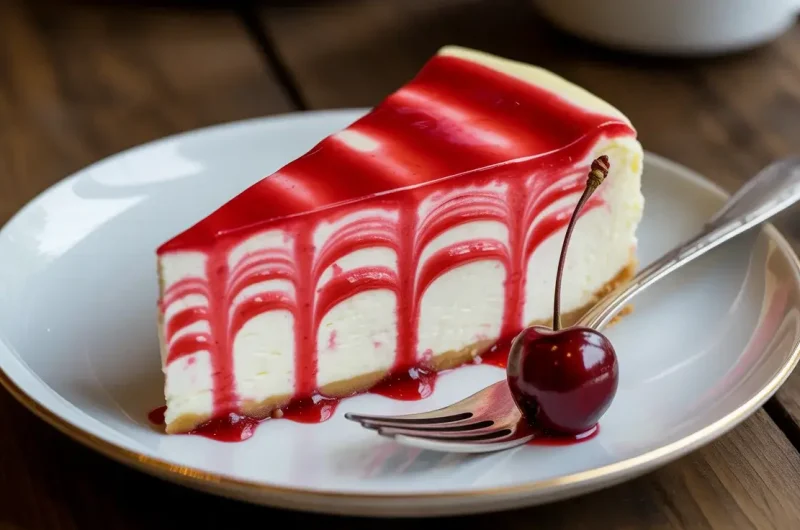
This cherry ripple cheesecake combines velvety cream cheese filling with swirls of sweet cherry goodness. The gorgeous marbled pattern makes it perfect for special occasions or whenever you’re craving something indulgent.
With its buttery graham cracker crust and luscious cherry ribbons, this dessert is surprisingly simple to make. The no-bake filling sets beautifully in the fridge, creating the perfect slice every time.
Why You’ll Love This Recipe
This cherry ripple cheesecake delivers bakery-quality results without the fuss of a water bath. The cream cheese filling is silky smooth and perfectly balanced with tangy-sweet cherry ripples.
The best part? Most of the work is done in advance since this cheesecake needs to chill overnight. It’s an ideal make-ahead dessert that actually improves with time.
Your guests will be amazed by the stunning presentation and rich, creamy texture that melts in your mouth.
Key Ingredients
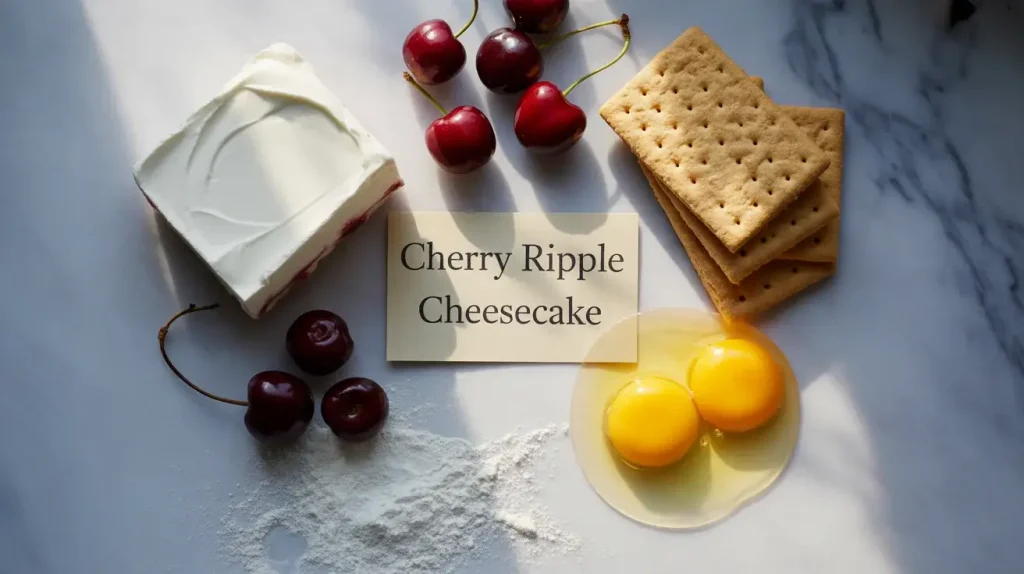
The secret to this cherry ripple cheesecake lies in using full-fat cream cheese at room temperature. This ensures a completely smooth filling without any lumps or air bubbles.
Fresh or frozen cherries work equally well for the ripple sauce. I like to use a mix of sweet and tart cherries for the perfect flavor balance.
Graham crackers create the classic cheesecake base, but you can substitute them with vanilla wafers or even chocolate cookies for variation.
Read More: Mystical Gender Cake: A Magical Color-Reveal Dessert
Equipment You’ll Need
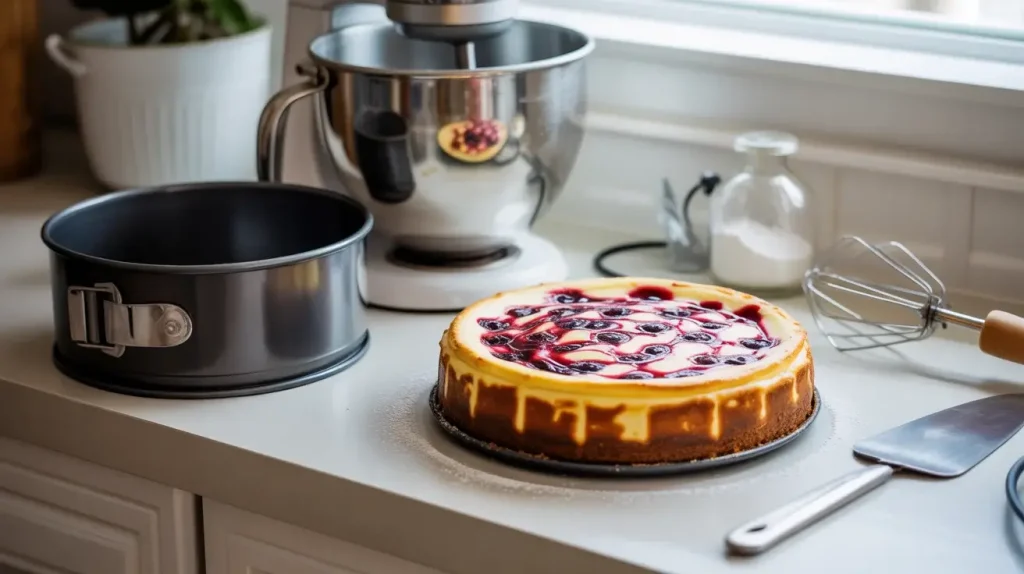
A 9-inch springform pan is essential for easy removal and clean slices. Make sure to line the bottom with parchment paper for foolproof release.
An electric mixer (stand or hand) will give you the smoothest filling. Mix on medium speed to avoid incorporating too much air.
A fine-mesh sieve helps strain the cherry mixture for the silkiest ripple sauce. This step ensures no chunks interfere with the beautiful swirl pattern.
Making the Cherry Ripple
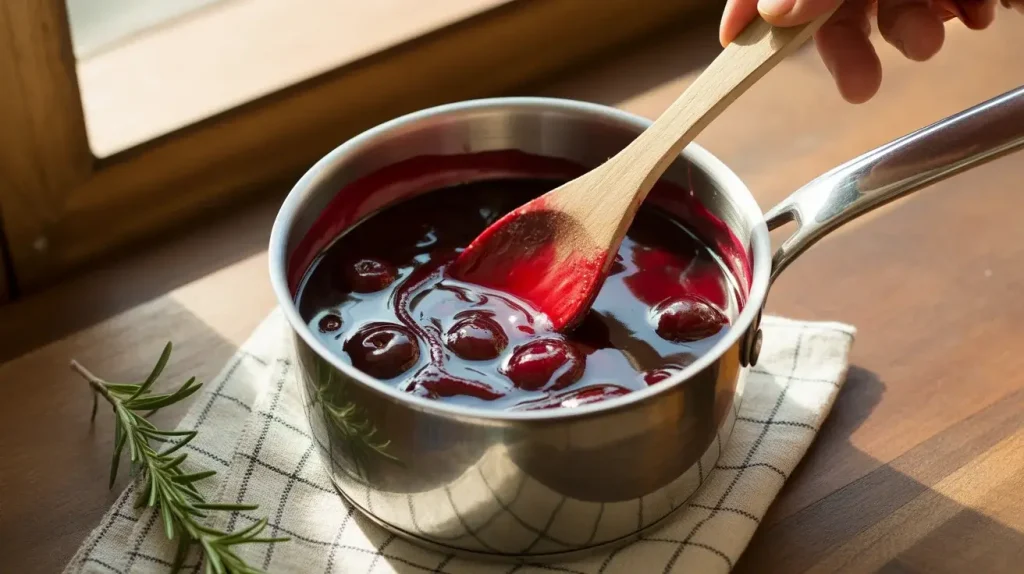
Cook fresh cherries with sugar and a splash of lemon juice until they break down and thicken. This concentrated cherry sauce creates intense flavor pockets throughout the cheesecake.
Strain the mixture to remove any remaining fruit pieces, leaving you with a smooth, pourable sauce. The consistency should coat a spoon but still flow easily for swirling.
Cool the cherry ripple completely before adding it to the cheesecake batter. Warm sauce will melt the cream cheese and ruin the beautiful marbled effect.
Cherry Ripple Cheesecake: The Ultimate Creamy Dessert
Course: DessertCuisine: AmericanDifficulty: Easy12
30
minutes6
hours6
hours30
minutesEasy cherry ripple cheesecake recipe with creamy no-bake filling and beautiful cherry swirls. Perfect make-ahead dessert ready in 30 minutes!
Ingredients
- For the Crust:
1½ cups graham cracker crumbs
⅓ cup melted butter
¼ cup granulated sugar
Pinch of salt
- For the Cherry Ripple:
1 cup fresh or frozen cherries, pitted
⅓ cup granulated sugar
1 tablespoon lemon juice
1 teaspoon cornstarch
- For the Filling:
24 oz cream cheese, room temperature
¾ cup powdered sugar
1 teaspoon vanilla extract
1 cup heavy whipping cream
2 tablespoons gelatin powder
3 tablespoons warm water
Directions
- Prepare crust: Mix graham cracker crumbs, melted butter, sugar, and salt. Press into bottom of 9-inch springform pan. Refrigerate while making filling.
- Make cherry ripple: Combine cherries, sugar, and lemon juice in saucepan. Cook 8-10 minutes until thick. Strain through fine-mesh sieve, pressing solids. Cool completely.
- Prepare gelatin: Sprinkle gelatin over warm water, let bloom 5 minutes, then stir until dissolved.
- Make filling: Beat cream cheese until smooth. Add powdered sugar and vanilla, mix until combined. In separate bowl, whip heavy cream to soft peaks.
- Combine: Fold whipped cream into cream cheese mixture. Add dissolved gelatin and mix gently until just combined.
- Assemble: Pour half the filling over crust. Drizzle half the cherry ripple and gently swirl with knife. Repeat with remaining filling and cherry sauce.
- Chill: Refrigerate at least 6 hours or overnight until completely set. Run knife around edges before releasing from pan.
Notes
- Make sure cream cheese is fully softened for the smoothest texture
Don’t overmix the filling to avoid incorporating air bubbles
Cherry ripple can be made 2 days ahead and stored in refrigerator
Cheesecake keeps covered in fridge for up to 5 days
| Nutrient | Per Serving |
|---|---|
| Calories | 433 kcal |
| Total Fat | 29 g |
| Sugars | 28 g |
| Protein | 7 g |
| Dietary Fiber | 1 g |
Tips for Perfect Swirls
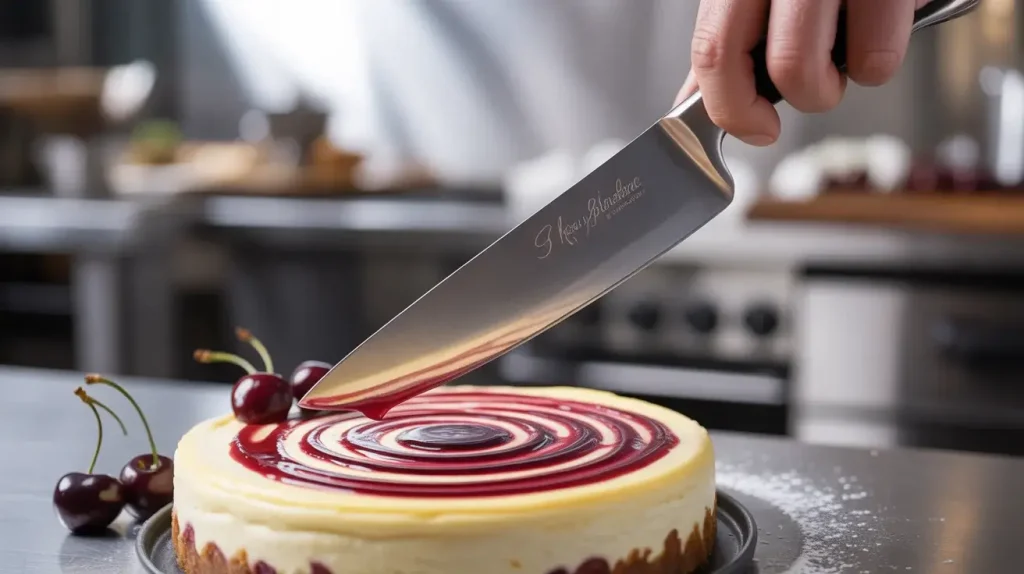
The key to gorgeous cherry ripples is technique and temperature. Drop spoonfuls of cooled cherry sauce over the cheesecake filling, then use a knife tip to create figure-8 patterns.
Work quickly but gently to avoid deflating the airy cream cheese mixture. Less is more when it comes to swirling – over-mixing will muddy the colors.
For extra-defined swirls, chill the first layer for 30 minutes before adding the second layer and more cherry sauce.
Storage and Serving
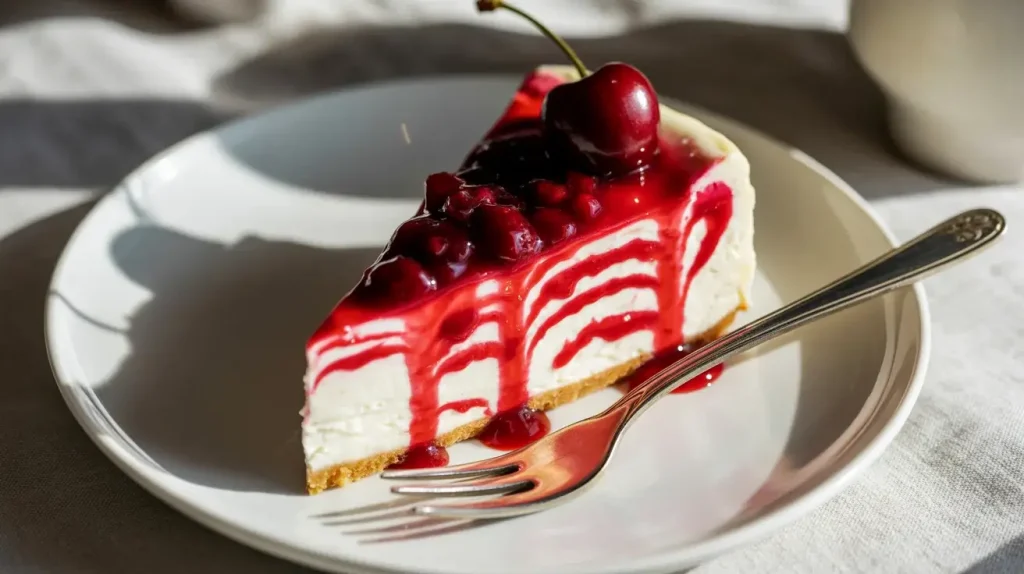
This cherry ripple cheesecake tastes even better after sitting overnight in the refrigerator. The flavors meld together beautifully and the texture becomes perfectly firm.
Store covered for up to 5 days in the fridge. For the cleanest slices, dip your knife in warm water and wipe clean between cuts.
Let the cheesecake sit at room temperature for 10-15 minutes before serving for the creamiest texture. Garnish with fresh cherries or whipped cream if desired.
Variations to Try
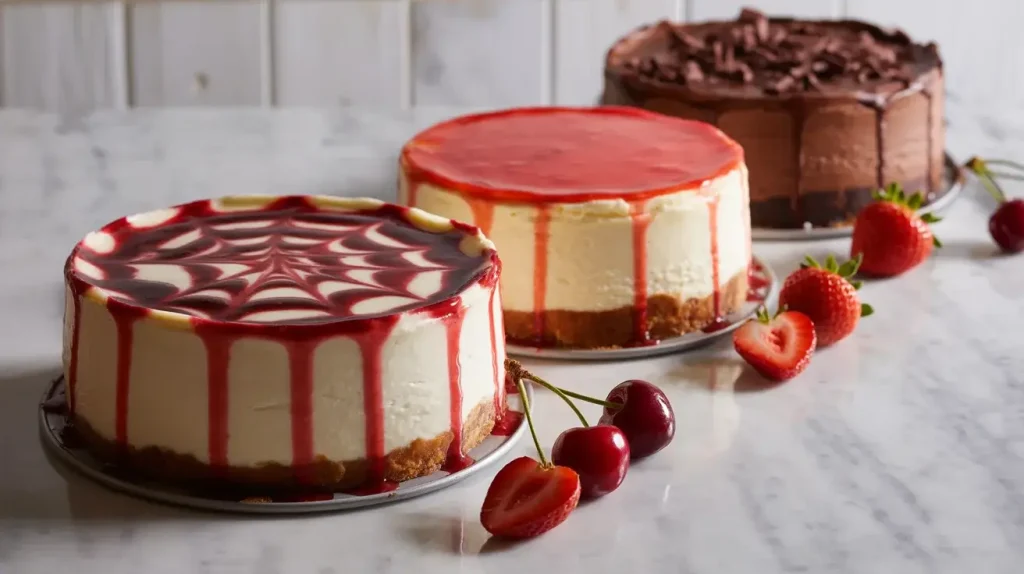
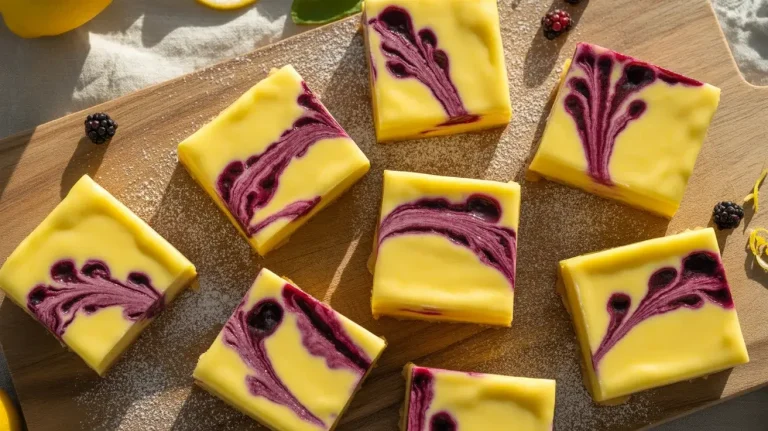
Transform this cherry ripple cheesecake by swapping the cherry sauce for strawberry, blueberry, or mixed berry. The technique stays exactly the same.
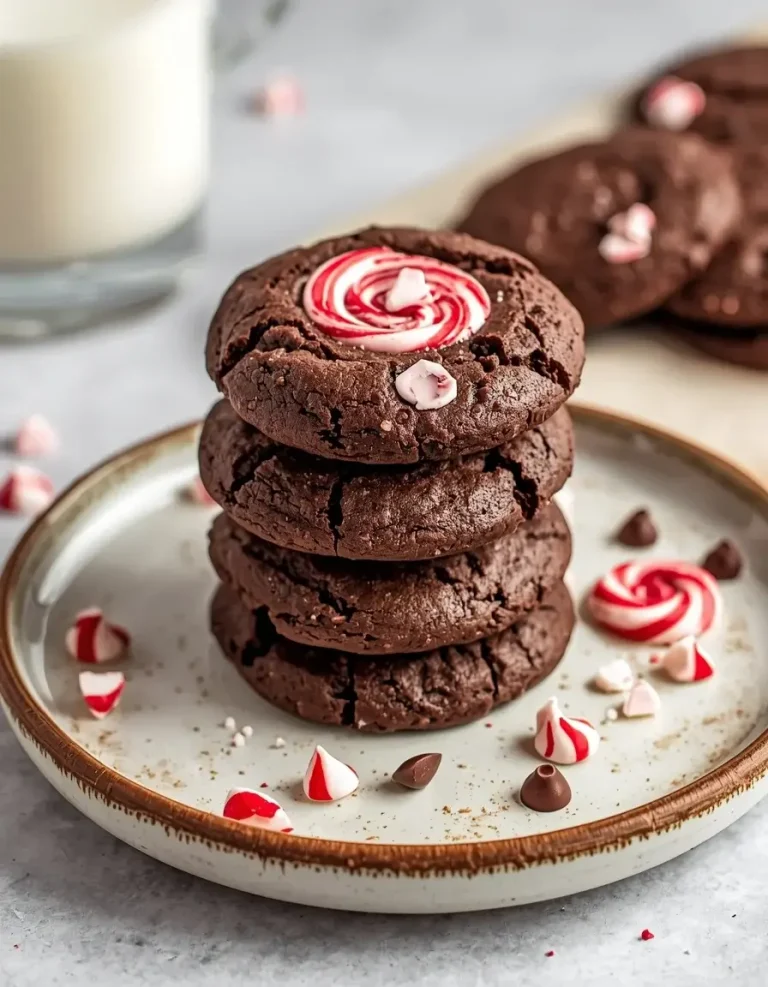
For chocolate lovers, add 2 tablespoons of cocoa powder to the cream cheese filling and use chocolate cookie crumbs for the crust.
Make individual portions by dividing the recipe between 6-8 mason jars or ramekins. They’re perfect for parties and portion control.
Frequently Asked Questions
Q: Can I use canned cherries instead of fresh?
A: Yes! Drain canned cherries well and reduce the sugar in the ripple sauce to ¼ cup since canned cherries are already sweetened. The texture will be just as delicious.
Q: Why didn’t my cheesecake set properly?
A: Make sure your gelatin fully dissolved and your cream cheese was at room temperature. If it’s still soft after overnight chilling, give it another 12-24 hours in the fridge.
Q: Can I freeze this cherry ripple cheesecake?
A: Absolutely! Wrap tightly and freeze for up to 3 months. Thaw overnight in the refrigerator before serving. The texture may be slightly denser but still delicious.