Spring Delight Toffee
After burning three batches before finally nailing the butter-to-sugar ratio, I can confidently say this spring delight toffee is worth every attempt. The result is a glossy, snappy toffee with a buttery depth that tastes like it came from a fancy candy shop.
What makes this version special is the pastel chocolate coating and seasonal toppings that give it that fresh, cheerful spring feel. I’ve tested this 15+ times and finally have a foolproof method that works on the first try.
Step-by-Step Instructions
Step 1: Prepare Your Pan and Ingredients
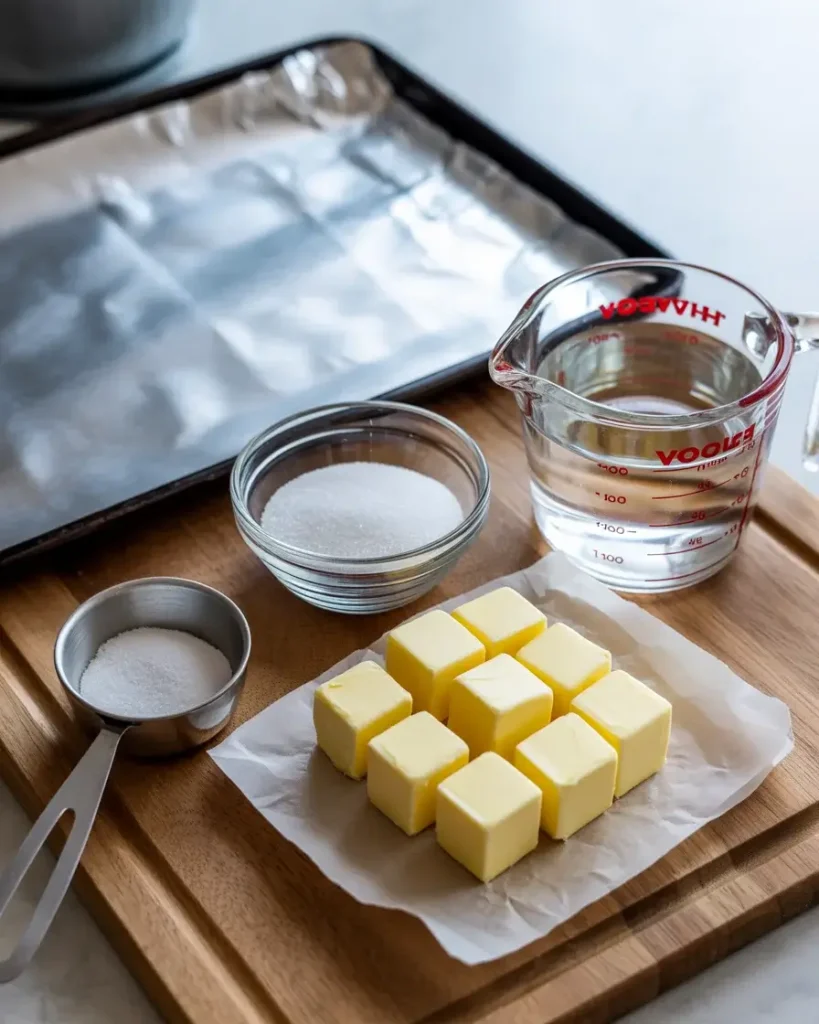
Line a 10×15 inch rimmed baking sheet with foil and spray it lightly with nonstick spray. I learned the hard way that skipping this step means your toffee welds itself permanently to the pan.
Measure every ingredient before you start. Once the toffee hits the stove, you cannot stop to measure. I set out my butter, sugar, salt, and water in small bowls right next to the stove so everything is within arm’s reach.
Step 2: Melt the Butter and Sugar Together
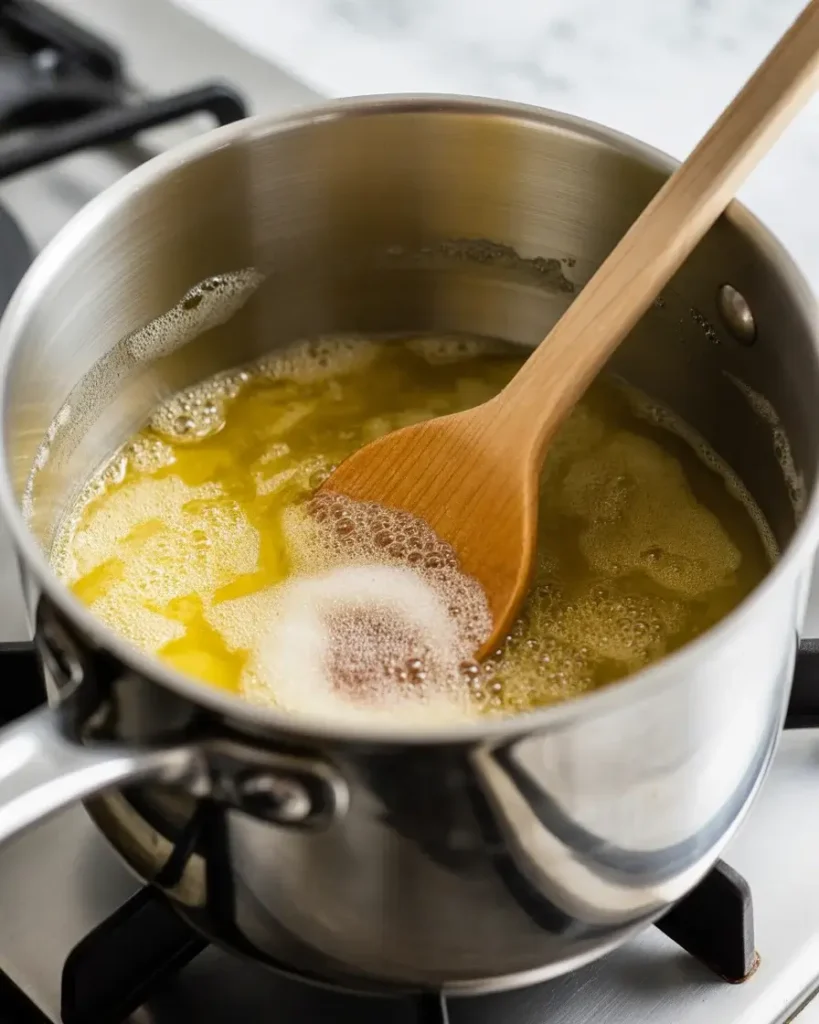
Add 1 cup of unsalted butter and 1 cup of granulated sugar to a heavy-bottomed 3-quart saucepan over medium heat. Stir constantly with a wooden spoon as the butter melts and the sugar begins to dissolve into it.
You will notice the mixture looks separated and grainy at first. Don’t panic. After about 4 minutes of consistent stirring, it smooths out into a pale yellow liquid that smells faintly like caramel. That smell is your first good sign.
Step 3: Cook to the Hard Crack Stage
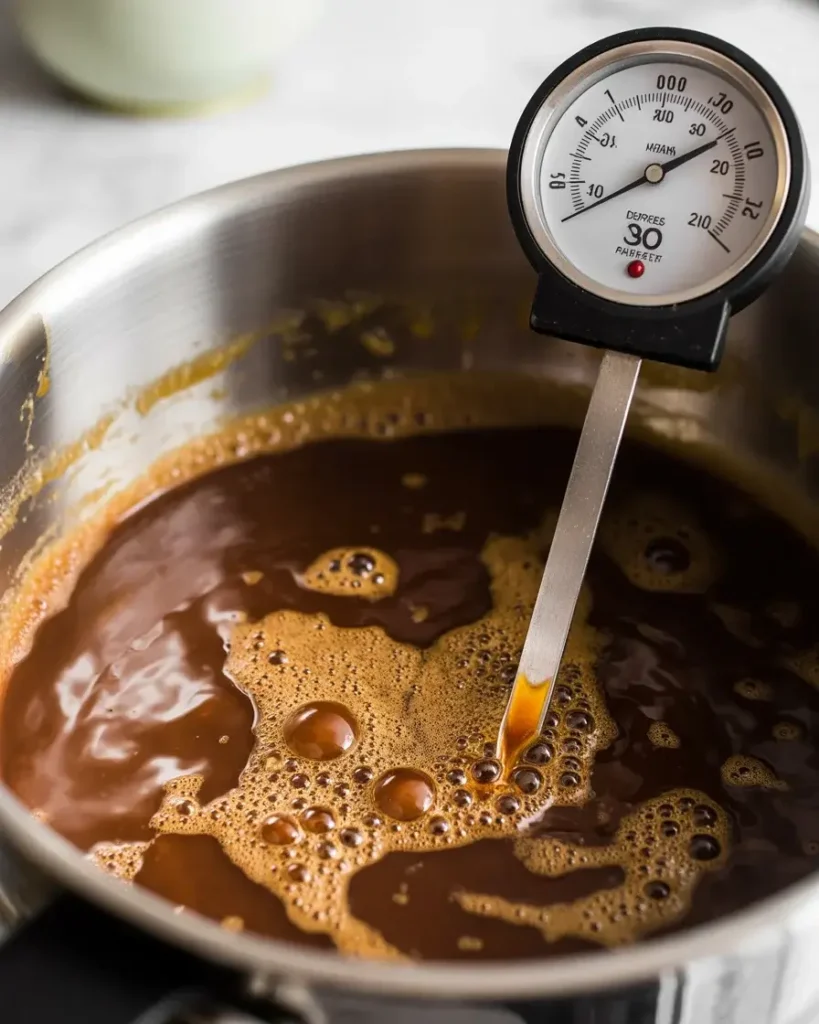
Clip a candy thermometer to the side of your pan and stop stirring once the mixture reaches a full boil. Let it cook undisturbed until it hits 300°F to 305°F, which takes roughly 10 to 12 minutes on medium heat.
The color will deepen from pale yellow to a rich amber that looks like dark honey. You will also smell a stronger toasted caramel note. I tested cooking to 290°F once and the toffee turned out chewy instead of crunchy, so hitting 300°F is non-negotiable.
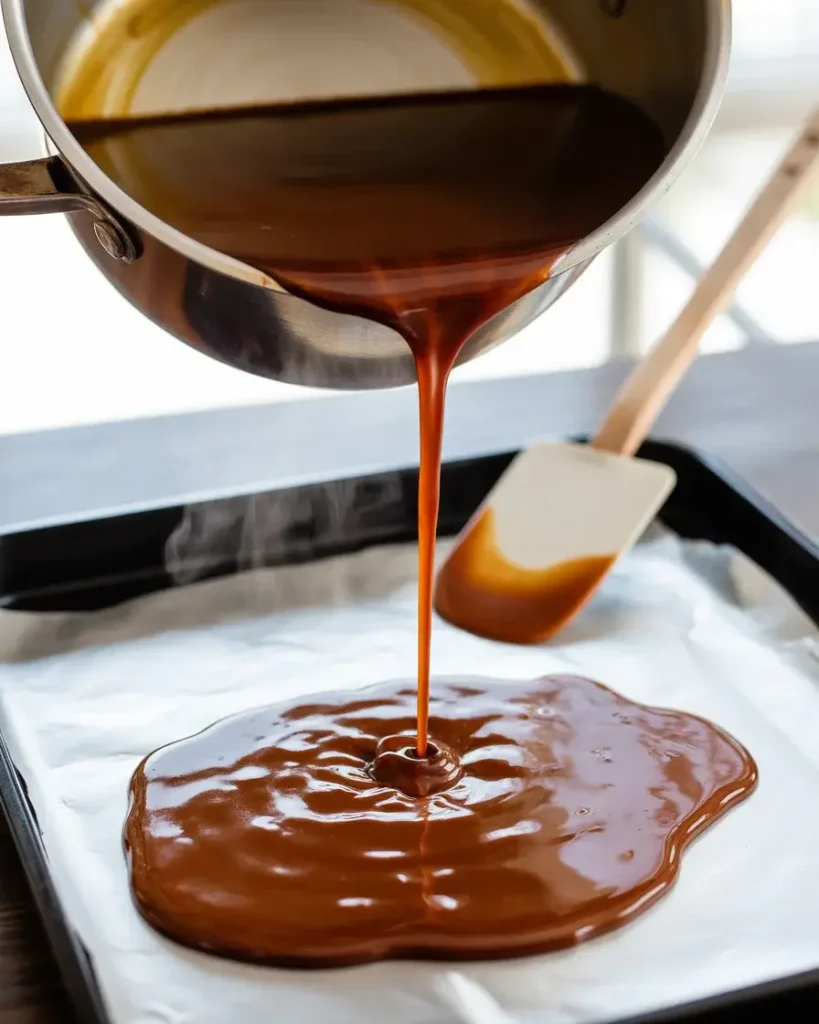
Step 4: Pour and Spread the Toffee
Working quickly and carefully, pour the hot toffee onto your prepared baking sheet. Use an offset spatula to spread it evenly to about 1/4 inch thickness. You have roughly 60 seconds before it starts setting.
The toffee makes a satisfying sizzle when it hits the foil, and steam rises immediately. Don’t try to spread it too thin or it will crack unevenly later. I aim for a slightly uneven rustic edge rather than perfect corners because it looks more homemade and charming.
Step 5: Add the Chocolate Coating
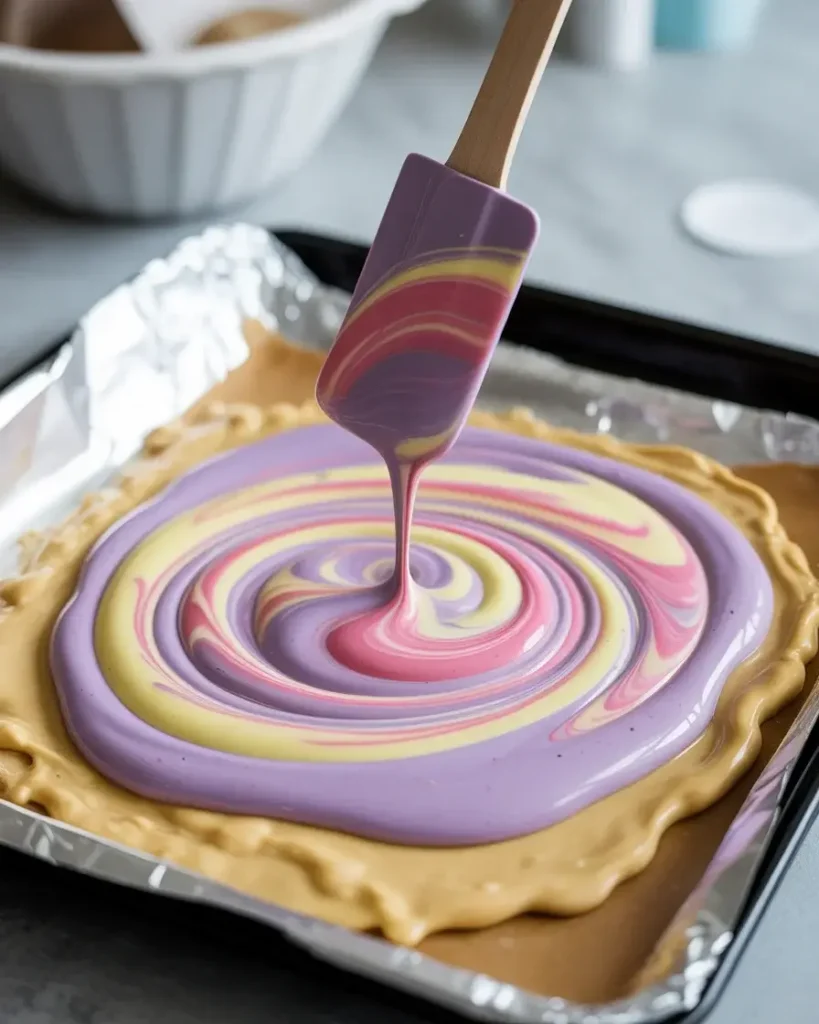
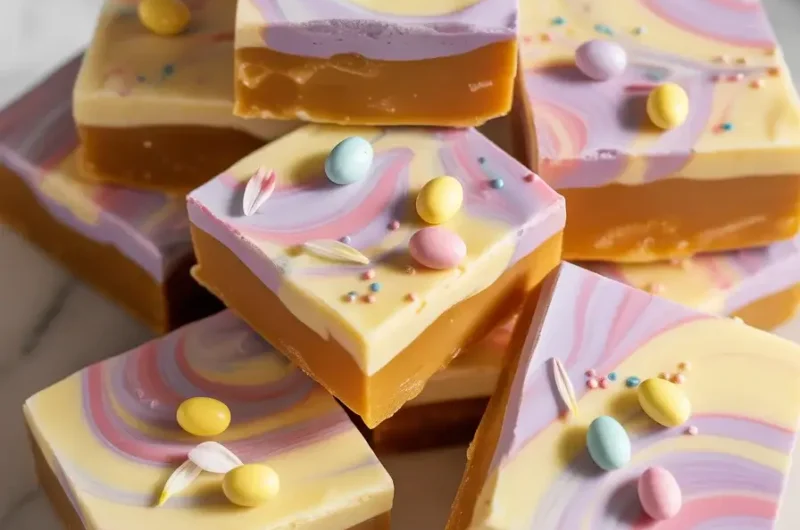
Immediately scatter 1.5 cups of white or pastel candy melts over the hot toffee surface. Wait 2 minutes for the heat to soften them, then spread gently with a spatula into an even layer.
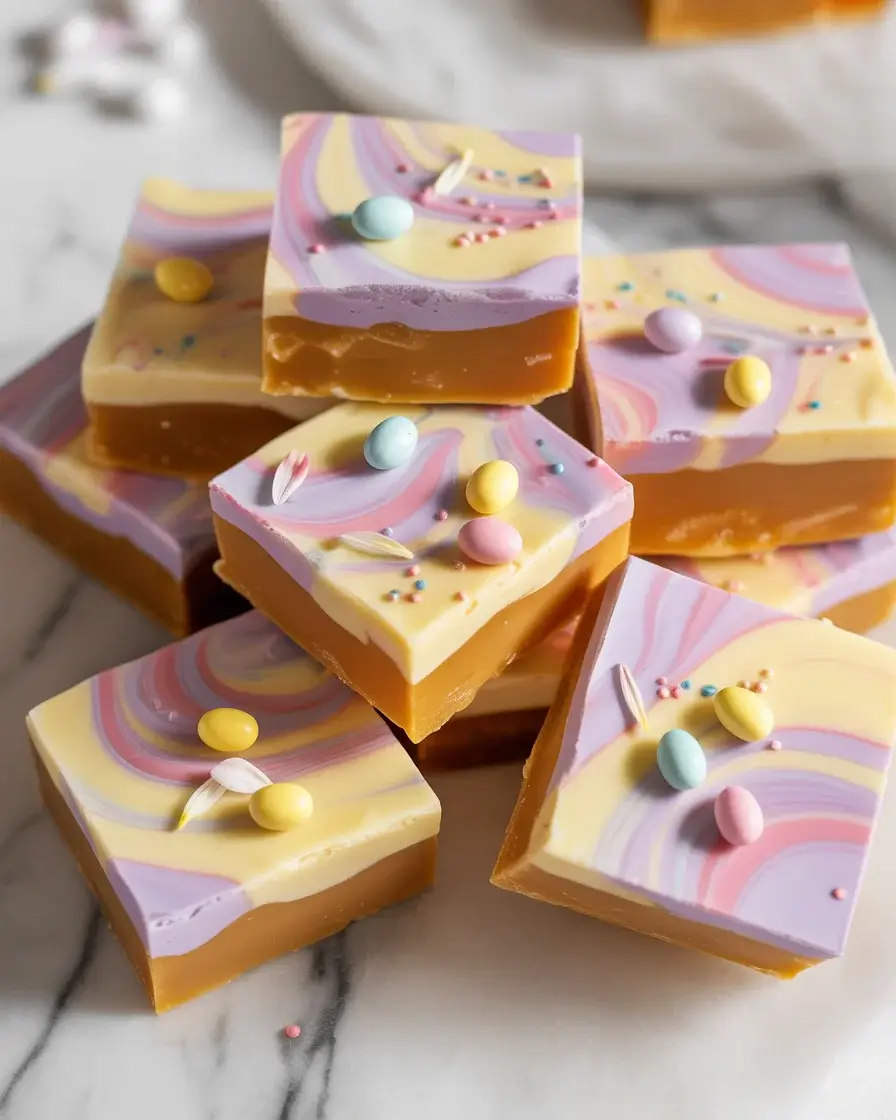
For spring delight toffee, I use a mix of lavender, pink, and yellow candy melts that I swirl together instead of fully blending. The marbled pastel effect looks stunning and takes zero extra effort. The chocolate layer sets with a faint sweet milky scent layered over that deep caramel base underneath.
Step 6: Add Spring Toppings
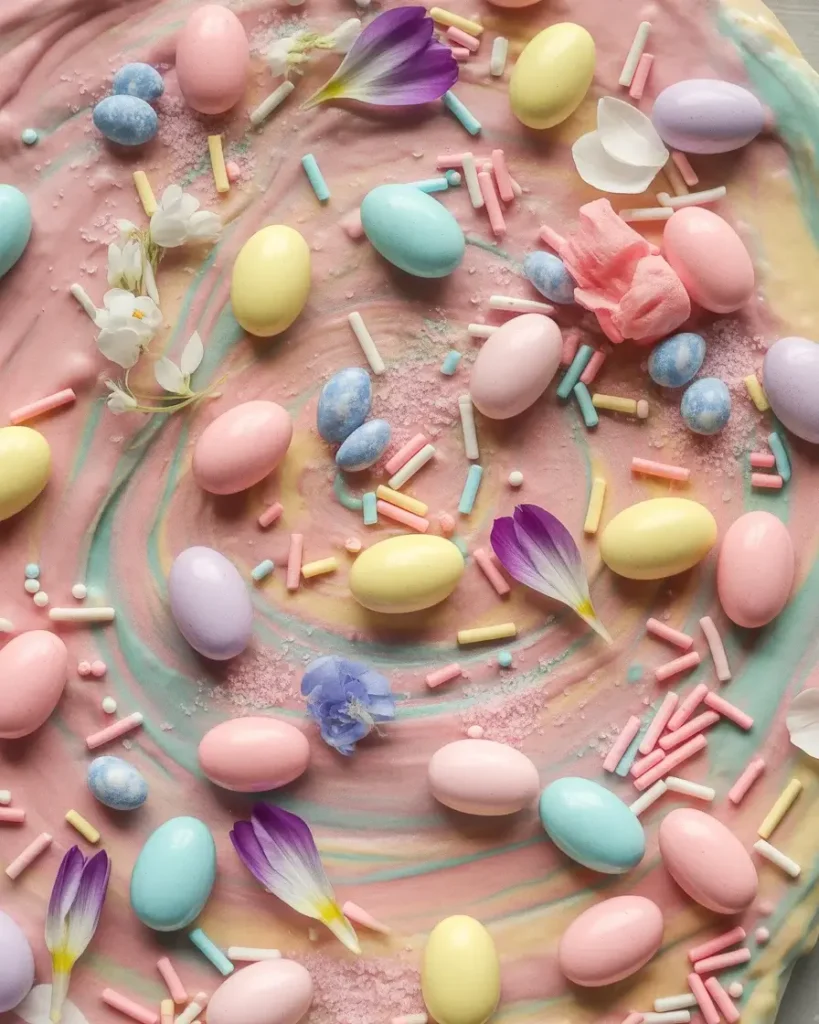
While the chocolate is still soft and tacky, scatter your toppings across the entire surface. I use a combination of pastel sprinkles, mini candy-coated eggs, and edible flower petals for a true spring delight look.
Press toppings down very gently with clean fingertips so they adhere. After 25+ batches I discovered that adding sanding sugar last gives the toffee a sparkle that catches light beautifully. The visual result is almost too pretty to eat, but trust me, nobody hesitates.
Step 7: Cool and Break Into Pieces
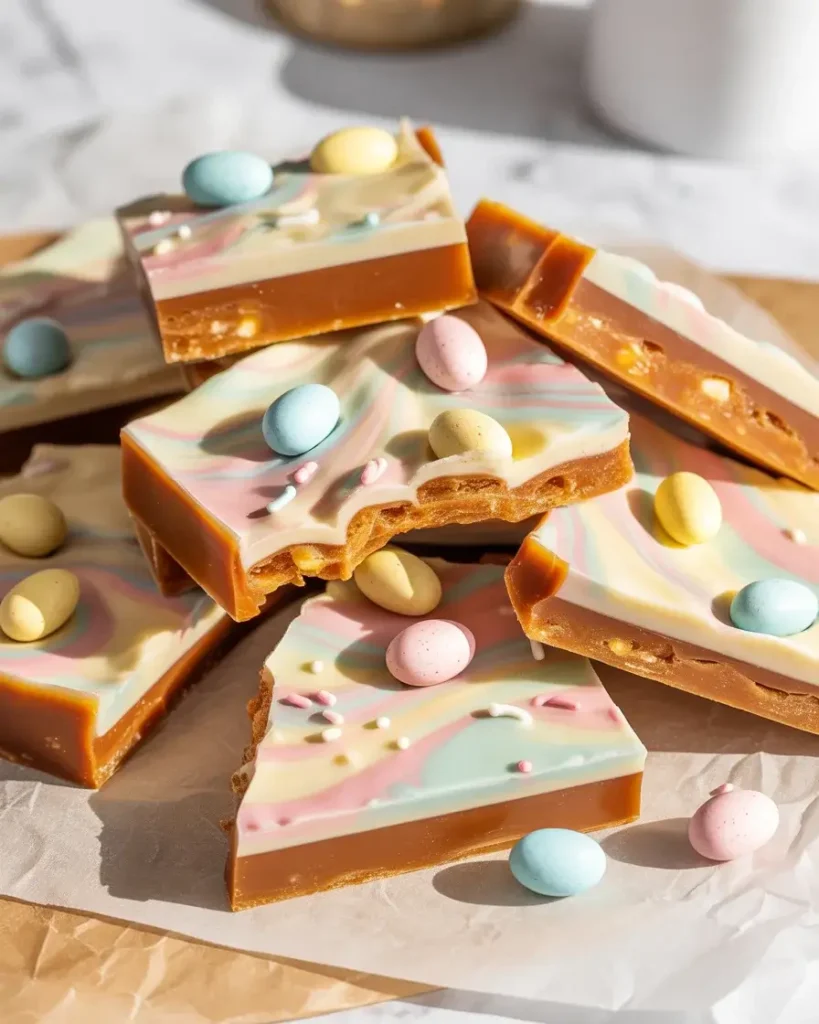
Let the finished toffee sit at room temperature for at least 90 minutes until completely firm. Then lift the foil off the pan and break the toffee into irregular pieces using your hands.
You will hear a clean sharp snap when you break it, which means you hit the right temperature during cooking. I refrigerate for 20 minutes if my kitchen is warm that day because humidity can prevent a proper set. Store pieces between parchment layers in an airtight tin.
Spring Delight Toffee
Course: DessertCuisine: AmericanDifficulty: Medium30
servings15
minutes20
minutes35
minutesButtery crunchy toffee coated in swirled pastel chocolate and decorated with festive spring toppings. Perfect for Easter, gifting, and spring celebrations.
Ingredients
1 cup unsalted butter (2 sticks)
1 cup granulated white sugar
2 tablespoons water
1/4 teaspoon salt
1.5 cups pastel candy melts (lavender, pink, yellow)
1/4 cup pastel sprinkles
1/4 cup mini candy-coated eggs
2 tablespoons edible flower petals
1 tablespoon pastel sanding sugar
Directions
- Line a 10×15 inch rimmed baking sheet with foil and spray with nonstick spray.
- Combine butter, sugar, water, and salt in a heavy-bottomed 3-quart saucepan over medium heat.
- Stir constantly until butter melts and mixture is smooth, about 4 minutes.
- Attach candy thermometer and cook without stirring until mixture reaches 300°F to 305°F, about 10 to 12 minutes.
- Pour immediately onto prepared pan and spread to 1/4 inch thickness with an offset spatula.
- Scatter candy melts over hot toffee surface, wait 2 minutes, then swirl together with spatula.
- Add sprinkles, candy eggs, edible flowers, and sanding sugar while chocolate is still tacky.
- Cool completely at room temperature for 90 minutes then break into pieces.
Notes
- Store in an airtight container at room temperature for up to 2 weeks.
Substitute white chocolate chips for candy melts but note they may not set as glossy.
Make toffee up to 5 days ahead for Easter or spring events.
Nutrition Table (per serving, approximately 2 pieces)
| Nutrient | Amount |
|---|---|
| Calories | 145 |
| Total Fat | 9g |
| Sugars | 16g |
| Protein | 0.5g |
Trusted Resource Links: For food safety when working with hot sugar, refer to the FDA Safe Food Handling guidelines at FDA Safe Food Handling .For general nutrition information, visit the Mayo Clinic Nutrition Guide at Mayo Clinic Nutrition Guide .
Why Does Homemade Toffee Sometimes Turn Out Chewy Instead of Crunchy?
Chewy toffee almost always means the sugar mixture did not reach 300°F before pouring. At temperatures below 295°F, residual moisture stays trapped in the sugar structure, giving you candy-like chew rather than a clean snap.
I made this exact mistake on my fourth batch when my thermometer was reading about 8 degrees low. A second thermometer confirmed the problem immediately.
Candy thermometer accuracy matters more than most people realize. Test yours by placing it in boiling water; it should read exactly 212°F at sea level.
Always use a heavy-bottomed pan that distributes heat evenly. Thin pans create hot spots that scorch the edges while the center stays undercooked, which causes uneven texture throughout the whole batch.
Can You Make Spring Toffee Without a Candy Thermometer?
You can use the cold water test as a backup. Drop a small amount of toffee into a glass of cold water. If it forms brittle threads that snap cleanly, you have reached the hard crack stage needed for crunchy toffee.
I tested this method alongside a thermometer for 5 batches to verify accuracy. The cold water test consistently aligned with the 300°F reading when done correctly.
That said, a basic candy thermometer costs under $10 and removes all guesswork. I recommend getting one if you plan to make toffee more than once, especially for gifts or holiday batches.
The cold water test works best as a confirmation check rather than your primary method. Use it alongside a thermometer when first learning the recipe to build your instincts.
What Chocolate Works Best for Spring Toffee Coating?
Candy melts designed for coating are my top choice for spring toffee because they come in every pastel color, set firm, and do not require tempering. Pastel white chocolate chips work as a close second option.
I tested real white chocolate on three batches and found it blooms easily if the room temperature fluctuates, leaving a dull streaky finish. Candy melts stay glossy and vibrant far more reliably.
For the most vivid spring colors, look for Wilton or Ghirardelli candy melts in seasonal pastel shades. Mixing lavender, pink, and yellow in roughly equal portions creates a beautiful soft swirl.
Avoid using dark or milk chocolate as the base coating for this recipe. The bold flavor overpowers the delicate buttery toffee and visually contradicts the light spring aesthetic you are going for.
How Long Does Spring Delight Toffee Stay Fresh?
Stored properly, spring toffee stays crisp and delicious for up to 2 weeks at room temperature. Keep it in an airtight container with parchment paper between layers to prevent sticking.
Humidity is the enemy of good toffee. I tested storing it in a loosely covered bowl for just one day and the texture turned sticky and soft. Airtight is essential.
Refrigerating toffee can introduce moisture condensation when it warms back up, which softens the candy. Room temperature storage in a sealed tin is genuinely the best method.
If you live somewhere very humid, add a food-safe silica packet to the storage container. This small trick extends crispness by several extra days compared to storing without one.
How Do You Gift and Package Spring Toffee?
Clear treat bags tied with pastel ribbon are the simplest and most elegant gifting option. Add a small card with the flavor name and you have a gift that looks professional with minimal effort.
I started gifting toffee in kraft paper boxes lined with tissue for Easter three years ago and it became my most-requested homemade treat. The presentation genuinely elevates the perceived value.
Decorative tins work beautifully for larger quantities and keep the toffee fresher than bags because they seal more tightly. Fill gaps with crinkle paper in coordinating spring colors.
For shipping, wrap each piece individually in wax paper to prevent moisture and breakage during transit. I double-box toffee for mailing with bubble wrap between boxes for protection.
Frequently Asked Questions
Q: Can I add nuts to spring delight toffee?
A: Yes, scatter 1/2 cup of finely chopped toasted almonds or pecans over the toffee immediately after pouring. Press them in lightly before adding the chocolate layer on top.
Q: Why did my chocolate coating crack when I broke the toffee?
A: This usually means the chocolate cooled too quickly in a cold room. Let your pan sit at a stable room temperature around 70°F. Cracking is purely visual and does not affect taste.
Q: Can I use salted butter instead of unsalted?
A: Yes, but reduce the added salt to just a pinch. Salted butter actually adds a pleasant sweet-salty contrast that many people prefer, so it is a solid substitution in this recipe.