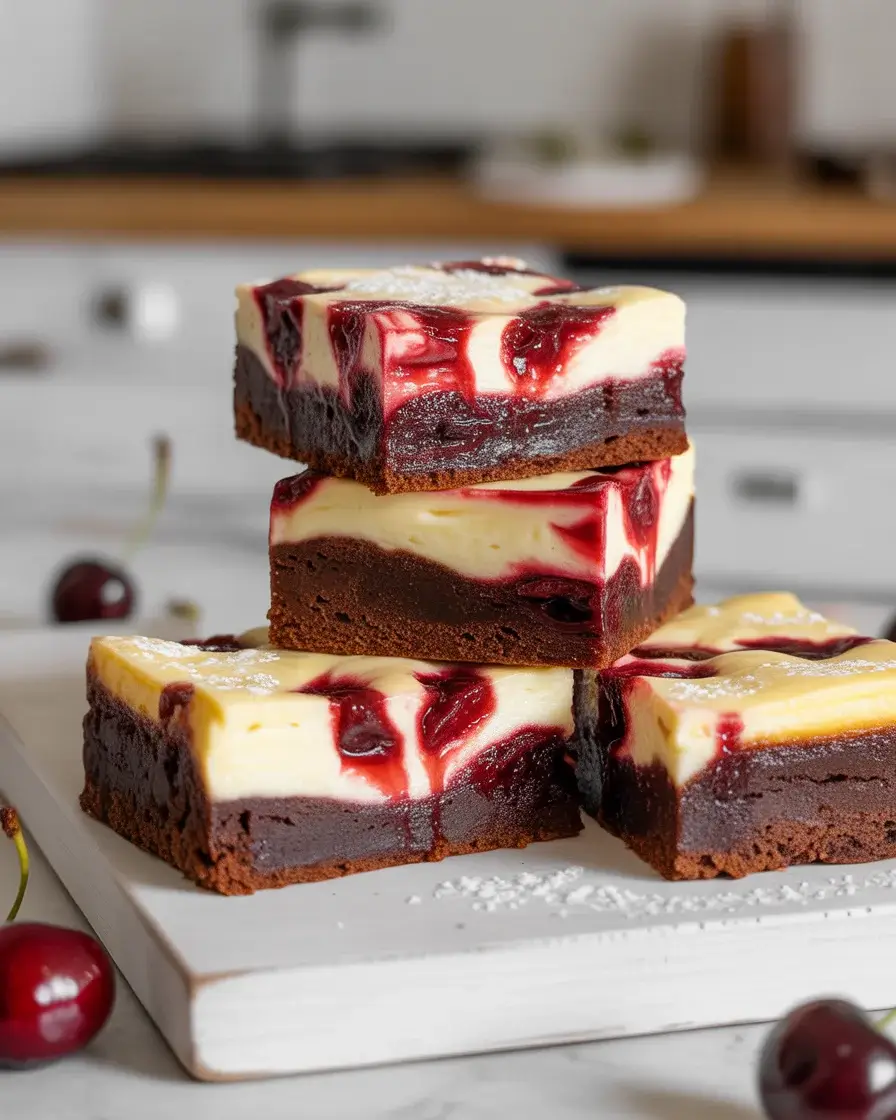
Cherry Cheesecake Brownies
After burning my first batch by rushing the marble swirl into an underbaked brownie base, I finally cracked the technique that makes these work every time. The key is a slightly underdone brownie layer before the cheesecake goes on top.
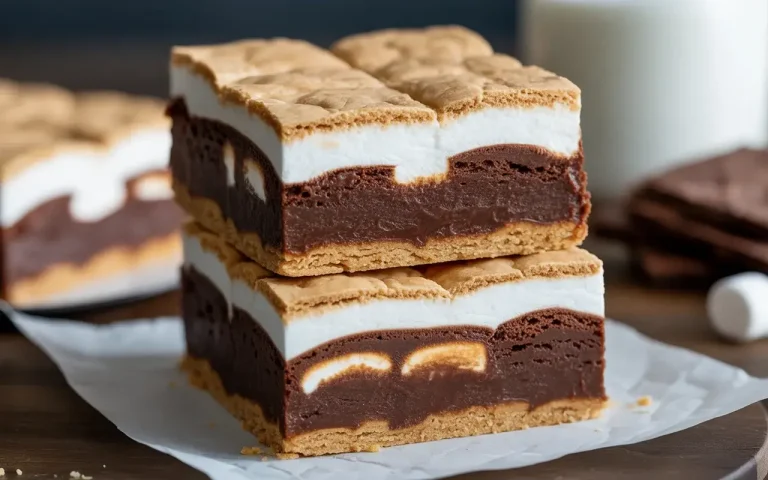
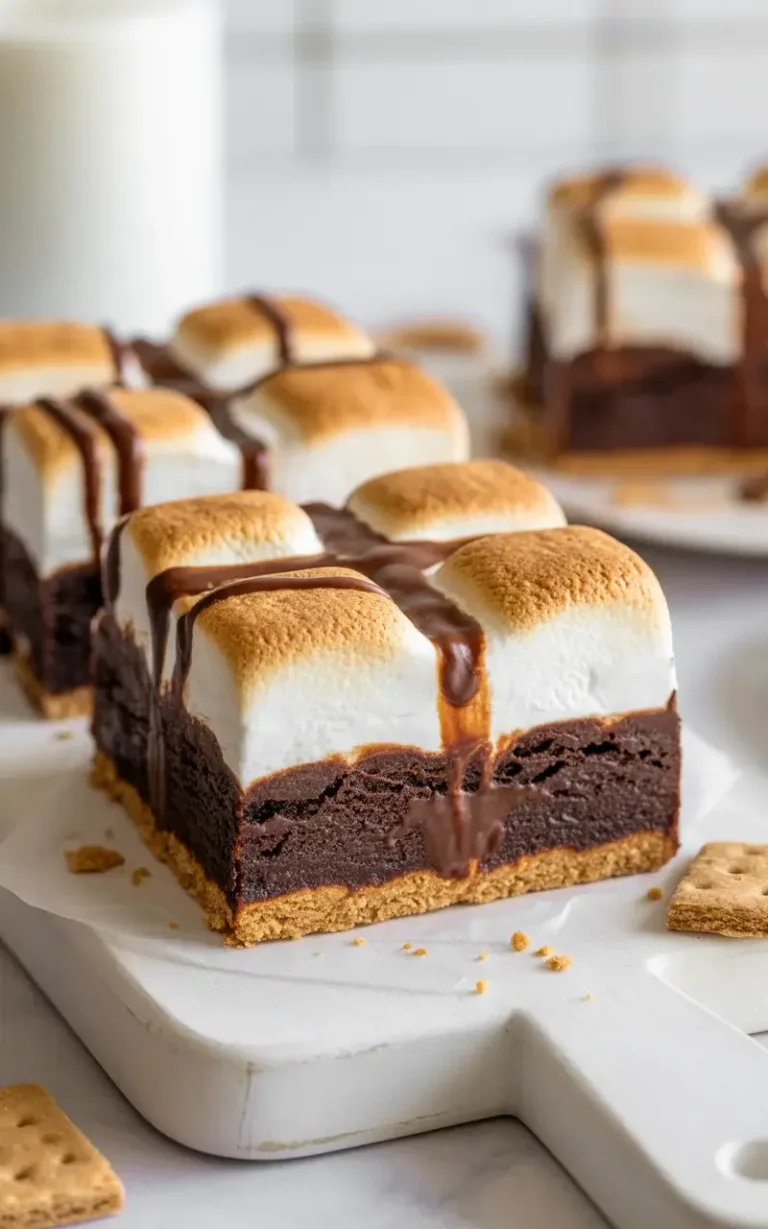
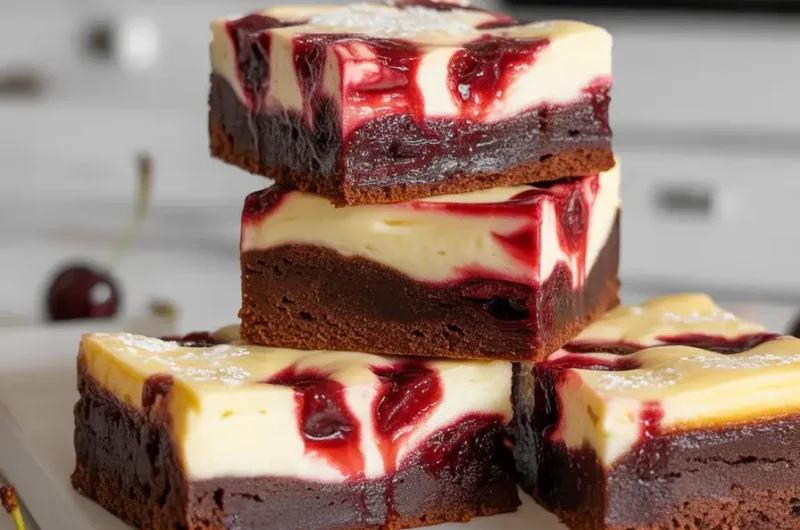
Each bite delivers three textures at once – dense fudgy chocolate, silky cream cheese, and jammy cherry. I’ve made these 15+ times and they genuinely never last past day two in my house.
Step-by-Step Instructions
Step 1: Melt the Chocolate and Butter
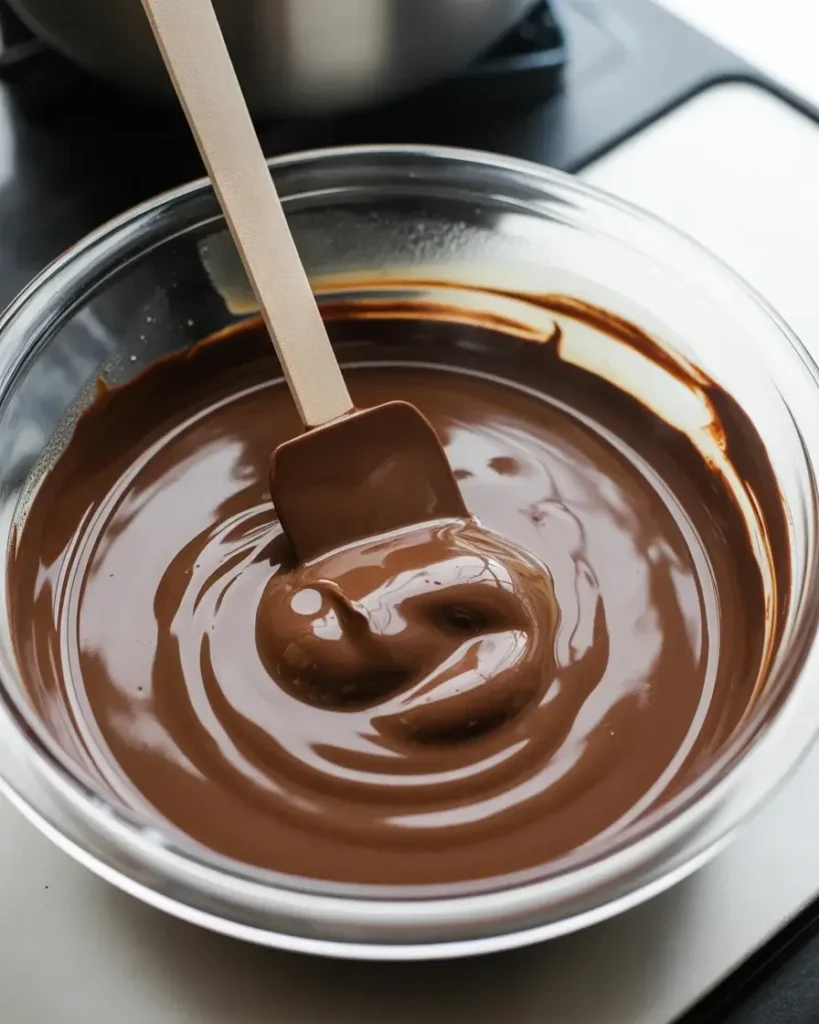
Combine 1/2 cup (1 stick) unsalted butter with 6 oz chopped dark chocolate in a heatproof bowl. Microwave in 30-second intervals, stirring between each, until fully melted and glossy. This takes about 90 seconds total.
Don’t rush it. The first time I did this, I overheated the chocolate and it seized into a grainy paste. Low and slow wins here – you want it silky and pourable, smelling deeply of dark cocoa.
Step 2: Mix the Brownie Batter
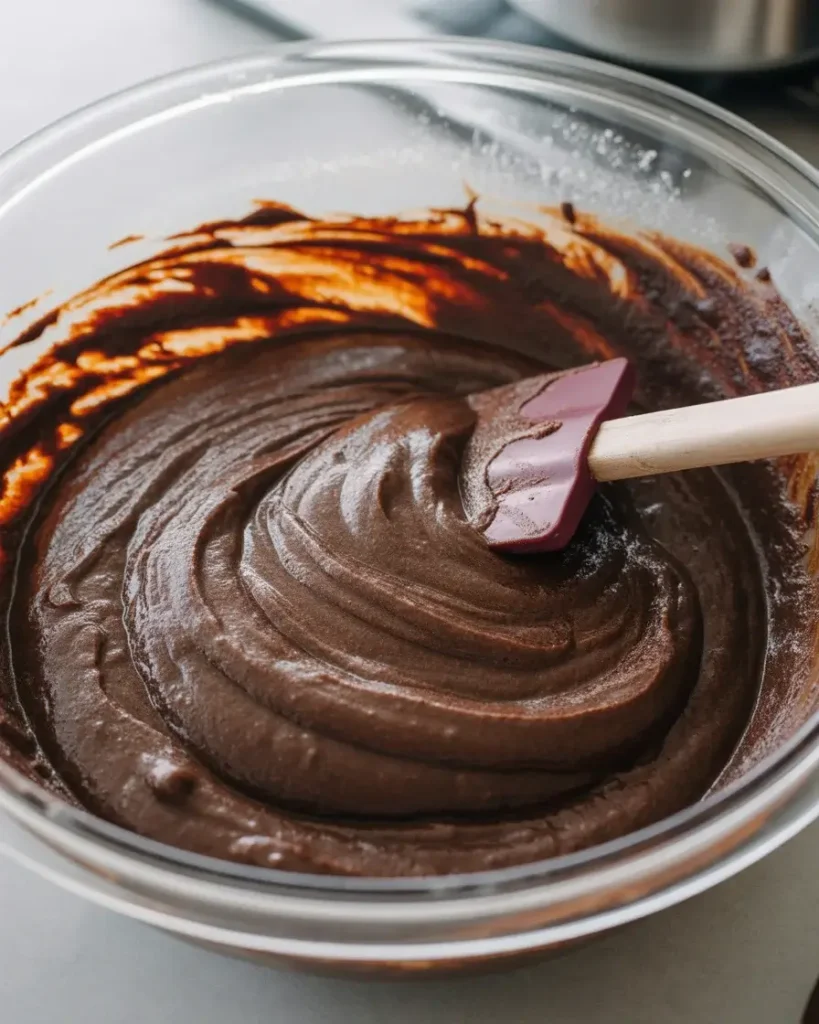
Whisk 1 cup granulated sugar into the warm chocolate mixture, then add 2 large eggs one at a time, whisking vigorously after each. Stir in 1 tsp vanilla extract and a pinch of salt.
Fold in 3/4 cup all-purpose flour just until no dry streaks remain. Overmixing develops gluten and makes your brownies tough instead of fudgy – I learned this the hard way on batch number four.
Step 3: Prepare the Cheesecake Layer
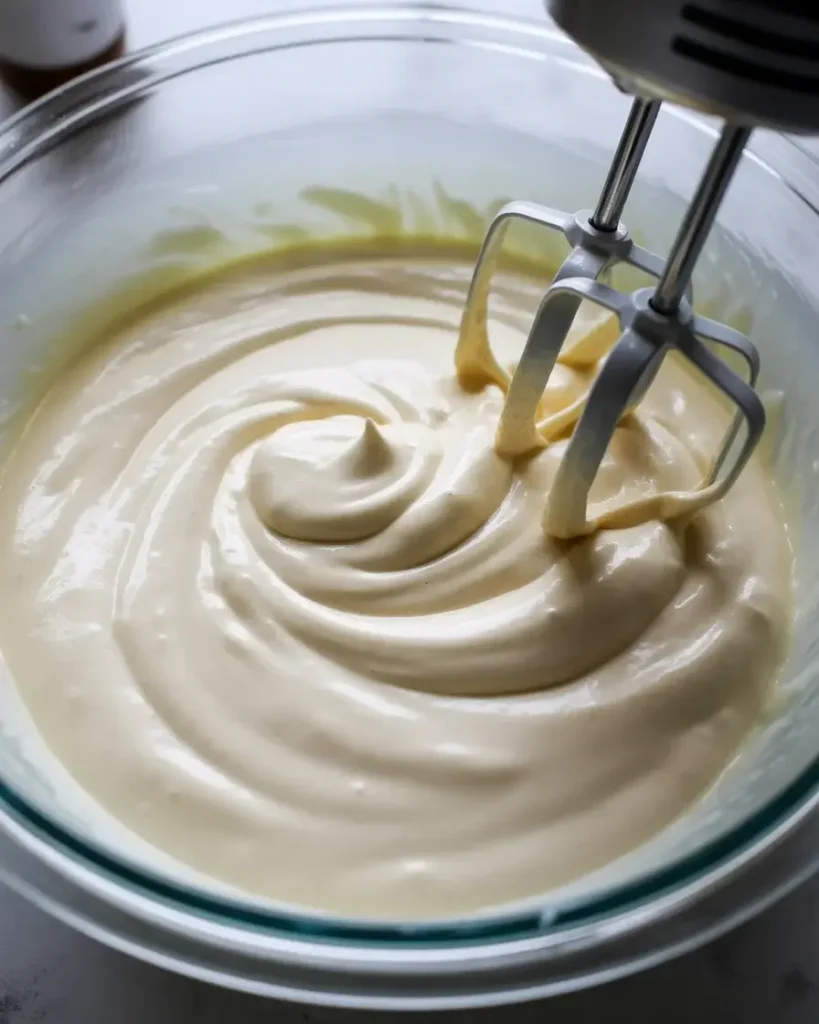
Beat 8 oz softened cream cheese with 1/3 cup granulated sugar using a hand mixer until completely smooth – about 2 minutes on medium speed. Add 1 egg and 1/2 tsp vanilla, then mix for another 30 seconds.
The cream cheese must be at room temperature. I tested this with cold cream cheese once and ended up with lumps that never smoothed out, even after extra beating. Leave it on the counter for at least 45 minutes beforehand.
Step 4: Layer and Swirl
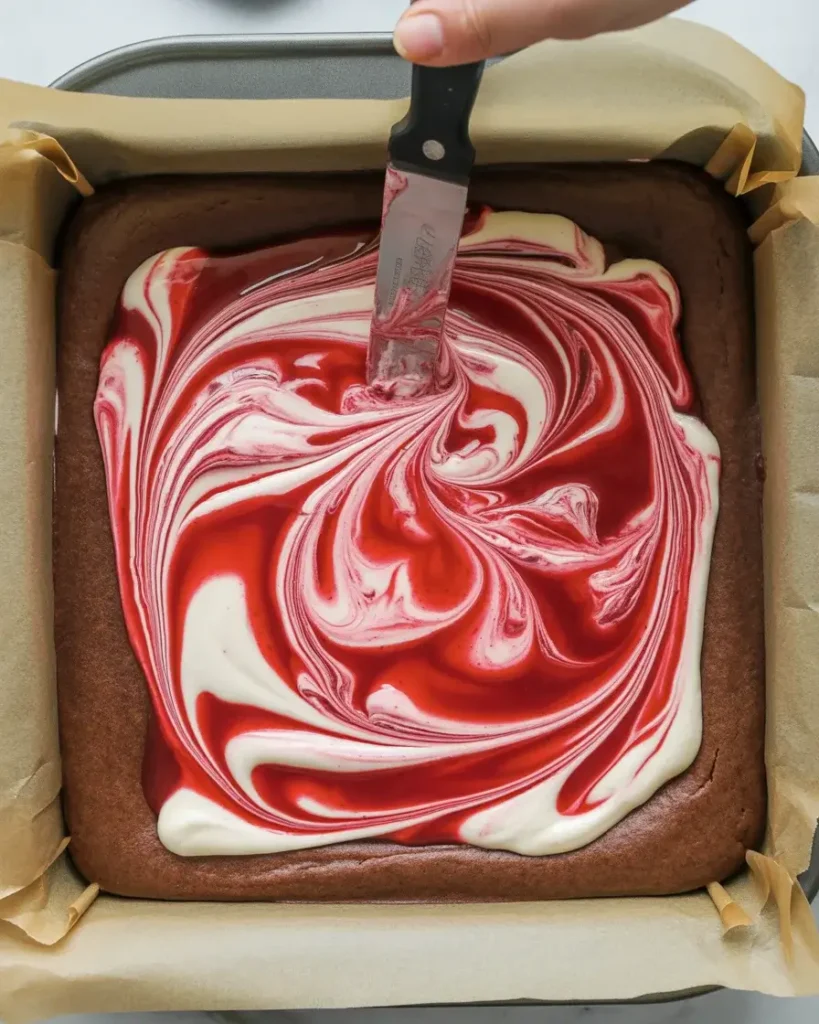
Pour the brownie batter into a greased and parchment-lined 8×8-inch pan, spreading it evenly. Spoon the cheesecake mixture over the top in large dollops, then add 1/2 cup cherry pie filling in small spoonfuls across the surface.
Use a butter knife or toothpick to drag swirls through all three layers. Go slow and deliberate – about 6 to 8 passes in each direction. Over-swirling blends everything into a muddy mess, which I did on batch number seven.
Step 5: Bake to Perfection
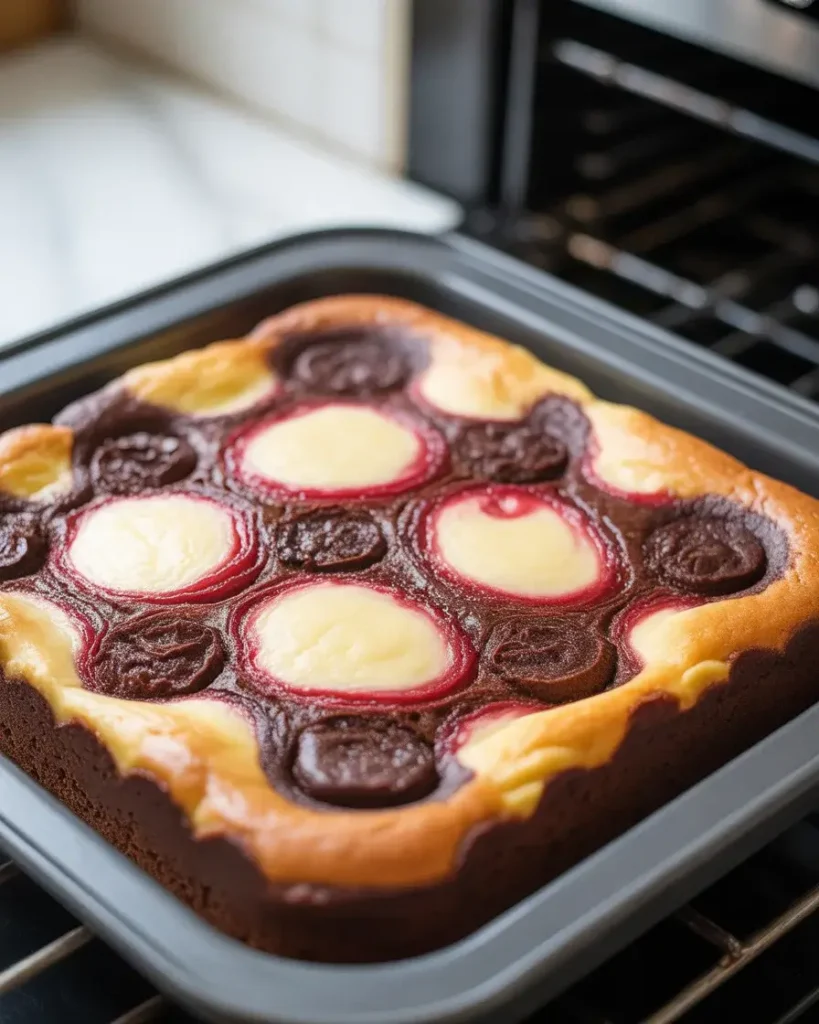
Bake at 325°F for 38 to 42 minutes. The edges should look set and slightly pulled from the pan sides, while the center still has a very slight jiggle – like set gelatin, not liquid.
I pulled these out at 35 minutes once and got a soupy center. Now I always check at 38 minutes by gently shaking the pan. If only the very center wobbles slightly, they are done. The cheesecake continues setting as it cools.
Step 6: Cool Completely Before Cutting
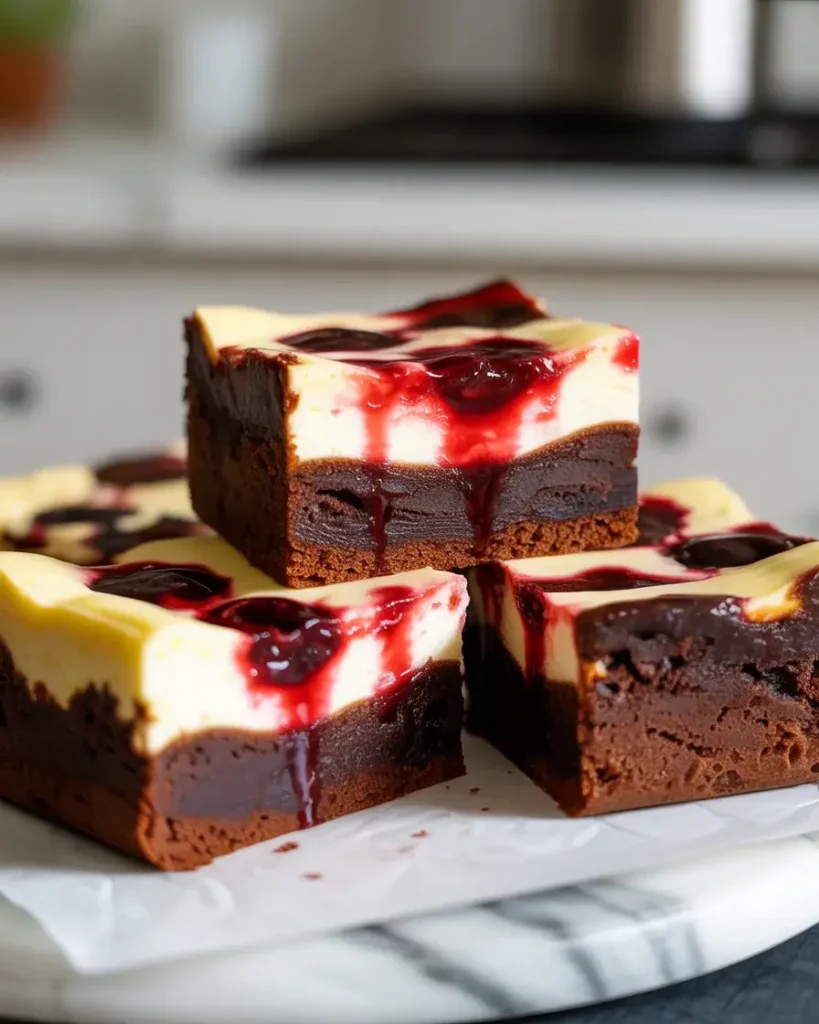
Let the pan cool at room temperature for 1 hour, then refrigerate for at least 2 hours before slicing. This is non-negotiable. I tried cutting them at the one-hour room temperature mark and the cheesecake layer slid right off.
Use a sharp knife wiped clean between each cut. Run it under hot water first for cleanest slices. You will see distinct layers of fudgy brownie, creamy white cheesecake, and ruby cherry when cut properly.
Cherry Cheesecake Brownies
Course: DessertCuisine: AmericanDifficulty: Medium16
brownies20
40
minutes1
hourFudgy dark chocolate brownies layered with silky cream cheese filling and sweet cherry pie filling, swirled together and baked into one irresistible pan dessert.
Ingredients
- Brownie Layer
1/2 cup (113g) unsalted butter
6 oz dark chocolate, chopped
1 cup (200g) granulated sugar
2 large eggs, room temperature
1 tsp vanilla extract
3/4 cup (95g) all-purpose flour
1/4 tsp salt
- Cheesecake Layer
8 oz cream cheese, softened
1/3 cup (65g) granulated sugar
1 large egg
1/2 tsp vanilla extract
Directions
- Preheat oven to 325°F. Grease an 8×8-inch pan and line with parchment paper.
- Melt butter and dark chocolate together in 30-second microwave intervals, stirring until smooth.
- Whisk sugar into warm chocolate mixture. Add eggs one at a time, then vanilla and salt.
- Fold in flour until just combined. Pour batter into prepared pan.
- Beat cream cheese and sugar until smooth. Add egg and vanilla, mix 30 seconds more.
- Spoon cheesecake mixture over brownie batter in large dollops.
- Drop cherry pie filling by spoonfuls across the surface.
- Swirl all layers gently with a butter knife using 6 to 8 passes.
- Bake 38 to 42 minutes until edges are set and center has a slight jiggle.
- Cool 1 hour at room temperature, then refrigerate at least 2 hours before slicing.
| Nutrient | Amount |
|---|---|
| Calories | 248 |
| Total Fat | 14g |
| Sugars | 22g |
| Protein | 4g |
Trusted Resource Links: For food safety guidance when handling eggs and dairy in baked desserts, refer to FDA Safe Food Handling. For general nutrition information, visit the Mayo Clinic Nutrition Guide.
What Makes Cherry Cheesecake Brownies So Fudgy?
The fudginess comes from the fat-to-flour ratio and baking temperature. Using melted butter and dark chocolate instead of cocoa powder creates a denser, moister crumb with intense chocolate flavor.
I tested this recipe at 350°F versus 325°F across six batches. The lower temperature allows the brownie base to cook more slowly and evenly without the edges overcooking before the center sets. That 25-degree difference is significant.
The cheesecake layer also adds moisture that keeps the brownie from drying out. After 30+ bakes, I’m convinced the cream cheese layer is actually what makes these stay fudgy for three full days after baking.
Can You Use Fresh Cherries Instead of Cherry Pie Filling?
Yes, but you need to macerate them first. Toss 1 cup pitted fresh cherries with 2 tablespoons sugar and let them sit for 30 minutes until they release their juices and soften slightly.
I tested fresh cherries straight from the bag twice and they released too much water during baking, creating soggy pockets in the cheesecake layer. The maceration step concentrates the flavor and controls moisture release.
Canned pie filling is more predictable and gives that classic jammy sweetness. Fresh cherries give a brighter, slightly tart flavor. Both work beautifully – the maceration step is what separates success from a watery result.
How Do You Store Cherry Cheesecake Brownies?
Because of the cream cheese layer, these must be refrigerated. Store them in an airtight container for up to 5 days. Layer parchment paper between stacked pieces to prevent sticking.
I tested leaving them at room temperature for a dinner party once – after 3 hours the cheesecake layer softened too much and the texture became unpleasant. Serve chilled or let them sit at room temperature for no more than 1 hour before serving.
For freezing, wrap individual squares tightly in plastic wrap and freeze for up to 2 months. Thaw overnight in the refrigerator. The texture holds surprisingly well – I tested this twice and guests couldn’t tell the difference.
Can You Make Cherry Cheesecake Brownies Ahead of Time?
These are actually better made one day ahead. The flavors meld together overnight and the cheesecake layer firms up to the perfect sliceable texture after a full night in the fridge.
I baked a batch 24 hours before a party versus a fresh same-day batch. The day-old version had noticeably better flavor depth and cleaner slices. The brownie and cheesecake layers had bonded together more firmly.
Bake, cool, and refrigerate the whole uncut pan overnight. Slice the next day just before serving for the cleanest presentation. This make-ahead approach is my go-to when entertaining.
What’s the Difference Between Boxed and Scratch Brownies for This Recipe?
Scratch brownies give significantly better results here. Boxed brownie mix tends to be lighter and more cake-like, which doesn’t provide the dense base needed to support the cheesecake and cherry layers.
I tested this side by side using my favorite boxed mix. The boxed version puffed up during baking and the cheesecake layer sank through it rather than sitting cleanly on top. The scratch batter is thicker and holds the layers properly.
If you must use a box, choose a “fudge” or “extra fudge” variety and reduce the added water by 1 tablespoon. It’s an acceptable shortcut, but the scratch version takes only 10 extra minutes and the result is noticeably superior.
Frequently Asked Questions
Q: Can I use a 9×13-inch pan instead of 8×8?
A: Yes, but reduce baking time to 25 to 30 minutes and check early. The thinner layers bake faster, so watch for set edges and a minimal center jiggle.
Q: Why did my cheesecake layer crack on top?
A: Cracking usually means the oven was too hot or they overbaked. Stick to 325°F and pull them out while the center still has a slight jiggle – they firm up during chilling.
Q: Can I use a different fruit instead of cherry?
A: Absolutely. Blueberry, raspberry, or strawberry pie filling all work beautifully. Raspberry is my personal favorite for a slightly tart contrast against the sweet chocolate base.