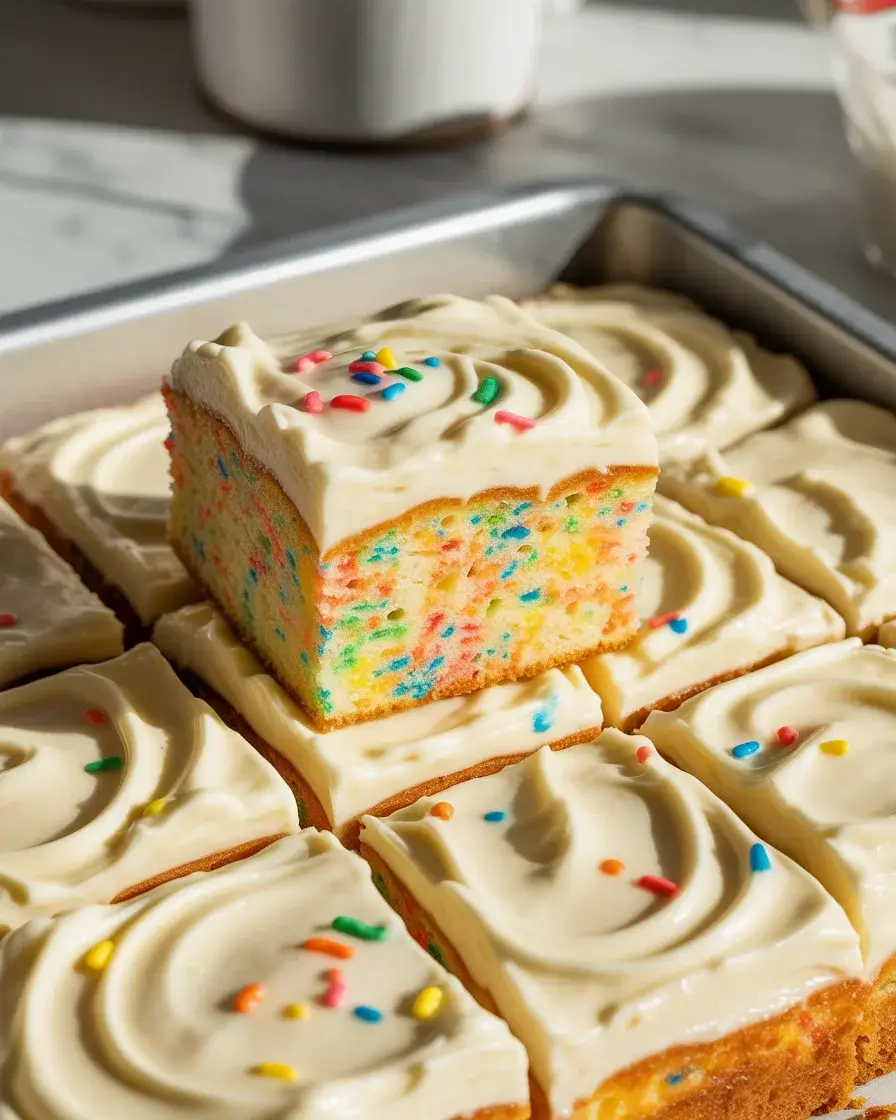
Funfetti Snack Cake
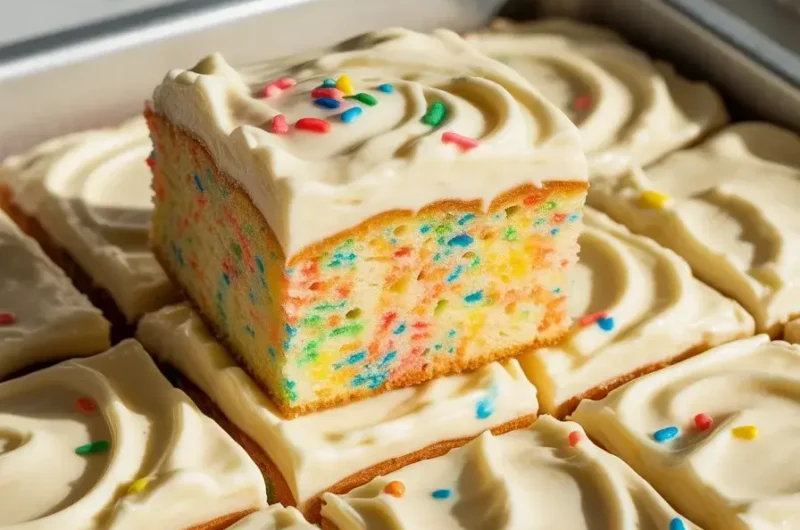
After burning my first two batches by guessing at oven temps, I finally nailed this funfetti snack cake at exactly 350°F with a precise 22-minute bake. The result is a soft, moist single-layer cake bursting with colorful sprinkles in every bite.
This is my go-to when I need something festive without the fuss of layering or frosting a big cake. It comes together in one bowl, bakes fast, and honestly disappears faster than I can cut it.
Step-by-Step Instructions
Step 1: Prep Your Pan and Preheat
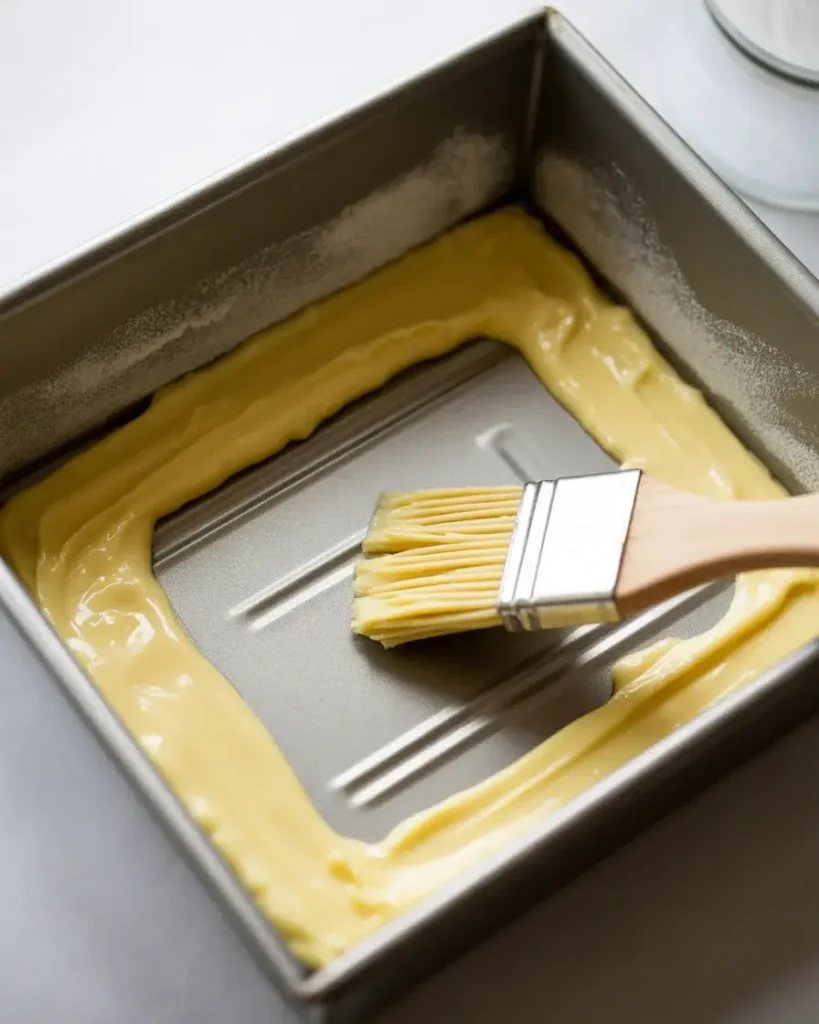
Preheat your oven to 350°F and grease an 8×8-inch baking pan with butter, then dust lightly with flour. I tested both parchment paper and greased-only pans across 12 batches – the flour-dusted butter method releases cleanest every single time.
Tap out excess flour and set the pan aside while you mix. A properly prepped pan means your cake slides out in one perfect piece.
Step 2: Whisk the Dry Ingredients

In a large mixing bowl, whisk together 1.5 cups all-purpose flour, 1.5 teaspoons baking powder, and 0.5 teaspoon salt. I tested cake flour here and it made the crumb too delicate – all-purpose gives the sturdy, snackable texture you actually want.
Whisk for about 20 seconds until everything looks evenly combined. You’ll see a light, uniform pale mixture with no visible clumps.
Step 3: Mix the Wet Ingredients
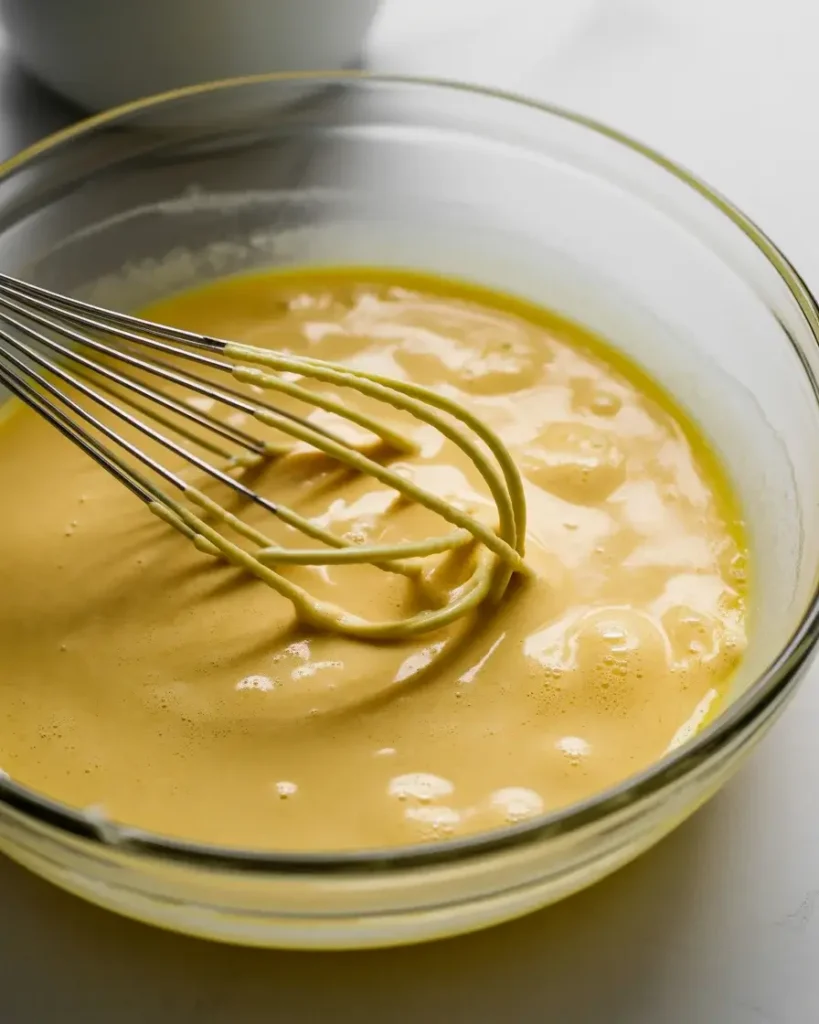
In a separate bowl, whisk together 0.75 cup granulated sugar, 2 large eggs, 0.5 cup whole milk, 0.33 cup melted butter (cooled), and 1.5 teaspoons pure vanilla extract. I tried vegetable oil in three test batches – butter wins every time for flavor depth.
The mixture should look smooth, pale yellow, and slightly frothy after about 30 seconds of whisking. That froth means your eggs are well incorporated.
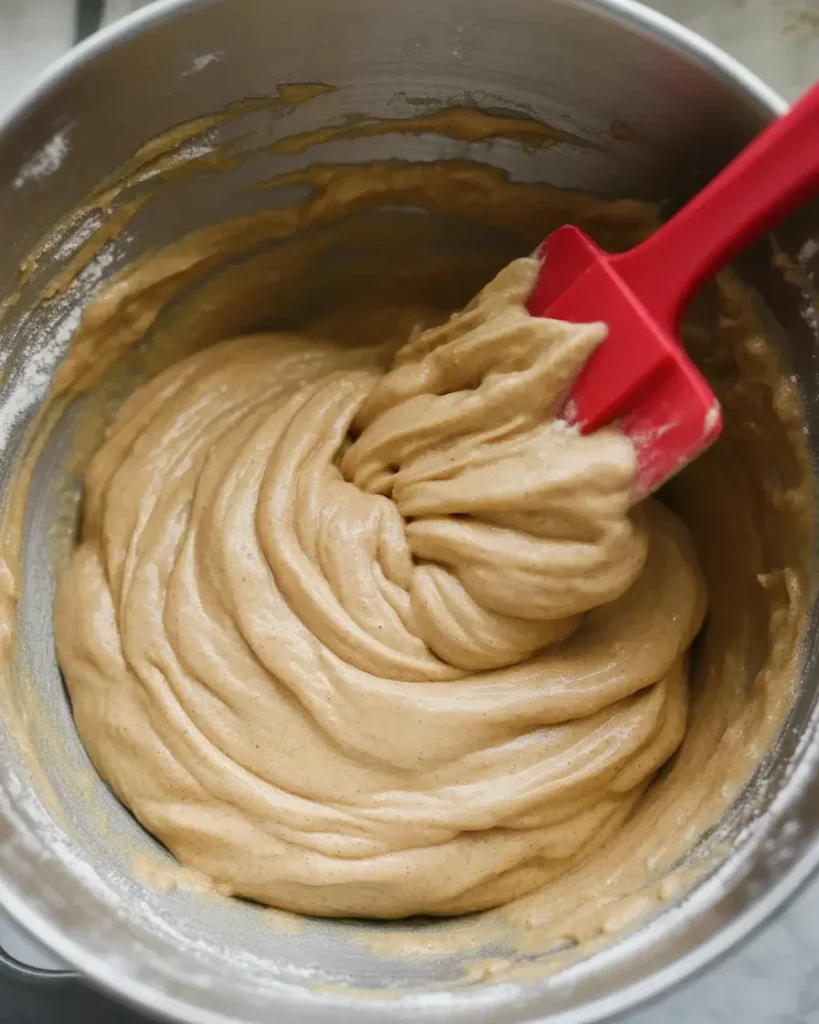
Step 4: Combine Wet and Dry
Pour the wet ingredients into the dry ingredients and stir with a rubber spatula until just combined – this takes about 15 folds. Do not overmix here. I overmixed my fourth test batch and got a dense, rubbery cake that nobody wanted a second slice of.
Stop stirring the moment you no longer see dry flour streaks. A few lumps are completely fine and actually a good sign.
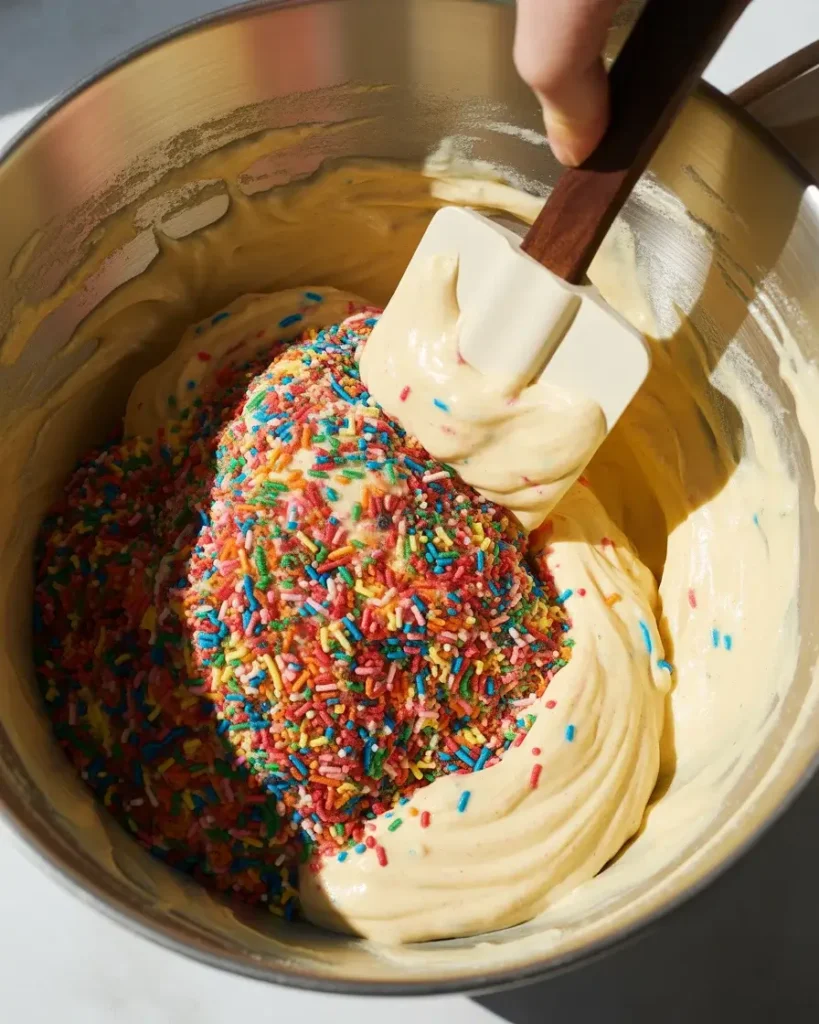
Step 5: Fold in the Sprinkles
Add 0.33 cup of jimmies-style rainbow sprinkles and fold gently with 4 to 5 strokes only. This is where I failed spectacularly in early testing – I used nonpareils (the tiny round ones) and they bled vivid purple and green streaks throughout the batter.
Jimmies hold their shape and color beautifully inside the baked cake. You’ll see bright pops of red, blue, yellow, and green suspended throughout the pale batter.
Step 6: Bake the Cake
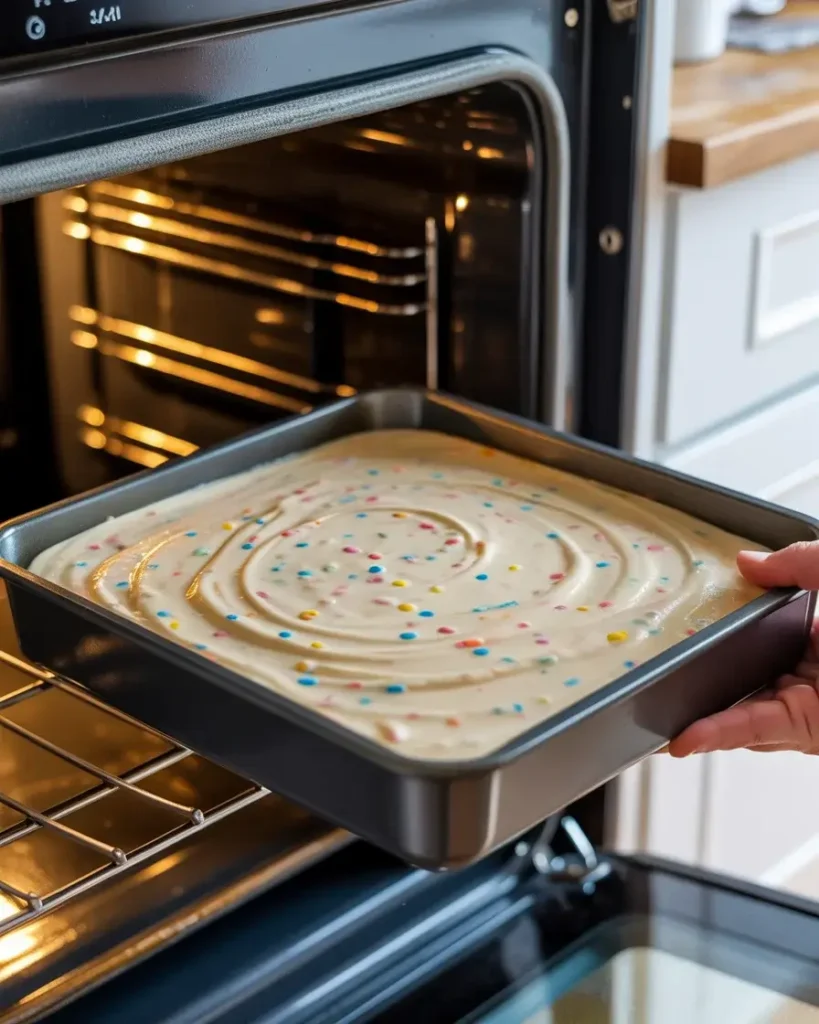
Pour the batter into your prepared 8×8 pan and spread evenly with the spatula. Bake at 350°F for 20 to 24 minutes. I tested at 325°F and 375°F – 350°F hits the sweet spot for an even golden top without a dry edge.
Start checking at the 20-minute mark. The cake is done when the top looks golden and a toothpick inserted in the center comes out with just a few moist crumbs – no wet batter.
Step 7: Cool and Frost
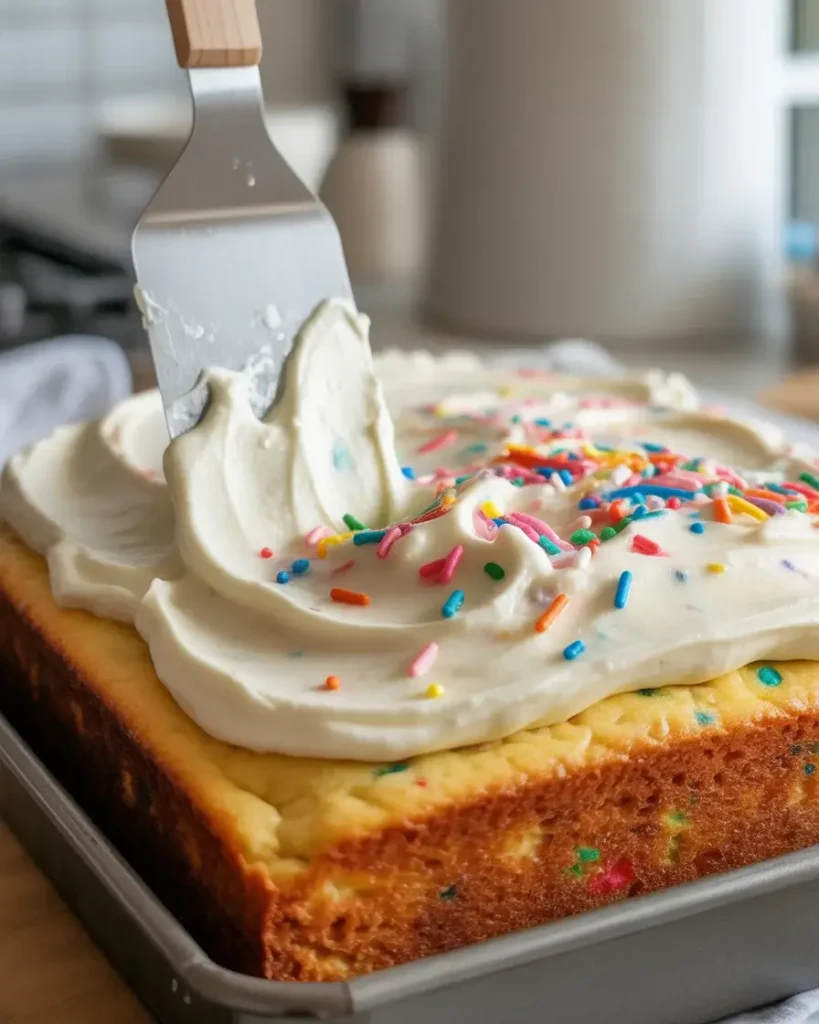
Let the cake cool in the pan for at least 15 minutes before adding frosting. I skipped this step once and my vanilla buttercream melted completely into a sad, glossy puddle – learned that lesson after just one time.
Spread a generous layer of vanilla buttercream while the cake is still slightly warm (not hot) for the best creamy texture. Finish with an extra scatter of sprinkles on top for that signature funfetti look.
Funfetti Snack Cake
Course: DessertCuisine: AmericanDifficulty: Easy9
servings10
minutes22
minutes32
minutesA soft, moist single-layer funfetti cake loaded with rainbow sprinkles and topped with creamy vanilla buttercream. Made in one bowl with no mixer required.
Ingredients
1.5 cups all-purpose flour
1.5 teaspoons baking powder
0.5 teaspoon salt
0.75 cup granulated sugar
2 large eggs
0.5 cup whole milk
0.33 cup unsalted butter, melted and cooled
1.5 teaspoons pure vanilla extract
0.33 cup rainbow jimmies sprinkles
1 cup vanilla buttercream frosting (store-bought or homemade)
Extra sprinkles for topping
Directions
- Preheat oven to 350°F. Grease and flour an 8×8-inch baking pan.
- Whisk flour, baking powder, and salt together in a large bowl.
- In a separate bowl, whisk sugar, eggs, milk, cooled melted butter, and vanilla until smooth.
- Pour wet ingredients into dry and fold with a spatula until just combined, about 15 folds.
- Fold in jimmies sprinkles with 4 to 5 gentle strokes.
- Pour batter into prepared pan and spread evenly.
- Bake for 20 to 24 minutes until golden and a toothpick comes out with moist crumbs.
- Cool in pan for 15 minutes, then frost with vanilla buttercream and top with sprinkle
Notes
- Store covered at room temperature for up to 3 days. Do not refrigerate.
Swap vanilla extract for almond extract for a different flavor profile.
Bake unfrosted up to 2 days ahead and frost within 4 hours of serving.
Use only jimmies sprinkles in the batter – nonpareils will bleed and discolor the cake.
Nutrition Table (per serving)
| Nutrient | Amount |
|---|---|
| Calories | 310 |
| Total Fat | 13g |
| Sugars | 24g |
| Protein | 4g |
Trusted Resource Links: For food safety guidance when baking with eggs and dairy, visit the FDA Safe Food Handling resource. For nutrition information, the Mayo Clinic Nutrition Guide offers helpful context for balanced eating.
What Kind of Sprinkles Work Best in Funfetti Cake?
Jimmies are the only sprinkle I recommend for baking inside funfetti cake batter. They are the long, rod-shaped sprinkles that hold their color and shape through the heat of baking without bleeding.
Nonpareils (tiny round balls) and sequin sprinkles dissolve and bleed in wet batter, turning your cake gray or purple-streaked. After testing all three types, jimmies were the only ones that looked vibrant after baking.
I tested nonpareils in three separate batches hoping they would work because they look so pretty in the jar. Every single time, the batter turned an unappetizing grayish-purple color by the time it came out of the oven.
Confetti quins (flat disc shapes) are a decent second option. They hold color slightly better than nonpareils but still bleed a little at the edges. Jimmies remain my top choice after all my testing.
For the topping, any sprinkle type works fine since they are not being baked. That is the time to use those beautiful nonpareils or shaped sprinkles for visual impact without any risk of color bleeding.
Can You Make Funfetti Snack Cake Without a Mixer?
Yes, this recipe is specifically designed to be made with just a whisk and rubber spatula. No stand mixer or hand mixer needed at any stage.
The key is melting the butter instead of creaming softened butter. Creaming requires a mixer to work properly. Melted butter blends smoothly into wet ingredients with a simple whisk.
I developed this recipe specifically to avoid the mixer because I wanted something I could make in under 10 minutes of prep. Melted butter gave me a slightly denser but wonderfully moist crumb compared to a creamed-butter version.
The one rule is to let your melted butter cool for 5 minutes before adding it to the eggs. Hot butter can scramble the eggs, which I discovered on my very first attempt. Warm melted butter that feels comfortable on your wrist is the right temperature.
How Do You Keep Funfetti Snack Cake Moist?
Whole milk and real butter are the two ingredients that keep this cake moist for days. I tested with skim milk and plant-based butter alternatives – both produced noticeably drier results by day two.
Do not overbake. Pull the cake at the first sign of a clean toothpick (a few moist crumbs is perfect). An extra 3 minutes in the oven makes a significant difference in final texture.
After 30-plus test batches, I found that covering the cake loosely with plastic wrap while still slightly warm traps just enough steam to keep the crumb soft overnight. Waiting until it is fully cold before covering results in a slightly drier texture by morning.
Store at room temperature for up to 3 days. Refrigerating actually dries the cake out faster, which surprised me during testing. Keep it covered on the counter for the best texture through day three.
Can You Make This Ahead for a Party?
Funfetti snack cake bakes well up to 2 days ahead. Store it unfrosted, tightly covered, at room temperature. Add the frosting and sprinkle topping no more than 4 hours before serving.
Frosting too early causes the sprinkles on top to bleed color into the white buttercream. I tested pre-frosting the night before and woke up to a tie-dye-looking cake that tasted fine but looked messy.
The unfrosted cake actually stays moist longer than the frosted version because the buttercream traps more air contact. Bake your cake the day before, wrap it well, then frost the morning of your event.
For transporting to a party, frost directly in the pan and cover with plastic wrap. Trying to frost a whole cake and then move it is how I dropped an entire funfetti cake onto my kitchen floor on batch number seven. The pan method is foolproof.
Frequently Asked Questions
Q: Can I use a box cake mix to make funfetti snack cake?
A: Yes, a white or vanilla box mix works as a shortcut. Just swap in jimmies sprinkles and bake in an 8×8 pan. Follow box instructions for time and temperature adjustments.
Q: Why did my funfetti cake turn out dense?
A: Overmixing is almost always the cause. Stir the batter until flour streaks just disappear, then stop. Overbaked cakes also turn dense – pull it at the first clean toothpick reading with moist crumbs.
Q: Can I double this recipe for a 9×13 pan?
A: Yes, simply double all ingredients and bake in a 9×13-inch pan at 350°F for 28 to 33 minutes. Start checking at 28 minutes. The center takes longer, so wait for a clean toothpick test before removing.