Spider Bites: Fun Halloween Cookies
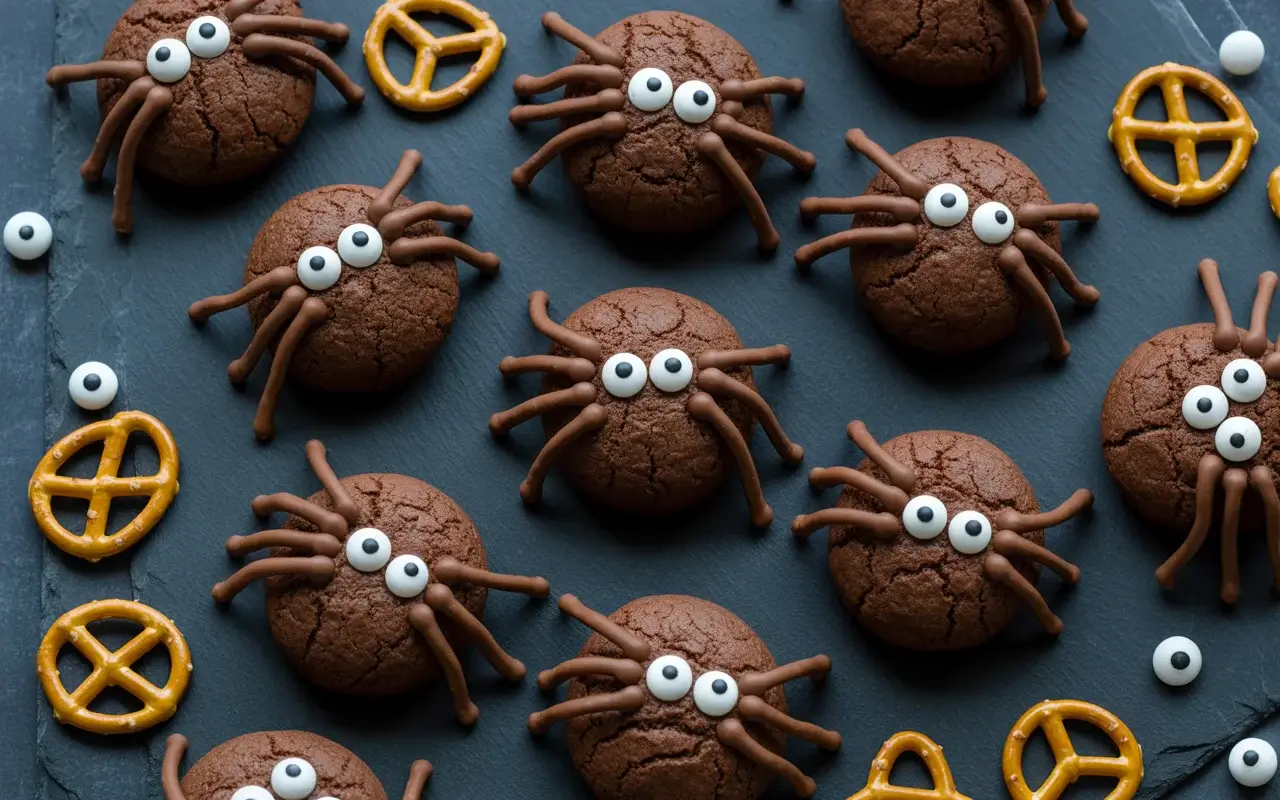
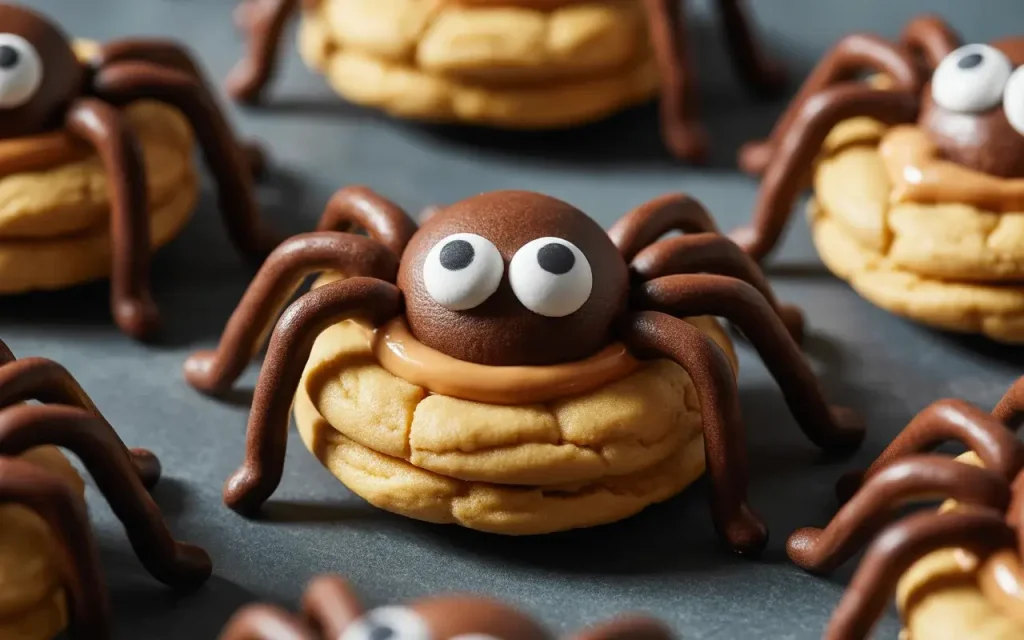
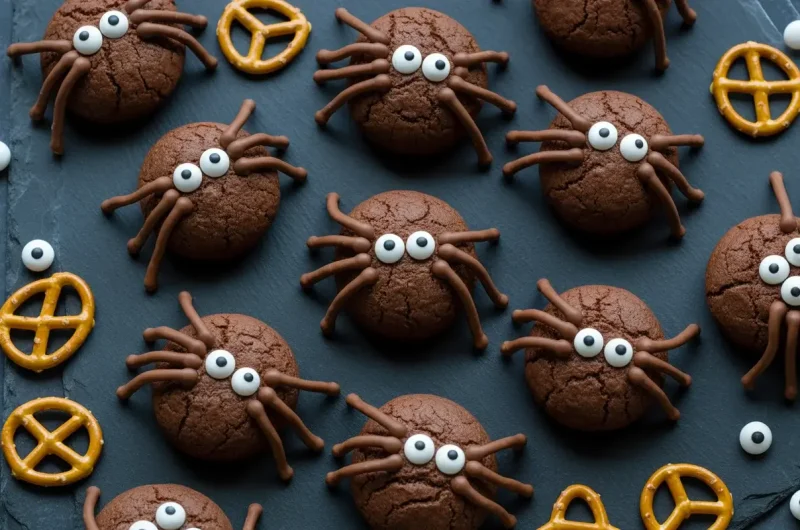
These spooky Spider Bites are the perfect Halloween treat! Made with chocolate cookies, peanut butter filling, and pretzel legs, they’re easy to make and absolutely adorable. Kids and adults alike will love these creepy-crawly cookies.
Whether you’re hosting a Halloween party or just want a festive dessert, these spider cookies come together in under 30 minutes. They’re no-bake, require minimal ingredients, and are endlessly customizable with different cookie bases and candy eyes.
Why You’ll Love This Recipe
These Spider Bites are ridiculously simple to make with no fancy equipment needed. You probably already have most ingredients in your pantry, making them a last-minute Halloween lifesaver.
The combination of chocolate cookies, creamy peanut butter, and salty pretzels creates the perfect sweet-and-salty balance. Plus, they’re sturdy enough to transport to parties and stay intact in lunchboxes.
Kids can help assemble these, making them a fun family activity. The decorating process is forgiving, so even wobbly pretzel legs look charmingly spooky.
Read More: Ghostly White Chocolate Apples
Ingredients You’ll Need

For the Spider Cookies:
Optional Add-ins:
How to Make Spider Bites
Prepare the Cookies: Carefully twist apart each chocolate sandwich cookie. Leave the cream filling on one side and set the plain halves aside for another use or snacking.
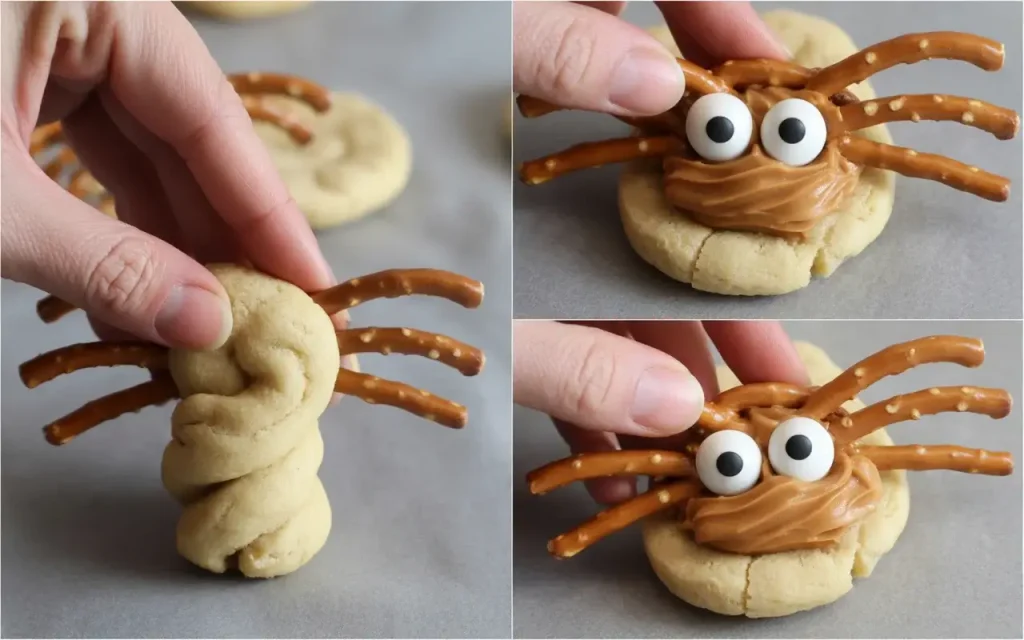
Add the Peanut Butter: Spread about 1 teaspoon of peanut butter onto the cream-filled cookie half. This acts as “glue” for the pretzel legs and adds delicious flavor.
Attach the Legs: Press 4 pretzel sticks into each side of the peanut butter to create 8 spider legs. Break pretzels in half if you want shorter, stubbier legs.
Add the Eyes: Place 2 candy eyes on top of the peanut butter center. Press gently so they stick but don’t sink in completely.
Optional Chocolate Seal: Melt chocolate chips and add a tiny dot where each pretzel meets the cookie to secure the legs. This step makes them sturdier for transport.
Let Set: Allow the spiders to rest for 10-15 minutes so everything adheres properly. Store in an airtight container until serving.
Spider Bites: Fun Halloween Cookies
Cuisine: AmericanDifficulty: Easy24
spider cookies15
10
minutes25
minutesEasy no-bake Halloween spider cookies made with chocolate sandwich cookies, peanut butter, pretzel legs, and candy eyes. Perfect for parties!
Ingredients
24 chocolate sandwich cookies (like Oreos)
½ cup creamy peanut butter
48 candy eyes
96 pretzel sticks
½ cup chocolate chips (optional, for securing legs)
Directions
- Carefully twist apart each chocolate sandwich cookie, keeping the cream filling on one half
- Spread about 1 teaspoon of peanut butter onto each cream-filled cookie half
- Insert 4 pretzel sticks into each side of the peanut butter to create 8 spider legs
- Press 2 candy eyes into the peanut butter center of each cookie
- Optional: Melt chocolate chips and add a tiny dot where pretzels meet the cookie to secure
- Let spiders rest for 10-15 minutes until set
- Store in an airtight container until ready to serve
Notes
- Storage: Keep in an airtight container at room temperature for up to 3 days.
Nut-Free Option: Substitute peanut butter with sunflower seed butter or Nutella.
Make-Ahead: These can be made up to 2 days in advance.
Kid-Friendly Tip: Let children help with adding eyes and legs for a fun activity.
Pretzel Tips: Break pretzel sticks in half for shorter legs, or use pretzel rods for dramatic long legs.
Nutrition Information (Per Serving)
| Nutrient | Amount |
|---|---|
| Calories | 95 |
| Total Fat | 5g |
| Sugars | 8g |
| Protein | 2g |
Tips for Perfect Spider Cookies
Use room temperature peanut butter for easier spreading. Cold peanut butter is too stiff and might crack your cookies when spreading.
Break pretzel sticks to your desired leg length before assembling. Uniform legs make your spiders look more polished and professional.
Work on parchment paper for easy cleanup and transfer. The spiders can be chilled right on the sheet if your peanut butter is too soft.
Storage and Make-Ahead
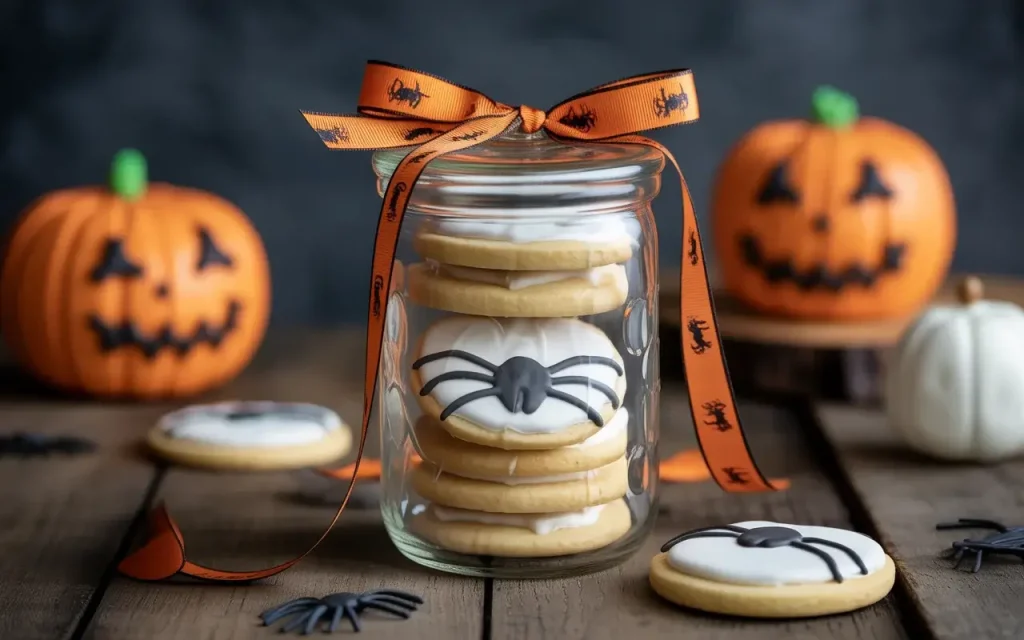
Store Spider Bites in an airtight container at room temperature for up to 3 days. Layer them between parchment paper to prevent sticking.
You can make these up to 2 days ahead for parties. They actually hold up better after sitting for a few hours as everything sets together.
Avoid refrigerating unless your kitchen is very warm, as condensation can make the pretzels soggy. If you must chill them, let them come to room temperature before serving.
Fun Variations to Try
Peanut Butter Alternative: Use Nutella, cookie butter, or sunflower seed butter for nut-free versions. Cream cheese mixed with powdered sugar also works beautifully.
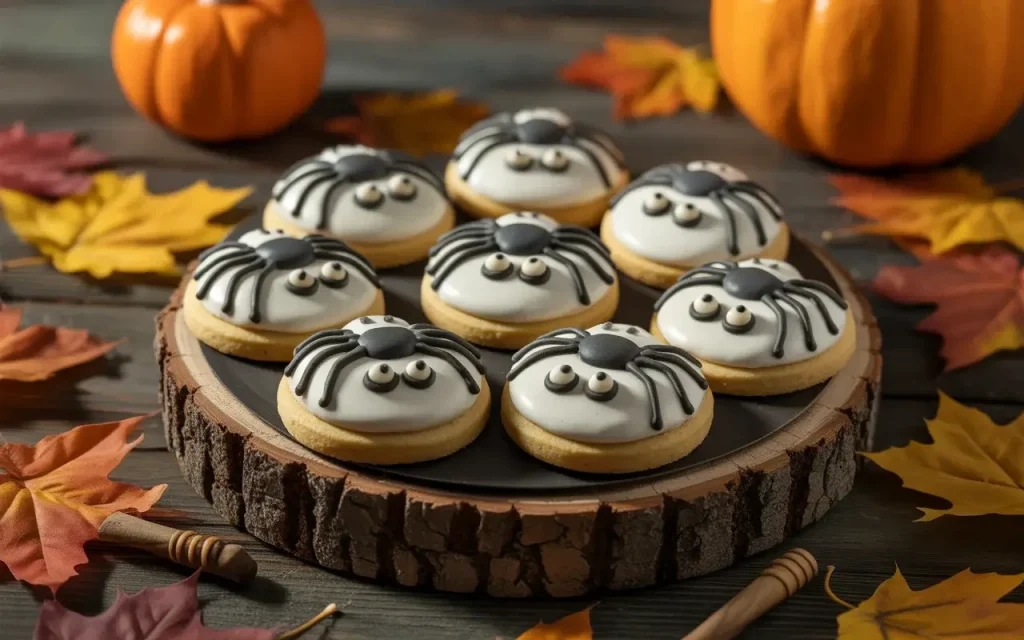
Different Cookies: Try vanilla sandwich cookies for “ghost spiders” or peanut butter cookies for a double-peanut treat. Chocolate chip cookies work too.
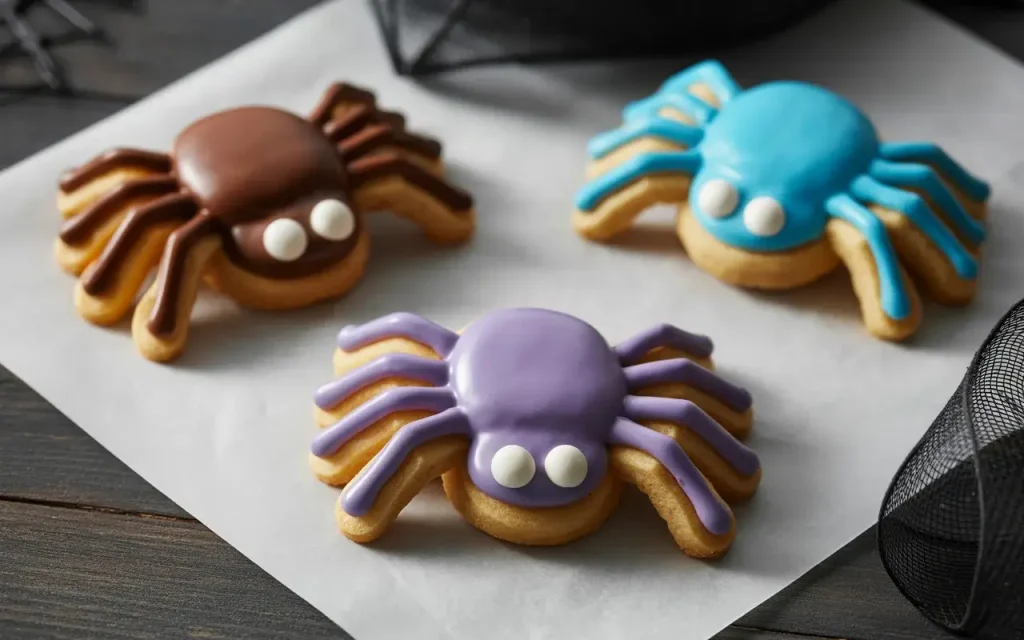
Colorful Spiders: Use food coloring in white chocolate to create green, purple, or orange spiders. Kids love choosing their spider colors.
Frequently Asked Questions
Can I make these spider cookies ahead of time?
Yes! These Spider Bites can be made up to 2 days in advance. Store them in an airtight container at room temperature, layering between parchment paper. They actually hold together better after sitting for a few hours.
What can I use instead of peanut butter for allergies?
Sunflower seed butter, almond butter, or cookie butter all work perfectly as nut-free alternatives. You can also use Nutella for a chocolate-hazelnut version, or cream cheese frosting mixed with powdered sugar for a sweeter option.
Why are my pretzel legs falling off?
Make sure you’re using enough peanut butter (about 1 teaspoon per cookie) and pressing the pretzels firmly into it. If your kitchen is warm, the optional melted chocolate seal at the base of each pretzel will keep legs secure for transport.