Spooky Halloween Cookies
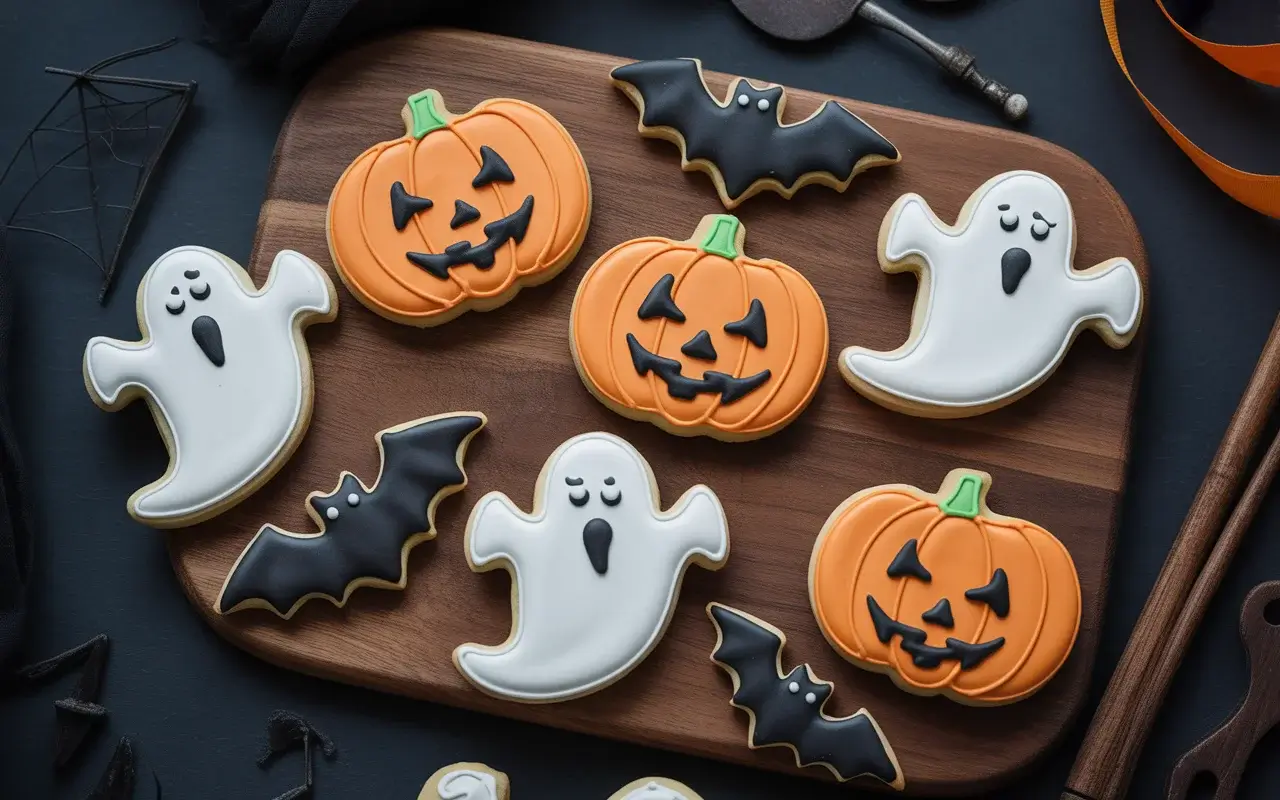
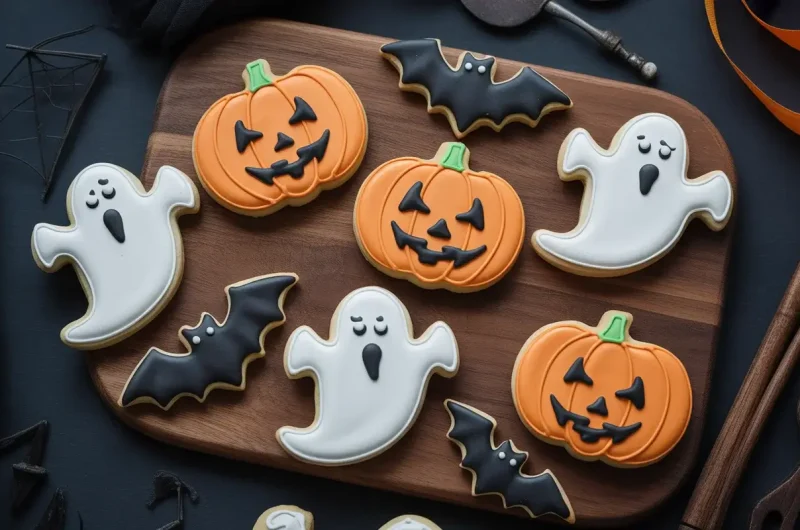
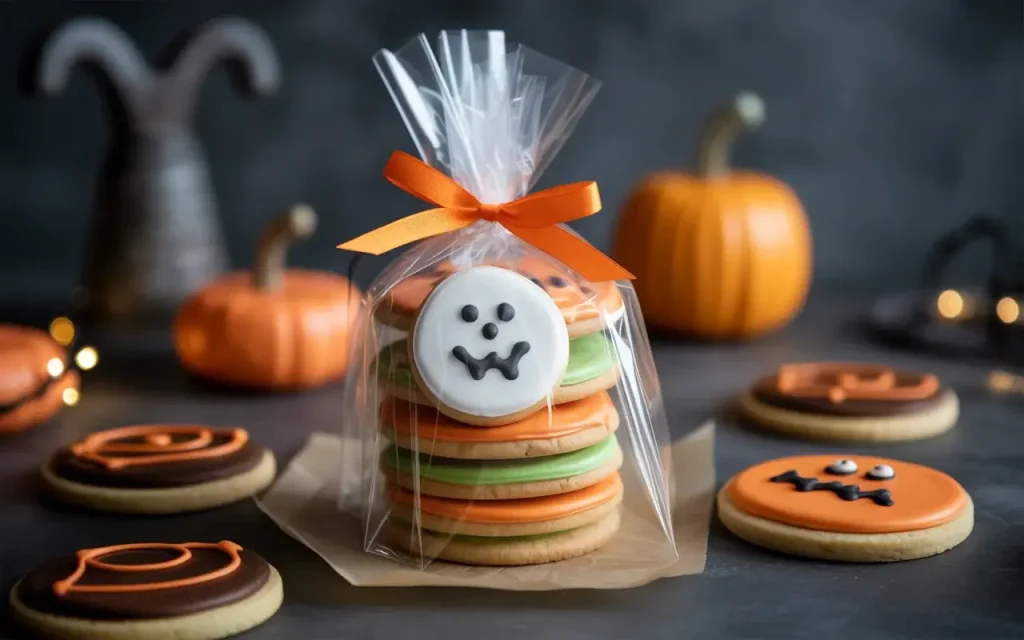
Nothing says Halloween quite like a batch of decorated sugar cookies shaped like ghosts, pumpkins, and bats. These spooky Halloween cookies are soft, buttery, and perfect for decorating with royal icing or colored frosting.
Whether you’re hosting a Halloween party or just want a fun baking project with the kids, these cookies are easy to make and even more fun to decorate. They hold their shape beautifully and taste amazing.
The best part? You can customize them with any Halloween design you like. From creepy crawlies to friendly monsters, these cookies are your blank canvas for edible Halloween art.
Why You’ll Love This Recipe
These cookies are buttery, not too sweet, and have the perfect texture for decorating. They stay soft for days and won’t spread or lose their shape in the oven.
The dough is easy to work with and doesn’t require chilling for hours. You can roll it out right away, cut your shapes, and get baking in under 30 minutes of prep time.
Plus, decorating these cookies is a blast for all ages. Set up a decorating station with different colored icings, sprinkles, and edible eyes for maximum Halloween fun.
Read More: Kipling Cookies Recipe
Ingredients You’ll Need
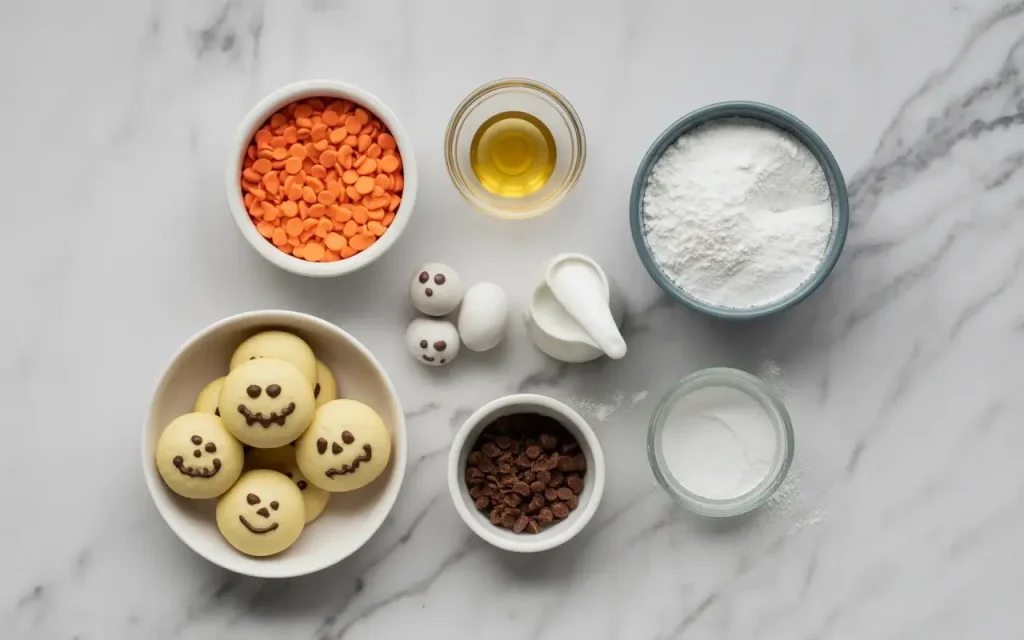
The ingredient list is simple and you probably have most of these staples in your pantry already. No fancy extracts or hard to find items required.
For the best flavor, use real butter and pure vanilla extract. The quality of these two ingredients really shines through in the final cookie.
Here’s what you’ll need for both the cookies and a basic royal icing for decorating:
How to Make Spooky Halloween Cookies
Start by creaming your butter and sugar until light and fluffy. This step is crucial for creating that perfect soft texture we’re going for.
Add your egg and vanilla, then mix in the dry ingredients until just combined. Don’t overmix or your cookies will be tough instead of tender.
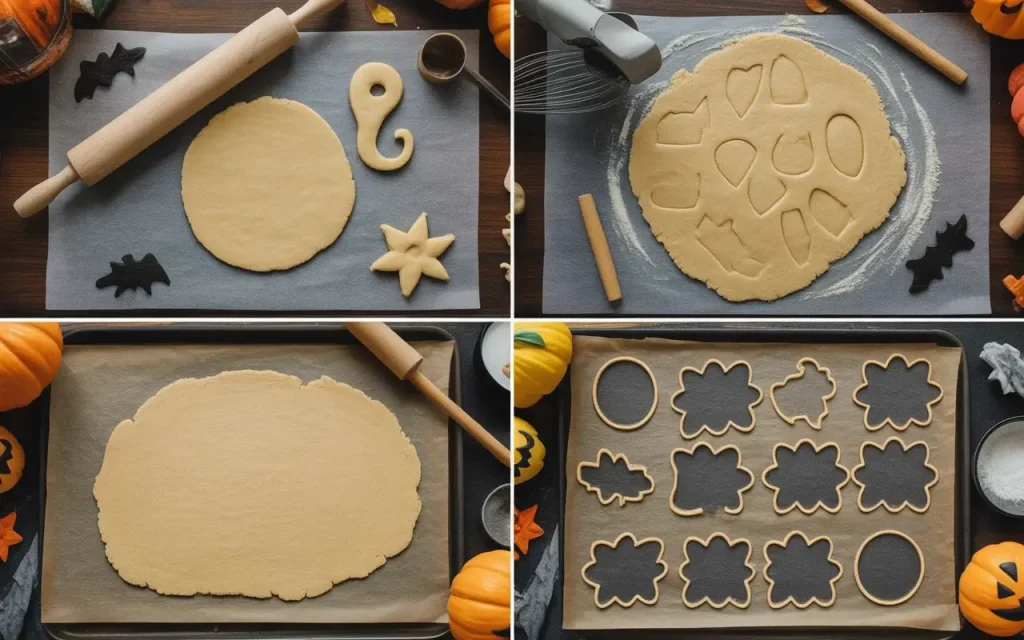
Roll out the dough, cut your shapes, and bake until the edges are just barely golden. Let them cool completely before decorating with royal icing or frosting.
Spooky Halloween Cookies
Course: DessertCuisine: AmericanDifficulty: Easy24
30
minutes40
1
hour10
minutesSoft, buttery sugar cookies perfect for decorating with Halloween designs. These cookies hold their shape beautifully and taste incredible.
Ingredients
- For the Cookies
2¾ cups all purpose flour
1 teaspoon baking powder
½ teaspoon salt
1 cup unsalted butter, softened
1 cup granulated sugar
1 large egg
2 teaspoons vanilla extract
- For the Royal Icing
3 cups powdered sugar
2 tablespoons meringue powder
5 to 6 tablespoons water
Gel food coloring in Halloween colors
Directions
- Preheat your oven to 350°F and line two baking sheets with parchment paper.
- Whisk together the flour, baking powder, and salt in a medium bowl. Set aside.
- Beat the softened butter and sugar together in a large bowl with an electric mixer until light and fluffy, about 3 minutes.
- Add the egg and vanilla extract to the butter mixture and beat until fully combined and smooth.
- Gradually add the flour mixture to the wet ingredients, mixing on low speed until just combined. Don’t overmix.
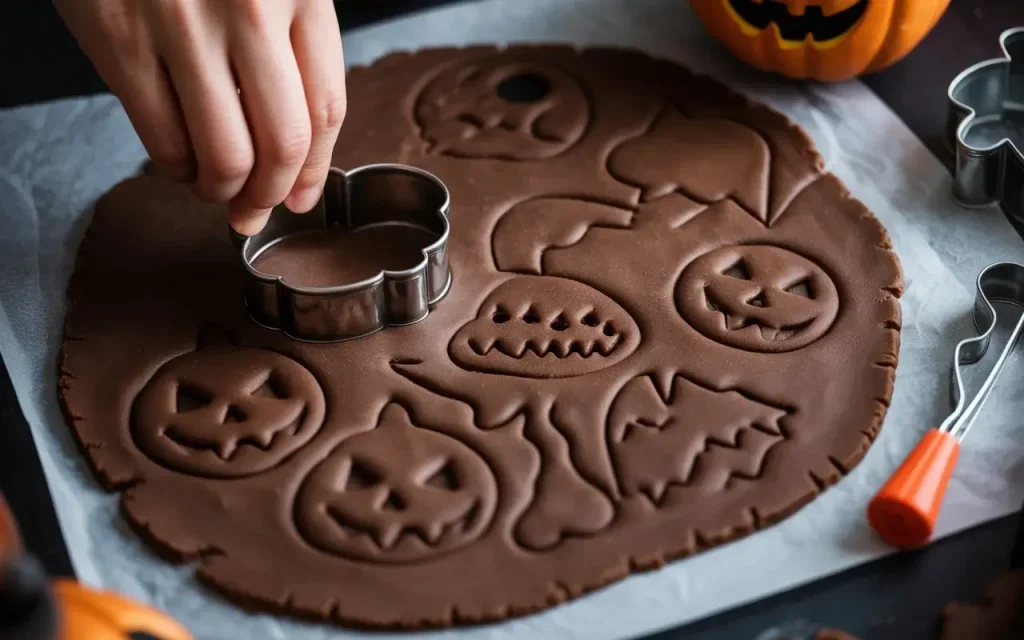
- Roll out the dough on a lightly floured surface to about ¼ inch thickness. Cut out shapes with Halloween cookie cutters.
- Place cookies on prepared baking sheets about 2 inches apart. Bake for 9 to 11 minutes until edges are barely golden.
- Let cookies cool on the baking sheet for 5 minutes, then transfer to a wire rack to cool completely before decorating.
- For royal icing, beat powdered sugar, meringue powder, and water together until smooth and glossy. Adjust consistency with more water or sugar as needed.
- Divide icing into bowls, tint with gel food coloring, and decorate cooled cookies as desired. Let icing dry completely, about 2 hours.
Notes
- Dough Tips: If the dough is too sticky to roll, chill it for 15 to 20 minutes. If it’s too crumbly, add water one teaspoon at a time.
Icing Consistency: For outlining, icing should hold a stiff peak. For flooding, thin it with water until it flows smoothly but isn’t runny.
Flavor Variations: Try adding ½ teaspoon almond extract or using orange zest for a citrusy twist.
Make It Easier: Use store bought sugar cookie dough and focus your energy on the decorating for a faster version.
Nutrition Information (per cookie)
| Nutrient | Amount |
|---|---|
| Calories | 165 |
| Total Fat | 7g |
| Sugars | 14g |
| Protein | 2g |
Decorating Tips and Ideas
Royal icing is the gold standard for cookie decorating because it dries hard and looks professionally smooth. You can also use store bought frosting if you want to keep things simple.
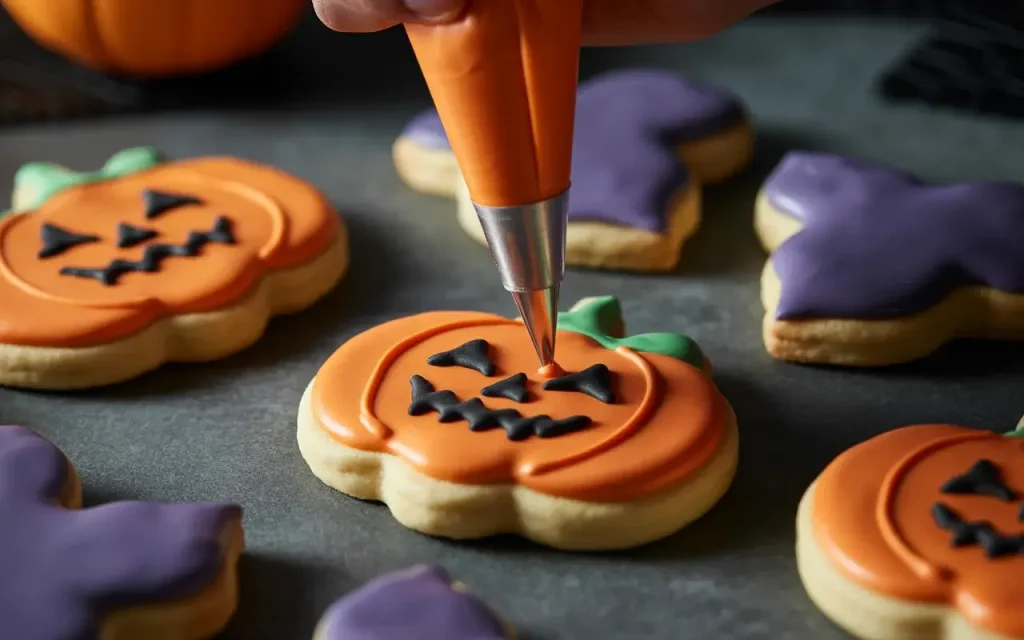
Divide your icing into separate bowls and tint each one with gel food coloring. Black, orange, purple, and green are classic Halloween colors that work beautifully together.
Use piping bags or squeeze bottles for detailed work, and toothpicks to spread icing into corners. Edible eyes, sprinkles, and sanding sugar add fun finishing touches.
Storage and Make Ahead Tips
Store undecorated cookies in an airtight container at room temperature for up to one week. They also freeze beautifully for up to three months.
Decorated cookies should be stored in a single layer or separated by parchment paper to prevent the icing from smudging. They’ll stay fresh for up to five days.
You can make the dough up to three days ahead and keep it wrapped in the fridge. Let it sit at room temperature for about 15 minutes before rolling if it gets too firm.
Frequently Asked Questions
Can I make these cookies without a mixer?
Yes, you can make these by hand using a wooden spoon or spatula. Just make sure your butter is very soft so it creams easily with the sugar. It will take a bit more elbow grease, but the results will be just as delicious.
Why did my cookies spread or lose their shape?
This usually happens if the dough is too warm or the butter was melted instead of softened. Make sure your butter is softened but still cool, and chill the cut cookies for 10 minutes before baking if your kitchen is very warm.
How do I get my royal smooth and shiny?
The key is beating the icing for several minutes until it’s glossy and forms stiff peaks. For flooding cookies, thin the icing with water a few drops at a time until it flows smoothly. Let outlined cookies dry for 15 minutes before flooding to prevent colors from bleeding.