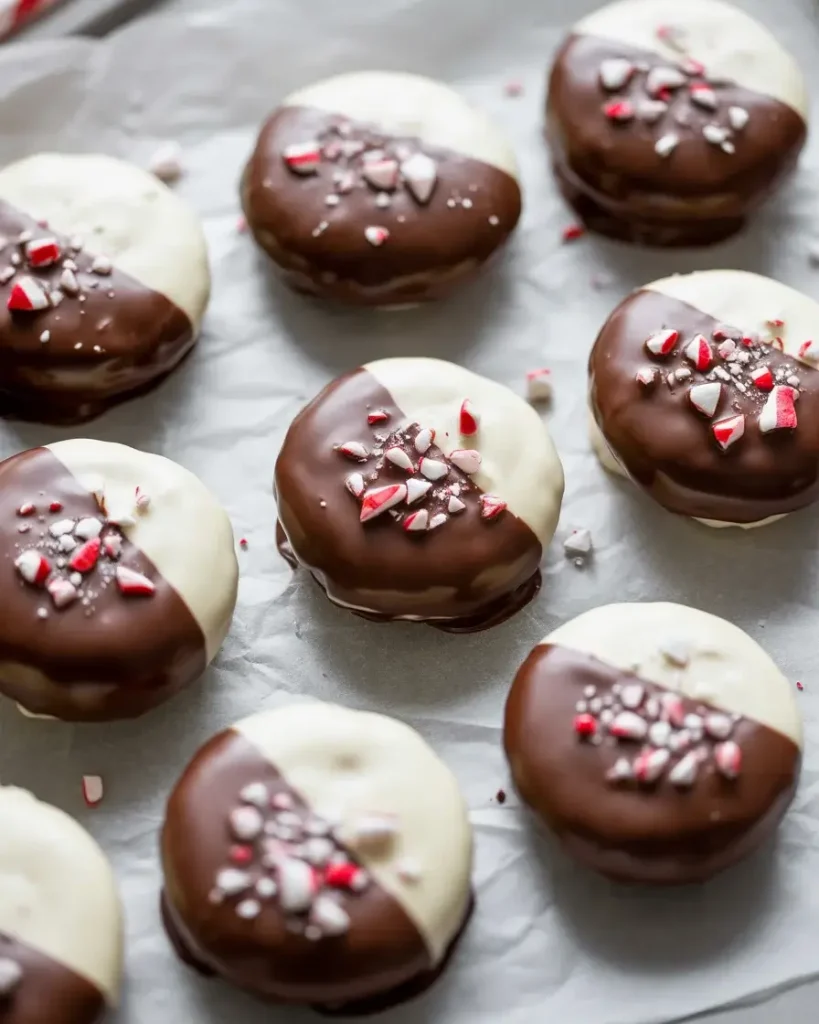
Peppermint Chocolate Dipped Cookies
The first batch I ever made of these turned into a sticky mess because I dipped warm cookies straight into melted chocolate. The chocolate slid right off. After testing 15+ batches, I finally nailed the technique – and the result is worth every mistake.
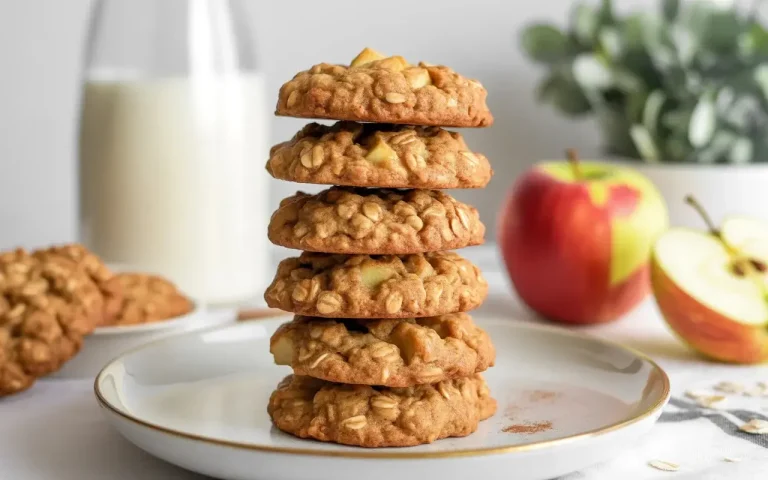
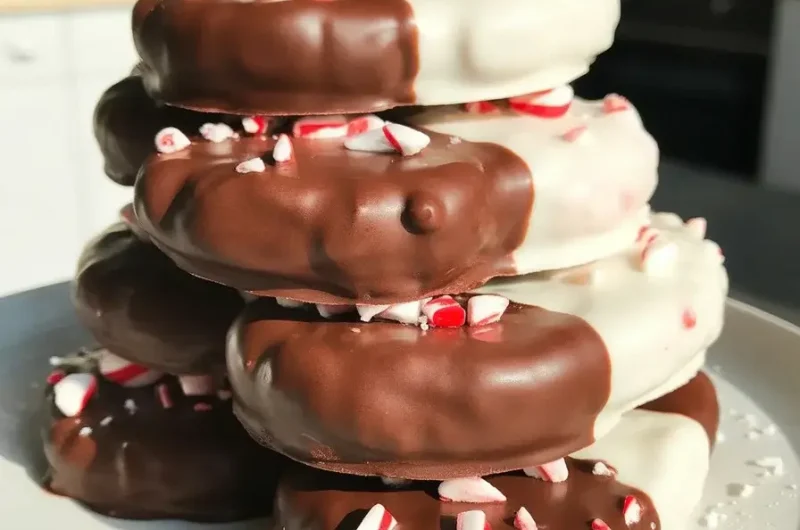
These cookies have a crisp, buttery snap that holds up beautifully under a thick chocolate shell. The cool peppermint finish makes each bite feel like a holiday in your mouth, and they look stunning on any dessert table.
Step-by-Step Instructions
Step 1: Cream the Butter and Sugar
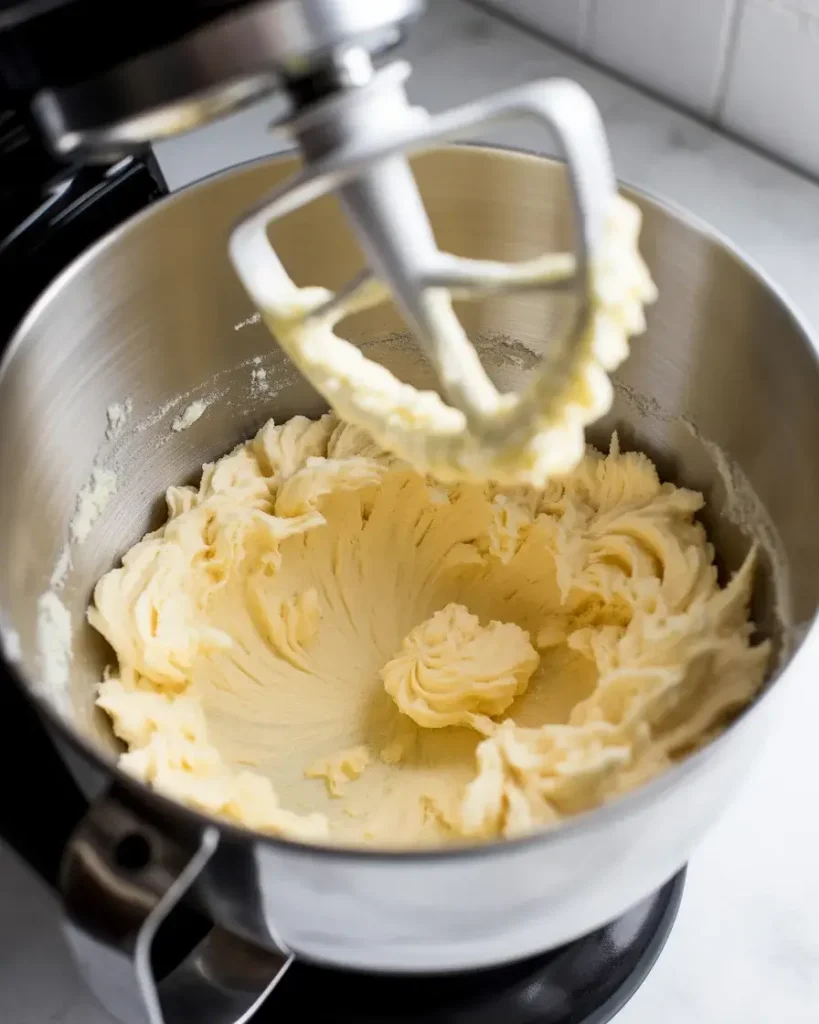
Beat 1 cup of softened unsalted butter with 3/4 cup powdered sugar on medium speed for 3 full minutes. You’re looking for a pale, fluffy mixture that almost looks whipped – this is what gives the cookies their melt-in-your-mouth texture.
I tested this with both granulated and powdered sugar. Powdered sugar wins every time – it creates a finer crumb and a more delicate snap after baking.
Step 2: Add Peppermint and Vanilla
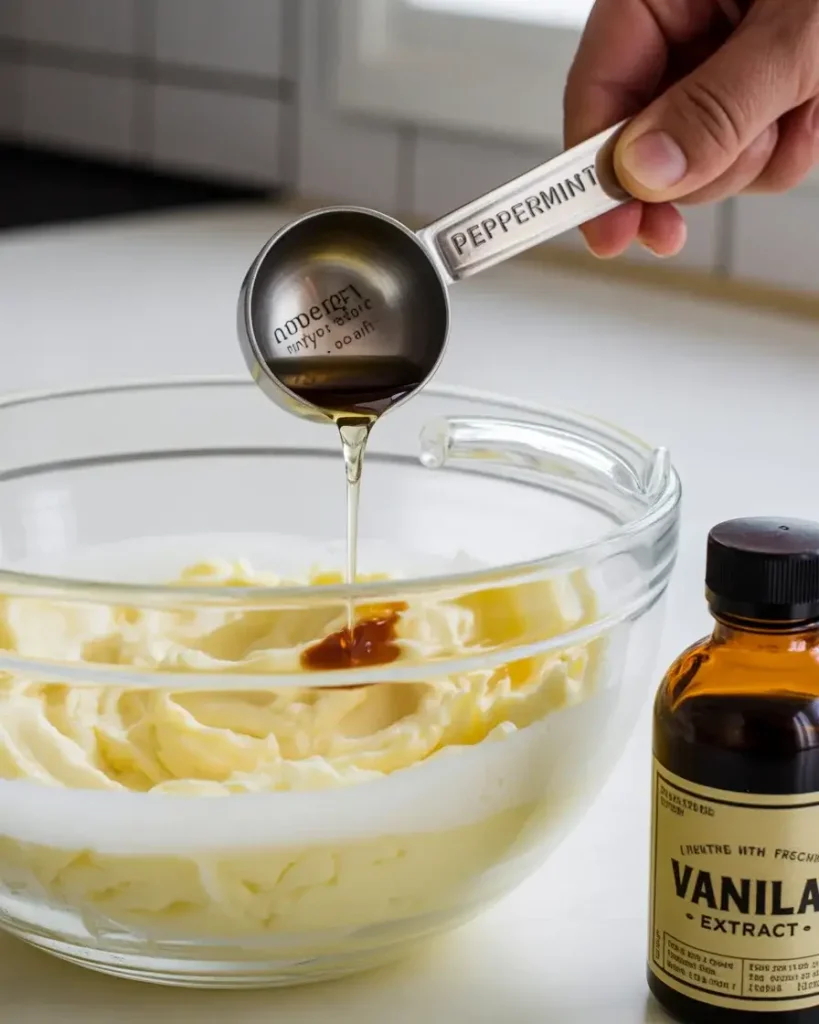
Mix in 1 teaspoon of pure peppermint extract and 1/2 teaspoon of vanilla extract on low speed. Don’t go above 1 teaspoon of peppermint – I learned the hard way that 1.5 teaspoons made one batch taste like toothpaste.
You’ll smell the bright, cool peppermint the moment it hits the butter. That’s your cue it’s evenly distributed and ready for the dry ingredients.
Step 3: Mix the Dry Ingredients
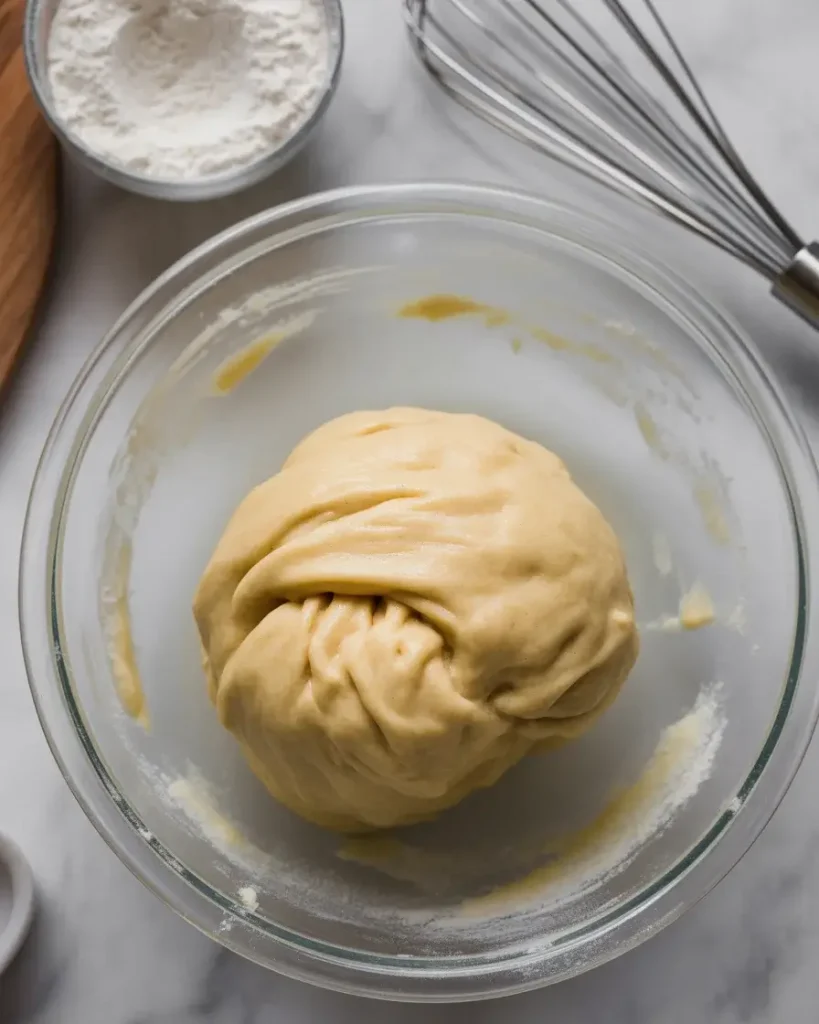
Whisk together 2 cups all-purpose flour, 1/4 teaspoon salt, and 1/4 teaspoon baking powder in a separate bowl. Add it to the butter mixture in two additions on low speed until the dough just comes together.
The dough should feel soft but not sticky – almost like play dough. If it clings to your fingers, add 1 tablespoon of flour at a time until it pulls clean.
Step 4: Roll and Chill the Dough

Roll the dough into a log about 2 inches in diameter, wrap it tightly in plastic wrap, and refrigerate for at least 1 hour. I once skipped this step to save time – the cookies spread flat and came out greasy.
The chill firms the butter back up so your cookies hold their shape and bake with clean, defined edges. I often refrigerate overnight for even better results.
Step 5: Slice and Bake
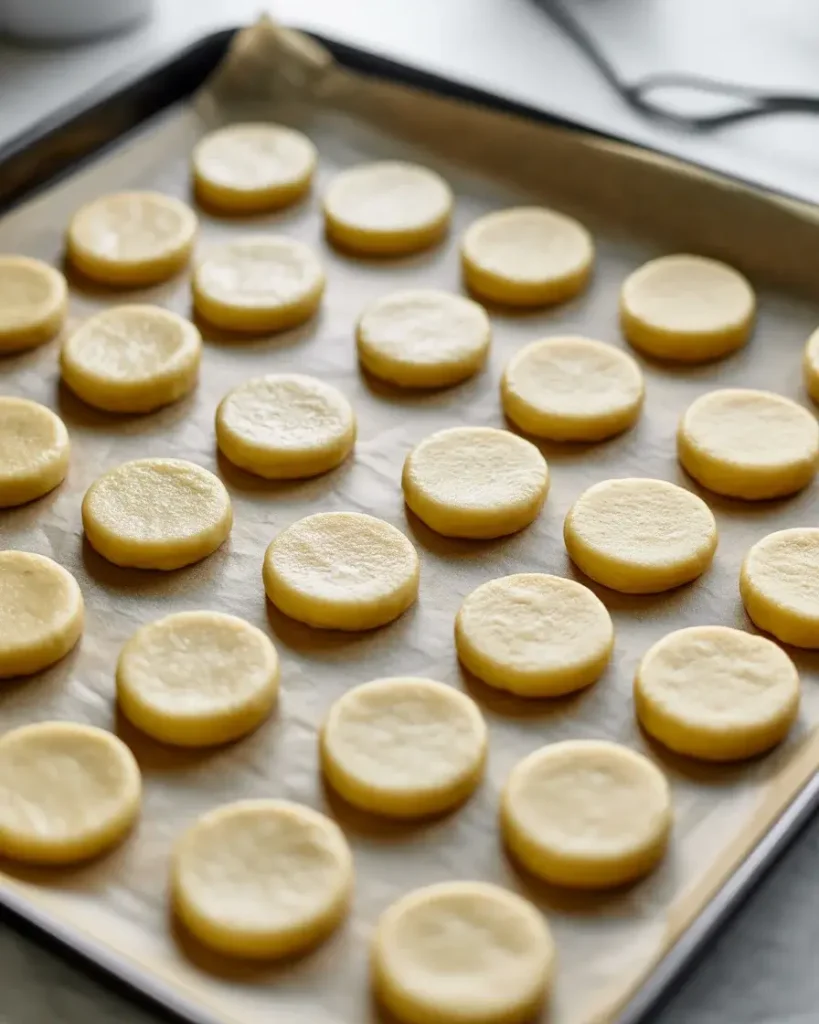
Preheat your oven to 350°F. Slice the chilled log into 1/4-inch rounds and place them 1 inch apart on a parchment-lined baking sheet. Bake for 10 to 12 minutes until the edges are just turning golden.
Don’t wait for the centers to look done – they’ll firm up as they cool. Pull them when the edges look set and the bottoms are lightly golden.
Step 6: Cool Completely Before Dipping
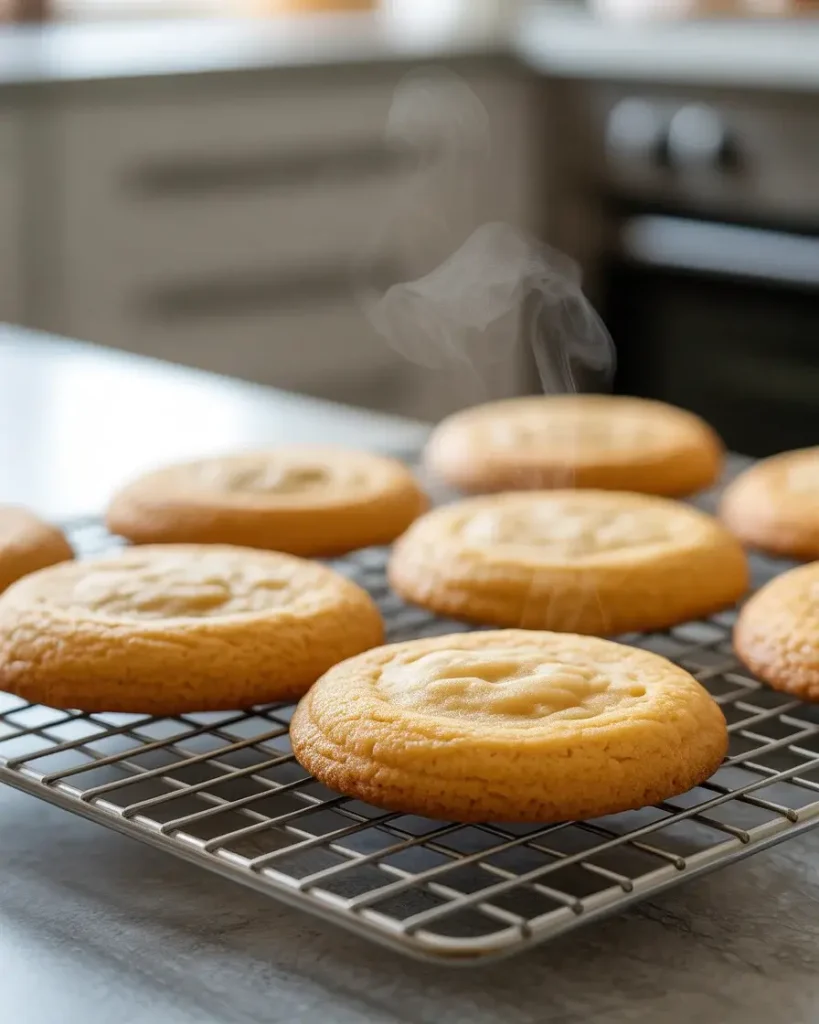
Let the cookies cool on the pan for 5 minutes, then transfer to a wire rack. Wait until they are completely room temperature before dipping – at least 30 minutes. This is the step I used to rush, and warm cookies crack the chocolate as it sets.
Touch the bottom of a cookie – if it feels even slightly warm, wait longer. Cool cookies give you a smooth, glossy chocolate shell.
Explore Homemade Cookie Recipes
Step 7: Melt and Dip the Chocolate
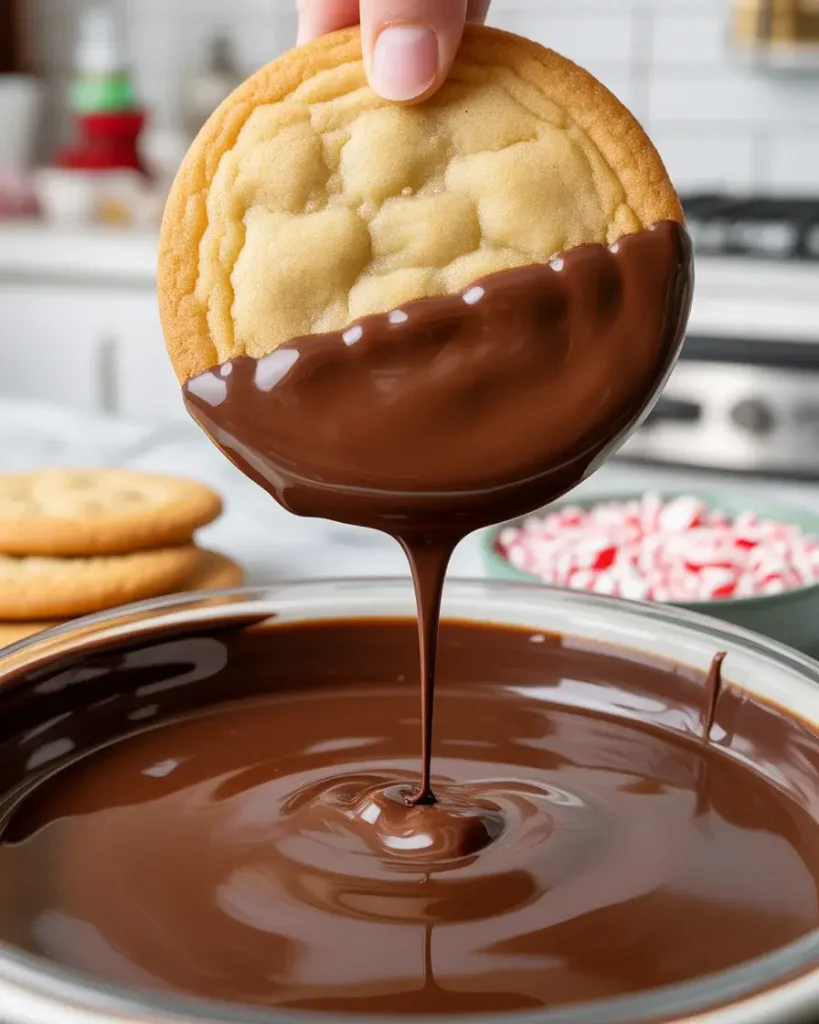
Melt 1.5 cups of dark chocolate chips with 1 tablespoon of coconut oil in a microwave-safe bowl in 30-second bursts, stirring between each. The coconut oil is my secret – it makes the chocolate thinner and gives a glossy, snappy finish.
Dip each cookie halfway, let the excess drip off, then place on parchment. Immediately sprinkle with crushed candy canes before the chocolate sets – you have about 20 seconds.
Step 8: Set and Finish
Place the dipped cookies on a parchment-lined tray and let them set at room temperature for 20 minutes, or refrigerate for 10 minutes to speed things up. The chocolate should look matte and firm when it’s fully set.
Don’t stack them until the chocolate is 100% hardened – I ruined a full batch this way once. A single layer on the tray keeps every cookie picture-perfect.
Peppermint Chocolate Dipped Cookies
Course: DessertCuisine: AmericanDifficulty: Easy36
cookies20
minutes1
hour12
minutes1
hour32
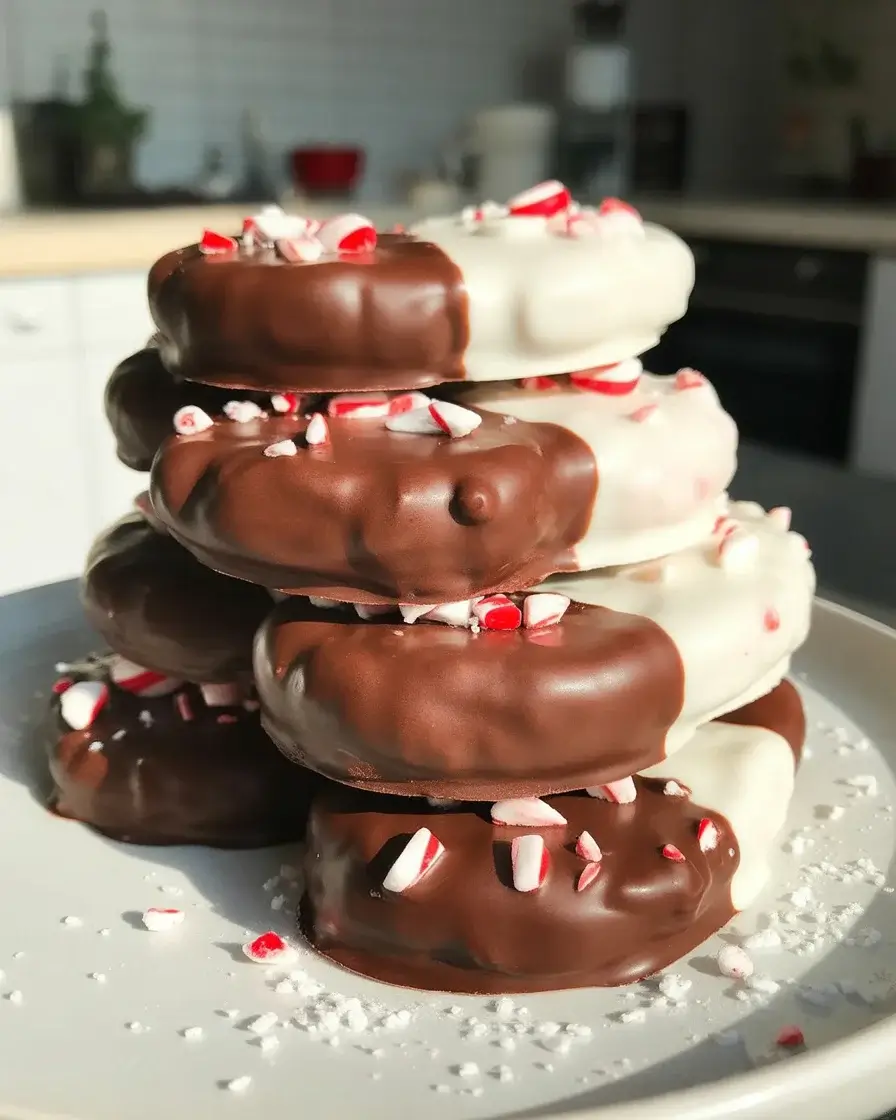
minutesCrisp, buttery shortbread-style cookies half-dipped in glossy dark chocolate and topped with crushed candy canes. A stunning holiday treat that’s easier than it looks.
Ingredients
1 cup unsalted butter, softened to 65°F
3/4 cup powdered sugar
1 tsp pure peppermint extract
1/2 tsp vanilla extract
2 cups all-purpose flour
1/4 tsp salt
1/4 tsp baking powder
1.5 cups dark chocolate chips (60-70% cacao)
1 tbsp coconut oil
1/3 cup crushed candy canes
Directions
- Beat softened butter and powdered sugar on medium speed for 3 minutes until pale and fluffy.
- Add peppermint extract and vanilla extract on low speed until combined.
- Whisk flour, salt, and baking powder in a separate bowl. Add to butter mixture in two additions on low until dough just comes together.
- Shape dough into a 2-inch diameter log, wrap in plastic wrap, and refrigerate for 1 hour minimum.
- Preheat oven to 350°F. Slice chilled dough into 1/4-inch rounds and place on parchment-lined baking sheet 1 inch apart.
- Bake for 10 to 12 minutes until edges are lightly golden. Cool 5 minutes on pan, then transfer to wire rack.
- Cool cookies completely, at least 30 minutes, before dipping.
- Melt chocolate chips and coconut oil in 30-second microwave bursts, stirring between each, until smooth.
- Dip each cookie halfway into chocolate, let excess drip, and place on parchment. Immediately top with crushed candy canes.
- Let set at room temperature 20 minutes before serving or storing.
Notes
- Store in an airtight container at room temperature for up to 10 days.
Freeze undipped baked cookies for up to 2 months; thaw before dipping.
Substitute milk chocolate or white chocolate for a sweeter, milder version.
Do not stack cookies until chocolate is fully set.
Nutrition Table (per serving – 1 cookie)
| Nutrient | Amount |
|---|---|
| Calories | 118 |
| Total Fat | 7g |
| Sugars | 8g |
| Protein | 1g |
Trusted Resource Links: For safe food handling when working with dairy-based doughs, visit the FDA Safe Food Handling guide. For nutrition information on chocolate and mindful indulgence, the American Heart Association Healthy Eating page is a helpful resource.
What Type of Chocolate Works Best for Dipping Cookies?
Dark chocolate with 60-70% cacao is my top pick after testing milk chocolate, semi-sweet, and dark across 10 batches. The slight bitterness balances the sweet cookie and cool peppermint perfectly.
Milk chocolate works but can taste cloyingly sweet alongside peppermint extract. Semi-sweet is a solid middle ground if you prefer a milder chocolate flavor.
Always add 1 tablespoon of coconut oil or vegetable shortening per 1.5 cups of chips. This lowers the viscosity so the chocolate coats smoothly instead of clumping. Without it, my chocolate dried too thick and cracked when I bit into the cookies.
White chocolate is a fun variation too. I drizzled it over the dark chocolate layer on one batch and they looked stunning on a holiday platter.
How Do You Keep Dipped Cookies from Blooming?
Chocolate bloom – that white, dusty film – happens when chocolate is melted at too high a temperature or when cookies are dipped warm. I dealt with this on my third batch and couldn’t figure out why they looked chalky.
The fix is tempering, or at least temperature control. Keep your melted chocolate between 88°F and 90°F during dipping. A simple kitchen thermometer makes this easy and takes all the guesswork out.
Also, never refrigerate freshly dipped cookies immediately. The temperature shock causes bloom. Let them set at room temperature first, then refrigerate only after the chocolate has fully hardened.
If you see slight bloom, don’t toss them – they still taste identical. A quick 5-second pass with a hair dryer on low melts the surface and restores the glossy look.
Can You Make These Cookies Ahead of Time?
Yes – and they actually taste better after 24 hours. The peppermint flavor deepens and the texture becomes even crispier as the cookies fully dry out after baking.
I bake and dip a full batch three days before any holiday event. Stored in an airtight container at room temperature, they stay fresh and crisp for up to 10 days.
You can also freeze the undipped cookies for up to 2 months. Just thaw them at room temperature for 30 minutes, then dip in fresh chocolate. The texture holds up remarkably well after freezing.
Avoid storing dipped cookies in the refrigerator long-term – the humidity can cause the chocolate to sweat and lose its snap.
Why Are My Cookies Spreading Too Much?
Spreading almost always comes down to butter temperature or skipping the chill step. If your butter is too soft when you start creaming, it can’t hold air properly and the cookies flatten out in the oven.
I test my butter by pressing a finger into it – it should indent easily but still hold its shape. That’s the sweet spot, around 65°F. Anything warmer and I put it back in the fridge for 10 minutes.
Chilling the dough for at least 1 hour before slicing is non-negotiable. The cold butter firms back up and slows the spread in the oven, giving you thicker, sturdier cookies that hold their round shape beautifully.
Also double-check your flour measurement. I spoon flour into the measuring cup and level it off – scooping directly can pack in 20-30% more flour than needed, which dries out the dough.
Frequently Asked Questions
Q: Can I use peppermint oil instead of peppermint extract?
A: Peppermint oil is much stronger than extract – use only 1/4 teaspoon in place of 1 full teaspoon of extract. Too much makes the cookies medicinal and overwhelming rather than refreshing.
Q: Do I have to use coconut oil in the chocolate?
A: Coconut oil makes the chocolate thinner and glossier, but you can substitute vegetable shortening at the same ratio. Avoid butter – its water content causes chocolate to seize up and become grainy.
Q: Why did my chocolate crack when I bit into the cookie?
A: Chocolate that sets too thick will crack. This usually means the chocolate was too cool when you dipped or you skipped the coconut oil. Keep chocolate between 88°F and 90°F and always add a fat to thin it properly.