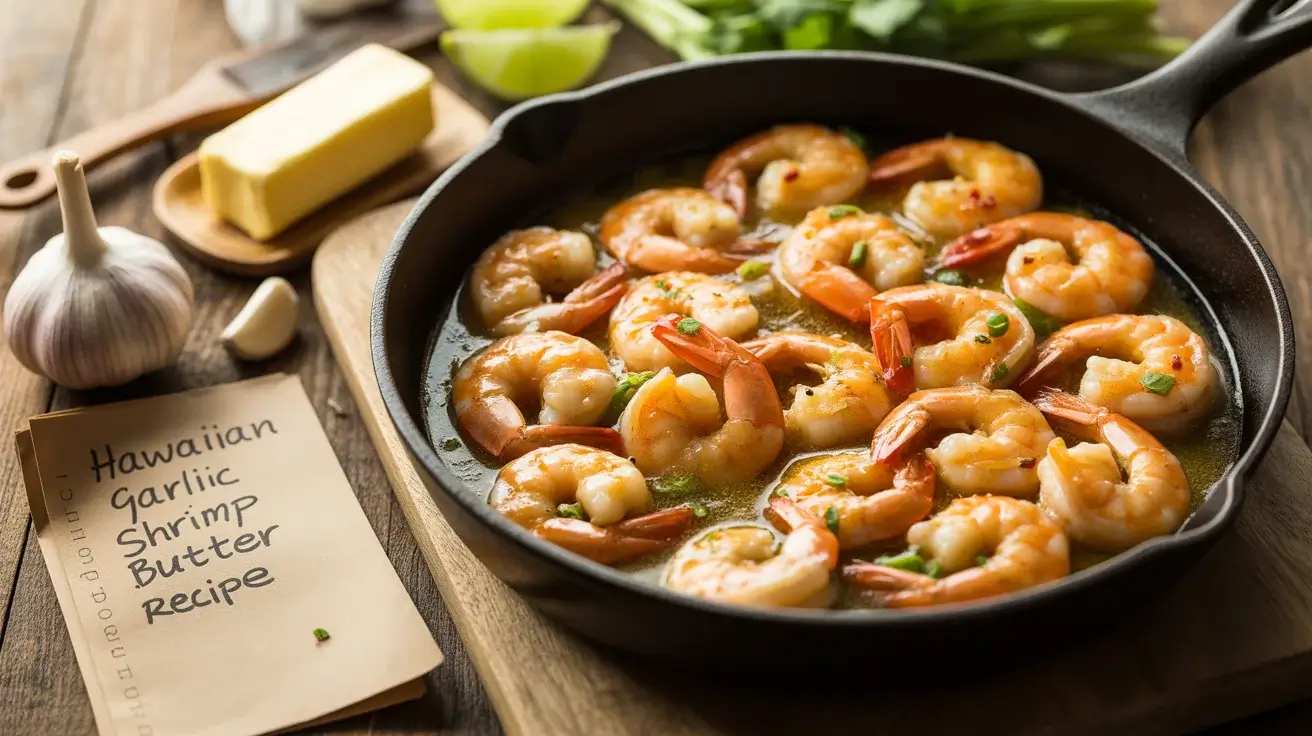
Hawaiian Garlic Shrimp Butter Recipe
There’s something magical about Hawaiian garlic shrimp butter that transports you straight to the North Shore of Oahu with every bite. This iconic dish features plump, juicy shrimp swimming in a rich garlic butter sauce that’s both simple and utterly addictive.
What makes this recipe special is the perfect balance of butter, garlic, and a hint of sweetness that Hawaii is famous for. You’ll get restaurant-quality results at home in under 20 minutes, making it ideal for busy weeknights or impressive dinner parties.
The best part? You only need a handful of ingredients to create this show-stopping dish that pairs beautifully with rice, pasta, or crusty bread for soaking up every drop of that golden garlic butter sauce.
Why You’ll Love This Recipe
This Hawaiian garlic shrimp butter recipe delivers massive flavor with minimal effort. The rich, garlicky butter coats each shrimp perfectly, creating that signature taste you’d find at famous shrimp trucks in Hawaii.
It’s incredibly versatile and works for any occasion—from casual family dinners to special date nights. The quick cooking time means you’ll spend less time in the kitchen and more time enjoying your meal.
You can easily customize the heat level and adjust the garlic intensity to suit your preferences. Plus, it’s naturally gluten-free and keto-friendly, making it accessible for various dietary needs.
Ingredients You’ll Need
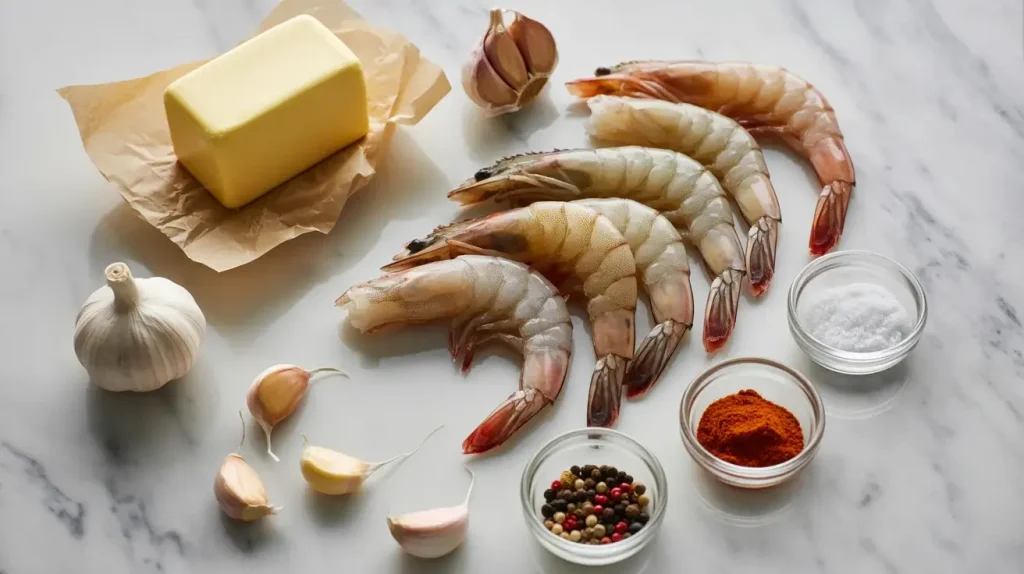
The beauty of Hawaiian garlic shrimp butter lies in its simplicity. You’ll need large shrimp (preferably 16-20 count), which provide the perfect bite-size texture and soak up all that buttery goodness.
Quality butter is non-negotiable here—use unsalted butter so you can control the salt level. Fresh garlic cloves give the best flavor, though you can use jarred minced garlic in a pinch.
Key ingredients:
How to Make Hawaiian Garlic Shrimp Butter
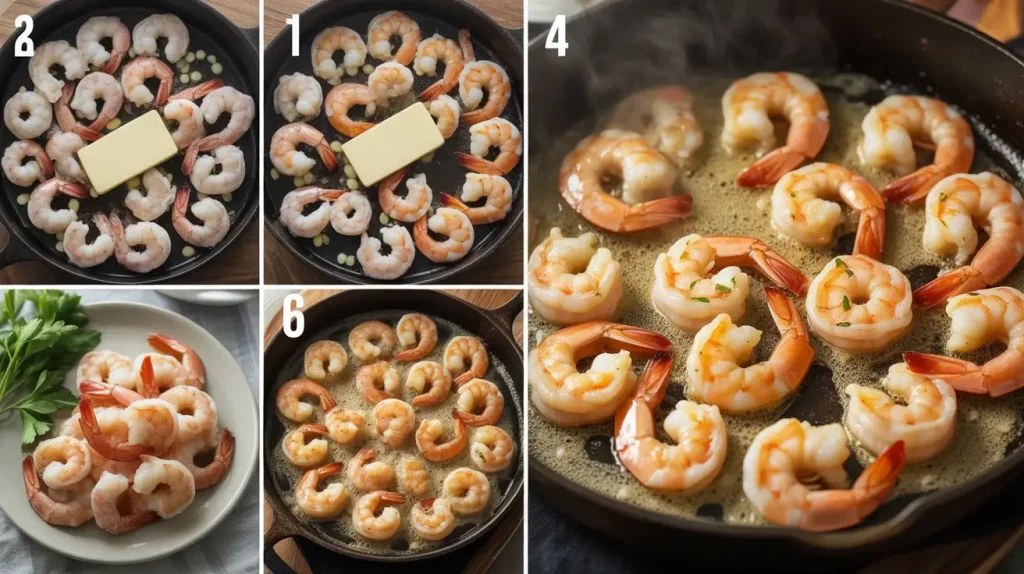
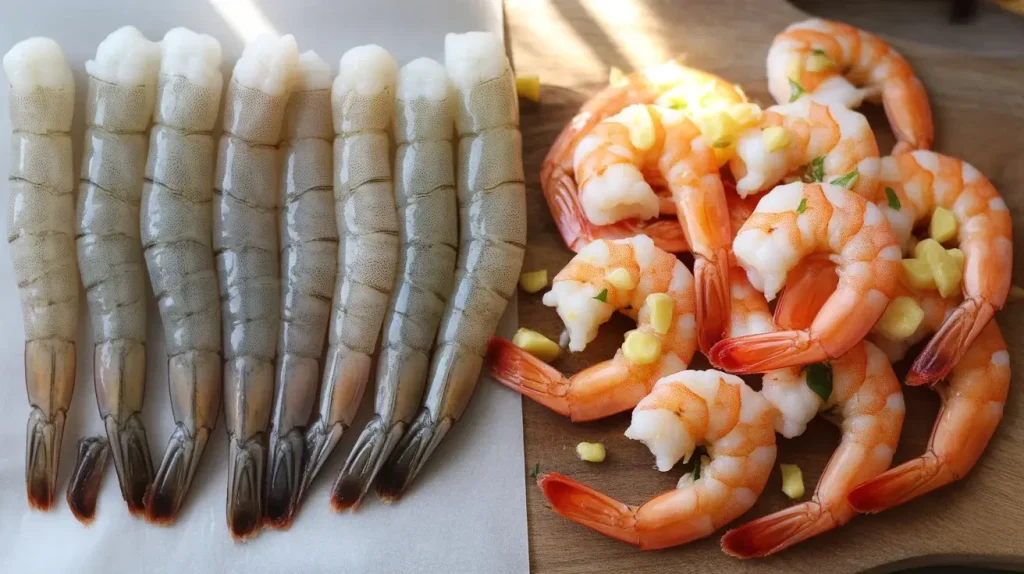
Start by patting your shrimp completely dry with paper towels—this ensures a beautiful sear and prevents the butter sauce from becoming watery. Season them lightly with salt, pepper, and a pinch of paprika.
Melt butter in a large skillet over medium-high heat until it’s foaming and fragrant. Add the garlic and cook for just 30 seconds until aromatic, being careful not to burn it.
Add the shrimp in a single layer and cook for 2-3 minutes per side until pink and opaque. Stir in the brown sugar, lemon juice, and any additional seasonings, then toss everything together until the sauce is glossy and coats each shrimp perfectly.
Hawaiian Garlic Shrimp Butter Recipe
Course: DinnerCuisine: HawaiianDifficulty: Easy4
servings10
15
minutes25
Professional Food Blog Description: Buttery, garlicky Hawaiian-style shrimp that’s ready in 15 minutes with restaurant-quality flavor
Ingredients
1½ pounds large shrimp (16-20 count), peeled and deveined, tails on or off
6 tablespoons unsalted butter
8-10 garlic cloves, minced (about 3 tablespoons)
1 tablespoon brown sugar or honey
1 teaspoon paprika
2 tablespoons fresh lemon juice
½ teaspoon salt
¼ teaspoon black pepper
¼ teaspoon red pepper flakes (optional)
2 tablespoons fresh parsley, chopped (for garnish)
Directions
- Prep the shrimp: Pat shrimp completely dry with paper towels. Season with salt, pepper, and paprika. Set aside.
- Make the garlic butter: In a large skillet over medium-high heat, melt 4 tablespoons of butter until foaming. Add minced garlic and cook for 30 seconds, stirring constantly until fragrant but not browned.
- Cook the shrimp: Add shrimp to the skillet in a single layer. Cook for 2 minutes without moving them to get a nice sear.
- Flip and finish: Flip shrimp and cook for another 2 minutes until pink and opaque. They should be just cooked through.
- Create the sauce: Reduce heat to medium-low. Add remaining 2 tablespoons butter, brown sugar, lemon juice, and red pepper flakes if using. Stir until butter melts and sugar dissolves, creating a glossy sauce.
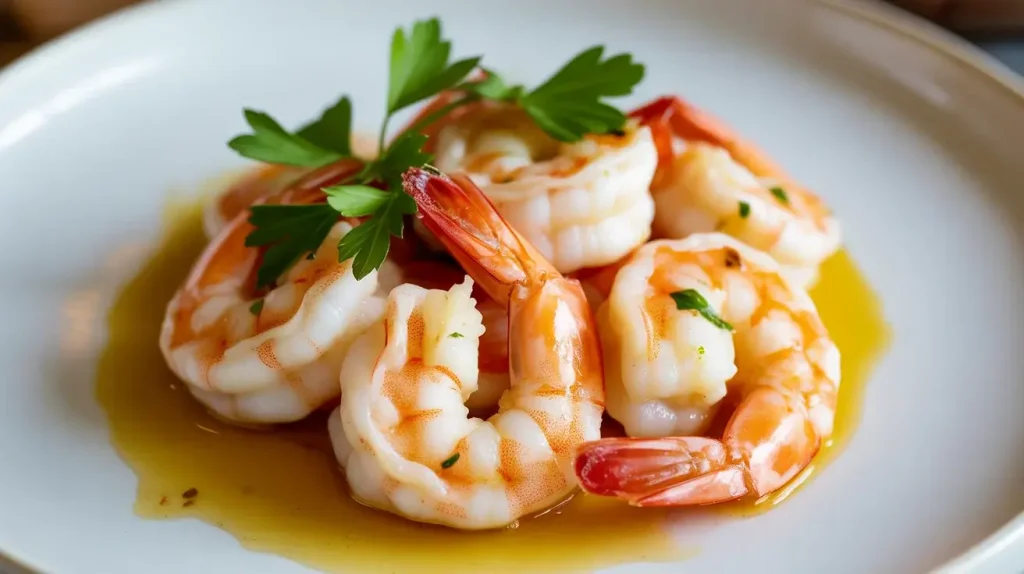
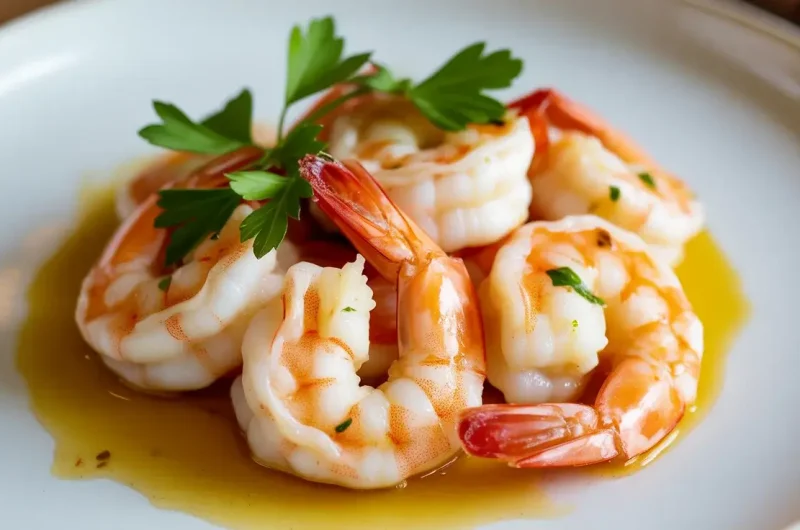
- Toss and serve: Toss shrimp in the sauce to coat evenly. Garnish with fresh parsley and serve immediately with rice, pasta, or crusty bread.
Notes
- Storage: Best served fresh, but leftovers can be refrigerated in an airtight container for up to 2 days. Reheat gently to avoid overcooking shrimp.
Substitutions: Swap brown sugar for coconut sugar or honey. Use ghee instead of butter for dairy-free option. - Pro tips: Don’t overcrowd the pan—cook in batches if needed for the best sear. Use fresh garlic, not garlic powder, for authentic flavor.
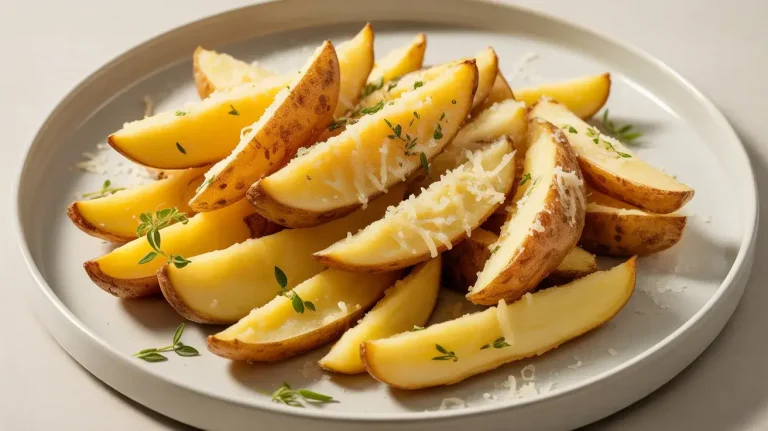
Serving suggestions: Serve over white rice, garlic noodles, or with Hawaiian sweet rolls for sopping up the sauce.
| Nutrient | Per Serving |
|---|---|
| Calories | 285 kcal |
| Total Fat | 18g |
| Dietary Fiber | 0g |
| Sugars | 1g |
| Protein | 28g |
Serving Suggestions
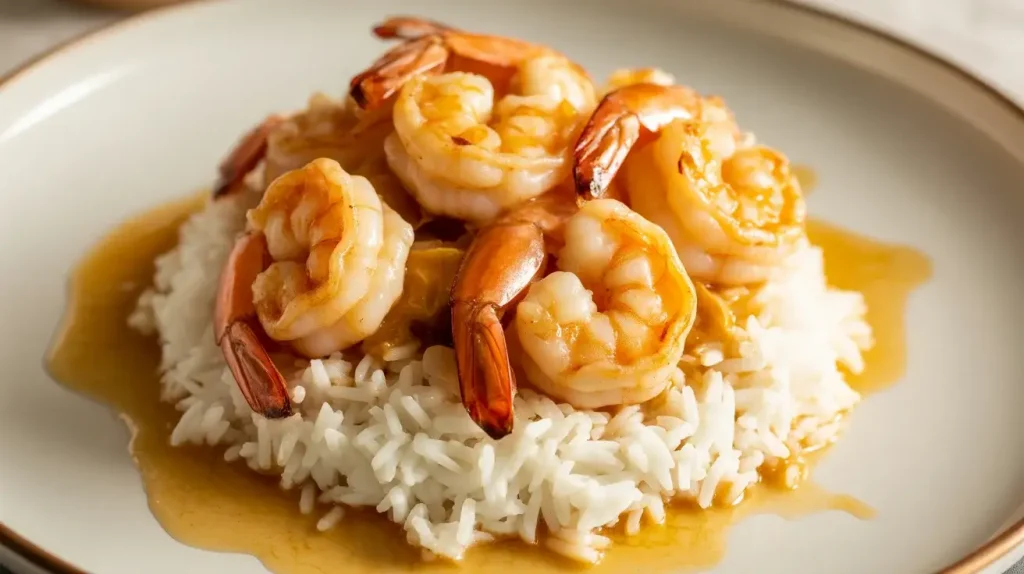
This Hawaiian garlic shrimp butter shines when served over fluffy white rice or coconut rice, which soaks up all that incredible sauce. The combination is authentic to Hawaiian shrimp truck style and incredibly satisfying.
For a low-carb option, serve it over cauliflower rice or zucchini noodles. The rich butter sauce makes even veggie bases taste indulgent and flavorful.
You can also pile it into soft Hawaiian rolls for shrimp sliders, or serve alongside a simple green salad and grilled vegetables for a lighter meal. Don’t forget extra napkins—this dish is deliciously messy!
Storage and Reheating Tips
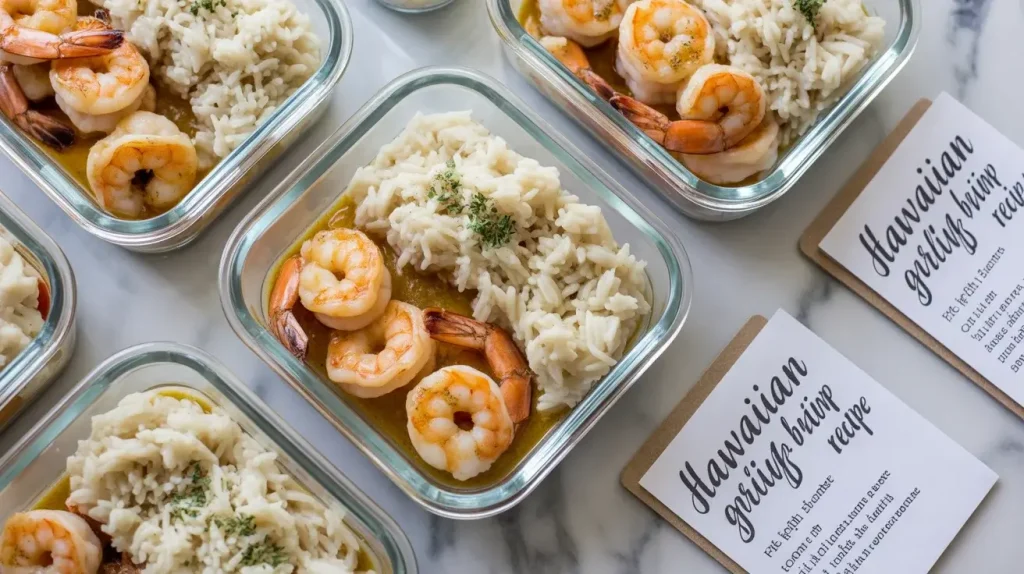
Store leftover Hawaiian garlic shrimp butter in an airtight container in the refrigerator for up to 2 days. Keep the shrimp and sauce together to prevent the shrimp from drying out.
Reheat gently in a skillet over low heat with a splash of water or extra butter to refresh the sauce. Avoid microwaving on high heat, as this can make the shrimp rubbery and tough.
For best results, slightly undercook the shrimp if you know you’ll have leftovers. They’ll finish cooking when reheated, maintaining their tender texture and preventing them from becoming overcooked.
Pro Tips for Perfect Shrimp
Always buy shrimp that’s already been deveined to save time, and look for wild-caught when possible for the best flavor and texture. Frozen shrimp works great—just thaw completely and pat very dry before cooking.
Don’t overcook the shrimp! They’re done when they turn pink and form a “C” shape. If they curl into a tight “O,” they’ve gone too far and will be rubbery.
Use a large skillet to give shrimp room to sear properly without steaming. If your pan is too small, cook in batches to maintain high heat and achieve that beautiful golden color on the shrimp.
Frequently Asked Questions
Can I use frozen shrimp for Hawaiian garlic shrimp butter?
Yes! Frozen shrimp works perfectly for this recipe. Thaw them overnight in the refrigerator or quick-thaw by placing them in a colander under cold running water for 10 minutes. Make sure to pat them completely dry before cooking to achieve the best sear and prevent a watery sauce.
How do I know when the shrimp is fully cooked?
Shrimp is done when it turns pink and opaque throughout, with a slight curl forming a u0022Cu0022 shape. This typically takes 2-3 minutes per side. The internal temperature should reach 120°F. Avoid overcooking—once they curl into a tight circle, they’ll be tough and rubbery.
What size shrimp is best for this recipe?
Large shrimp in the 16-20 count per pound range is ideal for Hawaiian garlic shrimp butter. They’re big enough to get a nice sear without overcooking, and they provide that satisfying, meaty bite. You can use jumbo (U15) for a more premium presentation, but adjust cooking time slightly.