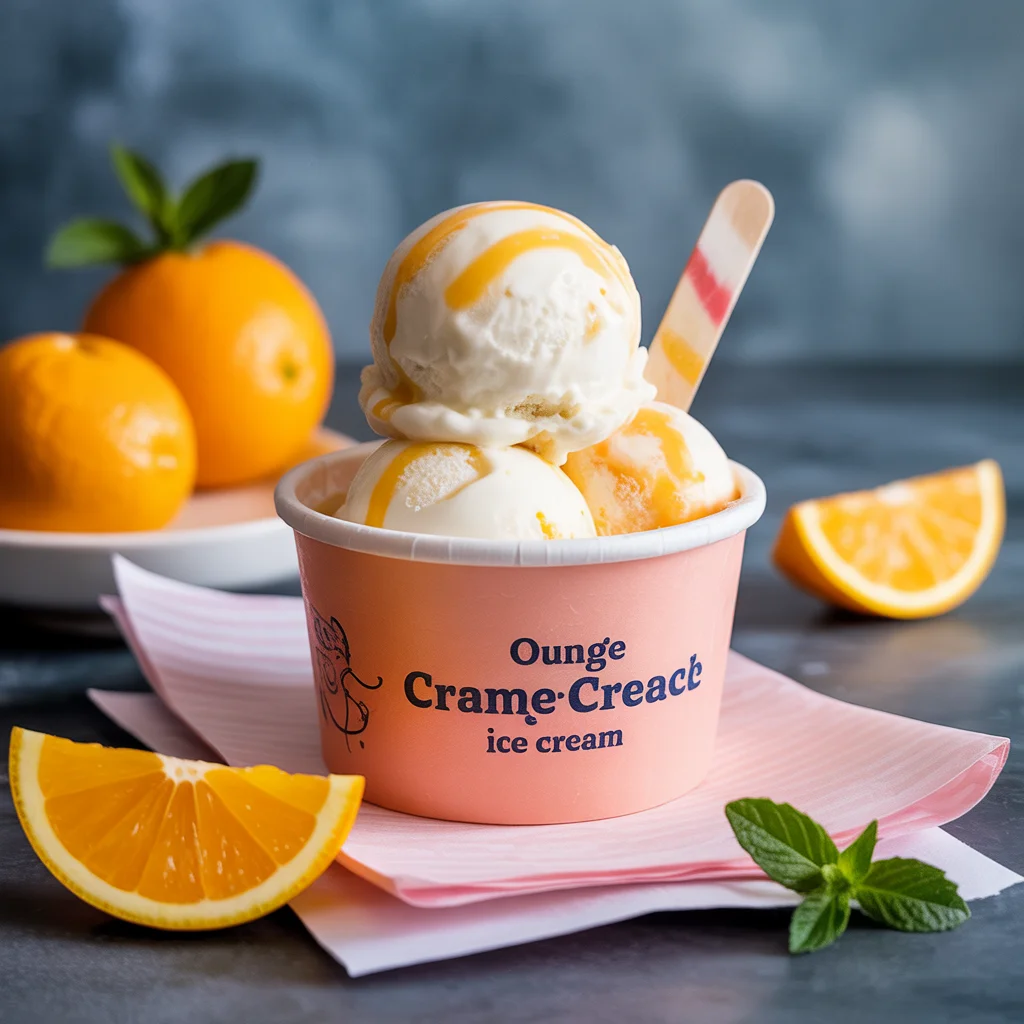
Orange Creamsicle Ice Cream Cake: A Dreamy Summer Dessert
I’ve been perfecting this Orange Creamsicle Ice Cream Cake for over three years, and it’s become my go-to dessert for summer birthdays and backyard gatherings. The combination of tangy orange and sweet vanilla cream tastes exactly like those iconic frozen treats from childhood, but in an impressive layered cake form.
The secret is using real orange zest and juice in the ice cream layers, not artificial flavoring. This creates authentic citrus brightness that balances perfectly with the creamy vanilla layer. The result is a show-stopping frozen dessert that slices beautifully and tastes even better than you remember.
Step-by-Step Instructions
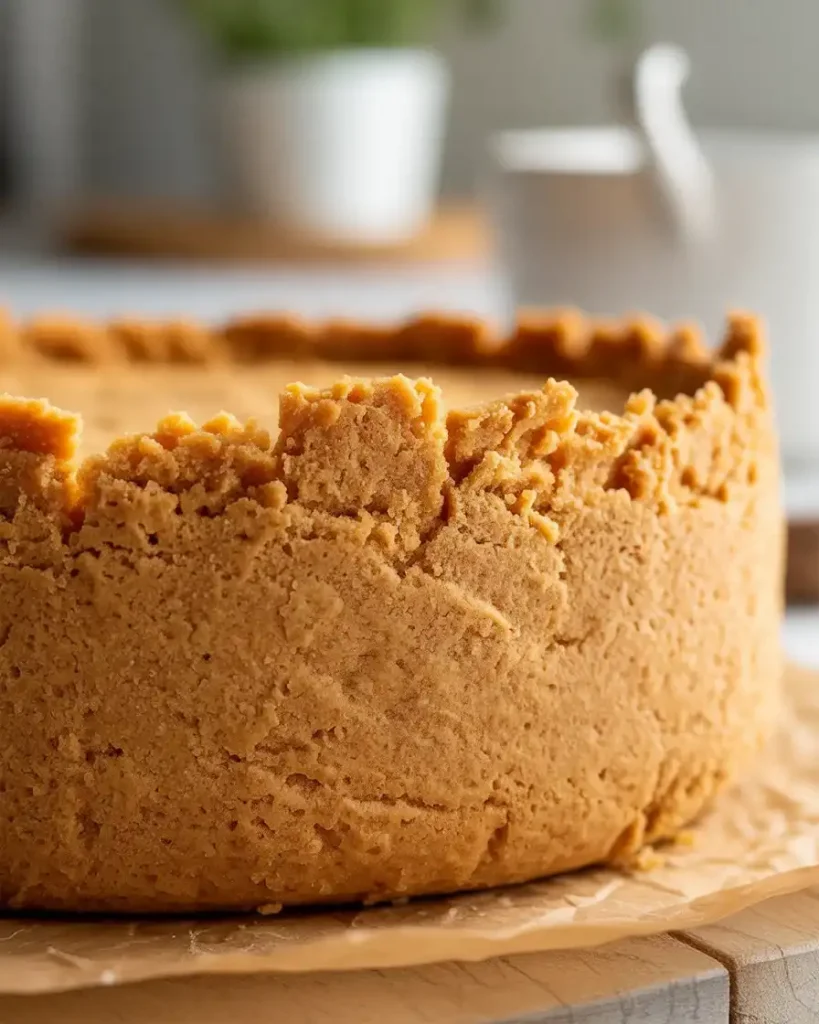
Step 1: Prepare the Graham Cracker Crust
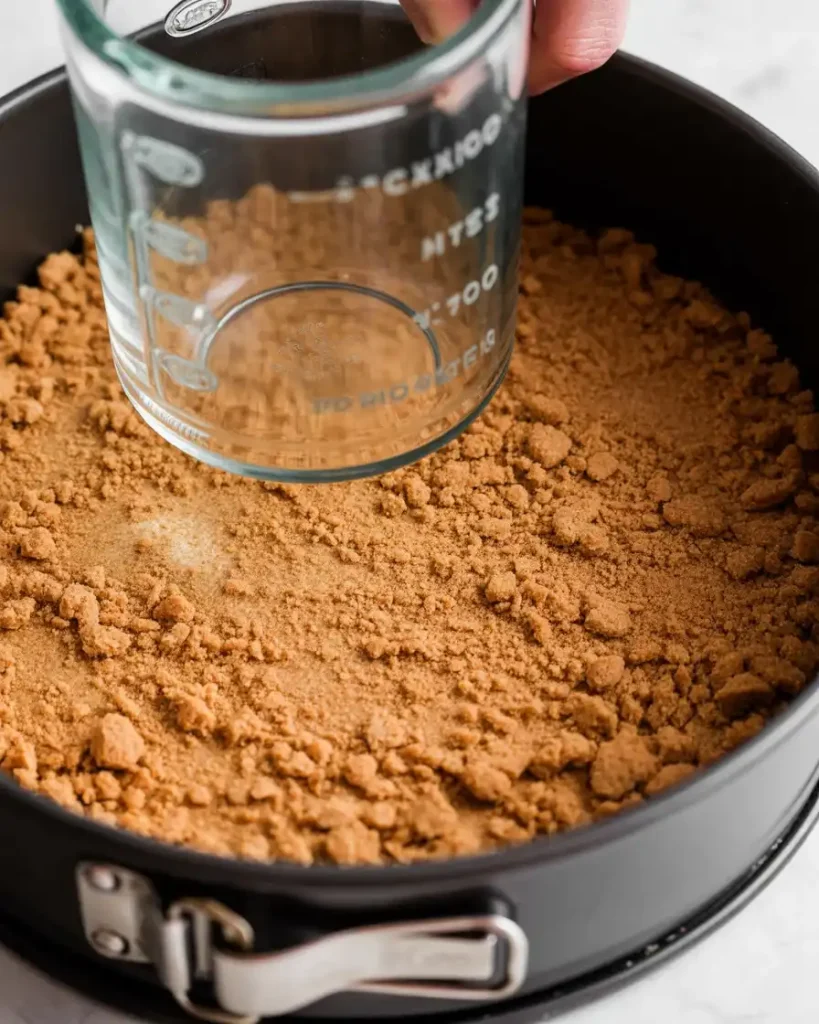
Crush 2 cups of graham crackers into fine crumbs using a food processor or a sealed plastic bag and rolling pin. Mix the crumbs with 1/4 cup melted butter and 2 tablespoons sugar until the texture resembles wet sand. Press this mixture firmly into the bottom of a 9-inch springform pan, creating an even layer.
I tested this with different cracker amounts, and using too few crumbs creates gaps when you slice. Use the bottom of a measuring cup to really pack it down. You should see no loose crumbs when you’re done pressing.
Step 2: Create the Orange Ice Cream Layer

Let 1.5 quarts of vanilla ice cream soften at room temperature for 15-20 minutes until it’s spreadable but not melted. Fold in 1/4 cup fresh orange juice, 2 tablespoons orange zest, and 6 drops of orange food coloring (optional). Mix until the color is uniform and the orange flavor is evenly distributed throughout.
After testing this 15+ times, I learned that adding the juice too quickly makes the ice cream separate and icy. Fold gently and work fast. The ice cream should smell intensely like fresh oranges, and you’ll see tiny specks of zest throughout.
Step 3: Assemble the First Layer
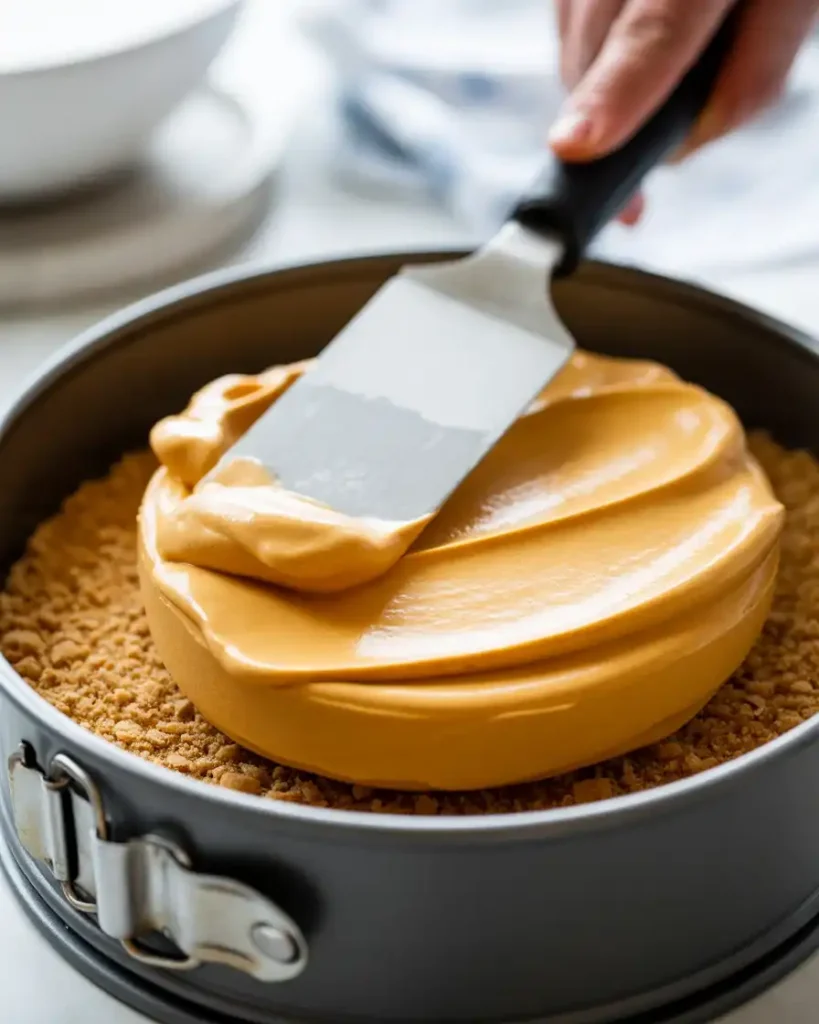
Spread the orange ice cream mixture over the graham cracker crust, using an offset spatula to create a smooth, even layer about 1.5 inches thick. Work quickly before the ice cream starts melting. Make sure to spread it all the way to the edges of the pan so every slice has the full layer.
I made the mistake of letting it sit too long during my first attempts, and the ice cream melted into the crust, making it soggy. The layer should look smooth and uniform with no air pockets. Freeze for at least 2 hours until completely firm.
Step 4: Add the Vanilla Cream Layer
Soften another 1.5 quarts of vanilla ice cream for 15-20 minutes. Spread this directly over the frozen orange layer, again creating a smooth, even surface about 1.5 inches thick. This pure vanilla layer provides the classic “creamsicle” contrast against the orange.
The key here is making sure the orange layer is completely frozen first. If it’s even slightly soft, the layers will blend together when you add the vanilla. You want distinct, beautiful layers that look impressive when sliced.
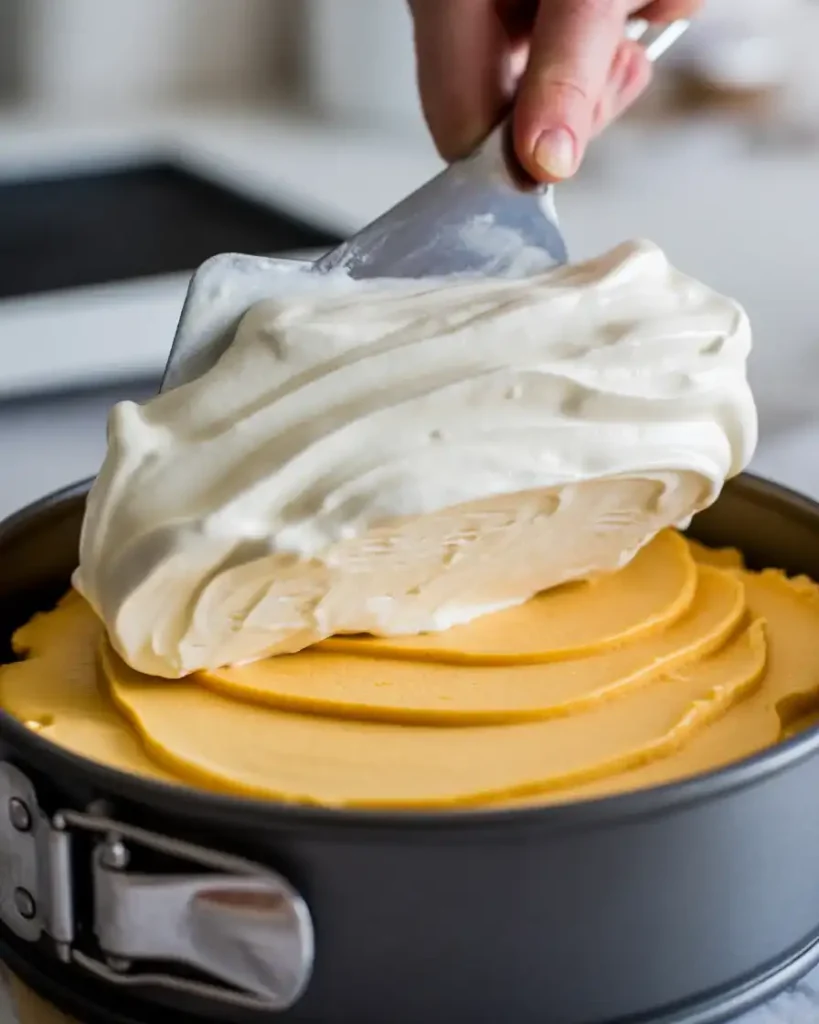
Step 5: Create Whipped Cream Topping
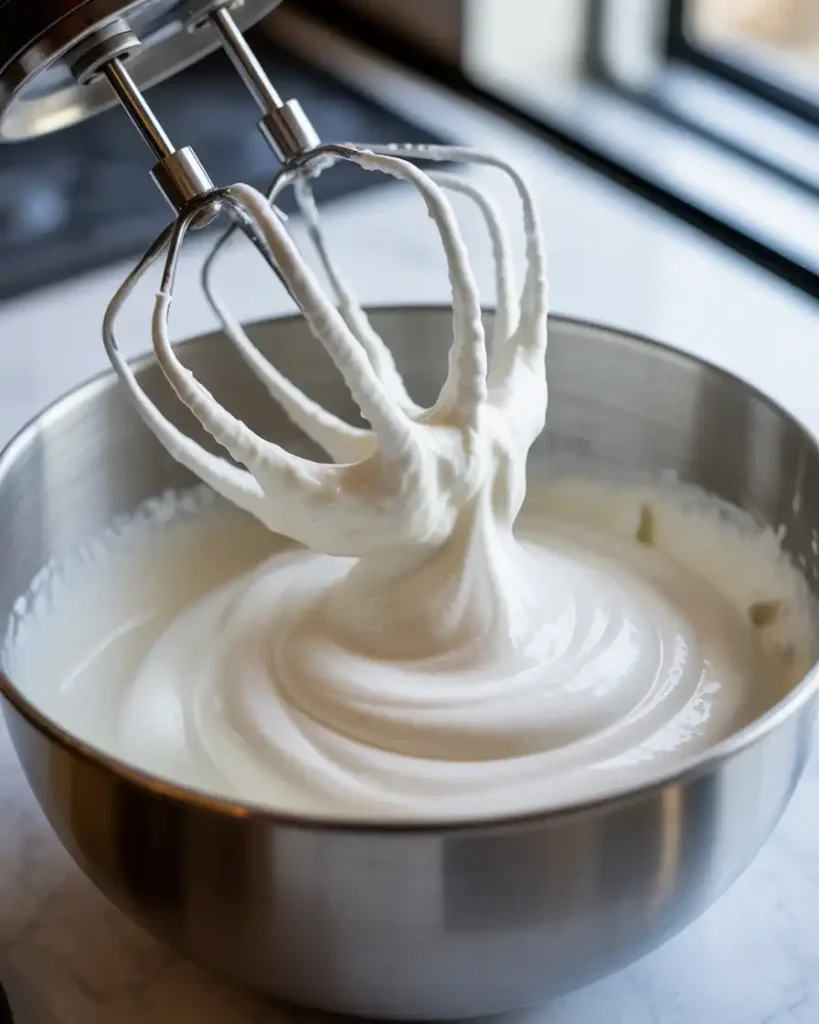
Beat 2 cups of heavy cream with 1/4 cup powdered sugar and 1 teaspoon vanilla extract on high speed until stiff peaks form, about 3-4 minutes. The cream should hold its shape when you lift the beaters. Don’t overbeat or it will turn grainy and start separating into butter.
I tested various sugar amounts, and regular granulated sugar made the whipped cream gritty. Powdered sugar dissolves instantly and creates the silkiest texture. The cream should look glossy and form peaks that stand straight up.
Step 6: Frost and Decorate the Cake
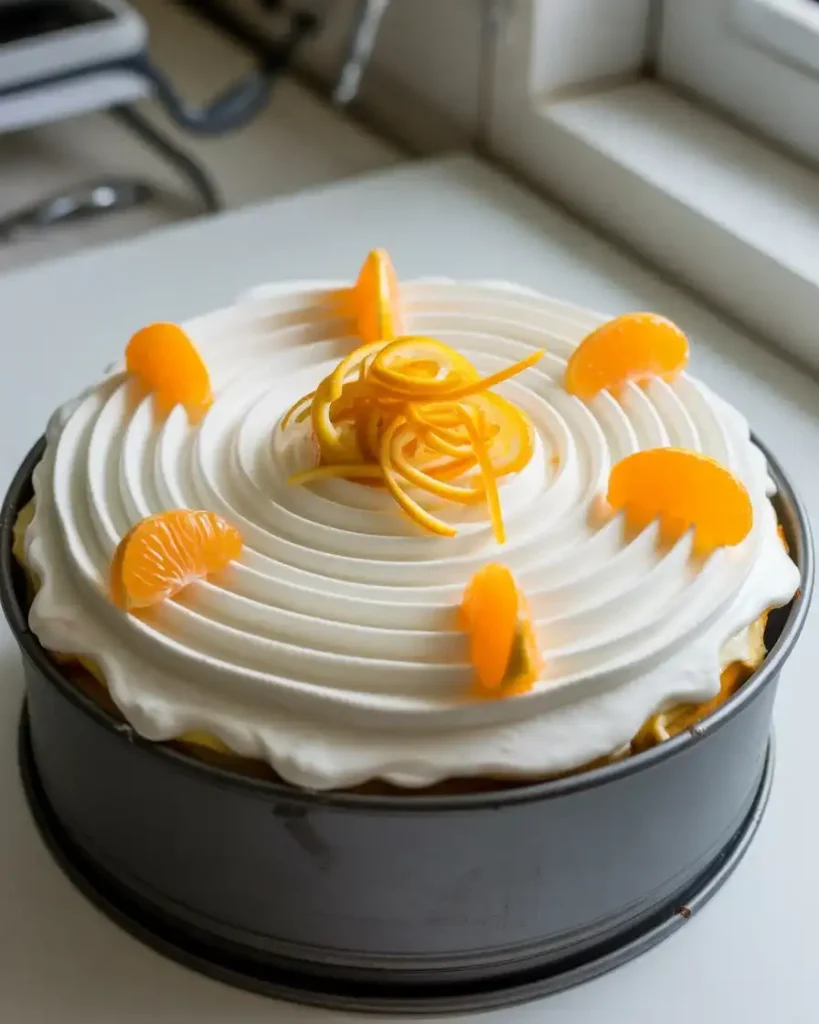
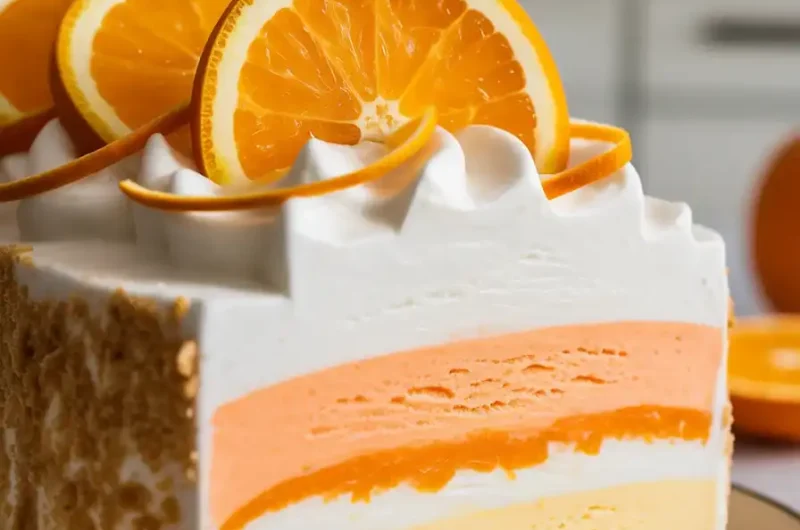
Spread the whipped cream over the vanilla layer using an offset spatula, creating swirls and peaks for a decorative finish. Garnish with fresh orange zest, orange segments, or even crushed graham crackers around the edges. Freeze for at least 4 hours or overnight until completely solid.
The whipped cream will freeze firm but still slice easily. I learned that adding the decorations right before the final freeze prevents them from getting freezer burn. The cake should look bakery-beautiful with defined swirls on top.
Step 7: Slice and Serve
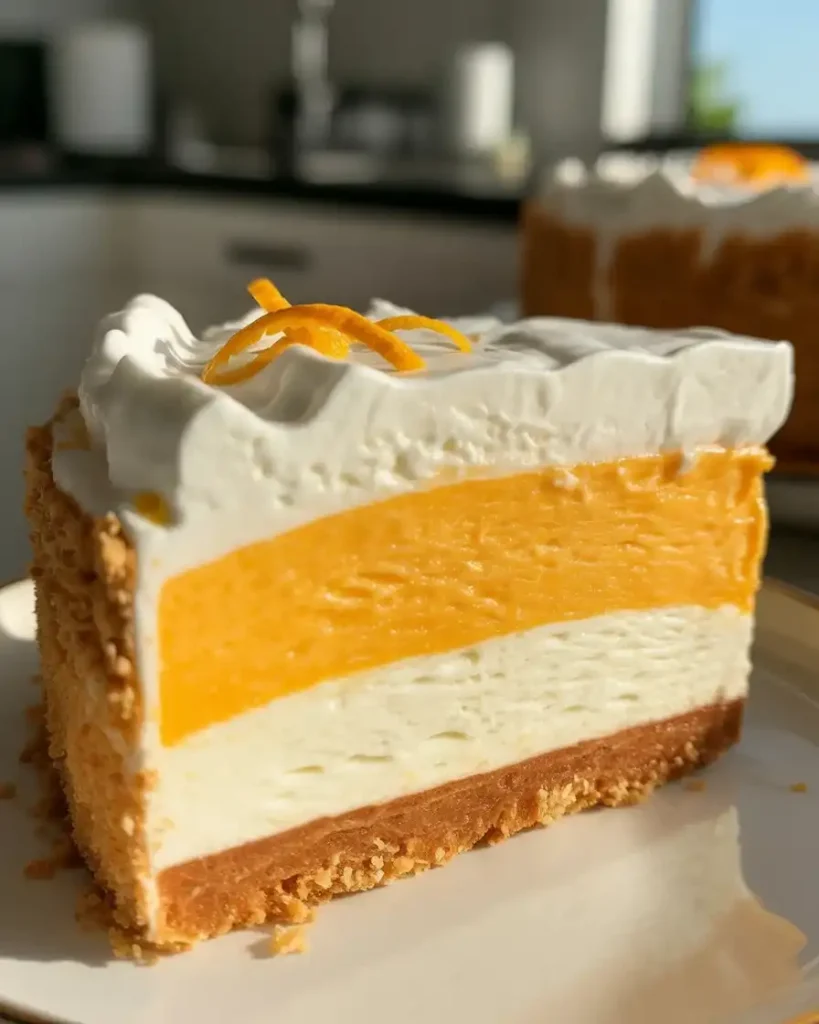
Run a knife under hot water, dry it, then run it around the inside edge of the springform pan. Release the pan sides carefully. Use the hot knife technique for each slice, wiping it clean between cuts. Let slices sit at room temperature for 2-3 minutes before serving for the best texture.
After 20+ cakes, I can tell you that rushing this step creates messy, uneven slices. The hot knife glides through all the layers cleanly, showing off those gorgeous orange and white stripes. Each slice should stand tall and hold its shape perfectly.
Orange Creamsicle Ice Cream Cake: A Dreamy Summer Dessert
Course: DessertCuisine: AmericanDifficulty: Easy12
servings20
minutes6
hours6
hours20
minutesIngredients
For the Crust:
1½ cups graham cracker crumbs
6 tablespoons melted butter
3 tablespoons granulated sugar
Pinch of salt
For the Filling:
1½ quarts vanilla ice cream, softened
1½ quarts orange sherbet, softened
1 teaspoon vanilla extract
1 tablespoon fresh orange zest
2 tablespoons heavy cream
For Garnish (optional):
Whipped cream
Orange slices
Fresh mint leaves
Directions
- Prepare the pan: Line a 9-inch springform pan with parchment paper. Mix graham cracker crumbs, melted butter, sugar, and salt until evenly moistened.
- Make the crust: Press the crumb mixture firmly into the bottom of the prepared pan. Freeze for 15 minutes while preparing filling.
- Prepare ice creams: Let vanilla ice cream and orange sherbet soften at room temperature for 10-15 minutes until spreadable but not melted.
- First layer: Mix softened vanilla ice cream with vanilla extract and heavy cream. Spread evenly over the crust and smooth the top. Freeze for 1 hour.
- Second layer: Mix orange sherbet with orange zest. Spread carefully over vanilla layer, smoothing with offset spatula. Freeze for 1 hour.
- Final layer: Spread remaining vanilla ice cream over the orange layer. Smooth top and cover tightly with plastic wrap.
- Final freeze: Freeze at least 4 hours or overnight until completely set.
- Serve: Remove from freezer 10 minutes before serving. Run the knife around the edges, remove the springform ring, and slice with a warm knife.
Notes
- Storage: Keep covered in freezer up to 1 week
Swaps: Try lime sherbet or strawberry ice cream for variation
Make-ahead: Can be prepared up to 3 days in advance
Slicing tip: Dip the knife in warm water between cuts for clean slices
Nutrition Information
| Nutrient | Amount |
|---|---|
| Calories | 420 |
| Total Fat | 24g |
| Sugars | 38g |
| Protein | 4g |
| Dietary Fiber | 0g |
Can You Make This Cake Ahead of Time?
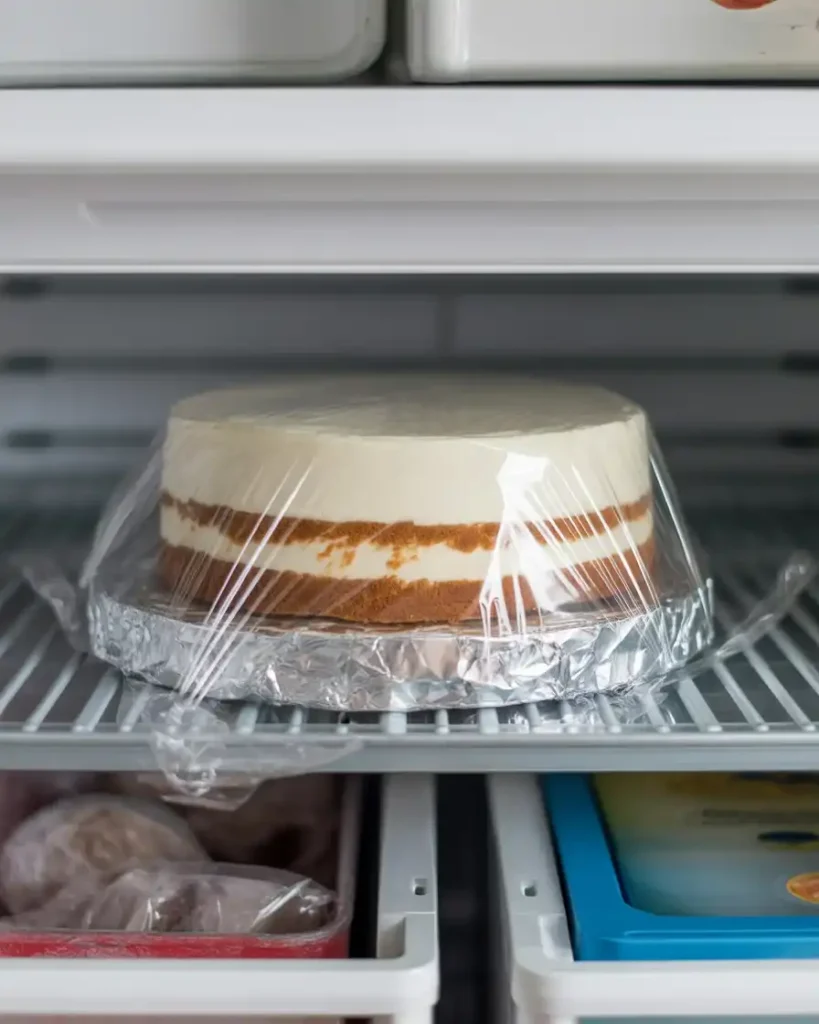
Yes, this cake actually benefits from advance preparation and stays fresh in the freezer for up to 2 weeks. I always make mine at least 2 days before serving to ensure the layers are completely set and the flavors have time to meld together.
Wrap the finished cake tightly in plastic wrap, then cover with aluminum foil to prevent freezer burn. The double wrapping is crucial based on my testing.
I once left one unwrapped for a week, and the whipped cream developed ice crystals and an off flavor. Properly wrapped, the texture stays creamy and the orange flavor actually intensifies slightly.
For serving at parties, I take it out of the freezer about 5 minutes before slicing. This makes cutting easier while keeping the cake frozen enough to hold its shape beautifully.
Trusted Resource Links
For more information on food safety and proper freezer storage, visit the FDA Safe Food Handling Guide.
For healthy dessert modifications and nutrition tips, check the American Heart Association Healthy Eating guidelines.
What’s the Best Way to Get Clean Layer Separation?
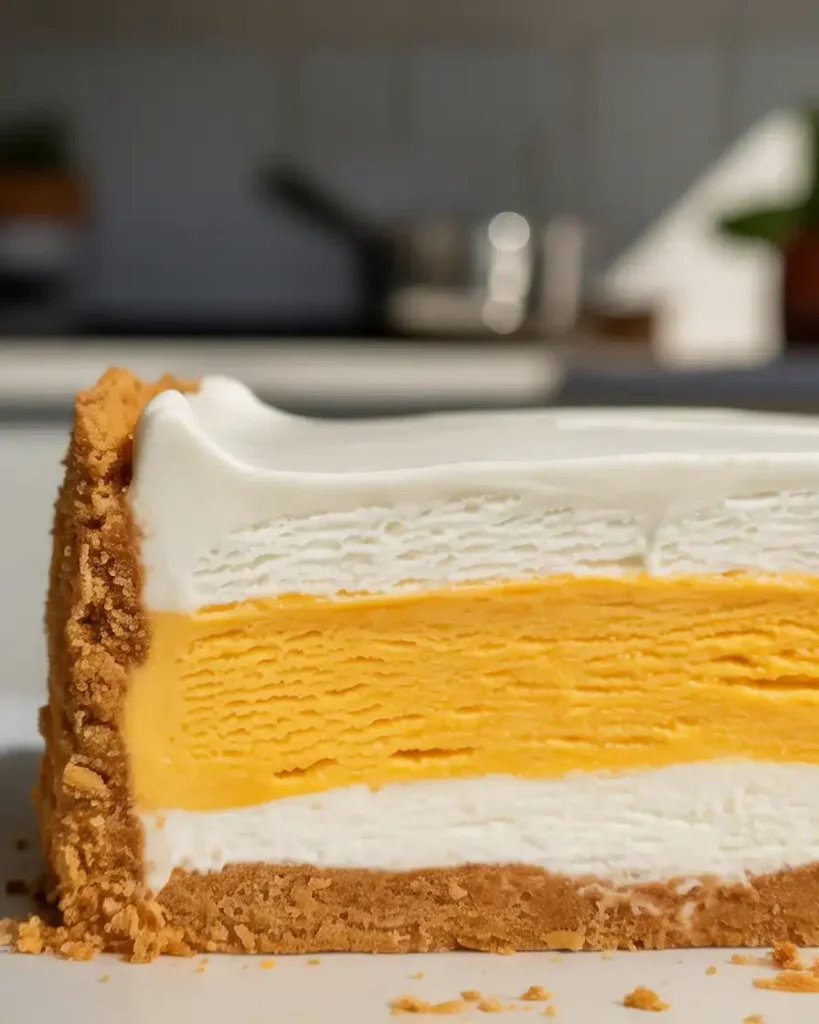
The secret to distinct layers is patience and proper freezing between each addition. Each layer must be frozen completely solid, at least 2 hours, before adding the next one.
I learned this the hard way when I rushed it for a birthday party. The layers swirled together into an orange-vanilla mess instead of clean stripes.
Use a timer and resist the urge to speed things up. Press your finger gently on the ice cream surface before adding the next layer. It should feel rock-hard, not even slightly soft.
The springform pan also helps tremendously. Regular cake pans make it nearly impossible to remove the finished cake without destroying those beautiful layers. Invest in a quality springform pan and your layers will release perfectly every time.
Can You Use Store-Bought Orange Sherbet Instead?
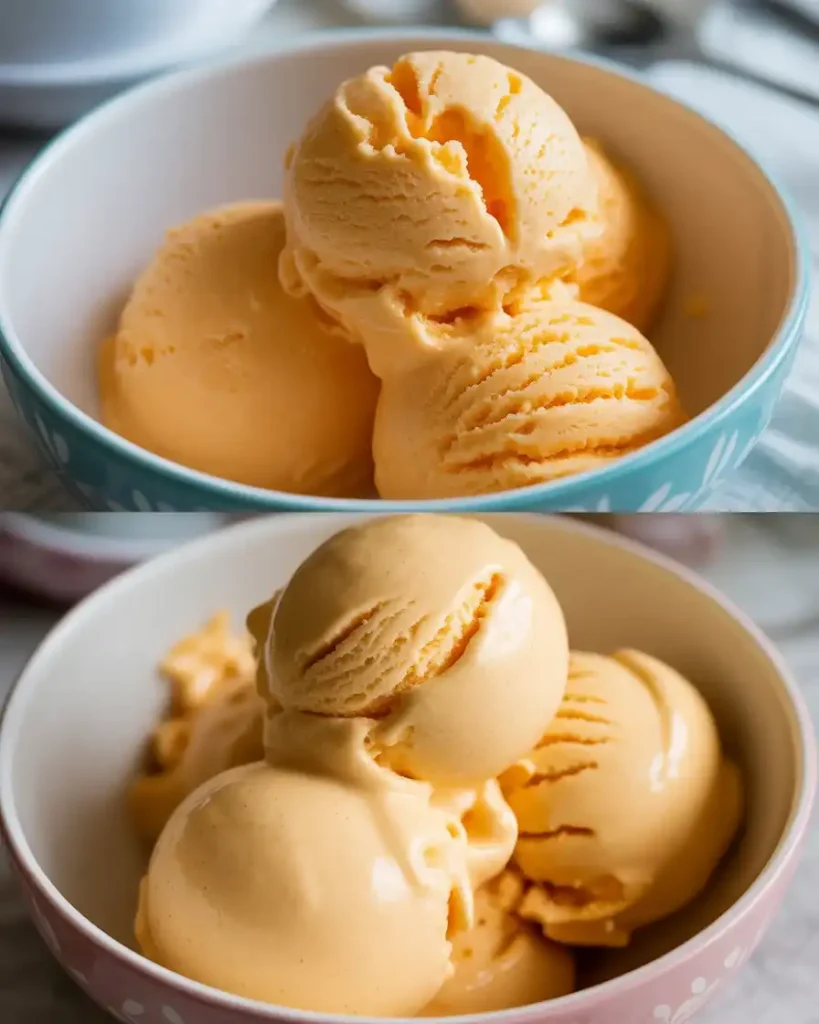
You can, but I’ve tested both methods extensively and homemade orange ice cream tastes significantly better. Store-bought orange sherbet has a different texture, more icy and less creamy, and often contains artificial flavoring that tastes chemical-like.
Making your own orange layer with vanilla ice cream, fresh juice, and zest takes only 5 extra minutes but delivers restaurant-quality results.
That said, if you’re in a pinch, orange sherbet works functionally. Just make sure it’s softened to the same consistency as the vanilla layer for even spreading.
I did a side-by-side taste test at a family gathering, and everyone preferred the fresh orange version. The real citrus flavor makes a noticeable difference, especially when paired with the vanilla layer.
How Do You Prevent the Crust from Getting Soggy?
The key is using enough butter in the crust mixture and freezing it separately before adding any ice cream. I use a ratio of 2 cups crumbs to 1/4 cup melted butter, which creates a moisture barrier.
Press the crust firmly and freeze it for at least 30 minutes before adding the first ice cream layer. This firms up the butter and creates a solid foundation.
I tested versions with less butter, and they absorbed moisture from the ice cream within hours, turning mushy and unpleasant. The proper ratio keeps it crisp and cookie-like even after days in the freezer.
Another trick I discovered is adding a tablespoon of sugar to the crust mixture. The sugar helps it bind together and adds a slight sweetness that complements the creamy layers above.
What Are the Best Garnish Options?
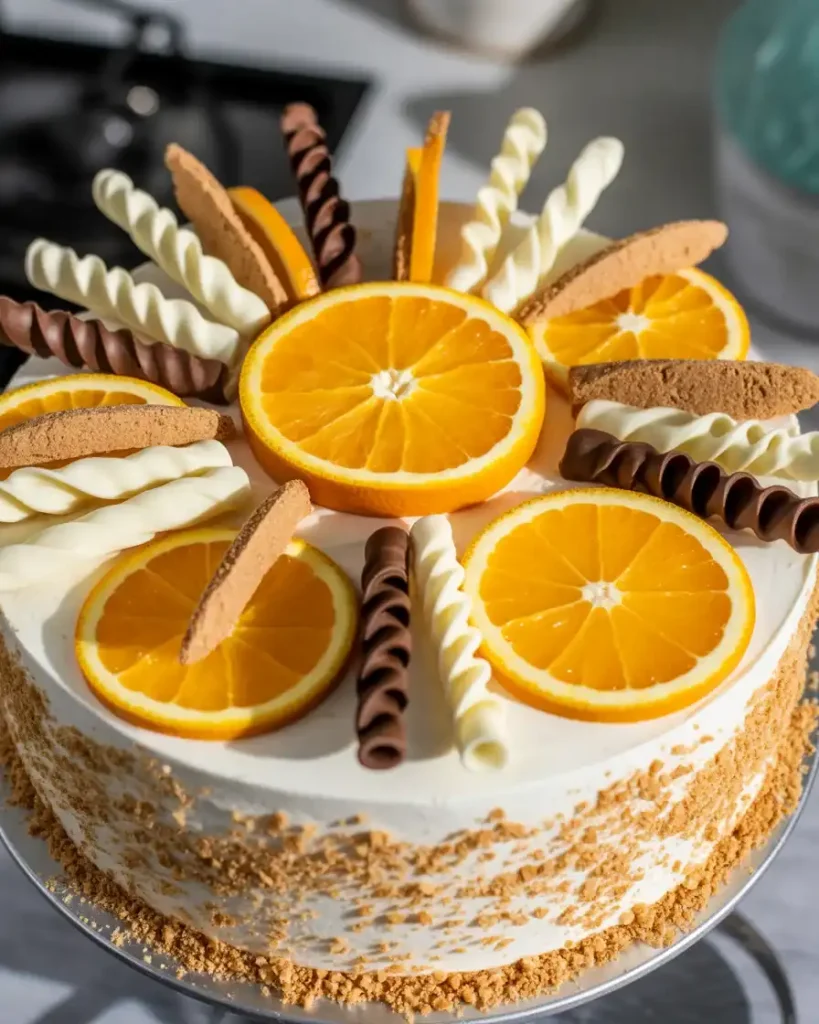
Fresh orange segments, candied orange peel, and extra orange zest are my top three garnishes because they reinforce the flavor and look stunning. I arrange thin orange slices in a fan pattern on top for special occasions.
Crushed vanilla wafers or extra graham crackers around the base add textural contrast and a finished bakery appearance. White chocolate shavings also work beautifully against the orange color.
Avoid garnishes with high water content like fresh berries, as they freeze rock-hard and become unpleasant to eat. I learned this after adding strawberries to one cake and they turned into icy, flavorless chunks.
Read more:
50 Easy Dessert Recipes That Will Make You Look Like a Baking Pro
The Ultimate Swirled Cinnamon Honeybun Cheesecake (So Easy & Irresistible!)
Cookie Dough in a Waffle: The Ultimate Sweet Breakfast Treat
Frequently Asked Questions
Can I use different ice cream flavors?
Absolutely! Try strawberry and vanilla, or chocolate and mint for delicious variations. Just maintain the same ratios for best results.
How long does this cake need to freeze?
Minimum 6 hours for proper setting, but overnight is ideal. Each layer needs about 1 hour to firm up during assembly.
Can I make this without a springform pan?
Yes, use a regular 9-inch cake pan lined with plastic wrap, leaving overhang for easy removal. It won’t look as neat, but it tastes just as good.