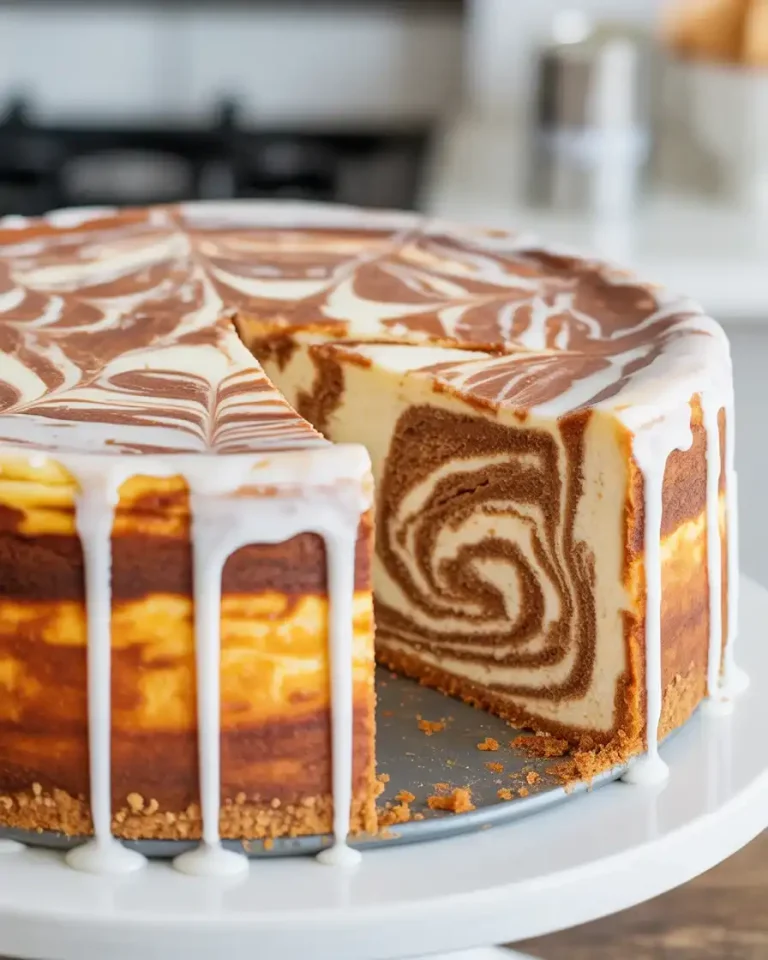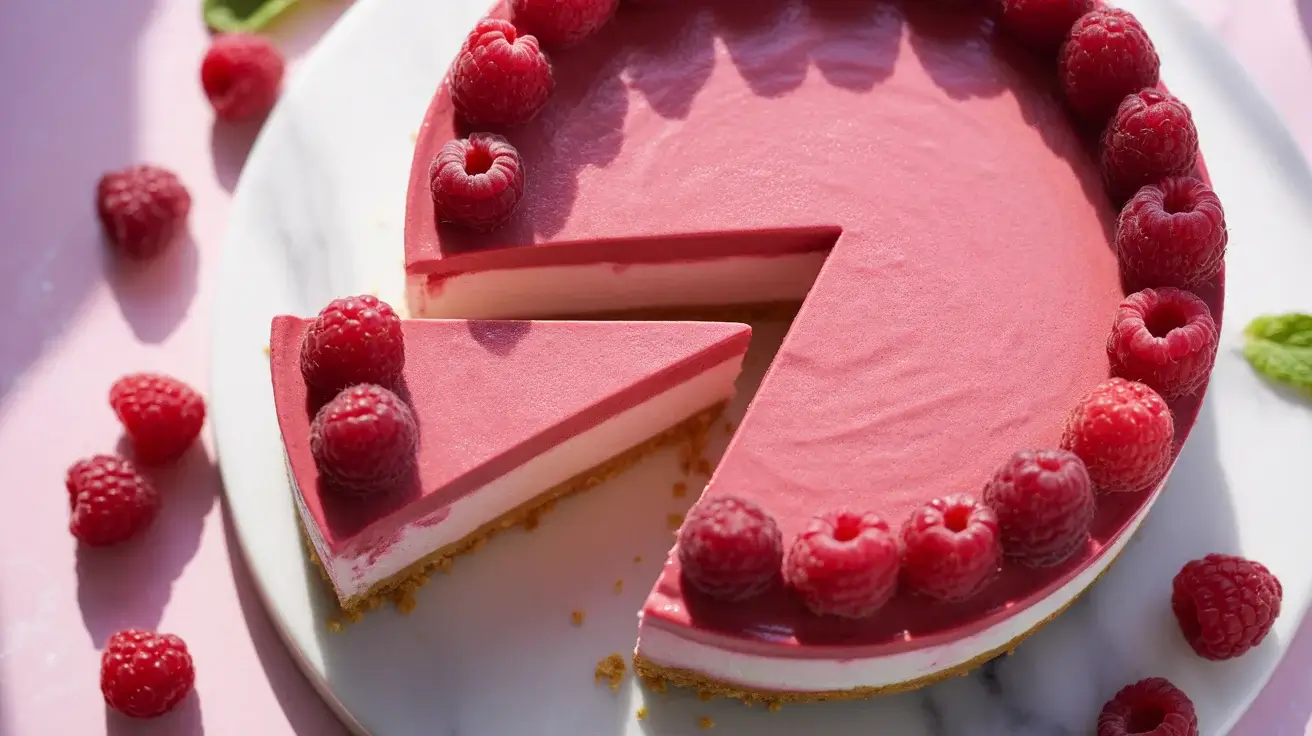
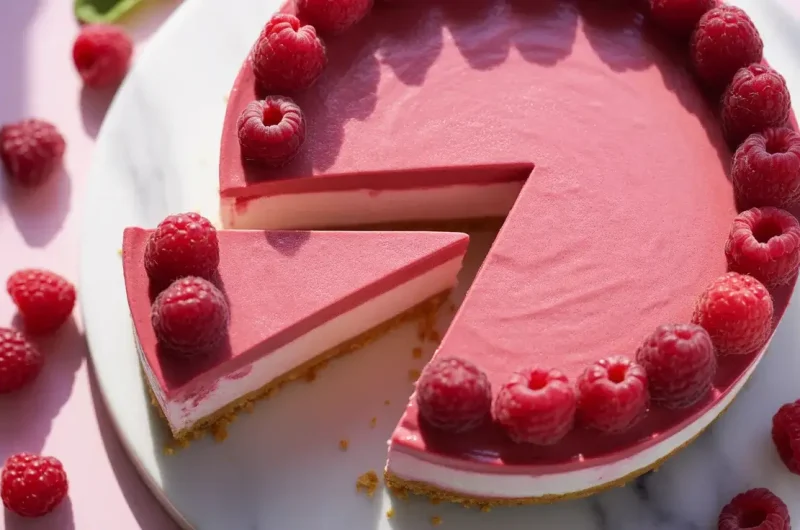
Pink Velvet Raspberry Cheesecake
This stunning Pink Velvet Raspberry Cheesecake combines velvety pink cake layers with creamy raspberry cheesecake filling. It’s the ultimate dessert for special occasions, Valentine’s Day, or any time you want to impress with a show-stopping treat.
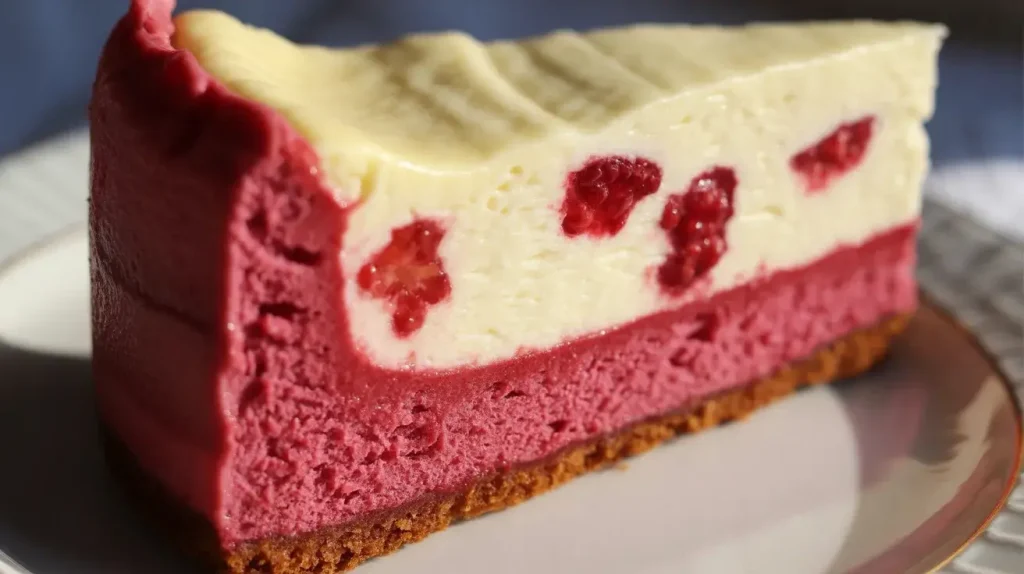
The pink velvet cake base offers a tender crumb with subtle cocoa notes, while fresh raspberries add natural tartness to balance the rich cream cheese layers. This no-bake cheesecake version makes it surprisingly easy to achieve bakery-quality results at home.
What Makes This Cheesecake Special
Unlike traditional red velvet, this pink version uses less food coloring for a softer, more romantic hue. The raspberry swirl isn’t just pretty—it cuts through the richness with bright, fruity flavor that keeps every bite balanced.
The cake layer provides textural contrast to the smooth cheesecake filling. You get the best of both worlds: moist cake and creamy no-bake filling, all in one gorgeous dessert that slices beautifully.
Ingredients You’ll Need
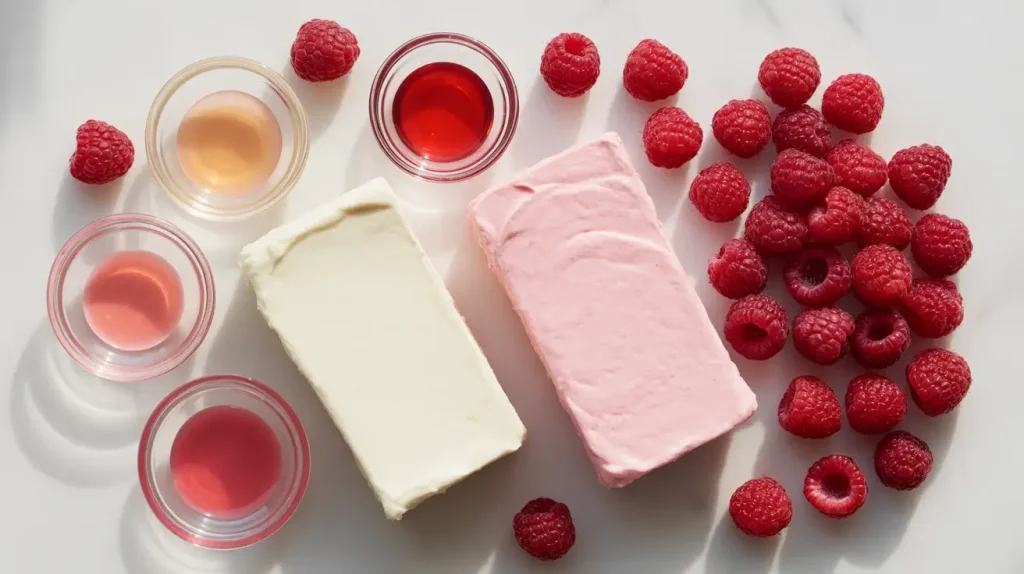
The pink velvet cake requires basic pantry staples, plus buttermilk for extra tenderness. A touch of cocoa powder gives it that signature velvet flavor without overwhelming the delicate pink color.
For the cheesecake layer, full-fat cream cheese is essential—don’t substitute low-fat or it won’t set properly. Fresh or frozen raspberries work equally well, and powdered gelatin helps everything hold its shape without baking.
Read More: Effortless Limoncello Ricotta Fritter Bites
How to Make the Pink Velvet Base
Start by creaming the butter and sugar until light and fluffy—this creates air pockets that result in a tender crumb. The buttermilk activates the cocoa and keeps the cake incredibly moist, while pink gel food coloring provides vibrant color without adding liquid.
Bake the cake layer in your springform pan first, then let it cool completely before adding the cheesecake. This prevents the filling from melting and ensures clean layers when you slice.
Pink Velvet Raspberry Cheesecake
Course: Dessert12
30
minutes6
hours6
hours30
A stunning layered dessert featuring pink velvet cake topped with creamy no-bake raspberry cheesecake filling—perfect for celebrations.
Ingredients
- Pink Velvet Cake Layer
1½ cups all-purpose flour
1 cup granulated sugar
2 tablespoons unsweetened cocoa powder
1 teaspoon baking soda
½ teaspoon salt
1 cup buttermilk, room temperature
½ cup vegetable oil
2 large eggs, room temperature
2 teaspoons vanilla extract
1 teaspoon white vinegar
Pink gel food coloring (adjust for desired shade)
- Raspberry Cheesecake Filling
24 oz cream cheese, softened (3 blocks)
1 cup powdered sugar
2 cups heavy whipping cream
1 tablespoon unflavored gelatin powder
¼ cup cold water
1½ cups fresh or frozen raspberries
2 tablespoons granulated sugar
1 teaspoon lemon juice
- For Topping
Fresh raspberries
Powdered sugar for dusting
Directions
- Make the Pink Velvet Cake
- Preheat oven to 350°F (175°C). Grease a 9-inch springform pan and line the bottom with parchment paper.
- In a large bowl, whisk together flour, sugar, cocoa powder, baking soda, and salt.
- In another bowl, combine buttermilk, oil, eggs, vanilla, vinegar, and pink food coloring until well mixed.
- Pour wet ingredients into dry ingredients and mix until just combined—don’t overmix.
- Pour batter into prepared pan and bake for 25-30 minutes until a toothpick comes out clean. Cool completely in the pan.
- Prepare the Raspberry Sauce
- Blend raspberries, sugar, and lemon juice until smooth. Strain through a fine-mesh sieve to remove seeds. Set aside.
- Make the Cheesecake Filling
- Bloom gelatin by sprinkling it over cold water in a small bowl. Let sit for 5 minutes, then microwave for 10-15 seconds until dissolved.
- Beat cream cheese and powdered sugar with an electric mixer until smooth and creamy, about 3 minutes.
- In a separate bowl, whip heavy cream to stiff peaks.
- Add dissolved gelatin to the cream cheese mixture and beat until combined.
- Gently fold whipped cream into cream cheese mixture in three additions until fully incorporated.
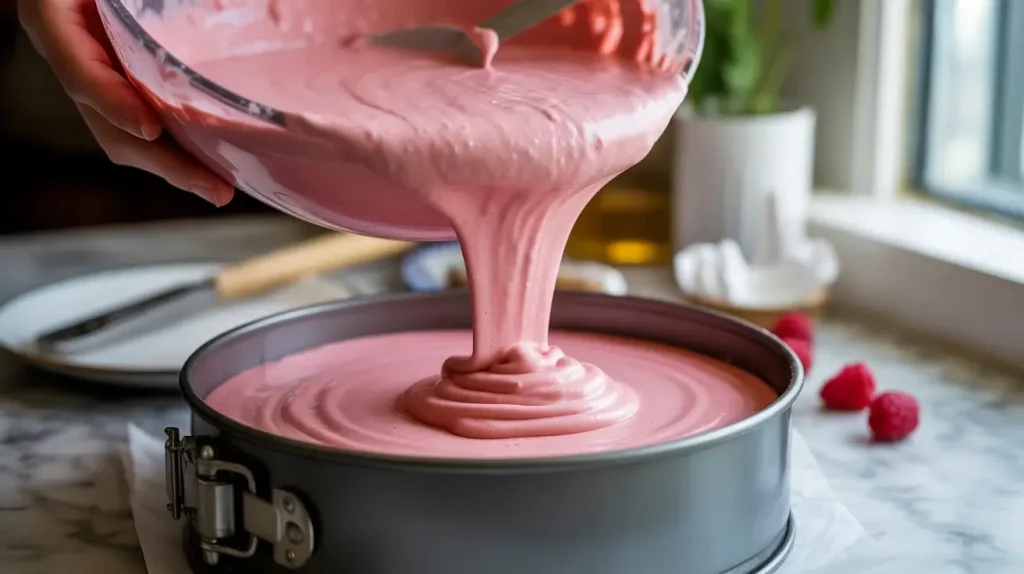
- Assemble
- Pour cheesecake filling over the cooled pink velvet base, spreading evenly.
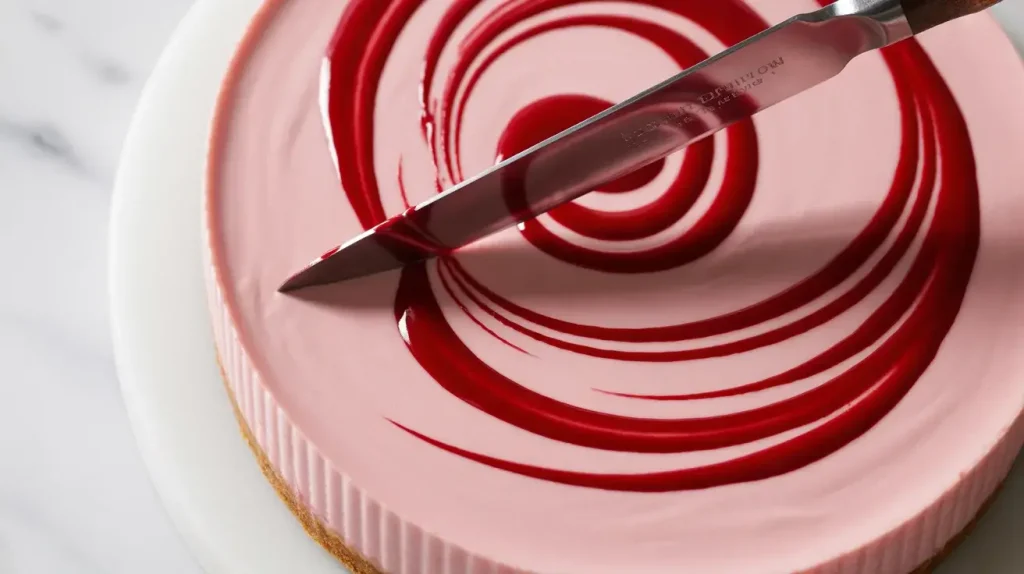
- Drizzle raspberry sauce on top and use a knife to create swirl patterns.
- Refrigerate for at least 6 hours or overnight until fully set.
- Before serving, run a hot knife around the edges and release the springform. Top with fresh raspberries and dust with powdered sugar.
Notes
- Food Coloring Tip: Start with less gel coloring—you can always add more. Too much can affect taste.
Buttermilk Substitute: Mix 1 cup milk with 1 tablespoon white vinegar or lemon juice. Let’s sit for 5 minutes. - Gelatin Alternative: Use 2 teaspoons agar powder if you prefer a vegetarian option.
Raspberry Swap: Strawberries or mixed berries work beautifully, too.
Room Temperature: Ensure all dairy is room temperature for smooth mixing and better incorporation.
| Nutrient | Per Serving |
|---|---|
| Calories | 420 |
| Total Fat | 26 g |
| Sugars | 28 g |
| Protein | 7 g |
| Dietary Fiber | 2 g |
Preparing the Raspberry Cheesecake Filling
Beat cream cheese until silky smooth with no lumps—this is crucial for a creamy texture. Fold in whipped cream gently to keep the filling airy and light, then bloom your gelatin to help it set without refrigerating overnight.
Create the raspberry swirl by pureeing fresh berries and straining out seeds. Swirl it through the cheesecake mixture with a knife for that beautiful marbled effect everyone will want to photograph.
Assembly and Chilling Tips
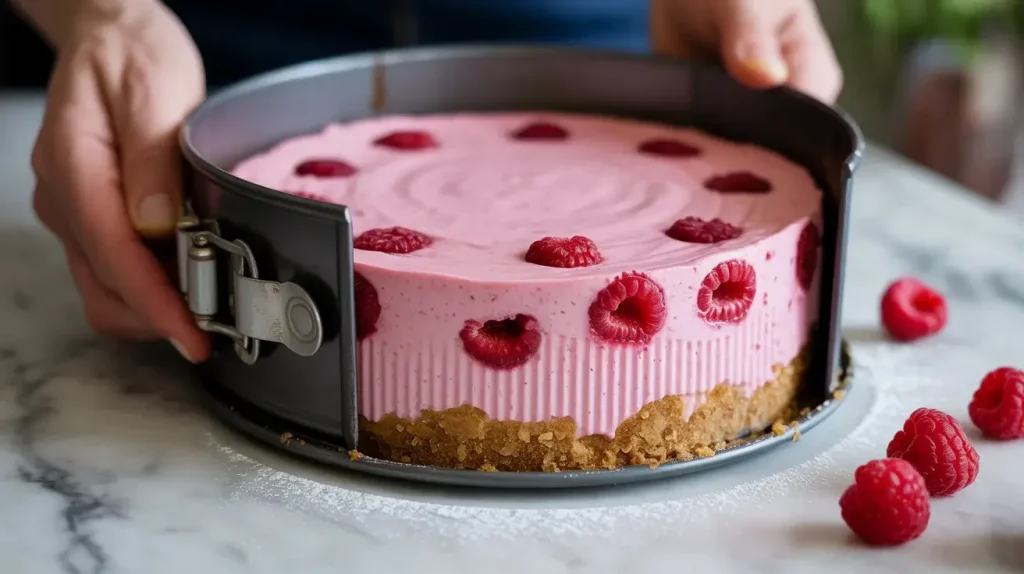
Pour the cheesecake mixture over your cooled pink velvet base, then tap the pan gently to release air bubbles. The gelatin will set in 4-6 hours, but overnight is ideal for the cleanest slices.
Run a hot knife under warm water before each slice for professional-looking cuts. The cake slices best when fully chilled, so resist the temptation to cut it early.
Decorating Your Cheesecake
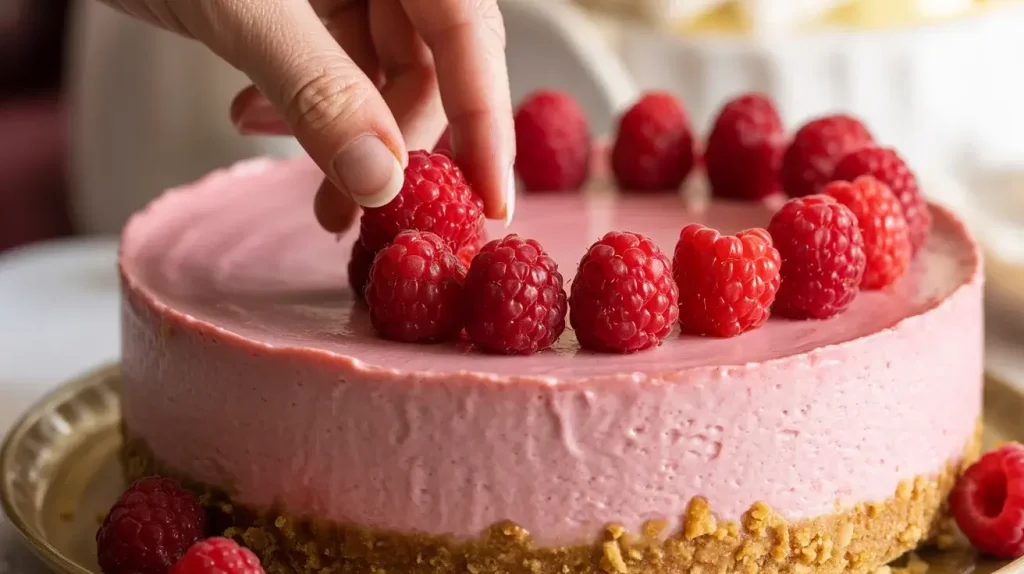
Fresh raspberries arranged on top add natural beauty and signal the flavor inside. A light dusting of powdered sugar creates an elegant, bakery-style finish that photographs beautifully.
For extra flair, pipe whipped cream rosettes around the edge or add white chocolate shavings. Keep decorations simple to let the stunning pink and raspberry layers shine through.
Storage and Make-Ahead Options

This cheesecake actually tastes better the next day, after flavors have melded together. Store covered in the refrigerator for up to 5 days—the no-bake filling holds up beautifully without weeping.
You can make the cake base up to 2 days ahead and wrap it tightly. Freeze individual slices for up to 2 months; thaw in the fridge overnight for an easy make-ahead dessert option.
Frequently Asked Questions
Can I make this cheesecake without gelatin?
While gelatin helps the no-bake filling set firmly, you can bake the cheesecake filling instead. Pour it over the cooled cake base and bake at 325°F for 45-50 minutes until edges are set but center still jiggles slightly. This creates a traditional baked cheesecake texture.
Why is my cheesecake filling grainy?
Grainy texture happens when cream cheese isn’t fully softened or beaten enough. Always let cream cheese sit at room temperature for at least 1 hour and beat it thoroughly before adding other ingredients. Lumps won’t smooth out once you add whipped cream.
Can I freeze this cheesecake?
Yes! Freeze the whole cheesecake or individual slices wrapped tightly in plastic wrap and foil for up to 2 months. Thaw overnight in the refrigerator before serving. The texture stays remarkably creamy, though fresh raspberry toppings should be added after thawing.