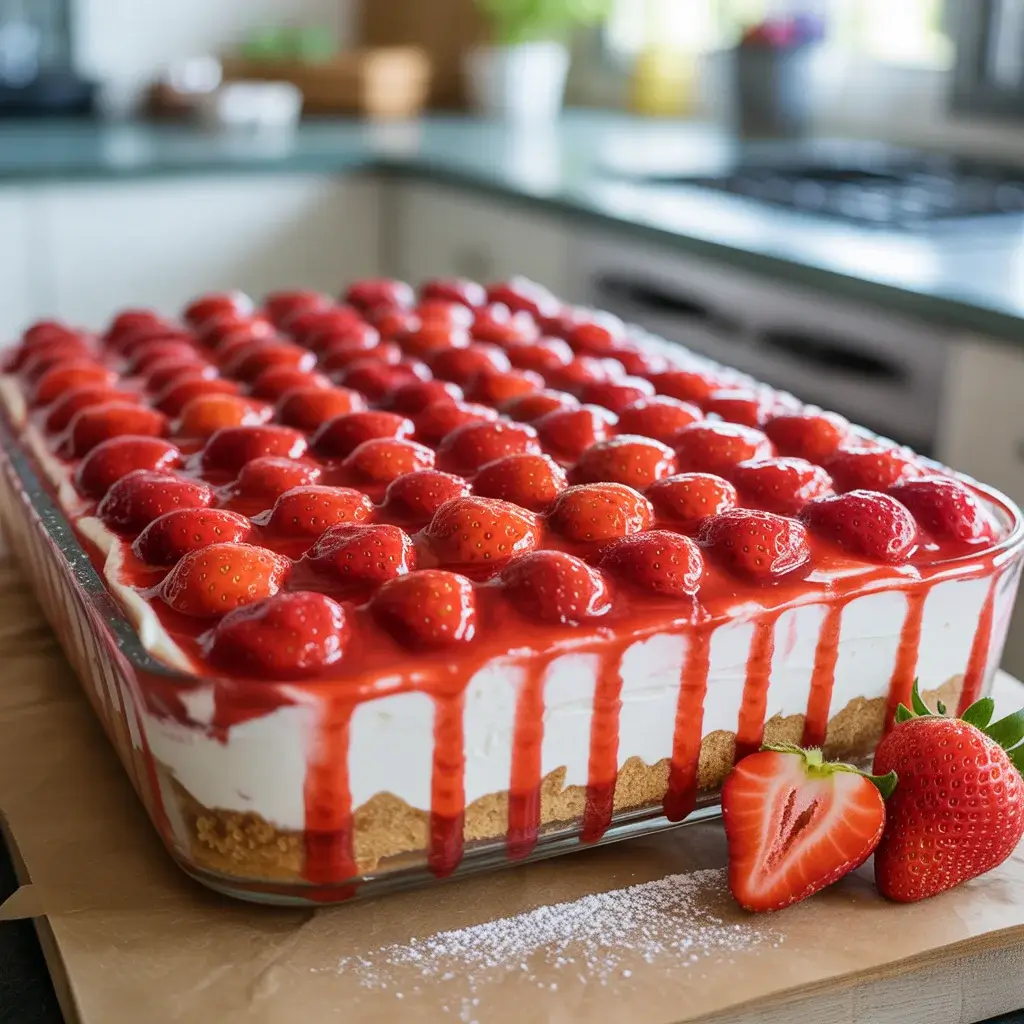
Strawberry Cream Cheese Delight: The Perfect No-Bake Summer Dessert
The first time I made this, I completely over-whipped the cream cheese and ended up with a lumpy, dense layer that nobody wanted to eat. That disaster taught me the most important trick in this whole recipe. Now, after testing it over 15 times, I finally have a version that’s silky smooth every single time.
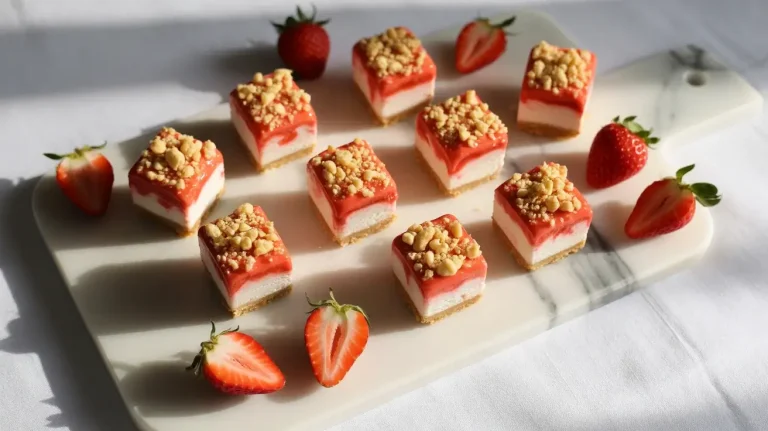
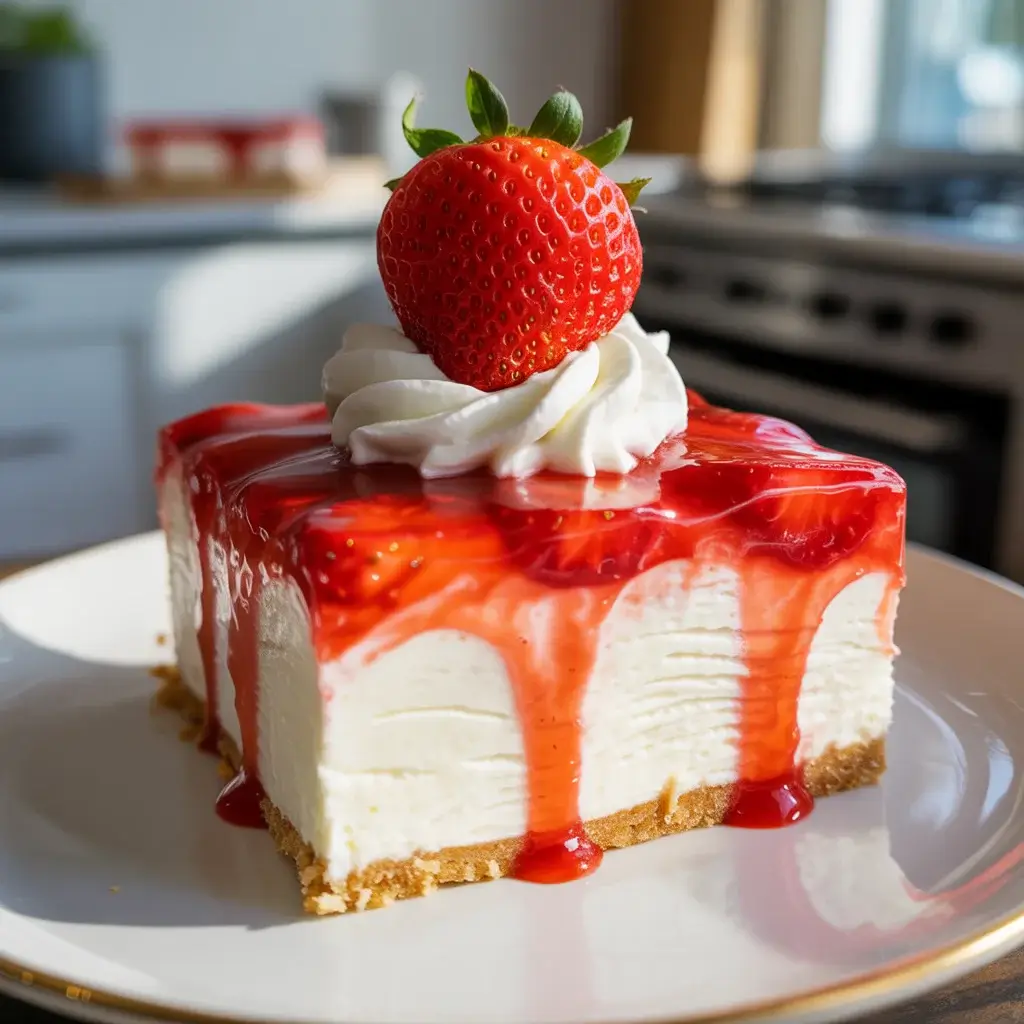
What you get is a dreamy layered dessert with a buttery graham cracker crust, a fluffy cream cheese filling, and a glossy fresh strawberry topping. It feeds a crowd, needs zero baking, and honestly looks far more impressive than the effort it takes.
Step-by-Step Instructions
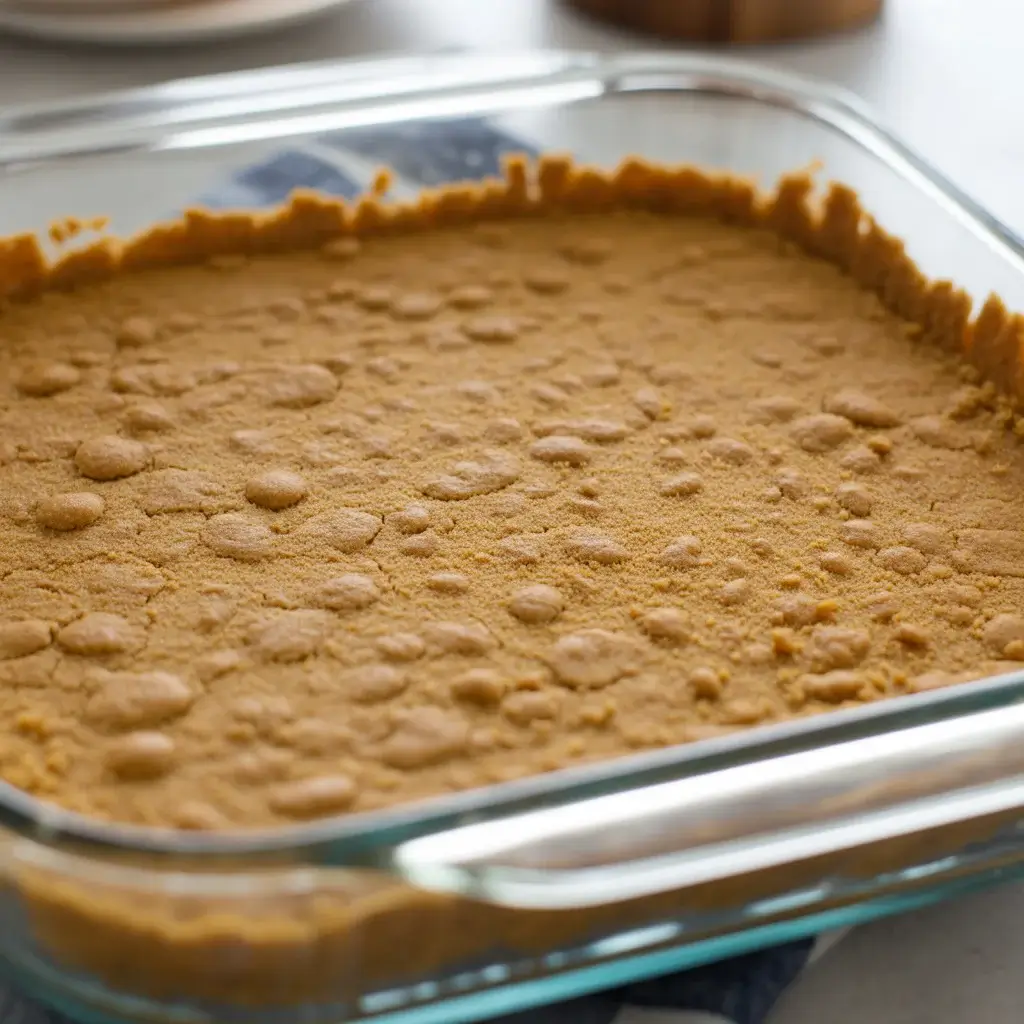
Step 1: Make the Graham Cracker Crust
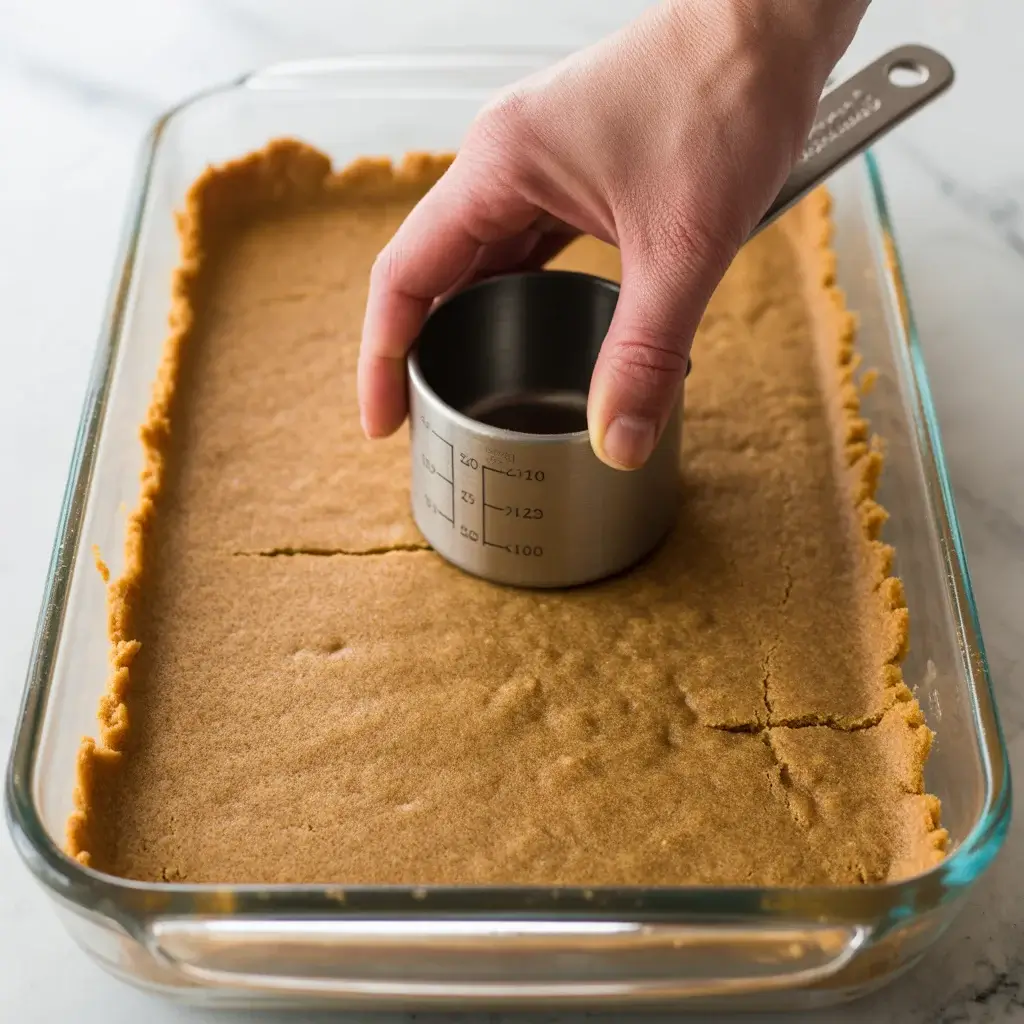
Combine 2 cups of graham cracker crumbs with 1/4 cup granulated sugar and 1/2 cup melted butter in a bowl. Stir until the crumbs look like wet sand and every bit is coated in butter.
Press the mixture firmly into a 9×13-inch dish using the flat bottom of a measuring cup. I tested this with both a springform pan and a baking dish, and the 9×13 gives you cleaner, more uniform slices every time. Refrigerate for 20 minutes before adding the filling.
Step 2: Whip the Cream Cheese Filling
Set your cream cheese out for at least 45 minutes so it reaches true room temperature. Cold cream cheese is the number one reason this filling turns lumpy, and I learned that the hard way in my early batches.
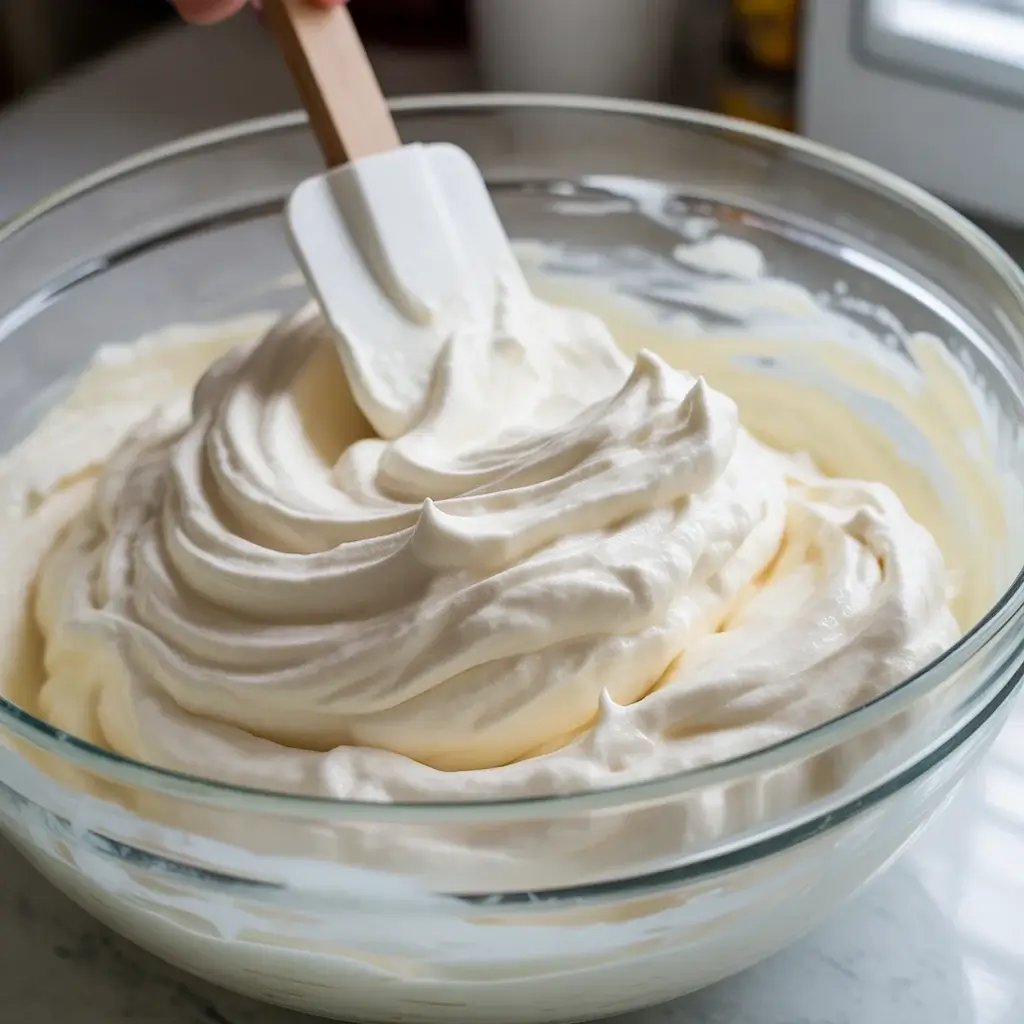
Beat 16 oz of softened cream cheese with 1 cup powdered sugar and 1 teaspoon vanilla extract on medium speed for 3 minutes until completely smooth. Fold in 8 oz of Cool Whip (or freshly whipped cream) with a spatula using gentle, sweeping strokes. You want it airy and light, not deflated.
Step 3: Spread the Cream Cheese Layer
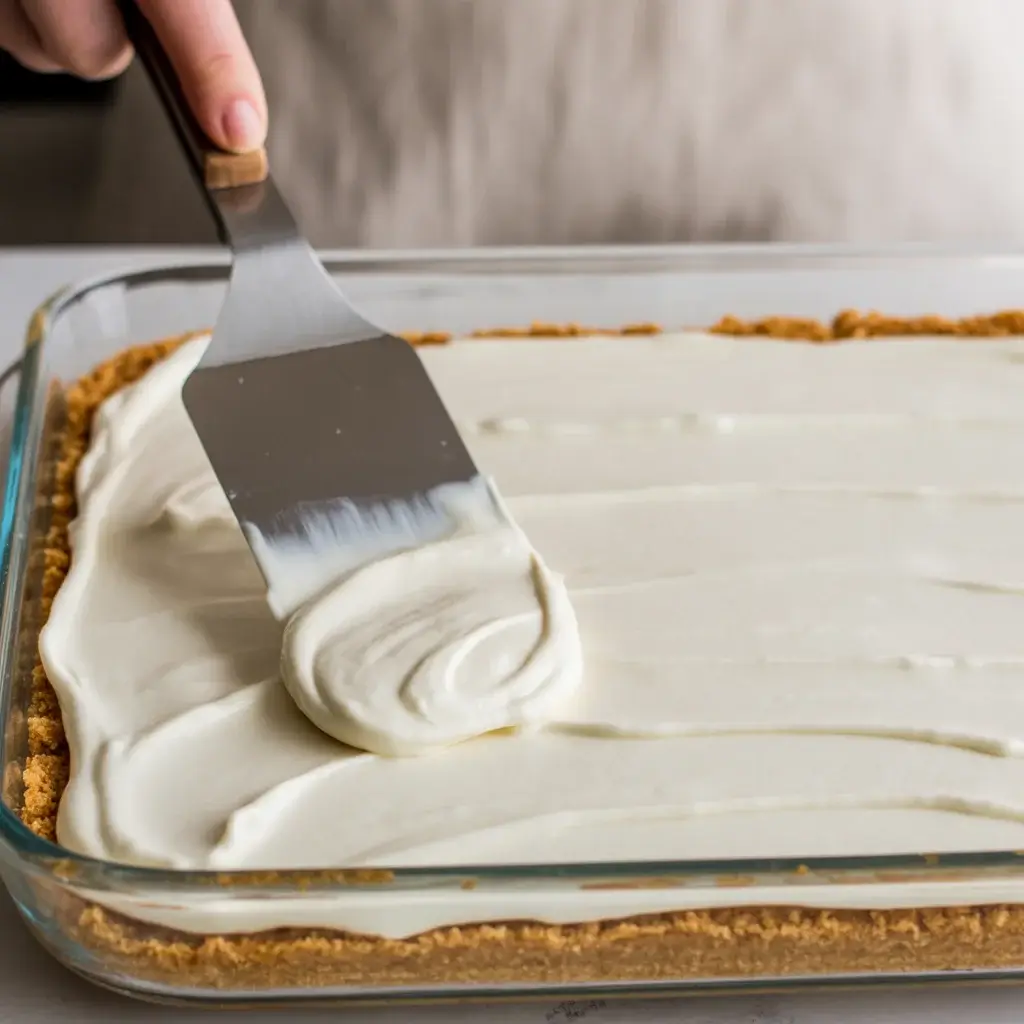
Spoon the cream cheese filling over the chilled crust and gently spread it to the edges using an offset spatula. Work from the center outward so you don’t disturb the crust underneath.
The layer should be about 1 to 1.5 inches thick and perfectly even. I tested using a regular spoon first, and it dragged the crust up into the filling. An offset spatula is the real MVP here. Refrigerate this layer for at least 30 minutes before adding the strawberry topping.
Step 4: Prepare the Strawberry Topping
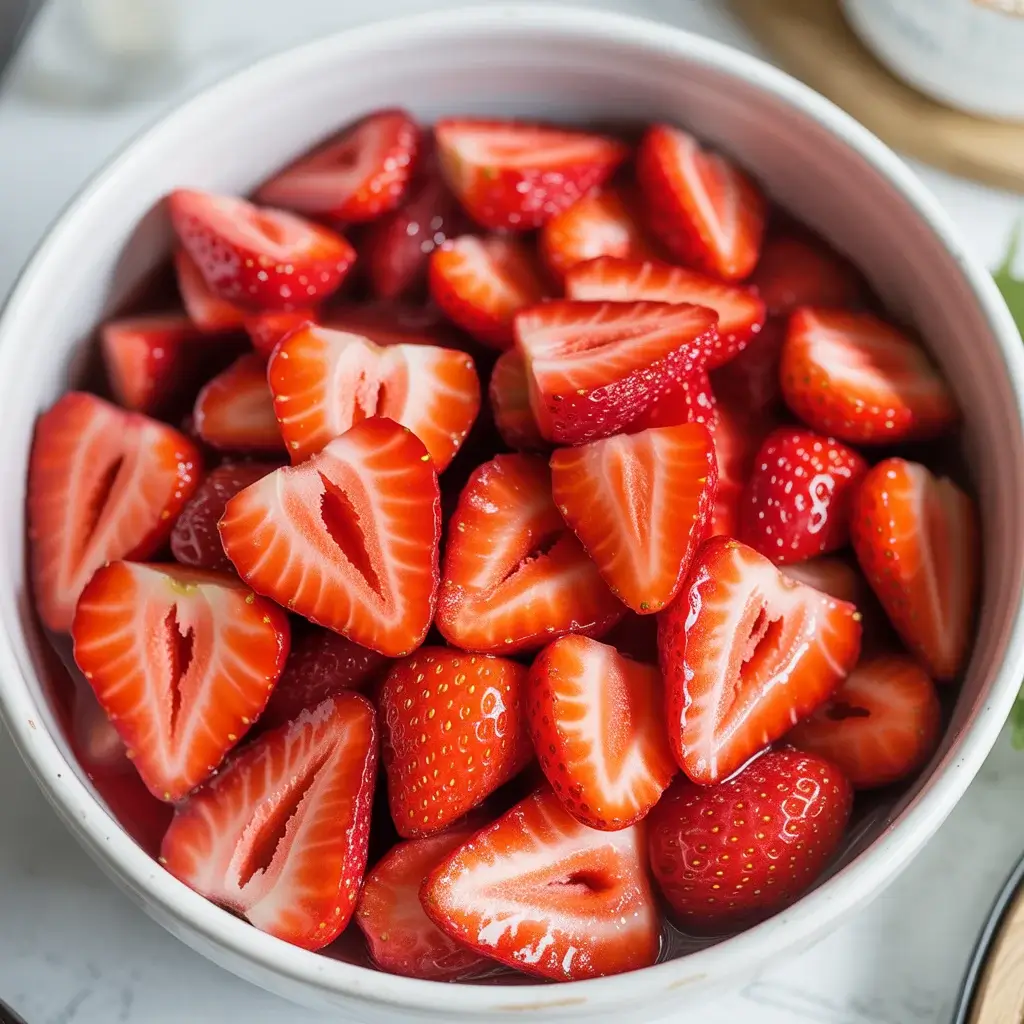
Hull and slice 2 pounds of fresh strawberries about 1/4-inch thick. In a small saucepan over medium heat, combine 1/3 cup sugar, 1 tablespoon cornstarch, and 1/4 cup water. Stir constantly for about 4 minutes until it thickens into a clear, glossy glaze.
Remove from heat, stir in a tiny squeeze of fresh lemon juice, and let it cool for 15 minutes. Then gently toss your sliced strawberries in the glaze until every piece is shiny and coated. The smell at this point is absolutely incredible, warm strawberry and citrus.
Step 5: Layer the Strawberries
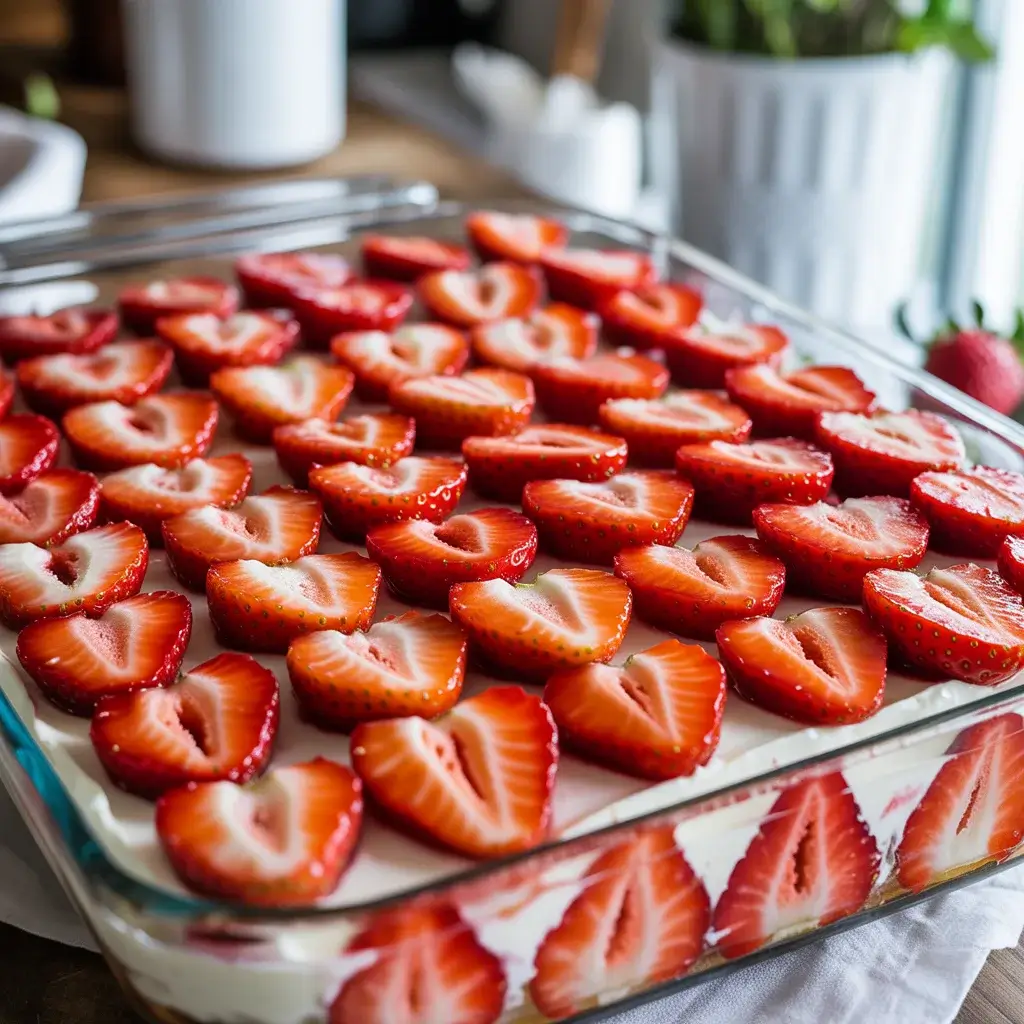
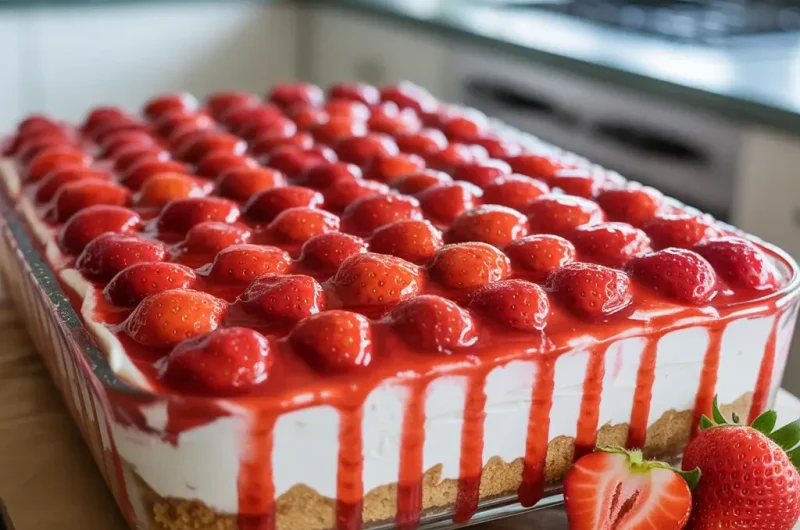
Arrange the glazed strawberries evenly over the cream cheese layer in overlapping rows. I tested dumping them on randomly in an early batch, and the filling cracked under the weight. Laying them gently and evenly distributes the weight and looks stunning.
Start from one corner and work your way across in neat rows. Every slice should be slightly overlapping the last. Press nothing down hard. The layer will look glossy, jewel-red, and beautiful. This is the moment it starts to look like a real showstopper dessert.
Discover More Delicious Recipes
Step 6: Chill and Set

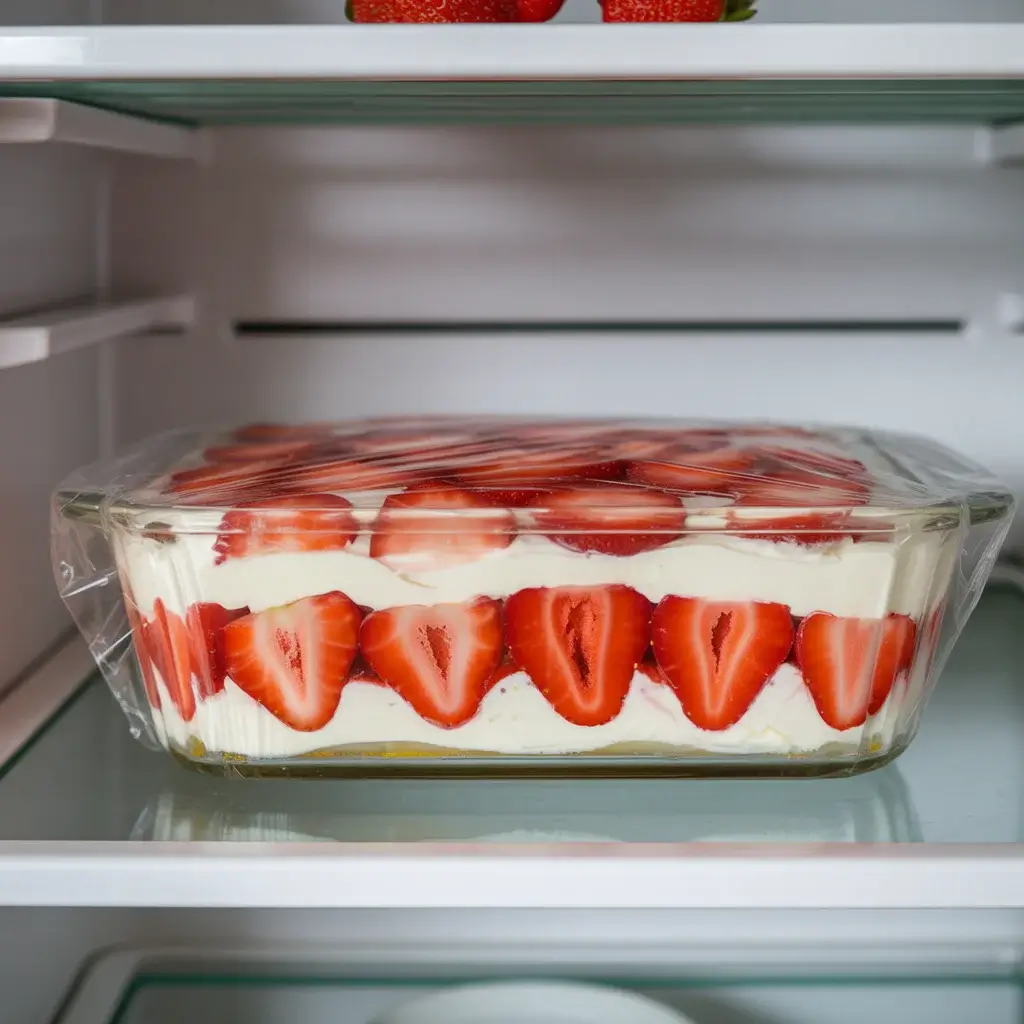
Cover the dish loosely with plastic wrap (don’t press it down onto the strawberries or the glaze will stick) and refrigerate for a minimum of 4 hours. I always aim for overnight when I have the time.
The overnight chill makes a genuinely noticeable difference. After 4 hours the layers hold, but after 8 hours the crust firms up, the filling deepens in flavor, and every slice comes out clean and beautiful. Set a timer and resist the urge to peek too early.
Step 7: Slice and Serve
Use a sharp knife dipped in warm water and wiped clean between every cut. This one technique is the difference between clean, picture-perfect slices and smeared, messy ones. I tested both and the warm knife method wins by a mile.
Cut into 12 to 15 squares and lift each slice with a flat spatula. Serve cold, straight from the fridge. Add a small dollop of whipped cream and a fresh whole strawberry on top of each slice for presentation. The layers will be perfectly distinct, creamy, and gorgeous.
Strawberry Cream Cheese Delight: The Perfect No-Bake Summer Dessert
Course: DessertCuisine: AmericanDifficulty: Easy12
servings20
minutes2
hours2
hours20
minutesA no-bake layered dessert with a buttery graham cracker crust, fluffy cream cheese filling, and a fresh glazed strawberry topping. Easy, crowd-pleasing, and absolutely beautiful.
Ingredients
- For the Crust:
2 cups graham cracker crumbs
1/4 cup granulated sugar
6 tablespoons butter, melted
- For the Cream Cheese Layer:
8 oz cream cheese, softened
1/2 cup powdered sugar
1 teaspoon vanilla extract
1 cup heavy cream, cold
- For the Strawberry Topping:
2 pounds fresh strawberries, hulled and sliced
1/4 cup granulated sugar
2 tablespoons cornstarch
2 tablespoons water
Directions
- Prepare the crust: Mix graham cracker crumbs, sugar, and melted butter in a bowl until evenly combined. Press firmly into the bottom of a 9×13-inch dish. Refrigerate while preparing filling.
- Make the cream cheese layer: Beat softened cream cheese, powdered sugar, and vanilla until smooth and fluffy, about 3 minutes. In a separate bowl, whip heavy cream to stiff peaks.
- Combine layers: Gently fold whipped cream into cream cheese mixture until just combined. Spread evenly over chilled crust.
- Prepare strawberries: Combine sliced strawberries and sugar in a saucepan. Mix cornstarch and water, then add to strawberries. Cook over medium heat for 3-4 minutes until slightly thickened. Cool completely.
- Assemble: Spread cooled strawberry mixture over cream cheese layer. Refrigerate for at least 2 hours before serving.
- Serve: Cut into squares and serve chilled. Garnish with additional fresh strawberries if desired.
Notes
- For best results, use cream cheese at room temperature for smooth mixing
Fresh strawberries work best, but frozen (thawed and drained) can substitute
Can be made up to 24 hours ahead – cover tightly with plastic wrap
For firmer slices, chill overnight
| Nutrition Facts | Per Serving |
|---|---|
| Calories | 395 kcal |
| Total Fat | 19 g |
| Sugars | 39 g |
| Protein | 4 g |
| Dietary Fiber | 1 g |
Trusted Resource Links
For more on smart dessert nutrition choices, visit the American Heart Association Healthy Eating Guide and the Mayo Clinic Nutrition and Healthy Eating resource.
Can You Make Strawberry Cream Cheese Delight the Night Before?
Yes, and I strongly recommend it. Making this dessert the night before actually improves every layer. The crust firms up, the filling sets deeply, and the flavors meld beautifully overnight.
After 15+ test batches, the overnight version consistently outperformed the 4-hour version in both texture and taste. Guests always commented that the same-day version felt “a little loose.”
The filling needs time to fully absorb the faint sweetness from the crust beneath it. That integration only happens with a long, cold rest.
Make it up to 24 hours ahead and keep it covered in the fridge. Any longer than that, and the crust starts to soften too much from moisture in the strawberry glaze.
What’s the Best Cream Cheese to Use?
Full-fat block cream cheese is the only one I recommend. I tested this recipe with reduced-fat cream cheese and spreadable cream cheese in tubs, and both failed me.
The reduced-fat version produced a slightly grainy texture that never fully smoothed out. The spreadable version was too soft and the filling never held its shape when sliced.
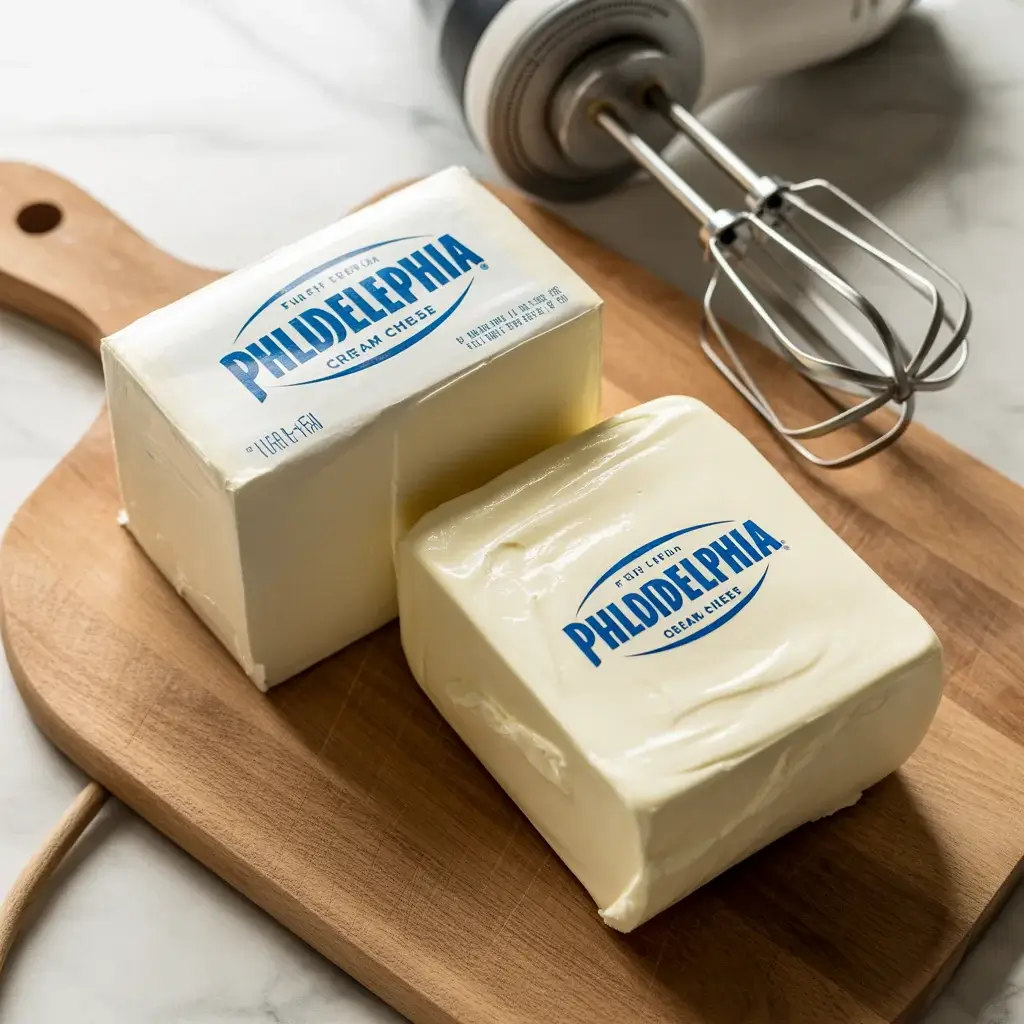
Full-fat Philadelphia block cream cheese gave me the best texture every single time. It whips up silky smooth, holds its structure in the fridge, and has a rich, slightly tangy flavor that balances the sweet strawberries perfectly.
Let it soften fully at room temperature for 45 minutes before beating. If you’re in a rush, cut it into small cubes first. Smaller pieces soften much faster and beat more evenly.
Fresh vs. Frozen Strawberries: Which Works Better?
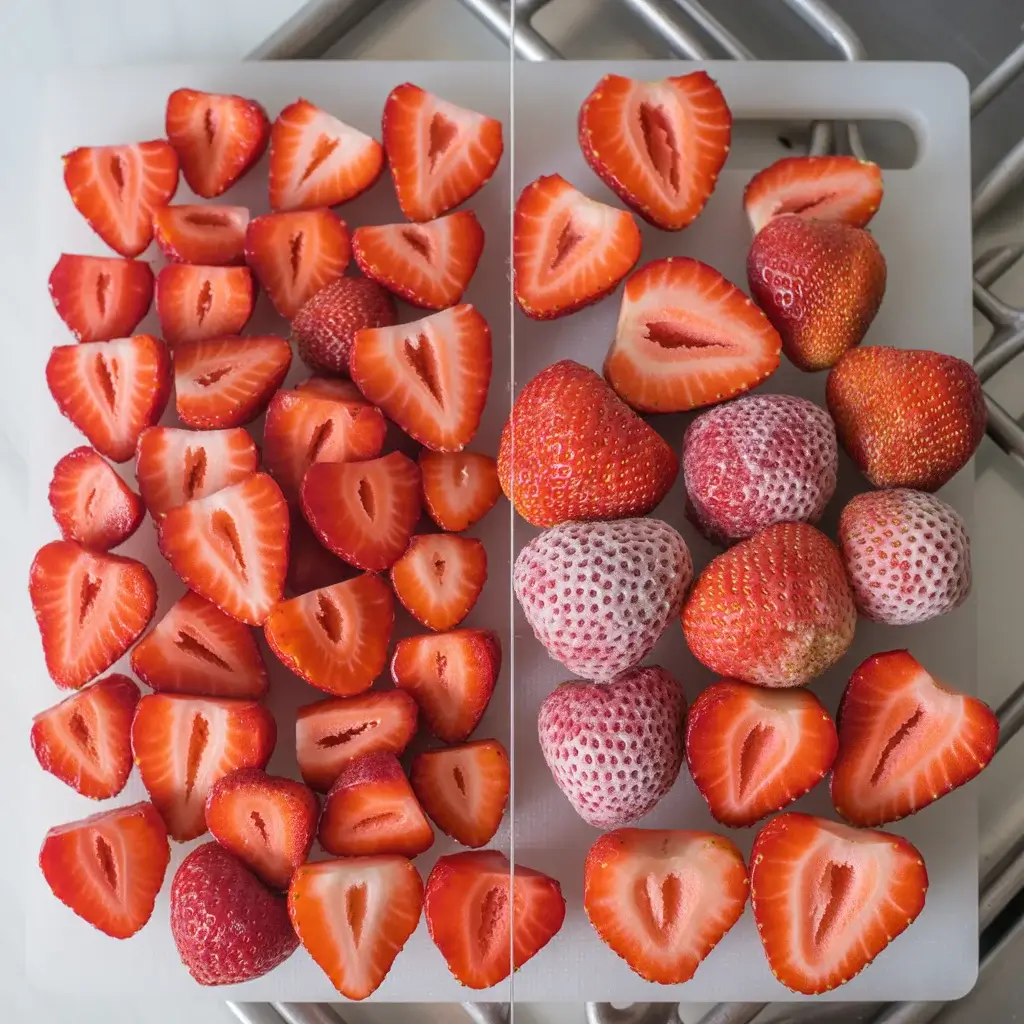
Fresh strawberries are the clear winner for this recipe. I tested both, and frozen berries released too much water into the glaze, making the topping thin and runny even after cooling.
The excess moisture from frozen strawberries also crept down into the cream cheese layer and made it weep and separate after a few hours in the fridge.
Fresh berries hold their shape when sliced, absorb the glaze without releasing excess liquid, and maintain that beautiful glossy red color for a full 24 hours.
If fresh strawberries are unavailable or out of season, look for frozen whole strawberries (not sliced), thaw them completely, and drain them on paper towels for 30 minutes before using. The result won’t be quite as clean, but it’s workable.
How Do You Keep the Crust from Getting Soggy?
Refrigerating the crust for 20 minutes before adding the filling is non-negotiable. I skipped this step once, and the filling sank slightly into the warm crust and softened it.
The chilled butter in the crust needs time to re-solidify and create a firm, compact base. That cold foundation is what keeps the crust from absorbing moisture from the layers above.
A second trick I discovered after my 8th batch: mix 1 tablespoon of powdered sugar into the crust crumbs before pressing. It creates a very faint moisture barrier between the crumbs and the filling.
Finally, assemble the strawberry layer only after the cream cheese layer has chilled for at least 30 minutes. Layering everything at once, without resting in between, was my earliest and most common mistake.
Frequently Asked Questions
Can I use frozen strawberries instead of fresh?
Yes, but thaw them completely and drain excess liquid before cooking with the cornstarch. Fresh strawberries provide better texture and flavor, but frozen work in a pinch.
How far in advance can I make this dessert?
You can make this strawberry cream cheese delight up to 24 hours ahead. In fact, it tastes even better after chilling overnight as the flavors have time to meld together beautifully.
What if I don’t have Graham crackers for the crust?
Vanilla wafers, digestive biscuits, or even crushed Oreo cookies work wonderfully as substitutes. Just maintain the same proportions of crumbs, sugar, and butter for the best texture.