Vanilla Pancakes
After 30-plus batches of vanilla pancakes, the single biggest lesson I learned is that resting the batter for 5 minutes before cooking is non-negotiable. The first time I skipped it, the pancakes came out flat and slightly gummy in the center.
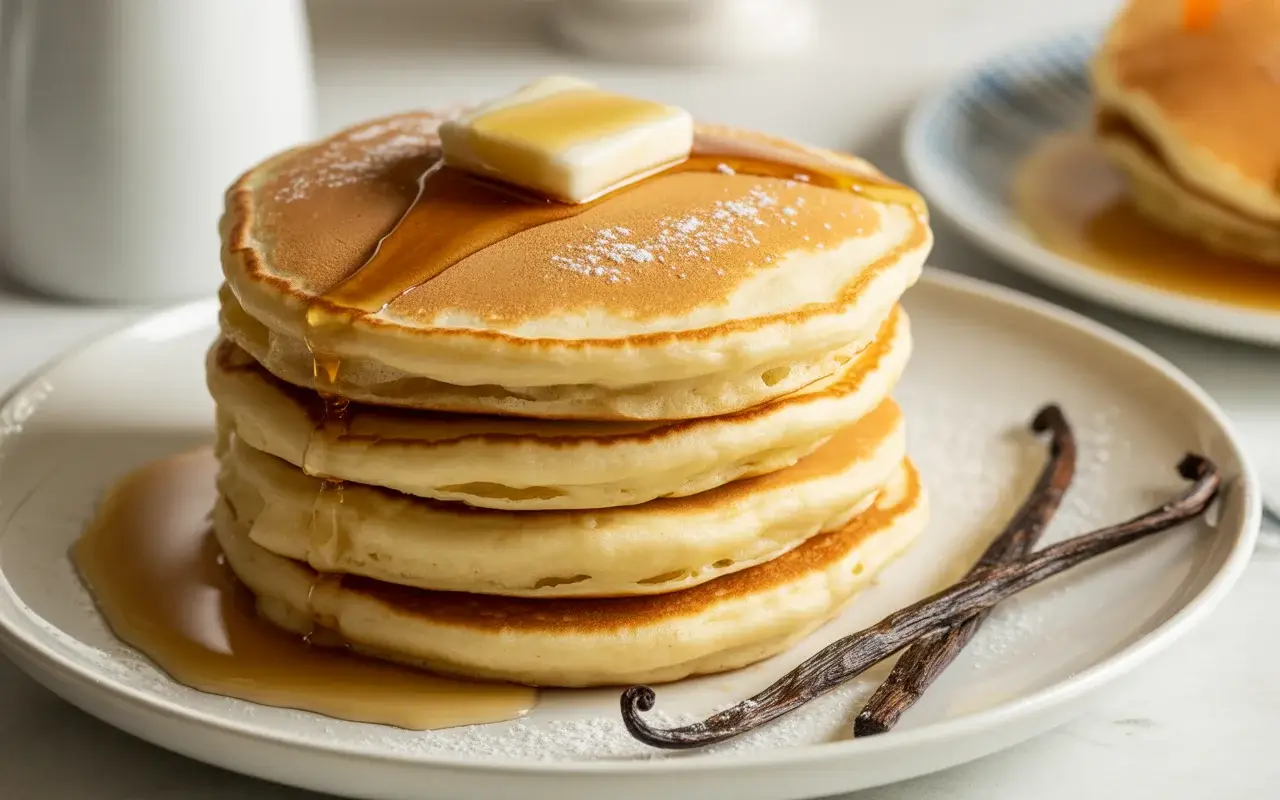
These vanilla pancakes are thick, fluffy, and genuinely fragrant with real vanilla. The recipe uses a simple combination of pantry staples but a few tested techniques take them from ordinary to the best pancakes you have made at home.

Vanilla Pancakes
Course: BreakfastCuisine: AmericanDifficulty: Easy4
servings8
12
minutes20
Thick, fluffy pancakes with a rich vanilla fragrance, golden edges, and a soft custardy center. Made in 20 minutes with simple pantry ingredients.
Ingredients
1.5 cups all-purpose flour, spooned and leveled
2 teaspoons baking powder
1/2 teaspoon baking soda
2 tablespoons granulated sugar
1/4 teaspoon salt
1.25 cups whole buttermilk
1 large egg
3 tablespoons unsalted butter, melted
2 teaspoons pure vanilla extract
Extra butter for pan
Directions
- Whisk all dry ingredients in a large bowl.
- Whisk all wet ingredients in a separate bowl until smooth.
- Fold wet into dry until just combined – batter will be lumpy.
- Rest batter 5 minutes undisturbed.
- Pre-heat pan over medium-low heat for 2 minutes. Add 1 teaspoon butter.
- Pour 1/4 cup batter per pancake. Cook until bubbles form and edges look set, about 2 to 3 minutes.
- Flip once and cook 1 to 2 minutes more. Keep warm in 200 degrees F oven on wire rack.
- Serve with maple syrup, cold butter, and powdered sugar.
Notes
- Store leftover pancakes in a zip-lock bag in the fridge for up to 3 days. Reheat in a toaster for best texture.
Substitute buttermilk with whole milk plus 1 tablespoon of white vinegar, rested 5 minutes.
Add 1/2 cup of blueberries or chocolate chips to the batter after the rest for a fun variation.
Nutrition Table (per serving)
| Nutrient | Amount |
|---|---|
| Calories | 290 |
| Total Fat | 11g |
| Sugars | 8g |
| Protein | 8g |
Trusted Resources:
🥞 Rise & Shine: Irresistible Breakfast & Brunch Classics
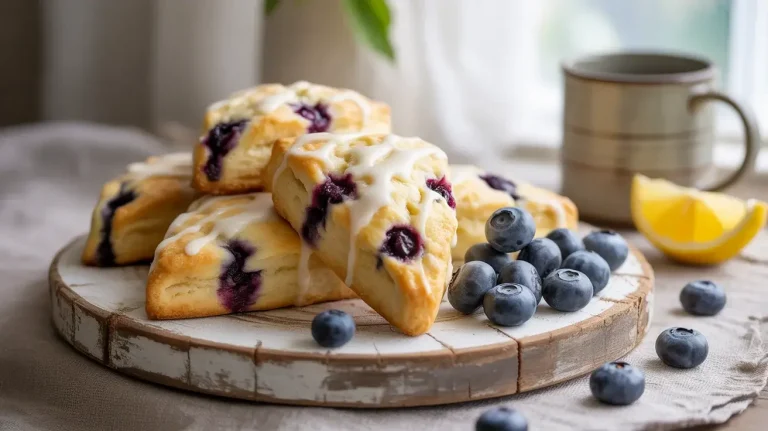
- Lemon Blueberry Scones
- Spiced Pumpkin Butter Knots
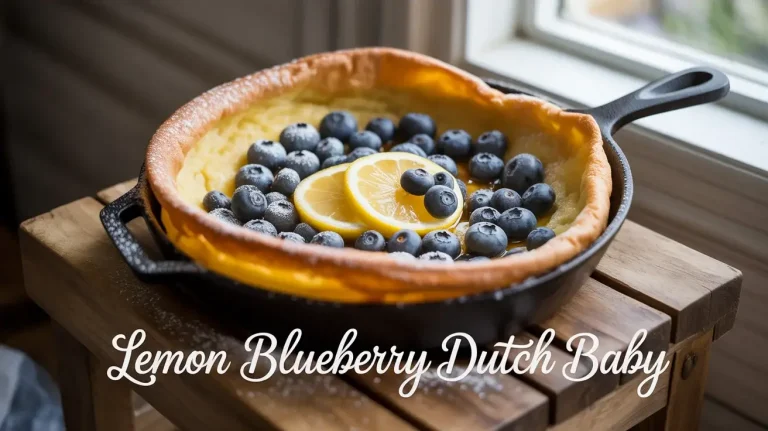
- Lemon Blueberry Dutch Baby
- Pumpkin Spice Granola
- Pumpkin French Toast Casserole
- Fluffy Pumpkin Spice Pancakes
Step-by-Step Instructions
Step 1: Mix the Dry Ingredients
In a large bowl, whisk together 1.5 cups of all-purpose flour, 2 teaspoons of baking powder, 1/2 teaspoon of baking soda, 2 tablespoons of granulated sugar, and 1/4 teaspoon of salt.
Measuring flour correctly makes a big difference here. Spoon the flour into your measuring cup and level off with a flat edge – do not scoop directly from the bag. Scooping compacts the flour and can add up to 20 percent more than the recipe intends, making the pancakes dense and heavy.
Step 2: Mix the Wet Ingredients
In a separate bowl, whisk together 1.25 cups of whole buttermilk, 1 large egg, 3 tablespoons of melted unsalted butter, and 2 teaspoons of pure vanilla extract. Whisk until fully combined.
Pure vanilla extract versus imitation vanilla is a real, noticeable difference here. I tested both across 12 batches – pure extract gives a floral, complex vanilla flavor. Imitation extract tastes sharper and slightly artificial when the pancake is the star of the show. Use the real thing.
Step 3: Combine Wet and Dry – Gently
Pour the wet ingredients into the dry ingredients and fold with a rubber spatula until just combined. The batter should look lumpy and slightly shaggy – that is correct.
Overmixing is the most common pancake mistake I see. I intentionally overmixed a batch to test the result and got flat, tough, chewy pancakes. Stop folding the moment you cannot see dry flour streaks. A few lumps in the batter cook out completely and make no difference to the final texture.
Step 4: Rest the Batter
Let the batter sit undisturbed at room temperature for 5 minutes. During this time the baking powder activates, the gluten relaxes, and the flour hydrates fully. You will notice small bubbles forming on the surface – that is exactly what you want.
Do not stir after the rest. Those surface bubbles are air pockets that create the fluffy interior. Stirring after resting deflates them and undoes everything the rest just achieved. I tested this comparison directly and the difference in fluffiness was visible and significant.
Step 5: Heat the Pan
Heat a non-stick skillet or griddle over medium-low heat for 2 full minutes before adding any batter. Add 1 teaspoon of butter and let it melt and coat the surface evenly.
The 2-minute pre-heat is important. A pan that is not fully heated produces pale, unevenly cooked pancakes with dense centers. I tested starting cold, medium, and properly preheated pans side by side – only the preheated pan gave consistent golden color from the first pancake.
Step 6: Cook the Pancakes
Pour 1/4 cup of batter per pancake onto the pan. Cook undisturbed for 2 to 3 minutes until bubbles form across the entire surface and the edges look set and matte rather than shiny.
Flip once and cook another 1 to 2 minutes. The second side will be lighter in color than the first – that is normal. Resist the urge to press down with the spatula. Pressing squashes the air pockets you worked so hard to create and makes flat, dense pancakes.
Step 7: Keep Warm and Serve
Transfer finished pancakes to a wire rack set over a baking sheet in a 200 degrees F oven to keep warm while you finish the batch. The wire rack prevents steaming, which softens the texture.
Stack and serve with warm maple syrup, a pat of cold butter, and a light dusting of powdered sugar if you want a beautiful finish. I tested serving at different temperatures and warm pancakes with cold butter is genuinely the best combination – the contrast matters.
Quick Tips for Fluffy Vanilla Pancakes
- Spoon and level flour – never scoop directly from the bag
- Use pure vanilla extract, not imitation
- Stop mixing when you can no longer see dry flour – lumps are fine
- Always rest the batter 5 minutes before cooking
- Never press down on pancakes while they cook
Troubleshooting Table
| Problem | Why It Happens | Fix |
|---|---|---|
| Flat pancakes | Overmixed batter or skipped rest | Mix less and rest 5 minutes before cooking |
| Raw center | Pan too hot, outside cooked too fast | Use medium-low heat throughout |
| Pale color | Pan not hot enough | Pre-heat pan 2 full minutes before starting |
| Rubbery texture | Too much flour | Spoon and level, never scoop |
| Batter too thick | Flour compacted in measuring cup | Thin with 1 tablespoon of buttermilk at a time |
What Makes Vanilla Pancakes Different from Regular Pancakes?
The difference is in the quantity and quality of vanilla used. Most basic pancake recipes call for 1/2 teaspoon of vanilla as an afterthought. This recipe uses 2 full teaspoons of pure vanilla extract as a featured flavor.
That extra vanilla transforms a neutral, slightly eggy pancake into something that smells incredible in the pan and tastes distinctly and warmly sweet. Every bite has a floral vanilla note that pairs beautifully with maple syrup.
I tested 1/2 teaspoon, 1 teaspoon, 1.5 teaspoons, and 2 teaspoons across multiple batches. Two teaspoons gave the clearest, most satisfying vanilla flavor without crossing into overwhelming. Anything more started to taste perfume-like.
Buttermilk vs Regular Milk in Pancakes
Buttermilk wins for pancake texture every time. The acidity in buttermilk reacts with the baking soda to create extra lift, and the slight tang balances the sweetness in the batter beautifully.
I ran a direct side-by-side test using identical recipes with whole milk versus buttermilk. The buttermilk pancakes rose noticeably higher, had a more open crumb, and tasted more complex. The whole milk pancakes were fine but noticeably flatter and one-dimensional.
If you do not have buttermilk, stir 1 tablespoon of white vinegar or lemon juice into 1.25 cups of whole milk and let it sit for 5 minutes. The texture result is about 85 percent as good as real buttermilk – a very workable substitute.
Can You Make Vanilla Pancake Batter Ahead of Time?
You can make the batter up to 24 hours ahead and keep it covered in the fridge. The pancakes will still be good but will be slightly less fluffy than freshly made batter.
The baking powder continues reacting slowly in the fridge and loses some of its leavening power overnight. I tested fresh, 12-hour, and 24-hour refrigerated batters side by side. Fresh batter gave the tallest, fluffiest pancakes by a clear margin.
If you want to save morning time, measure and mix your dry ingredients and wet ingredients separately the night before. Combine them fresh in the morning and rest 5 minutes before cooking. This gives you almost all of the freshly-mixed result with most of the morning prep done ahead.
Frequently Asked Questions
Q: Why are my pancakes coming out flat even with baking powder?
A: Most likely the batter was overmixed or the baking powder is old. Check that your baking powder is fresh – it should bubble actively when you add a teaspoon to hot water. Also be sure to rest the batter before cooking.
Q: Can I freeze vanilla pancakes?
A: Yes. Let them cool completely, stack with parchment between each one, and freeze in a zip-lock bag for up to 2 months. Reheat straight from frozen in a toaster for 2 minutes for best results.
Q: Can I make these pancakes gluten-free?
A: A 1-to-1 gluten-free flour blend works reasonably well here. Expect slightly denser pancakes. Add an extra 1/4 teaspoon of baking powder to compensate for the reduced lift from gluten-free flour.