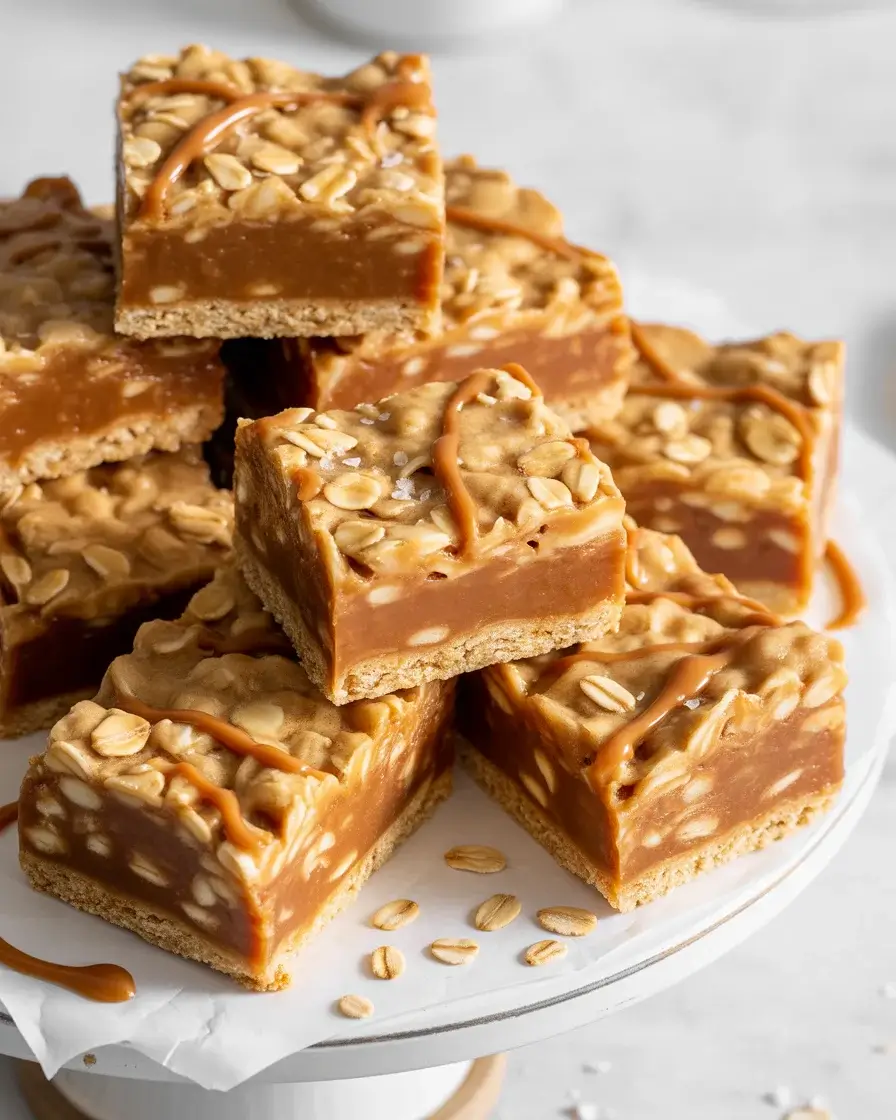
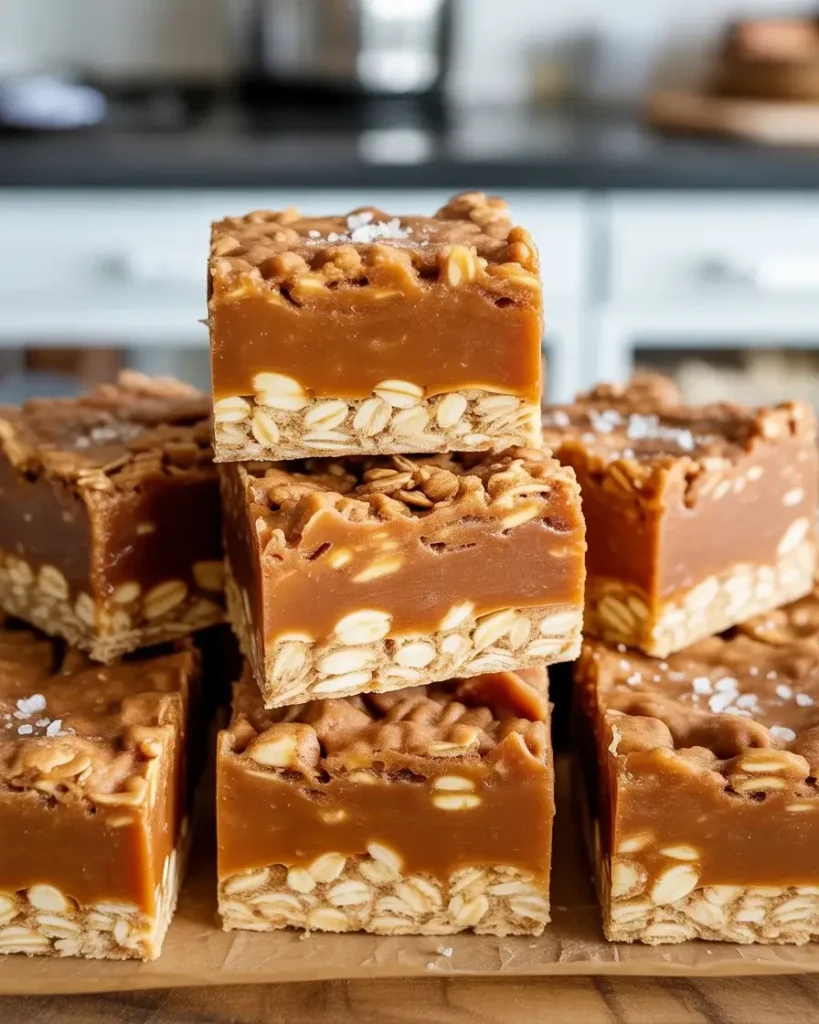
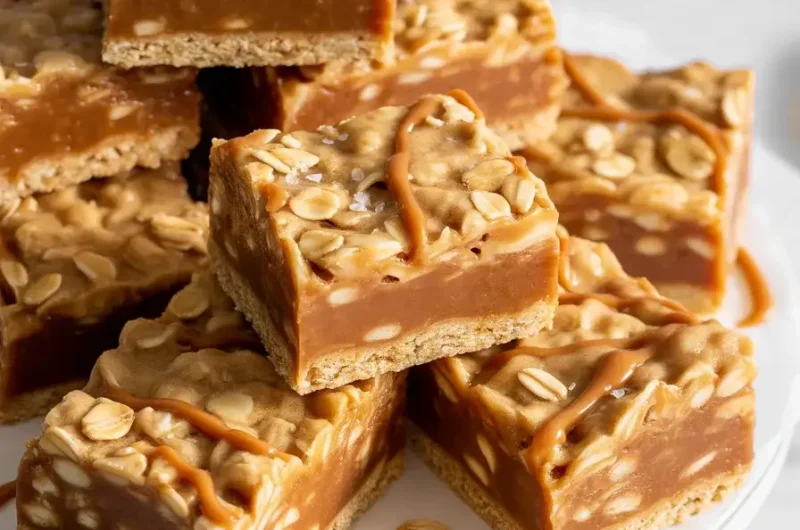
Salted Caramel Oat Cookie Bars
I burned my first batch of these bars because I got impatient with the caramel layer. The bottom was perfect, but the top turned into a hockey puck situation. After testing this recipe 15 times, I finally nailed the timing that gives you that perfect chewy-crispy balance with a gooey caramel center that doesn’t run everywhere when you cut it.
These bars have become my go-to for potlucks because they travel well and look impressive without much effort. The combination of buttery oat crust, thick caramel filling, and flaky sea salt hits that sweet-salty spot everyone craves.
Step-by-Step Instructions
Step 1: Make the Oat Base
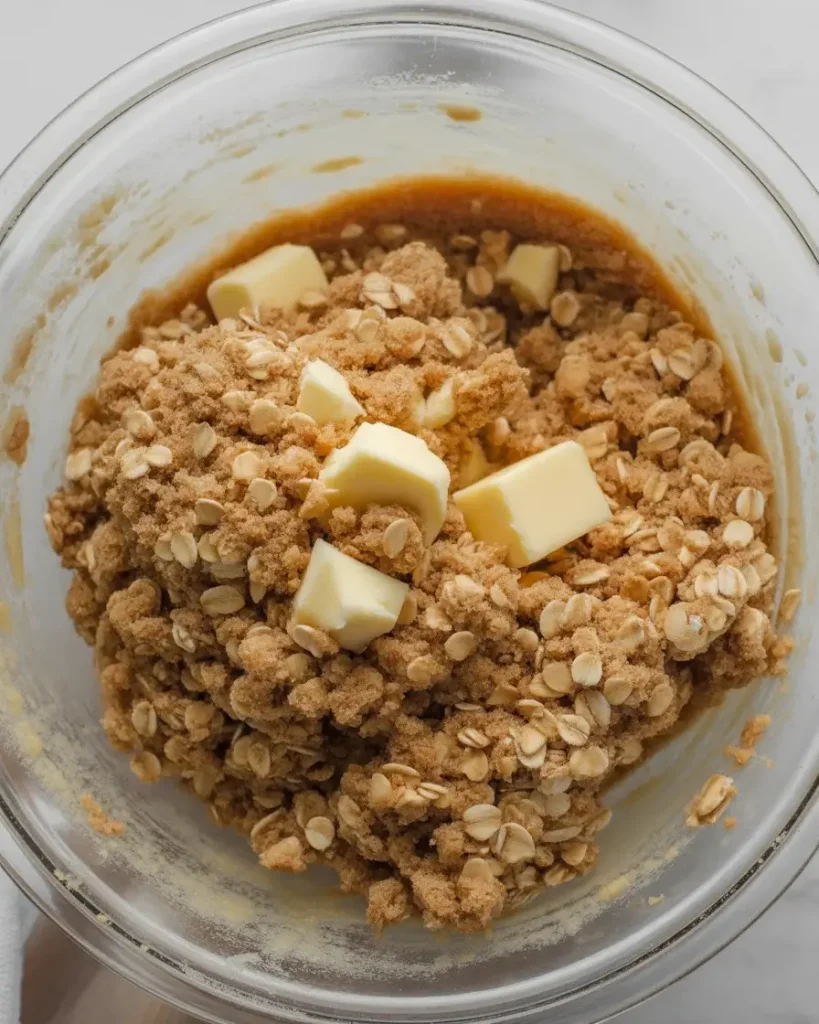
Preheat your oven to 350°F and line a 9×13-inch pan with parchment paper, leaving overhang on two sides for easy removal. In a large bowl, mix 2 cups all-purpose flour, 2 cups old-fashioned oats, 1 cup packed brown sugar, 1 teaspoon baking soda, and 1/2 teaspoon salt. Cut in 1 cup cold butter until the mixture looks like coarse crumbs.
I tested this with both melted and cold butter. Cold butter creates a more crumbly, shortbread-like texture that holds up better under the heavy caramel. You’ll know it’s ready when you can squeeze a handful and it holds together but still looks crumbly.
Step 2: Press Bottom Layer
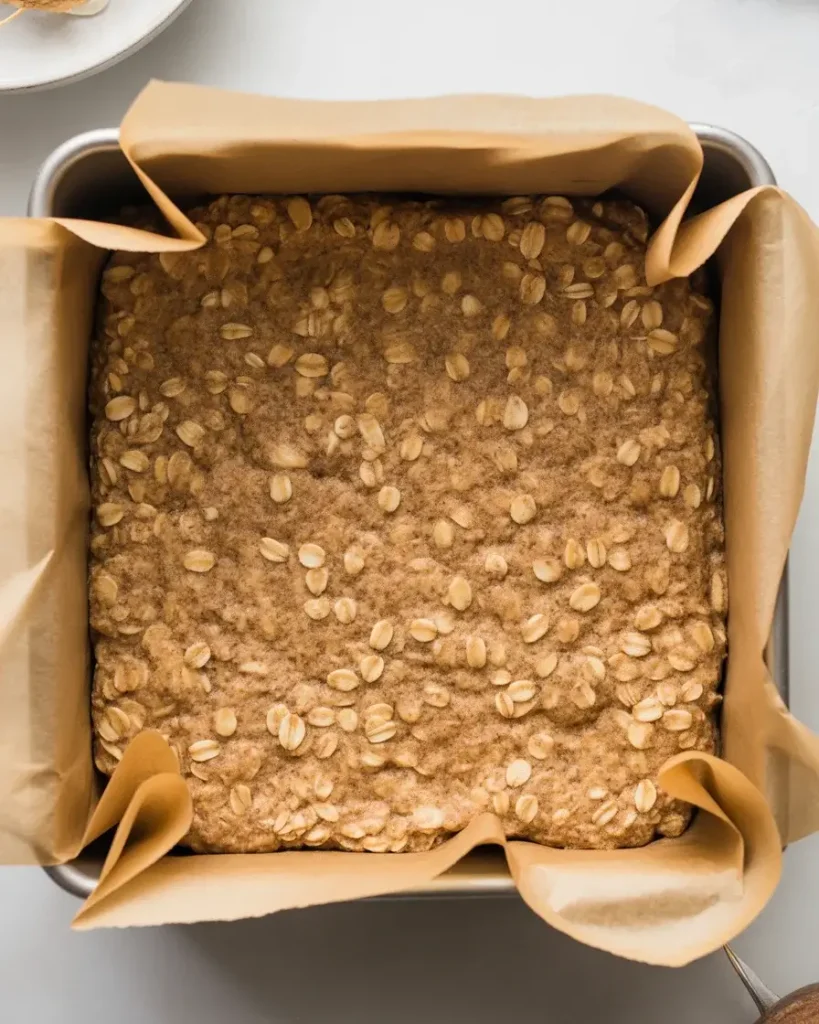
Reserve 1 1/2 cups of the oat mixture for the topping. Press the remaining mixture firmly into the bottom of your prepared pan, making sure to get it into all corners and create an even layer. I use the bottom of a measuring cup to really pack it down. Bake for 12 minutes until the edges just start to turn golden.
This partial bake is crucial. In my early tests, I skipped this step and the bottom stayed too soft and fell apart when cutting. The 12-minute bake gives structure without fully cooking the base.
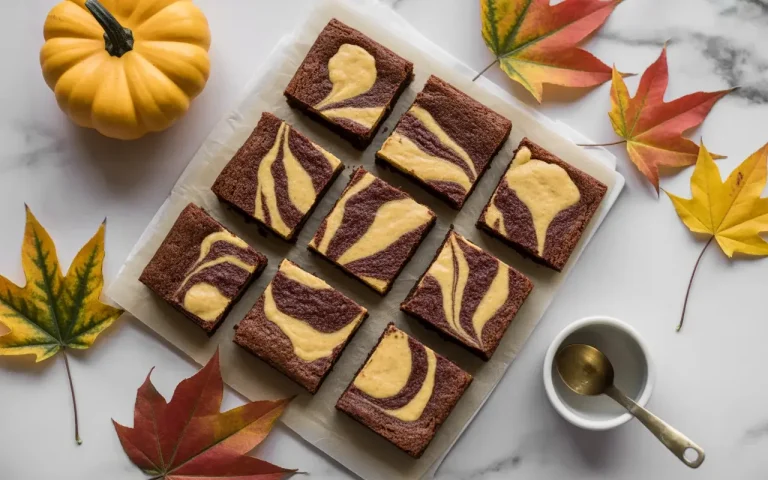
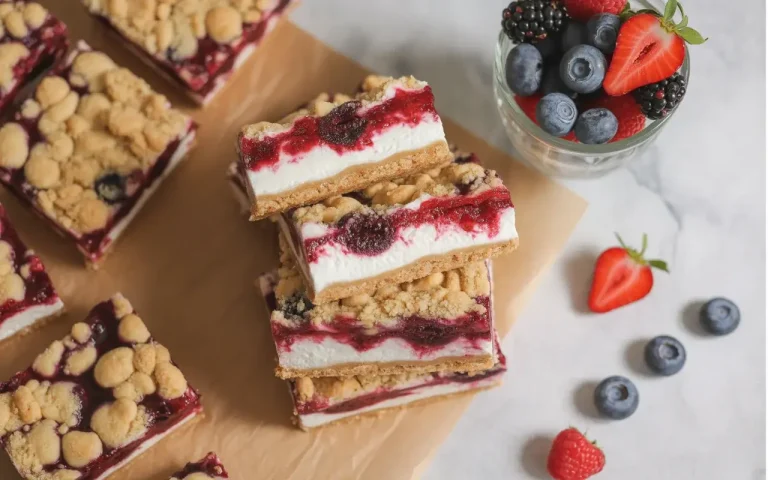
If you are looking for more delicious fruit-filled treats, try these fan-favorite recipes:
Step 3: Prepare the Caramel Layer
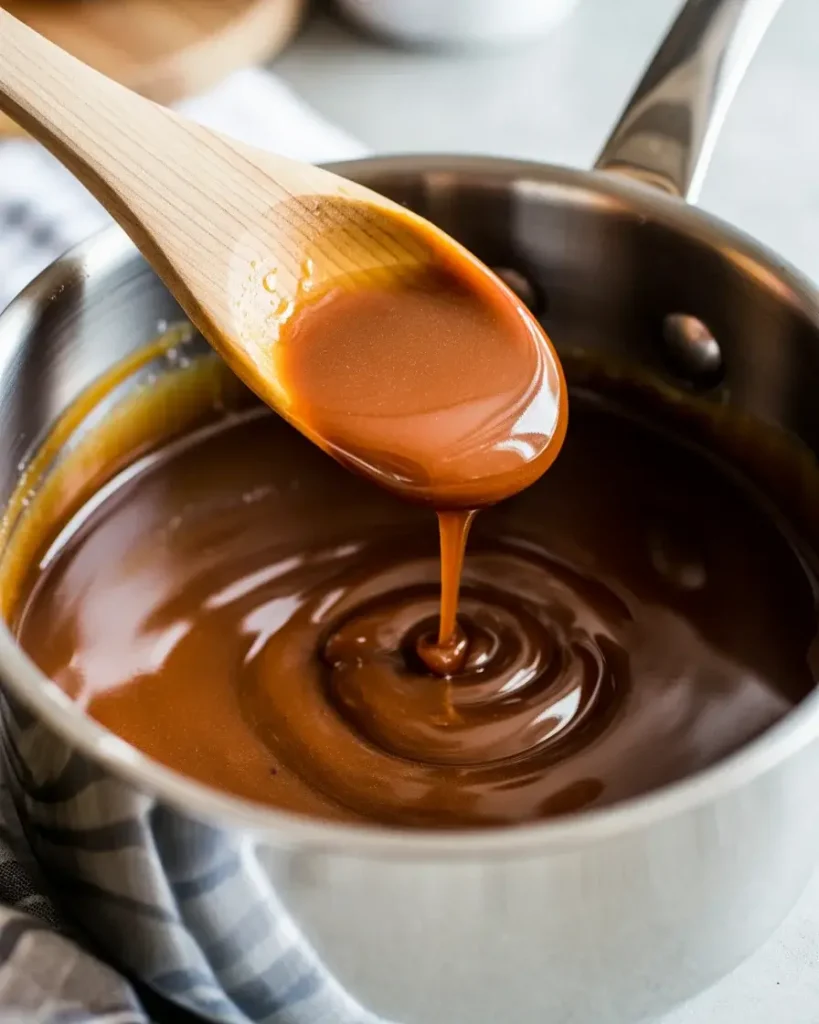
While the base bakes, unwrap 40 caramel candies (about 11 ounces) and place them in a medium saucepan with 1/3 cup heavy cream. Heat over medium-low, stirring constantly, until completely melted and smooth. This takes about 5-7 minutes. Don’t rush it with higher heat or the caramels will seize up.
I learned this the hard way after ruining three batches with grainy, separated caramel. Keep the heat gentle and stir patiently. The mixture should be smooth and pourable but still thick enough to coat the back of your spoon heavily.
Step 4: Assemble the Layers

Remove the partially baked crust from the oven and immediately pour the hot caramel over it, spreading gently with a spatula to cover the entire surface but leaving about 1/4 inch from the edges. The caramel will spread more as it bakes. Sprinkle the reserved oat mixture evenly over the caramel layer, breaking up any large clumps.
I tested pouring caramel on both warm and cooled crusts. Warm crust works better because the caramel spreads more easily and doesn’t pull up crumbs. Don’t worry if some caramel peeks through the top layer.
Step 5: Bake and Add Salt
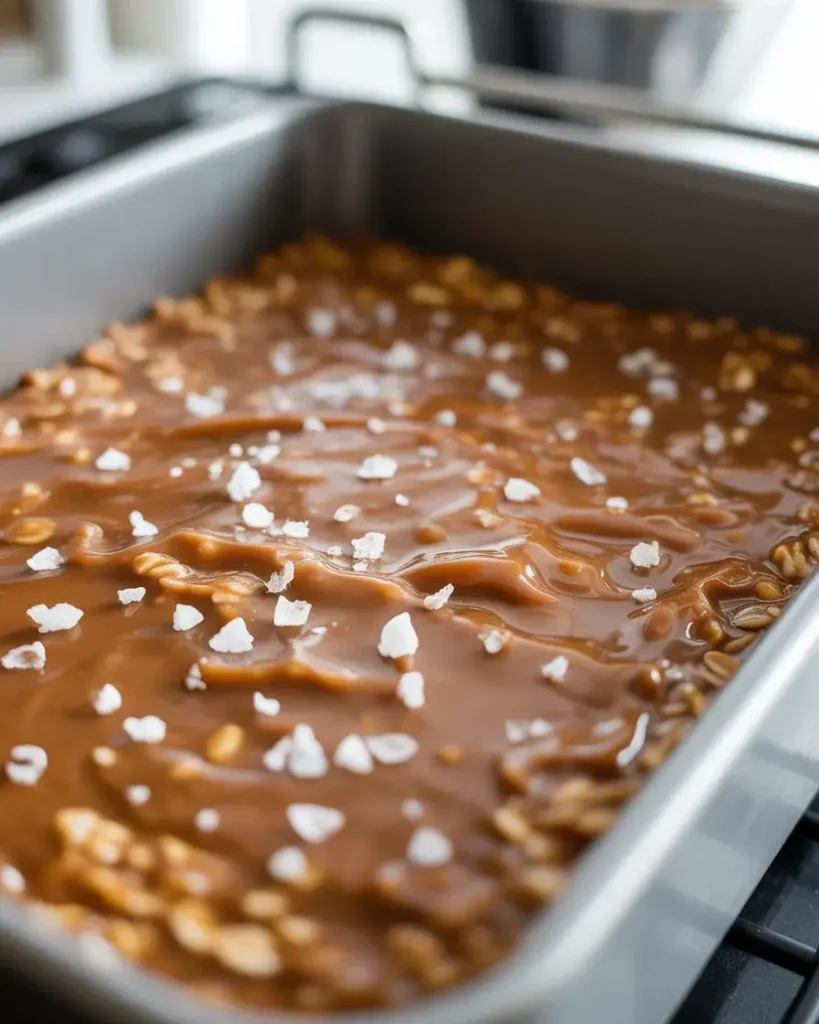
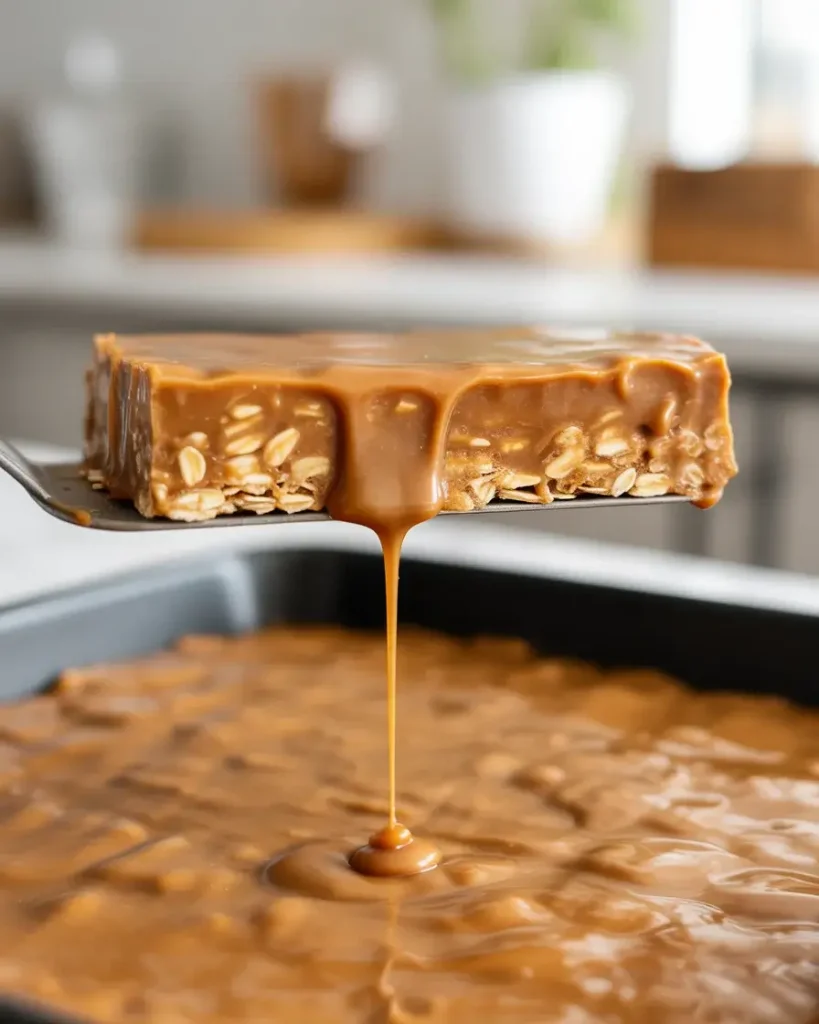
Bake for 22-25 minutes until the top is golden brown and you can see the caramel bubbling around the edges. Remove from oven and immediately sprinkle with 1 teaspoon flaky sea salt while still hot. The salt sticks better to the warm surface and starts melting slightly into the caramel.
At 22 minutes, the bars will be chewy. At 25 minutes, they’ll be crispier with a firmer caramel layer. I prefer 23 minutes for that perfect middle ground where the edges are crispy but the center stays gooey.
Step 6: Cool and Cut
Let the bars cool in the pan on a wire rack for 15 minutes, then use the parchment overhang to lift the entire block onto a cutting board. Cool completely for at least 2 hours before cutting. I know this is torture, but cutting warm bars results in a caramel mess.
For clean cuts, I wipe my knife with a damp cloth between each slice. Cut into 24 bars for standard servings or 48 smaller squares for parties. The bars firm up significantly as they cool, making them easy to handle and perfect for stacking.
Salted Caramel Oat Cookie Bars
Course: DessertCuisine: AmericanDifficulty: Easy24
20
minutes35
minutes55
minutesThick, chewy oat bars with gooey caramel center and flaky sea salt finish. Perfect for potlucks, gifting, and satisfying sweet-salty cravings.
Ingredients
2 cups all-purpose flour
2 cups old-fashioned rolled oats
1 cup packed brown sugar
1 teaspoon baking soda
1/2 teaspoon salt
1 cup cold unsalted butter, cut into pieces
11 ounces caramel candies (about 40 pieces), unwrapped
1/3 cup heavy cream
1 teaspoon flaky sea salt
Directions
- Preheat oven to 350°F and line a 9×13-inch pan with parchment paper, leaving overhang on two sides.
- Mix flour, oats, brown sugar, baking soda, and salt in a large bowl.
- Cut in cold butter until mixture resembles coarse crumbs.
- Reserve 1 1/2 cups of mixture. Press remaining mixture firmly into prepared pan.
- Bake crust for 12 minutes until edges start to turn golden.
- Meanwhile, melt caramel candies with heavy cream over medium-low heat, stirring constantly until smooth.
- Pour hot caramel over partially baked crust, leaving 1/4-inch border at edges.
- Sprinkle reserved oat mixture over caramel layer.
- Bake 22-25 minutes until golden brown and caramel bubbles at edges.
- Immediately sprinkle with flaky sea salt.
- Cool 15 minutes in pan, then lift out using parchment. Cool completely (at least 2 hours) before cutting.
Notes
- Store in airtight container at room temperature for up to 5 days
Freeze wrapped bars for up to 3 months
Wipe knife clean between cuts for neat edges
Cold butter creates better texture than melted butter
Don’t skip the partial bake on the bottom layer
Nutrition Table (per serving)
| Nutrient | Amount |
|---|---|
| Calories | 245 |
| Total Fat | 11g |
| Sugars | 22g |
| Protein | 3g |
Trusted Resource Links
For more information on safe food handling and storage practices, visit the FDA Safe Food Handling guidelines. For heart-healthy dessert modifications, check the American Heart Association Healthy Eating resources.
How Do I Prevent the Caramel from Leaking Out?
The key is leaving that 1/4-inch border when spreading your caramel layer. I tested this both ways, and when I spread caramel edge-to-edge, it bubbled out during baking and burned on the pan. The oat base also acts as a barrier when pressed firmly enough.
Make sure you really pack down that bottom layer in Step 2. A loose, crumbly base lets caramel seep through to the pan bottom.
Also, don’t overfill with caramel. The 11 ounces I recommend is the perfect amount for gooey centers without overflow. I tried 14 ounces once for “extra caramel” and it was a disaster.
Let the bars cool completely before cutting. Warm caramel is liquid and will ooze everywhere, but cooled caramel holds its shape beautifully between the layers.
Can I Make These Bars Ahead of Time?
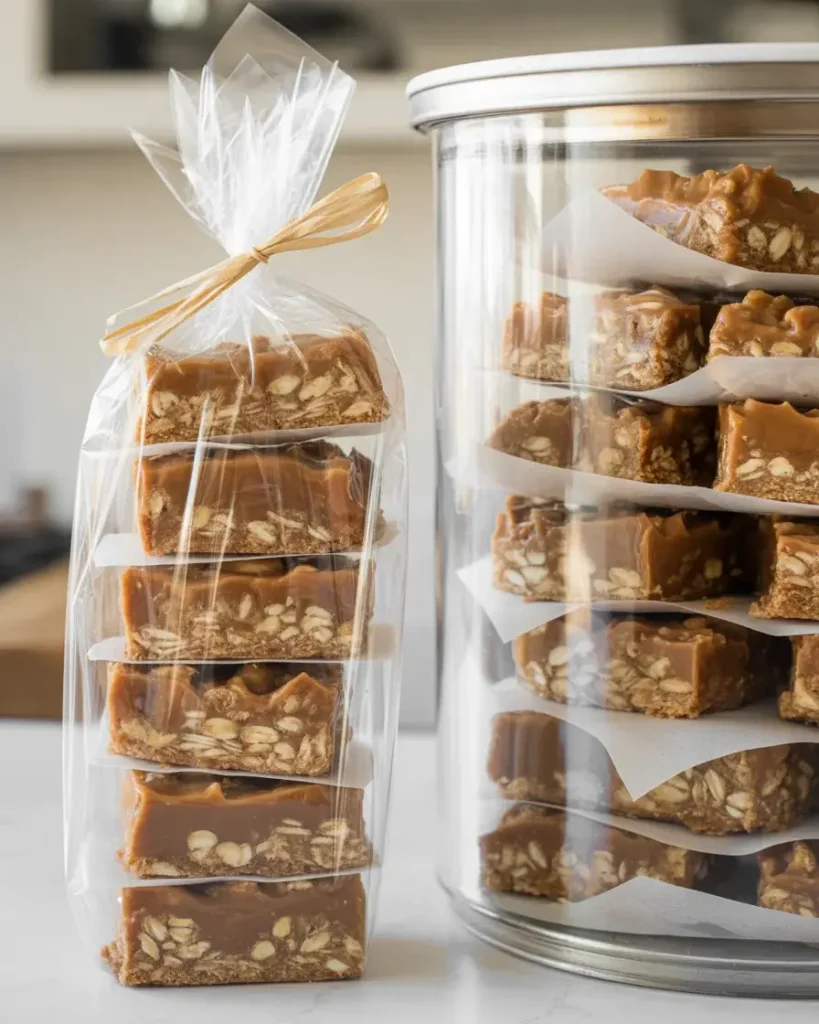
Yes, these bars actually improve after 24 hours. The flavors meld and the texture becomes more cohesive. I always make them the day before I need them. Store in an airtight container at room temperature for up to 5 days, layering parchment between stacks to prevent sticking.
For longer storage, freeze them for up to 3 months. I wrap individual bars in plastic wrap, then store in a freezer bag. They thaw in about 30 minutes at room temperature.
Don’t refrigerate these bars unless your kitchen is extremely hot. The cold firms up the caramel too much and makes the oat layers hard. Room temperature gives you that perfect chewy-gooey texture.
If you’re gifting these, pack them in a tin with parchment between layers. They’re sturdy enough to mail and always arrive intact in my experience.
What’s the Best Type of Caramel to Use?
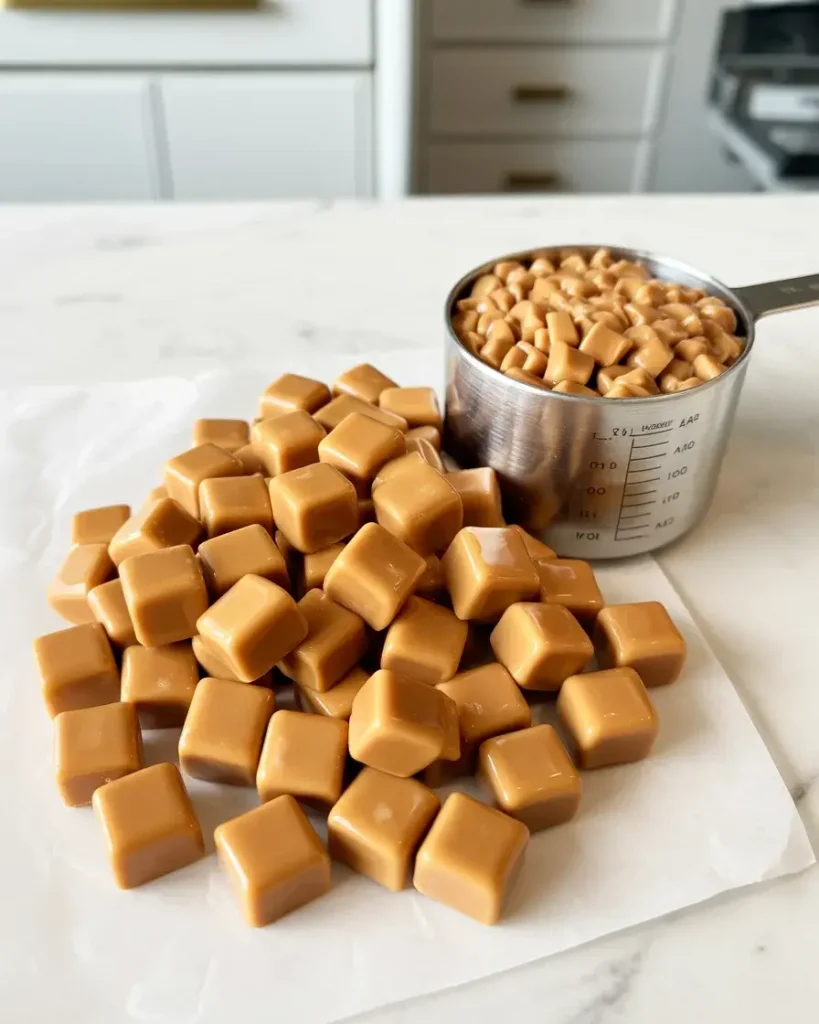
I’ve tested this recipe with unwrapped caramel candies, caramel bits, and homemade caramel sauce. Regular caramel candies (like Kraft caramels) work best because they melt smoothly and hold their shape after baking. The individual wrapping keeps them fresh, and the texture is ideal.
Caramel bits are convenient since they’re unwrapped, but they contain more stabilizers that can make the filling slightly grainy. If you use them, you’ll need about 1 1/2 cups.
Homemade caramel sauce sounds fancy but it’s actually too thin for these bars. I tested it twice and the caramel soaked into the oat layers instead of creating a distinct gooey center.
Avoid chocolate-covered caramels or flavored varieties. The chocolate burns at 350°F and flavored caramels taste artificial after baking. Stick with plain caramel for the best results.
Should I Use Quick Oats or Old-Fashioned Oats?
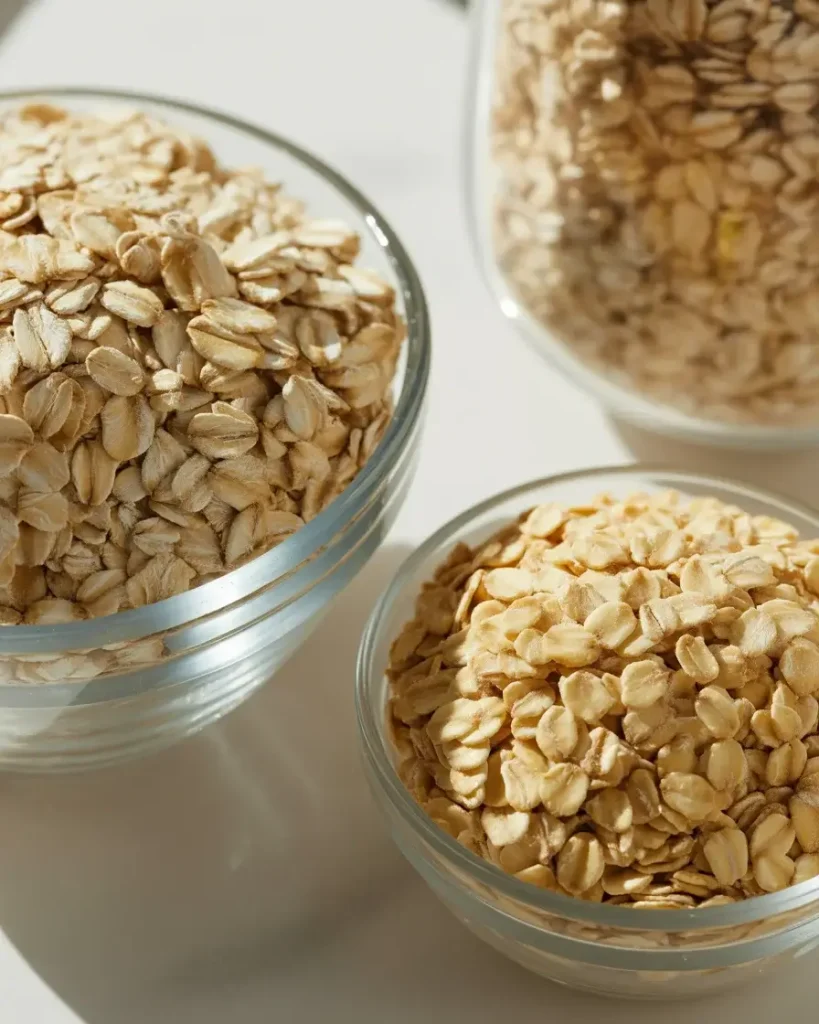
Old-fashioned rolled oats are essential for the right texture. I tested this with quick oats and the bars turned out dense and pasty instead of having that nice chewy bite. Quick oats are too finely cut and absorb more moisture, creating a mushy texture.
Steel-cut oats don’t work either. They’re too hard and won’t soften enough during the short baking time. You’ll end up with crunchy, undercooked pieces.
If you only have quick oats in a pinch, use 1 3/4 cups instead of 2 cups and add 1/4 cup more flour. This helps compensate for the extra absorption, but the texture still won’t be as good.
Make sure your oats are fresh. Rancid oats have a bitter taste that ruins the sweet caramel flavor. I learned this after wondering why one batch tasted off despite following the recipe exactly.
How Do I Get Clean Cuts Without Messy Edges?
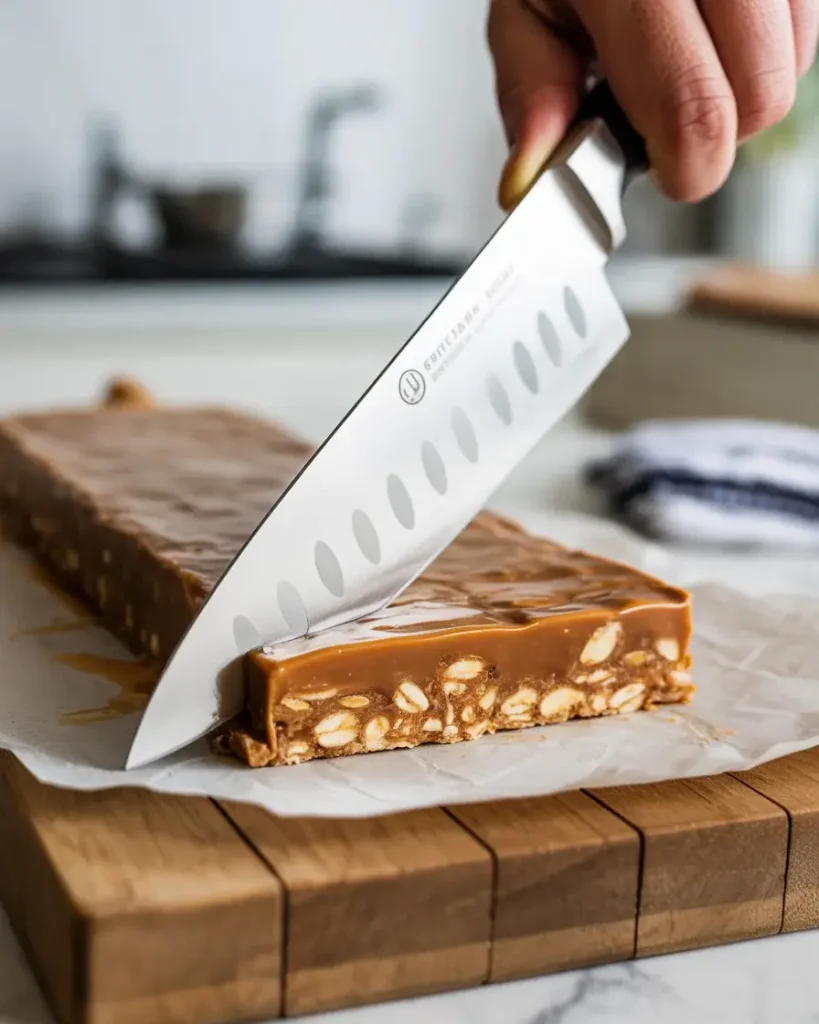
The secret is cooling completely and using a sharp chef’s knife wiped clean between each cut. I keep a damp kitchen towel next to my cutting board and wipe the blade after every single cut. This prevents caramel buildup that creates ragged edges.
Cut with a straight downward motion instead of sawing back and forth. Sawing drags the soft caramel and creates messy edges with crumbs everywhere.
Mark your cuts with light score lines first before cutting all the way through. This helps you keep rows even and prevents the knife from wandering and creating wonky pieces.
For the absolute cleanest cuts, chill the bars for 30 minutes in the refrigerator before slicing, then bring to room temperature before serving. The cold firms up the caramel just enough for razor-sharp cuts, but you lose some of that gooey texture if you serve them cold.
Frequently Asked Questions
Q: Can I use salted butter instead of unsalted?
A: Yes, but reduce the added salt to 1/4 teaspoon in the oat mixture. The bars will be slightly saltier overall, which some people prefer with the caramel sweetness.
Q: Why did my caramel get grainy?
A: The heat was too high or you didn’t stir constantly. Caramel needs gentle, even heat and constant stirring. If it separates, whisk in another tablespoon of cream off the heat.
Q: Can I double this recipe?
A: Yes, use two 9×13-inch pans and follow the same timing. Don’t try to bake it in one larger pan as the layers won’t cook evenly and the caramel will sink.