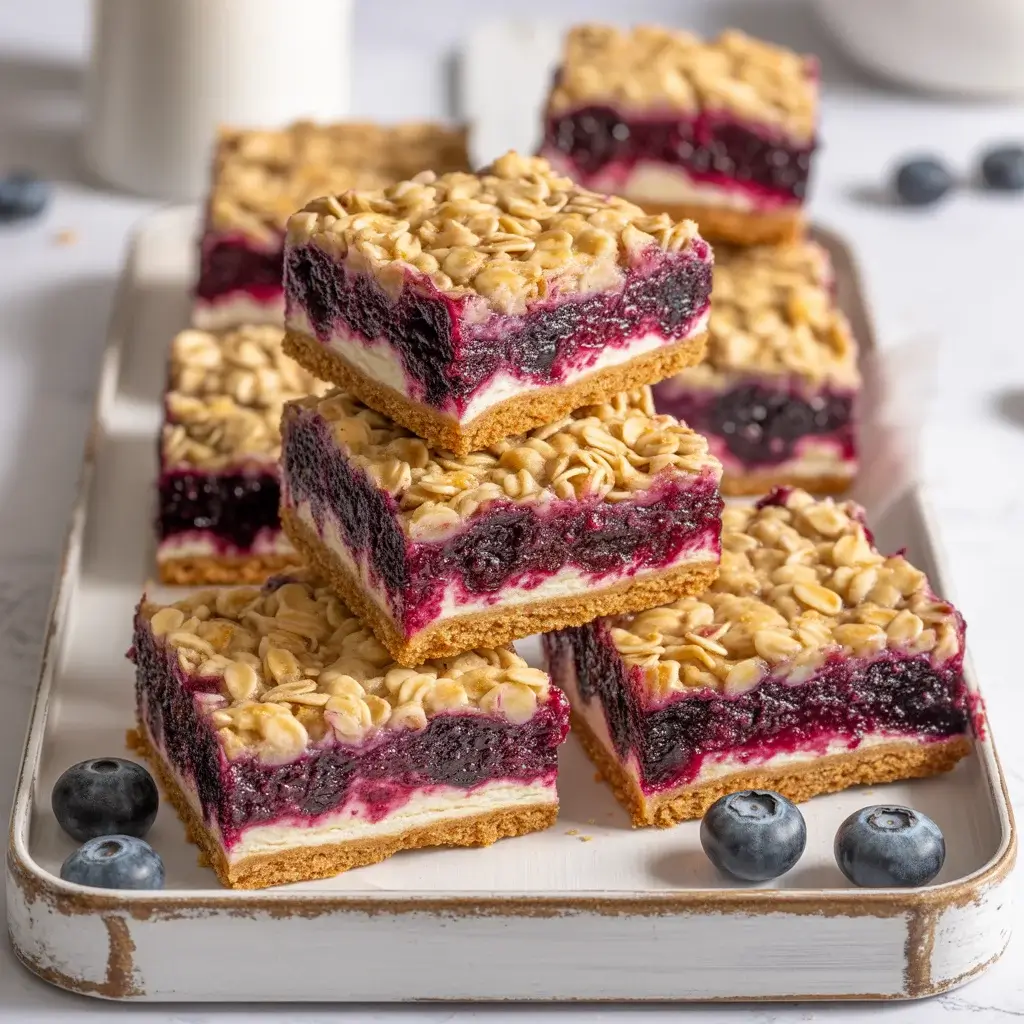
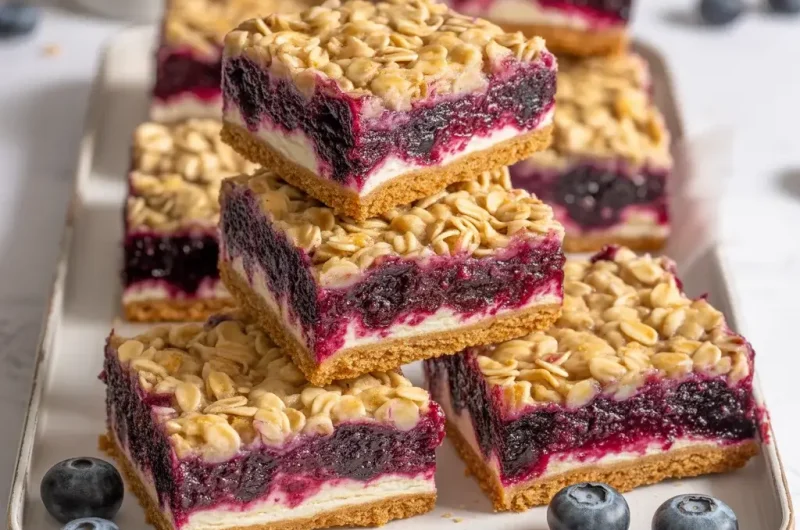
Blueberry Jamboree Bars
Last summer, I brought a pan of berry bars to a backyard cookout, and they disappeared in 15 minutes. I knew I needed to perfect the recipe, so I spent the next two months testing different ratios of oats to flour and fresh versus frozen blueberries until I got these blueberry jamboree bars exactly right.
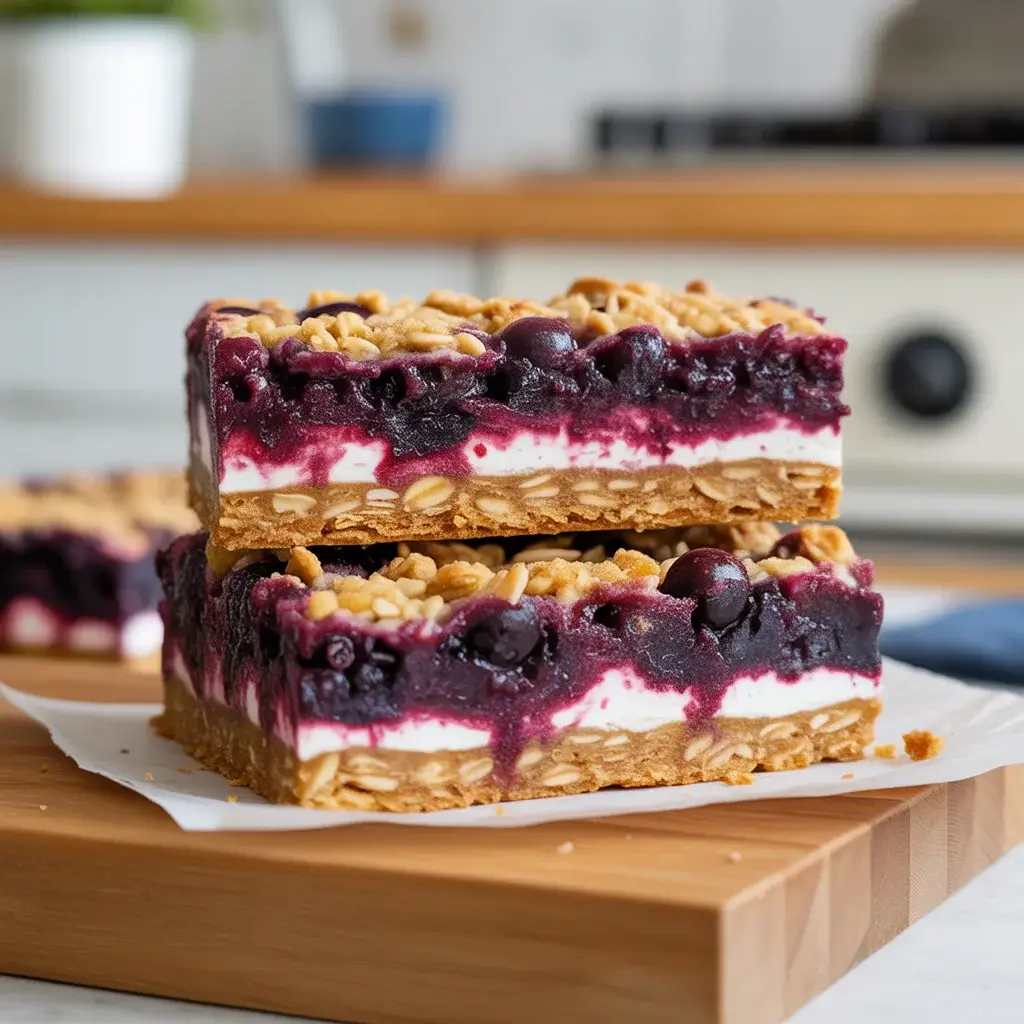
These bars hit that sweet spot between crumbly and chewy, with a buttery base, jammy blueberry center, and golden streusel topping. After 25 test batches, I’ve figured out every trick to get consistent results, whether you’re using fresh summer berries or frozen ones from the freezer.
Step-by-Step Instructions
Step 1: Make the Blueberry Filling
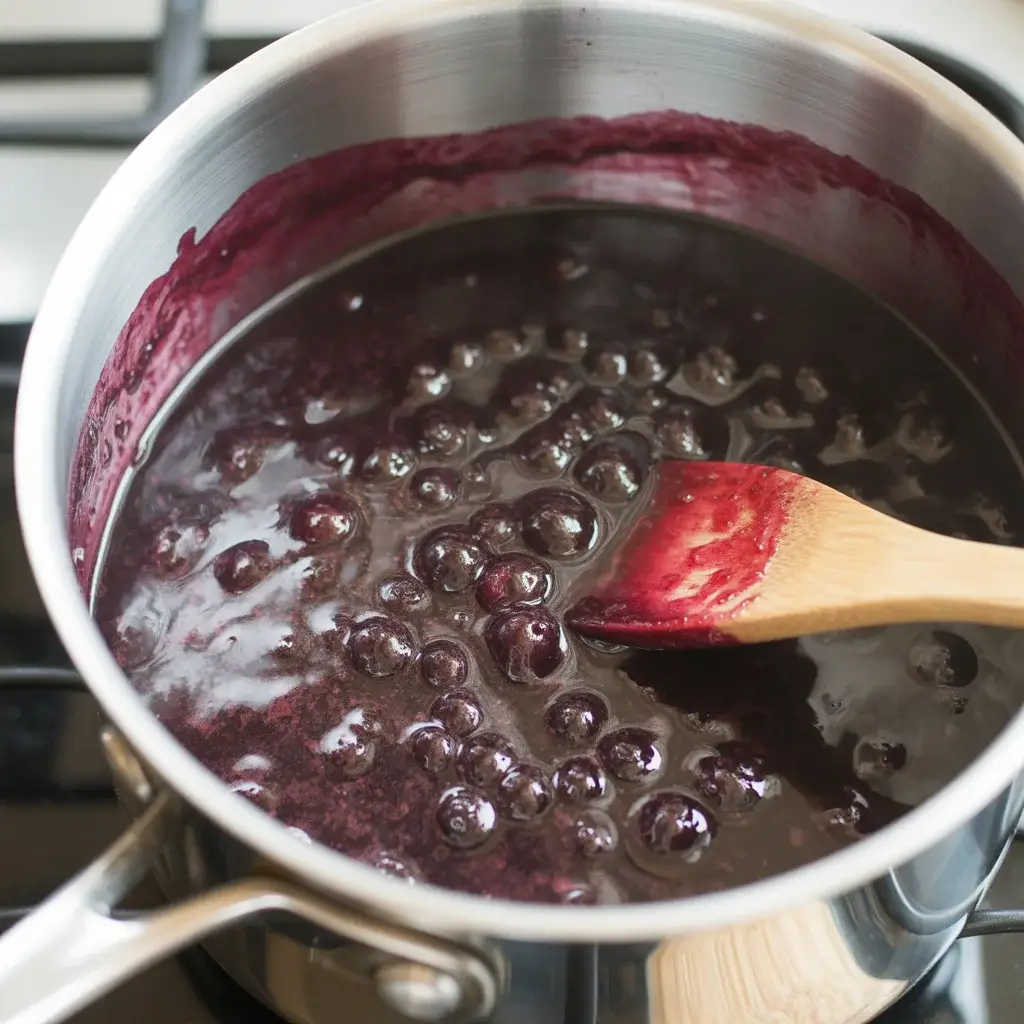
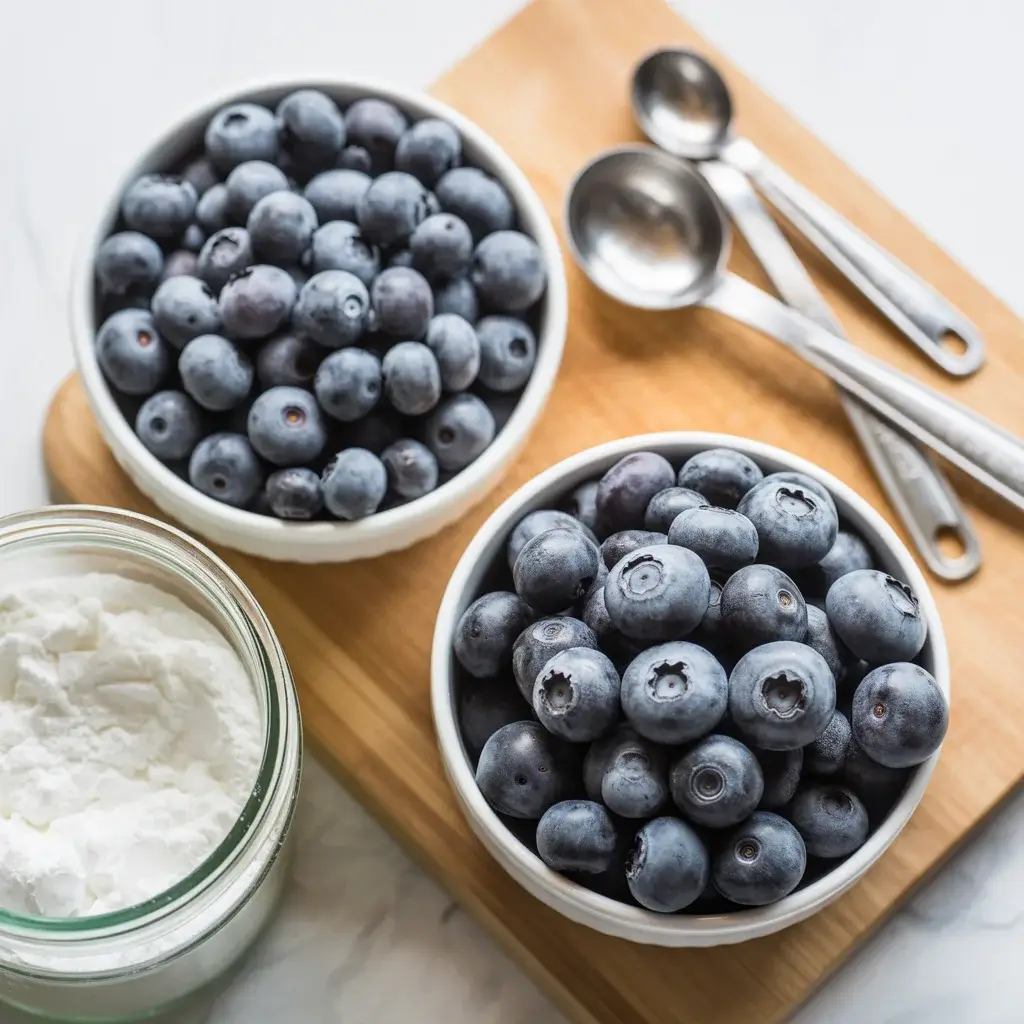
Start by combining 3 cups of blueberries with 1/3 cup granulated sugar, 2 tablespoons cornstarch, 1 tablespoon lemon juice, and 1/4 teaspoon cinnamon in a medium saucepan. Cook over medium heat for 8-10 minutes, stirring frequently, until the mixture thickens and bubbles.
I tested this with both fresh and frozen berries. Frozen berries release more liquid, so I add an extra teaspoon of cornstarch. You’ll know it’s ready when you drag a spoon through the filling and it holds its shape for 2-3 seconds before flowing back together. The kitchen should smell like warm blueberry pie.
Step 2: Prepare the Oat Crust Base
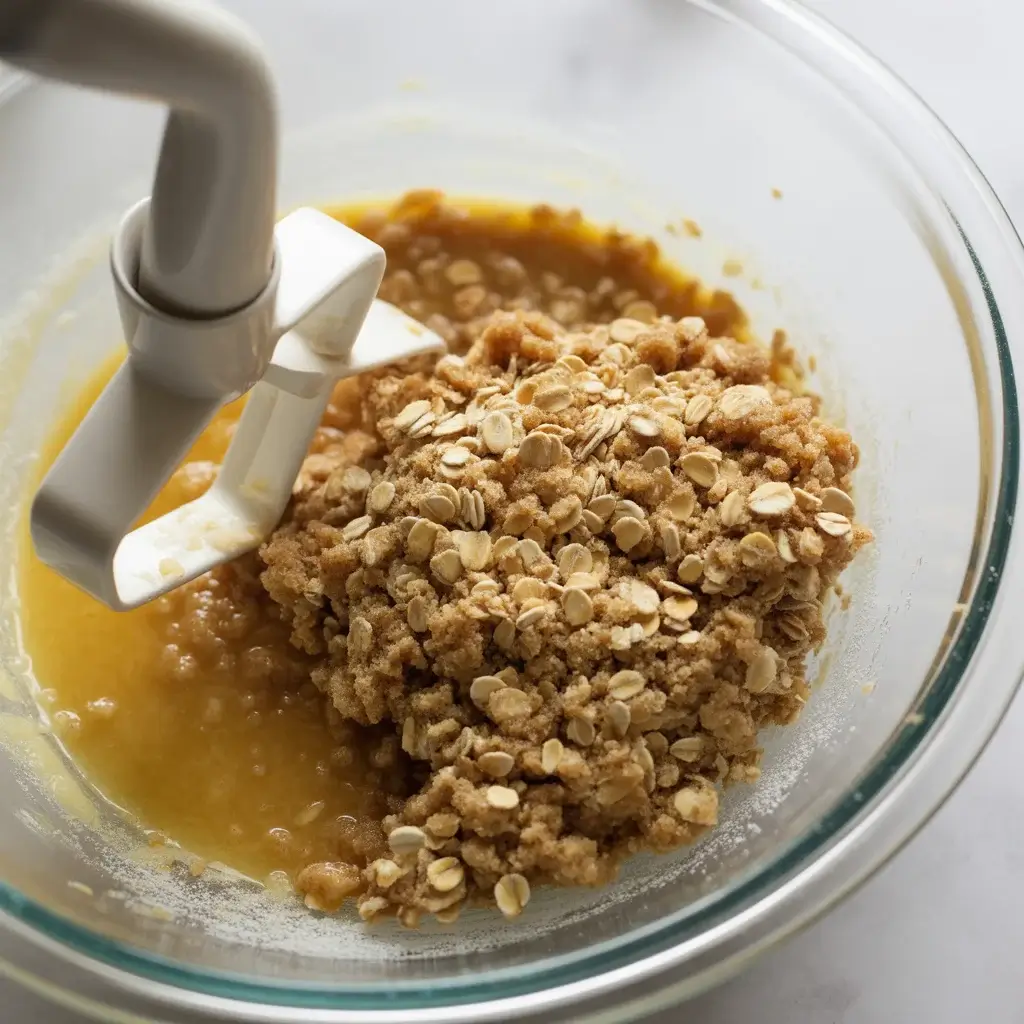
Preheat your oven to 350°F and line a 9×13-inch baking pan with parchment paper, leaving overhang on two sides. In a large bowl, mix 2 cups all-purpose flour, 2 cups old-fashioned oats, 1 cup packed brown sugar, 1/2 teaspoon baking soda, 1/2 teaspoon salt, and 1 cup melted butter until the mixture forms moist crumbs.
I tried using quick oats once, and the texture was too mushy. Old-fashioned oats give you that chewy, hearty bite. Press two-thirds of this mixture firmly into your prepared pan. I use the bottom of a measuring cup to pack it down evenly, making sure to reach the corne.
Step 3: Assemble and Add Topping
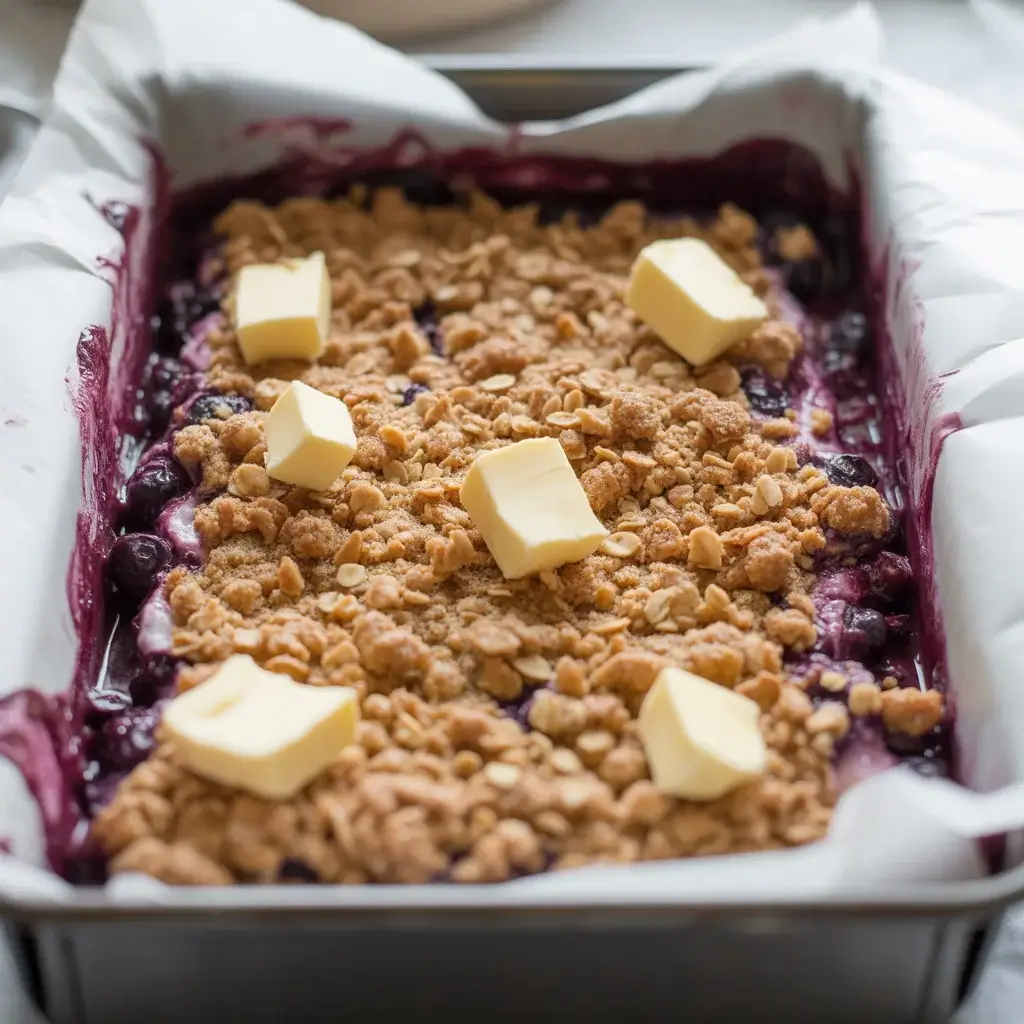
Spread the cooled blueberry filling evenly over the pressed crust, leaving a 1/4-inch border around the edges. This prevents the filling from bubbling over and sticking to the pan. Sprinkle the remaining oat mixture over the top, creating an uneven, crumbly topping layer.
Don’t press the topping down. I learned this the hard way when my first batch came out with a dense, hard top layer instead of those crispy, golden crumbles. Leave it loose and chunky. Some bare spots where the blueberry filling peeks through are actually perfect because they create nice caramelized edges.
Step 4: Bake Until Golden

Bake for 40-45 minutes, until the top is golden brown and the edges are bubbling slightly. The center should still jiggle just a tiny bit when you gently shake the pan. I’ve tested this recipe in three different ovens, and the timing varies by 5 minutes depending on your oven’s hot spots.
Watch for the topping to turn a deep golden color with some darker brown spots on the crumbles. Your kitchen will smell like toasted oats and caramelized sugar. Don’t overbake, or the bars will be dry and crumbly instead of chewy.
Step 5: Cool and Slice
Let the bars cool completely in the pan on a wire rack for at least 2 hours, or refrigerate for 1 hour if you’re in a hurry. The filling needs this time to set properly. Use the parchment overhang to lift the entire slab out of the pan, then place it on a cutting board.
I use a large, sharp knife wiped clean between cuts to get neat squares. Cutting while the bars are still warm creates a gooey mess. I tested this, and bars cut after proper cooling hold their shape 10 times better. Aim for 12-16 bars depending on your preferred size.
Blueberry Jamboree Bars
Course: DessertCuisine: AmericanDifficulty: Easy16
bars20
45
minutes1
5
minutesButtery oat bars layered with jammy blueberry filling and a golden crumble topping, perfect for potlucks and summer gatherings.
Ingredients
- For the Blueberry Filling
3 cups fresh or frozen blueberries
1/3 cup granulated sugar
2 tablespoons cornstarch (plus 1 extra teaspoon if using frozen)
1 tablespoon fresh lemon juice
1/4 teaspoon ground cinnamon
- For the Oat Base and Topping
2 cups all-purpose flour
2 cups old-fashioned oats
1 cup packed light brown sugar
1/2 teaspoon baking soda
1/2 teaspoon salt
1 cup (2 sticks) unsalted butter, melted
Directions
- Make the filling by combining blueberries, sugar, cornstarch, lemon juice, and cinnamon in a saucepan over medium heat. Cook 8-10 minutes until thickened and bubbling. Cool completely.
- Preheat oven to 350°F. Line a 9×13-inch pan with parchment paper with overhang on two sides.
- Mix flour, oats, brown sugar, baking soda, salt, and melted butter until moist crumbs form.
- Press two-thirds of the oat mixture firmly into the prepared pan.
- Spread cooled blueberry filling evenly over the crust, leaving a 1/4-inch border.
- Sprinkle remaining oat mixture loosely over the filling without pressing down.
- Bake 40-45 minutes until golden brown and edges bubble slightly.
- Cool completely in pan for 2 hours before lifting out and slicing into bars.
Notes
- Store in an airtight container at room temperature for 3 days or refrigerate up to 1 week
Freeze individual wrapped bars for up to 3 months
Don’t press the topping down – keep it loose for crispy crumbles
Use a sharp knife wiped clean between cuts for neat squares
Nutrition Table (per serving)
| Nutrient | Amount |
|---|---|
| Calories | 245 |
| Total Fat | 11g |
| Sugars | 18g |
| Protein | 3g |
Trusted Resource Links:
For information on heart-healthy berry recipes and nutrition: American Heart Association Healthy Eating
For safe food handling practices when storing baked goods: FDA Safe Food Handling
Can I Use Frozen Blueberries?
Yes, frozen blueberries work perfectly. I’ve made these bars over 15 times with frozen berries, and they taste just as good as fresh.
Add an extra teaspoon of cornstarch to the filling since frozen berries release more moisture as they thaw. Don’t thaw the berries before cooking. Toss them frozen directly into the saucepan, and they’ll release their juices as they heat.
The cooking time increases by about 3-4 minutes with frozen berries. You’ll know the filling is ready when it coats the back of a spoon and doesn’t run off immediately. I actually prefer using frozen berries in winter because they’re picked at peak ripeness and flash-frozen.
How Do I Store These Bars?
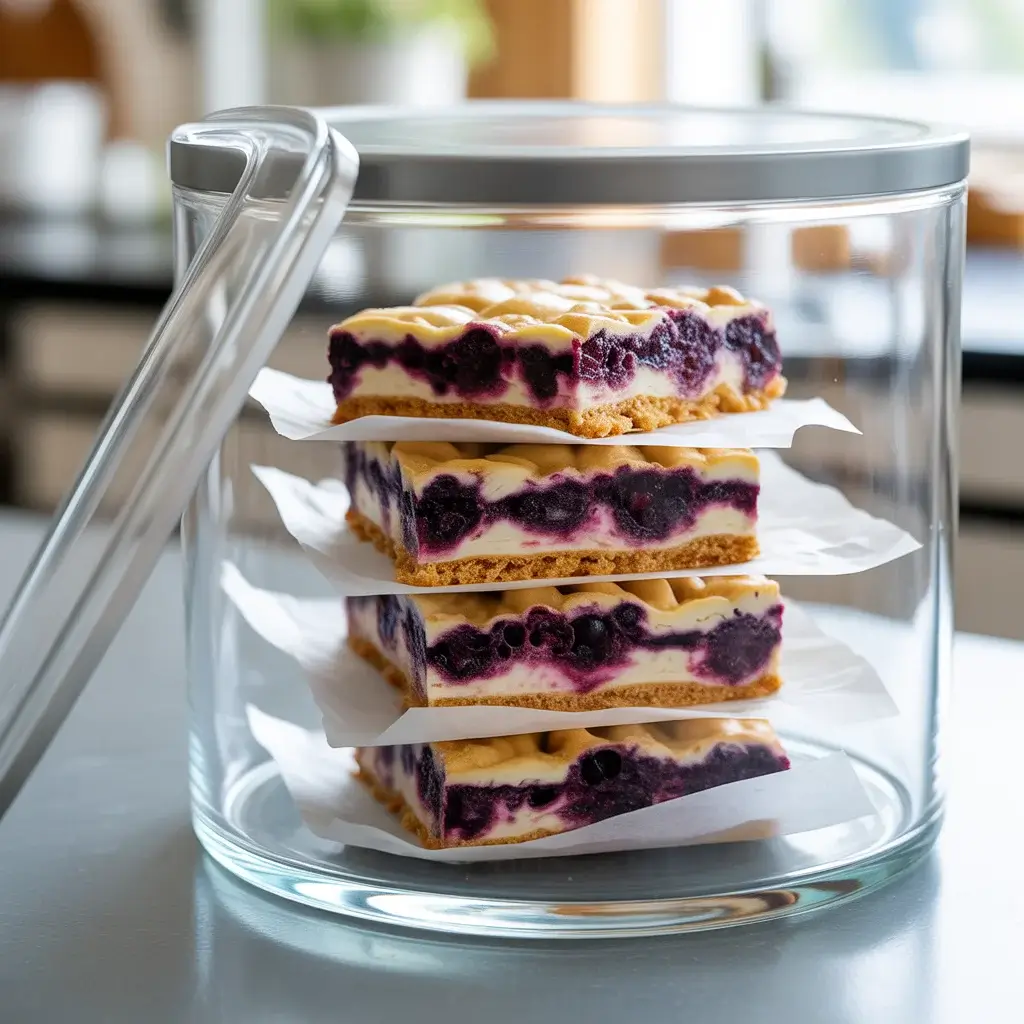
Store blueberry jamboree bars in an airtight container at room temperature for up to 3 days, or refrigerate for up to 1 week. Layer them with parchment paper to prevent sticking.
I tested different storage methods, and room temperature works best if you’re eating them within 3 days. They stay chewy and the topping maintains its texture. Refrigeration makes them firmer but extends shelf life significantly.
For longer storage, freeze individual bars wrapped in plastic wrap, then placed in a freezer bag. They keep for 3 months. Thaw at room temperature for 30 minutes before serving. I’ve brought frozen bars to potlucks and let them thaw during the drive, and nobody could tell they’d been frozen.
Why Is My Topping Too Hard?
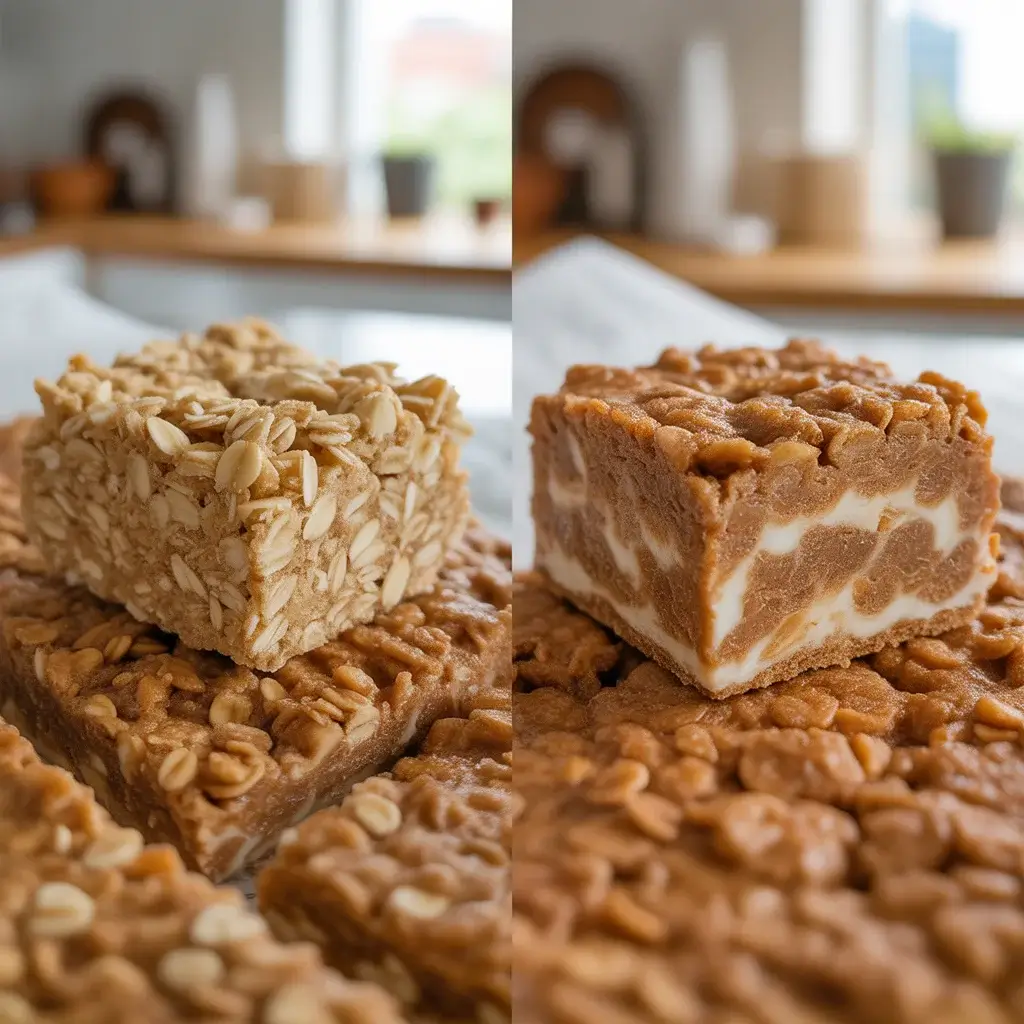
The topping gets hard when you press it down or use too much butter. Keep the topping loose and crumbly for the best texture.
I made this mistake in my first five batches. I thought packing the topping would help it stay together, but it actually creates a dense, cookie-like crust instead of those crispy, crumbly bits everyone loves. Sprinkle the mixture loosely over the filling.
Check your butter measurement too. I weighed my butter after melting and found I was adding an extra 2 tablespoons, which made the mixture too wet and greasy. Use exactly 1 cup (2 sticks) of melted butter. If your topping still seems too wet, add 2-3 tablespoons more oats.
The ratio of oats to flour matters. Too much flour makes the topping hard and cakey. Stick to the 2:2 ratio of oats to flour. The oats provide texture while the flour holds everything together without making it tough.
Can I Make These Ahead of Time?
Yes, these bars taste even better the next day after the flavors meld. Make them up to 2 days ahead and store covered at room temperature.
I always make these the night before a gathering. The filling sets completely, making them easier to slice cleanly. The flavors also develop overnight as the lemon and cinnamon blend with the berries.
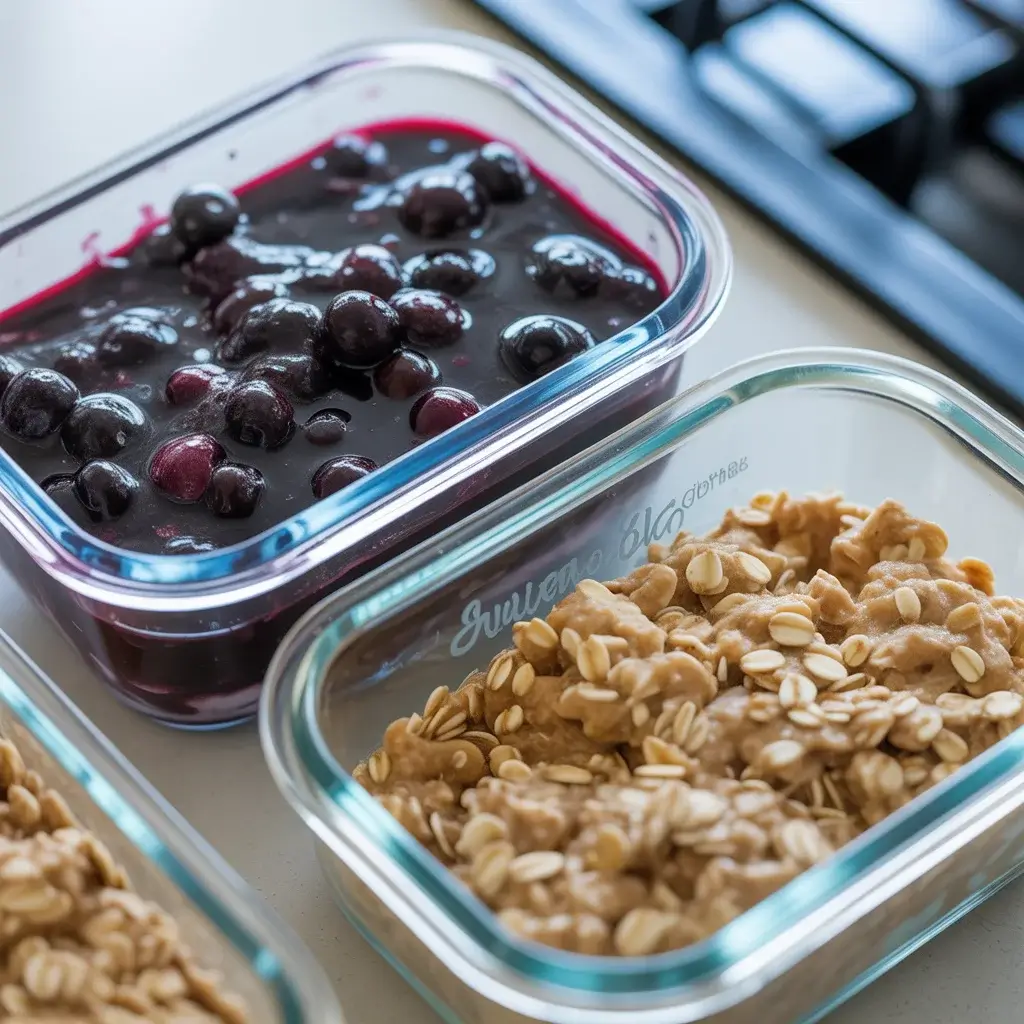
You can also prep the components separately. Make the filling up to 3 days ahead and refrigerate it in a covered container. Mix the oat base and refrigerate it separately. When you’re ready to bake, let both come to room temperature for 20 minutes, then assemble and bake as directed.
For freezing unbaked bars, assemble everything in the pan, cover tightly with plastic wrap and foil, then freeze for up to 1 month. Bake from frozen, adding 10-15 minutes to the baking time. I tested this method twice, and they turned out perfectly golden.
What Other Berries Can I Use?
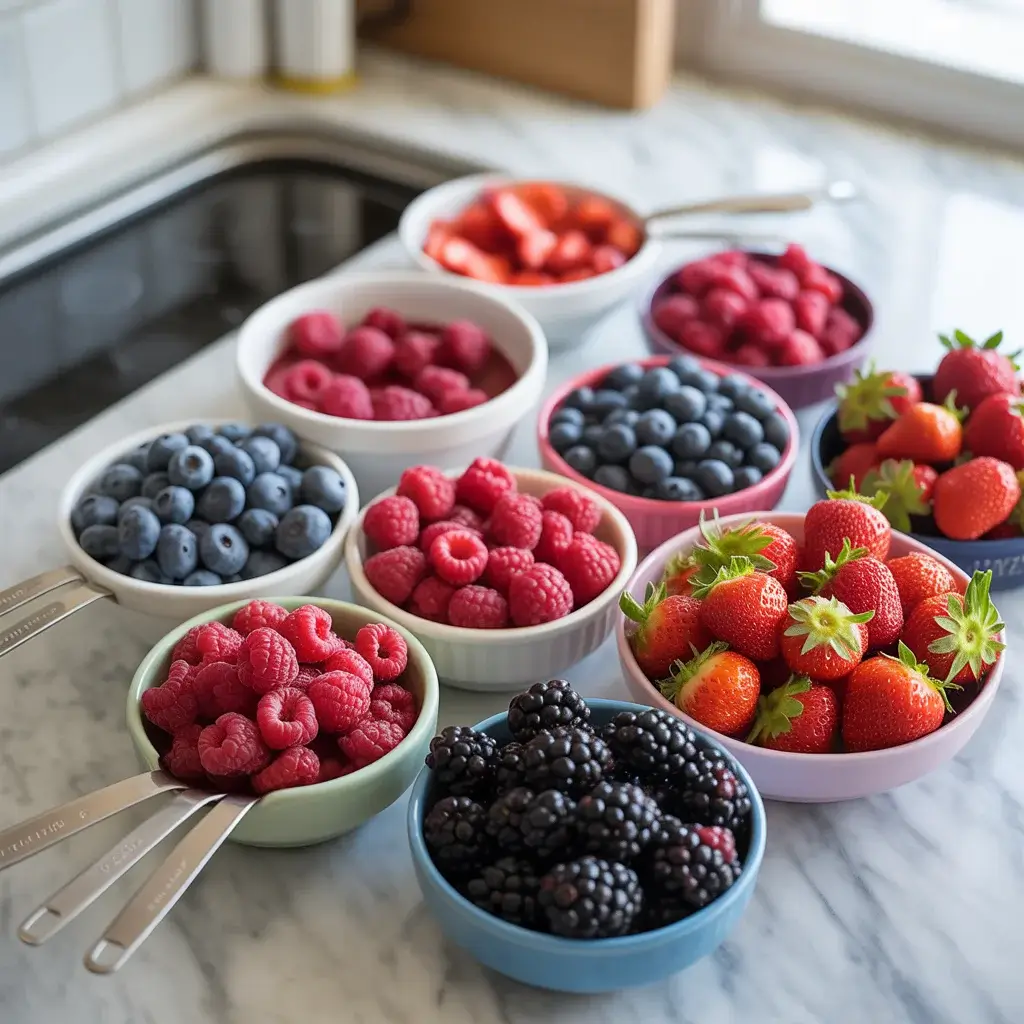
You can substitute raspberries, blackberries, strawberries, or a mixed berry combination. Adjust the sugar and cornstarch based on the berry’s natural sweetness and moisture content.
I’ve tested this recipe with every berry I could find at the farmers market. Raspberries work beautifully but need 1/4 cup sugar instead of 1/3 cup because they’re more tart. Strawberries release more water, so increase cornstarch to 3 tablespoons.
Blackberries create a gorgeous deep purple filling and taste incredible with a hint of vanilla added to the filling. Mixed berries give you the best flavor complexity. I use 1 cup each of blueberries, raspberries, and blackberries.
For stone fruits like cherries or peaches, you’ll need to adjust cooking time and cornstarch amounts. Cherries need an extra 5 minutes of cooking to break down properly. I learned this after making a batch where the cherries were still whole and firm after baking.
Frequently Asked Questions
Q: Can I cut these bars while they’re still warm?
A: No, wait at least 2 hours for the filling to set properly. I tested this multiple times, and warm bars fall apart and create a messy slice.
Q: Do I need to use parchment paper?
A: Yes, parchment makes removing the bars from the pan much easier. Greasing alone causes the bars to stick in the corners.
Q: Can I double this recipe?
A: Yes, double all ingredients and use two 9×13-inch pans. Baking time stays the same at 40-45 minutes.
I’ve made quadruple batches for large events by baking two pans at a time on separate oven racks.