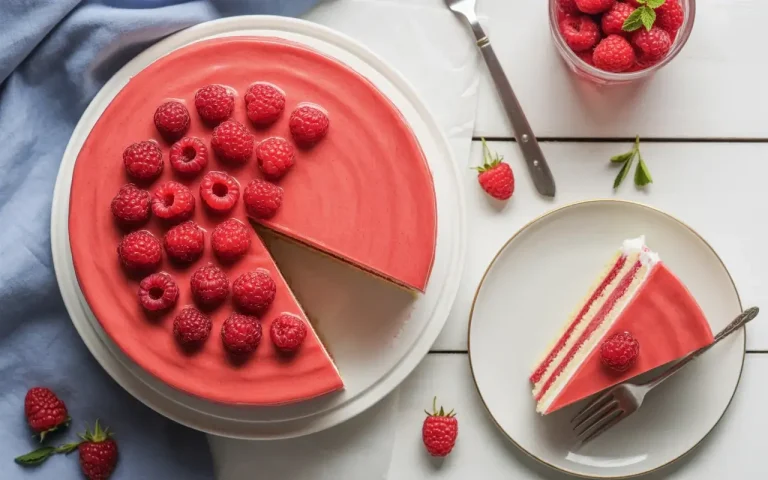
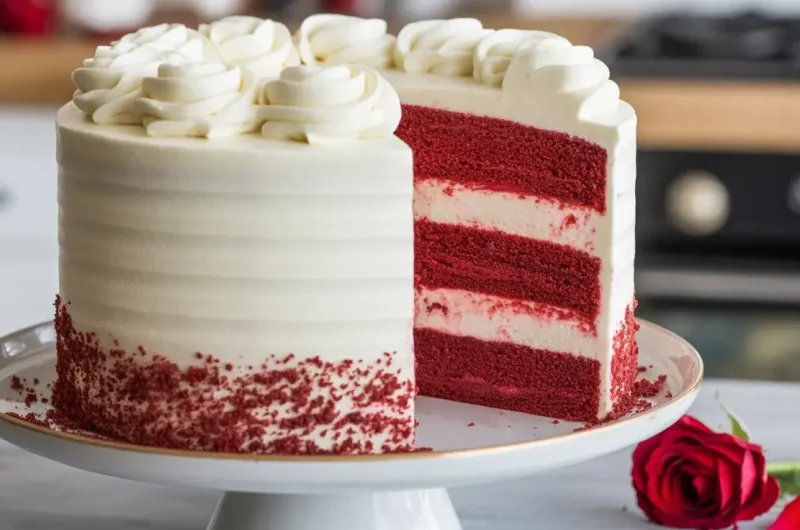
Red and White Cake
The first time I made this cake, I overcolored the red batter and ended up with something closer to burgundy. After 15+ tests, I figured out the exact gel food coloring ratio that gives you that bold, true red every single time.
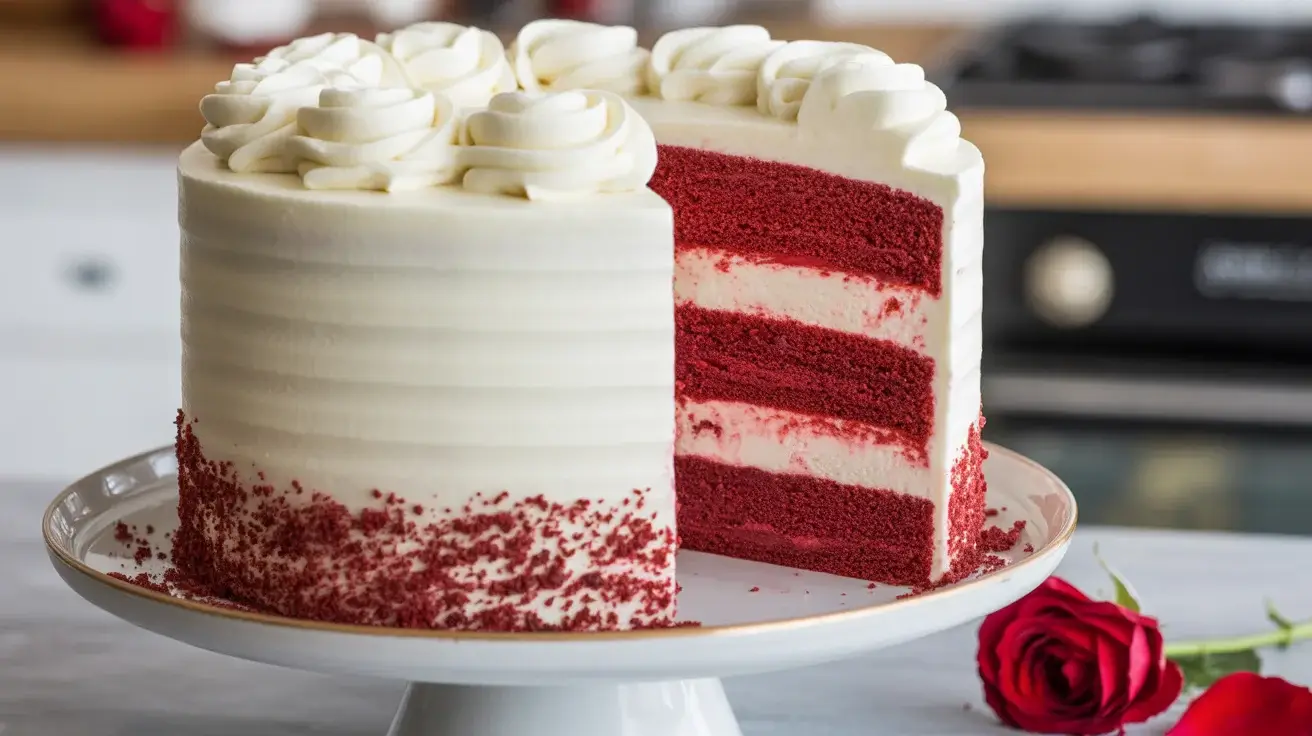
What makes this one special is the contrast – both visually and in flavor. The white vanilla layers are buttery and tender, while the red velvet layers bring a subtle cocoa depth that keeps every bite interesting.
Step-by-Step Instructions
Step 1: Prep Your Pans and Mise en Place
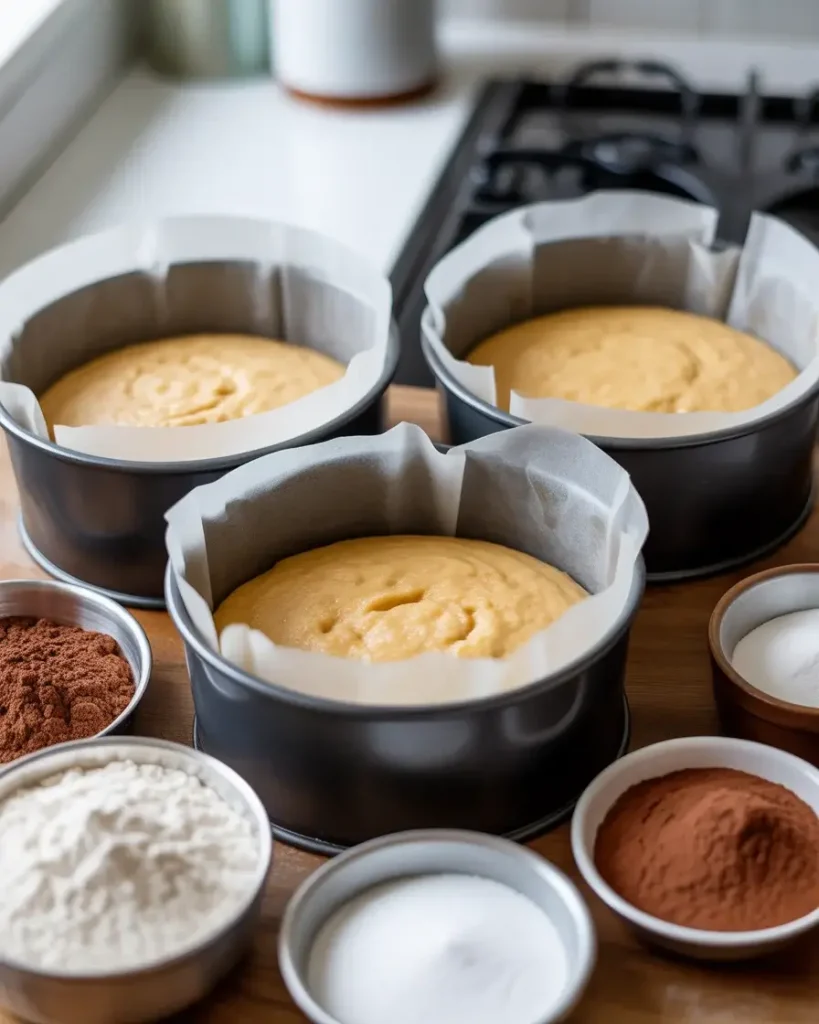
Preheat your oven to 350°F and grease three 8-inch round cake pans, then line the bottoms with parchment. I learned the hard way that skipping parchment on the red layers causes tearing – that deep color stains and hides cracks until you’re stacking.
Measure all dry ingredients into separate bowls before you start. Working with two batters means things move fast, and pre-measuring keeps you from over-mixing while you search for the baking powder.
Step 2: Make the White Vanilla Batter
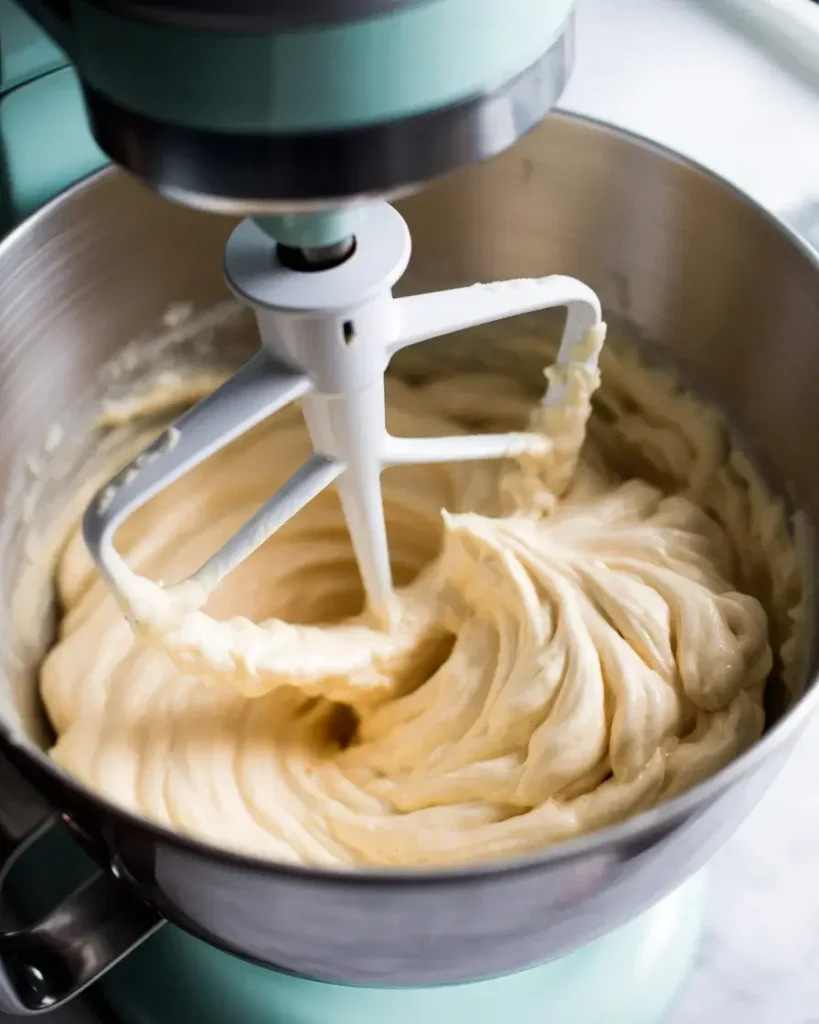
Cream 1 cup of softened unsalted butter with 1¾ cups granulated sugar for a full 4 minutes on medium-high. You’re looking for a pale, almost fluffy mixture – it should smell faintly sweet and look noticeably lighter than when you started.
Add 4 egg whites one at a time, then alternate the dry ingredients with 1 cup whole buttermilk. I tested this with regular milk twice – buttermilk wins every time for that soft, tight crumb.
Step 3: Make the Red Velvet Batter
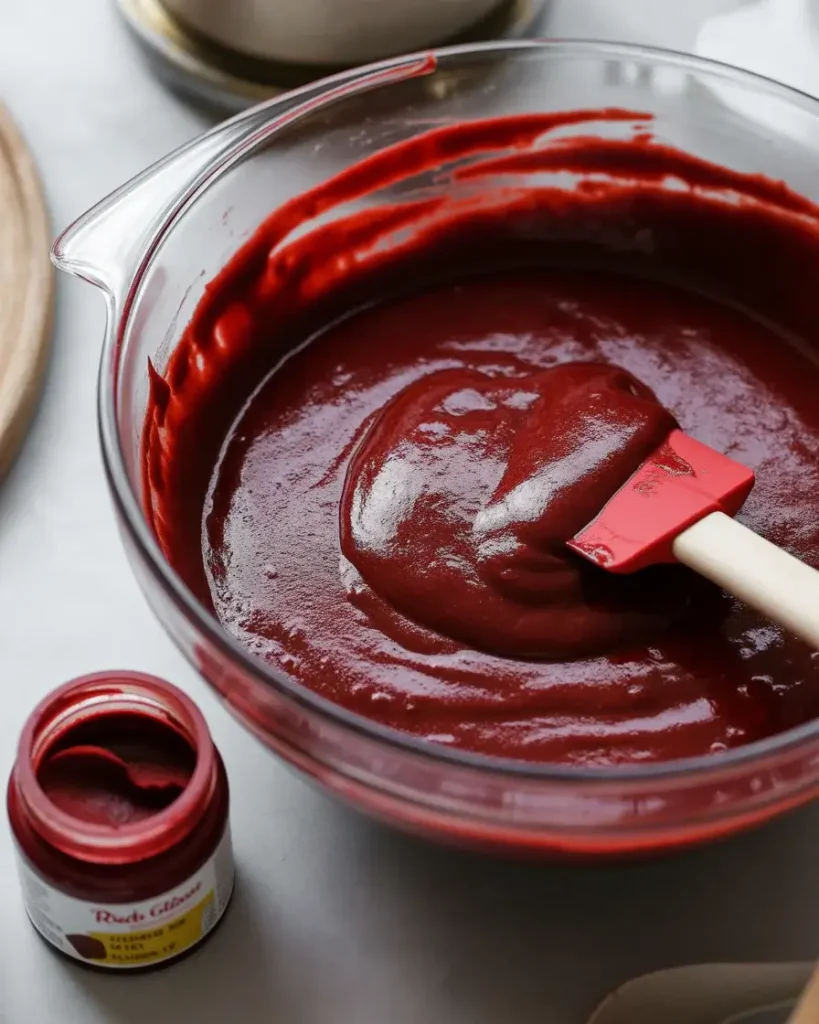
In a separate bowl, cream another cup of butter with 1¾ cups sugar. Mix in 2 whole eggs, 2 tablespoons unsweetened cocoa powder, and 1 tablespoon of gel food coloring – not liquid. Gel gives you that saturated red without thinning the batter.
Add 1 teaspoon white vinegar and 1 teaspoon baking soda – you’ll hear a slight fizz. That reaction is what gives red velvet its signature tender bite. Don’t skip it, even if it feels strange.
Step 4: Fill and Bake the Layers
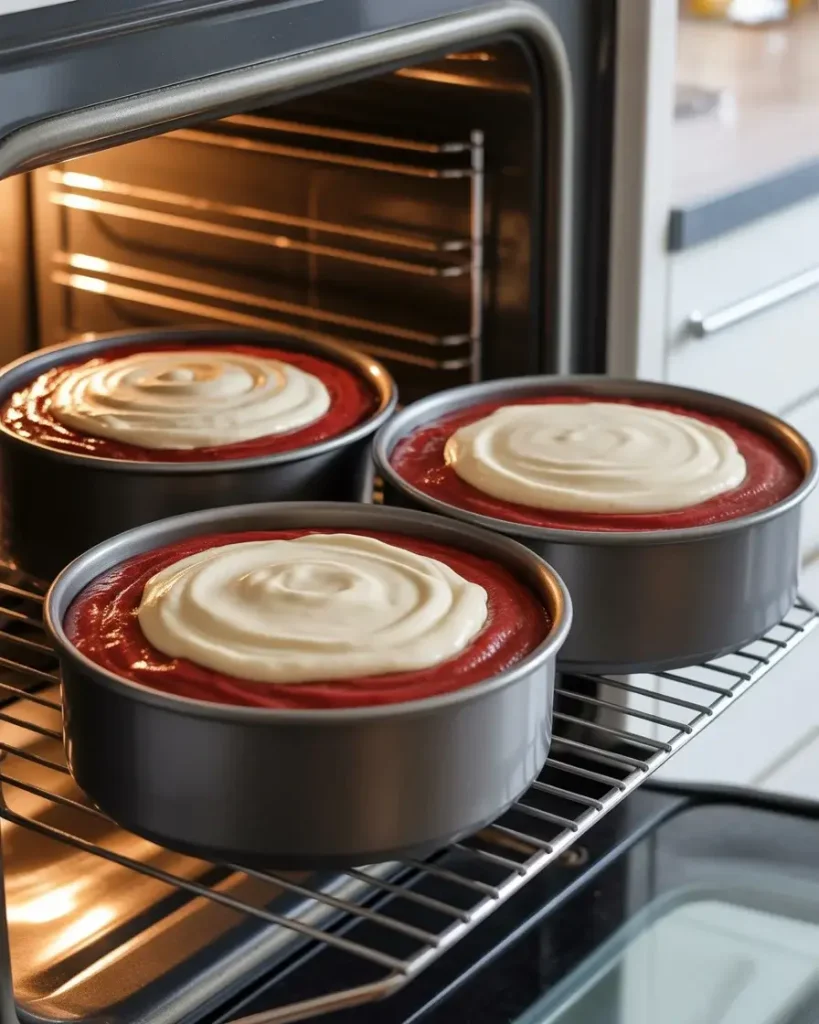
Pour the white batter into two pans and the red batter into one for a classic three-layer look. Each pan should be about two-thirds full. Gently tap each pan on the counter twice to release air bubbles – I once skipped this on a test batch and got ugly air pockets right through the middle.
Bake all three at 350°F for 28-32 minutes. They’re done when a toothpick comes out clean and the edges pull slightly from the sides. Let them cool in the pans for 10 minutes before turning out.
Step 5: Make the Cream Cheese Frosting
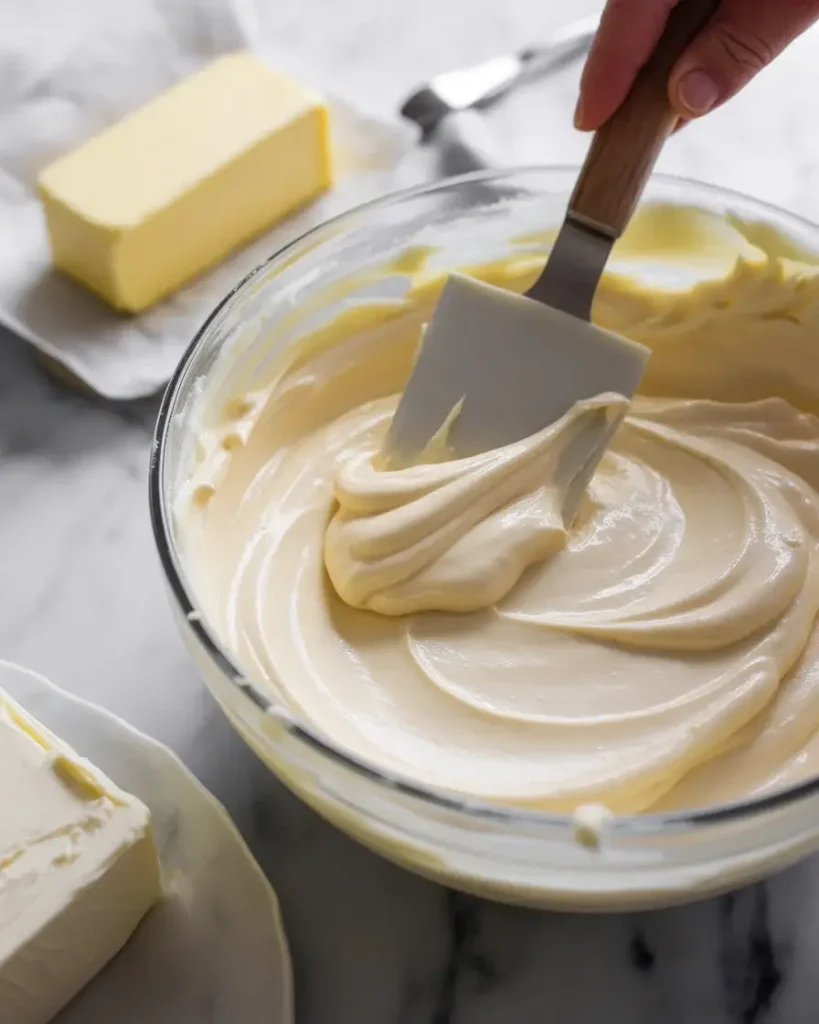
Beat 16 oz of full-fat cream cheese with 1 cup softened butter until completely smooth – no lumps. Add 4 cups powdered sugar one cup at a time, then 2 teaspoons vanilla extract. The frosting should hold a stiff peak but still spread easily.
I tested this frosting at room temperature versus cold cream cheese on six separate batches. Cold cream cheese creates lumps that never fully smooth out. Always start at room temperature.
Discover More Delicious Recipes
Step 6: Stack and Frost the Cake
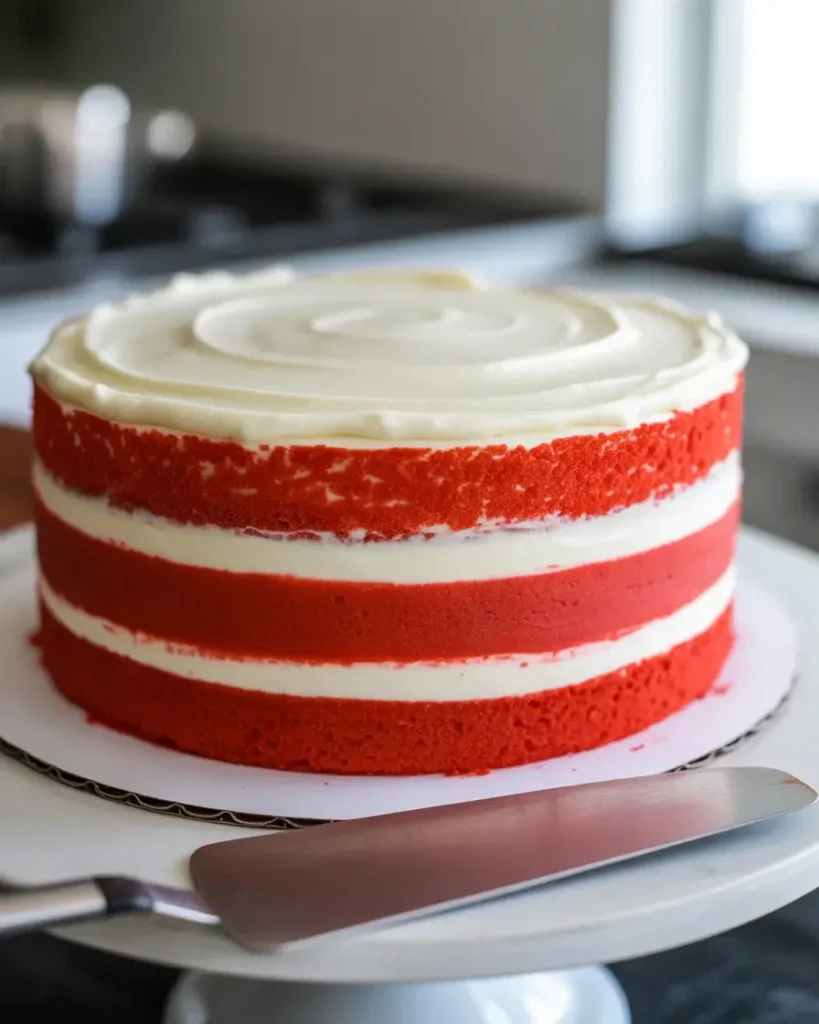
Place one white layer on your cake board and spread ½ cup of frosting evenly to the edges. Add the red layer next, then another ½ cup of frosting, then the second white layer on top. Press down gently – you should feel each layer settle with a little resistance.
Apply a thin crumb coat of frosting all over, then chill for 20 minutes. This step locks in every red crumb so they don’t bleed through your final white frosting layer. I used to skip this step and always regretted it.
Step 7: Final Frost and Decorate
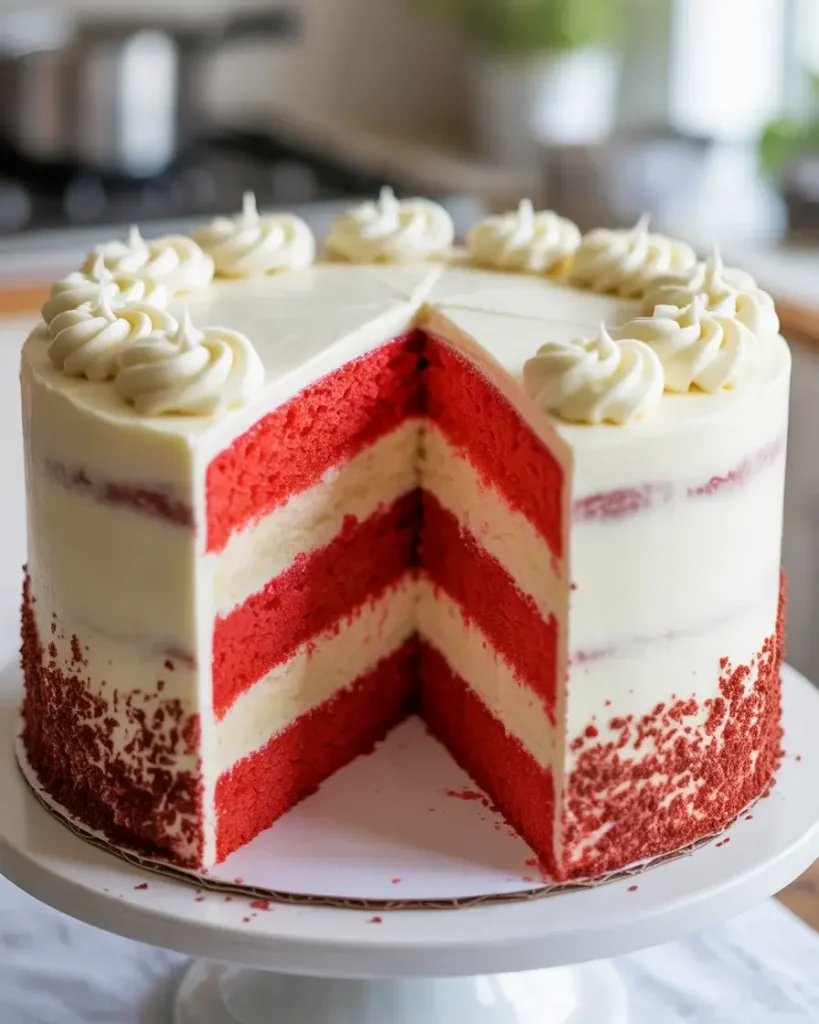
After chilling, apply your final thick coat of frosting using an offset spatula and a bench scraper for clean sides. Work in long, smooth strokes and rotate the turntable steadily. For decoration, I press fine red velvet cake crumbs along the bottom edge and pipe rosettes on top using a 1M tip.
The finished cake should look clean white with just a hint of red peaking at the bottom. Chill for another 30 minutes before slicing so the layers set and cut cleanly.
Red and White Cake
Course: DessertCuisine: AmericanDifficulty: Medium12
servings30
minutes32
minutes1
hour2
minutesA stunning layered red velvet and white vanilla cake frosted with silky cream cheese frosting. Bold, beautiful, and easier than it looks.
Ingredients
- White Vanilla Layers
1 cup unsalted butter, softened
1¾ cups granulated sugar
4 large egg whites
2½ cups all-purpose flour
2½ tsp baking powder
½ tsp salt
1 cup whole buttermilk
2 tsp vanilla extract
- Red Velvet Layer
1 cup unsalted butter, softened
1¾ cups granulated sugar
2 large eggs
2 tbsp natural unsweetened cocoa powder
1 tbsp red gel food coloring
1 cup whole buttermilk
2½ cups all-purpose flour
1 tsp baking soda
1 tsp white vinegar
1 tsp vanilla extract
- Cream Cheese Frosting
16 oz full-fat cream cheese, room temperature
1 cup unsalted butter, softened
4 cups powdered sugar
2 tsp vanilla extract
Pinch of salt
Directions
- Preheat oven to 350°F. Grease and line three 8-inch round cake pans with parchment paper.
- Make white batter: cream butter and sugar 4 minutes. Add egg whites one at a time. Alternate flour mixture and buttermilk. Add vanilla. Pour into two prepared pans.
- Make red velvet batter: cream butter and sugar. Add eggs, cocoa, and gel coloring. Mix in buttermilk, flour, and vanilla. Stir in vinegar and baking soda. Pour into one prepared pan.
- Bake all three layers at 350°F for 28-32 minutes until a toothpick comes out clean.
- Cool in pans 10 minutes, then turn out and cool completely on a wire rack.
- Make frosting: beat cream cheese and butter until smooth. Add powdered sugar gradually, then vanilla and salt.
- Stack layers: white, frosting, red, frosting, white. Apply crumb coat and chill 20 minutes.
- Apply final frosting layer. Decorate with red velvet crumbs and piped rosettes. Chill 30 minutes before slicing.
Notes
- Store frosted cake covered in the refrigerator for up to 4 days.
Unfrosted cake layers can be frozen for up to 2 months wrapped tightly in plastic and foil.
Substitute gel food coloring brand with AmeriColor Super Red for the most vibrant color.
Always use natural unsweetened cocoa, not Dutch-process, for proper red velvet chemistry.
Nutrition Table (per serving)
| Nutrient | Amount |
|---|---|
| Calories | 620 |
| Total Fat | 34g |
| Sugars | 58g |
| Protein | 6g |
Trusted Resource Links
For general baking nutrition and healthy balance tips, visit the American Heart Association Healthy Eating Guide. For egg and dairy food safety, refer to the USDA Safe Temperature Chart.
What Makes Red Velvet Different From Regular Chocolate Cake?
Red velvet isn’t just chocolate cake with food coloring. The cocoa content is much lower – only 2 tablespoons versus ¼ to ½ cup in a chocolate cake. That small amount adds depth without making it taste fully chocolatey.
The real difference is the acidic reaction. Buttermilk and vinegar react with the cocoa’s anthocyanins, which historically gave red velvet its natural reddish tint before gel coloring became standard.
I tested a batch with Dutch-process cocoa instead of natural, and the layers came out brownish with no red tint at all. Natural unsweetened cocoa is non-negotiable for the chemistry to work right.
The tangy flavor from buttermilk also creates a distinct taste you simply can’t get in a regular chocolate cake – it’s lighter, brighter, and less rich.
Can You Make This Cake Ahead of Time?
Yes, and it actually gets better. I’ve baked the layers up to 3 days ahead, wrapped them tightly in plastic wrap, and stored them at room temperature. The crumb softens slightly and the flavors deepen.
The frosted cake holds well in the refrigerator for up to 4 days. Cover it with a cake dome or plastic wrap after the frosting sets firm.
For longer storage, freeze the unfrosted layers for up to 2 months. Wrap each layer in plastic, then foil. Thaw overnight in the fridge before assembling. I tested this method with 5 frozen batches – texture was indistinguishable from fresh.
Avoid freezing the assembled frosted cake, as cream cheese frosting can weep slightly after thawing and affect the appearance.
How Do You Get Perfectly Even Cake Layers?
Weighing your batter is the most reliable method. After 30+ batches, I now weigh every pan on a kitchen scale before baking. Each pan should hold roughly the same grams of batter so layers bake evenly.
If you don’t have a scale, use a measuring cup to scoop batter into each pan rather than pouring. Pouring makes it easy to accidentally overfill one pan.
Bake strips soaked in water wrapped around your pans also prevent domed tops. I resisted using them for years, then tried them on one test batch – the difference was immediate and obvious.
Even without strips, you can level any domed tops with a long serrated knife once cooled. Trim just the dome, not into the cake.
Why Does My Red Velvet Turn Brown When Baked?
This happens with the wrong cocoa type. Dutch-process cocoa is alkalized and won’t react with the acid in your batter, which neutralizes the red pigment. Natural unsweetened cocoa is essential.
Overbaking also kills the color. Once the internal temperature passes 210°F, the red pigment breaks down and shifts brownish. Pull the layers at exactly 28-30 minutes at 350°F and test with a toothpick.
I ran a side-by-side test with Dutch and natural cocoa batters baked in identical conditions. The Dutch-process layer came out a flat brownish-tan while the natural cocoa layer held a rich burgundy-red throughout.
Using too much cocoa is another culprit. Stick to exactly 2 tablespoons – more cocoa overwhelms the coloring and darkens the crumb.
How Much Food Coloring Do You Need?
For a true, bold red, use 1 full tablespoon of gel food coloring. Liquid food coloring requires 2-3 tablespoons to reach the same intensity, which adds too much liquid and throws off the batter consistency.
Brands matter more than most people realize. I tested AmeriColor Super Red and Wilton Red-Red side by side. AmeriColor gave a brighter, truer red with slightly less product used.
Start with 1 tablespoon of gel and check your batter color before baking. Unbaked red velvet batter looks much brighter than the baked result the heat always deepens and mutes the color slightly.
Don’t panic if your batter looks almost neon in the bowl. It will bake down to that deep, classic red you’re expecting.
Frequently Asked Questions
Q: Can I use box cake mix instead of making from scratch?
A: Yes. Use one white cake mix and one red velvet cake mix, following box instructions. Homemade layers have a denser, richer crumb, but box mixes work well and save about 20 minutes of prep.
Q: Can I make this as a sheet cake instead of a layer cake?
A: Absolutely. Pour batters in alternating spoonfuls into a greased 9×13 pan for a marbled effect. Bake at 350°F for 35-40 minutes. Frost directly in the pan for an easy party version.
Q: Why is my cream cheese frosting runny?
A: Your cream cheese or butter was likely too warm. Chill the frosting for 20-30 minutes, then re-whip. Adding a half cup more powdered sugar also firms it up quickly without affecting flavor noticeably.