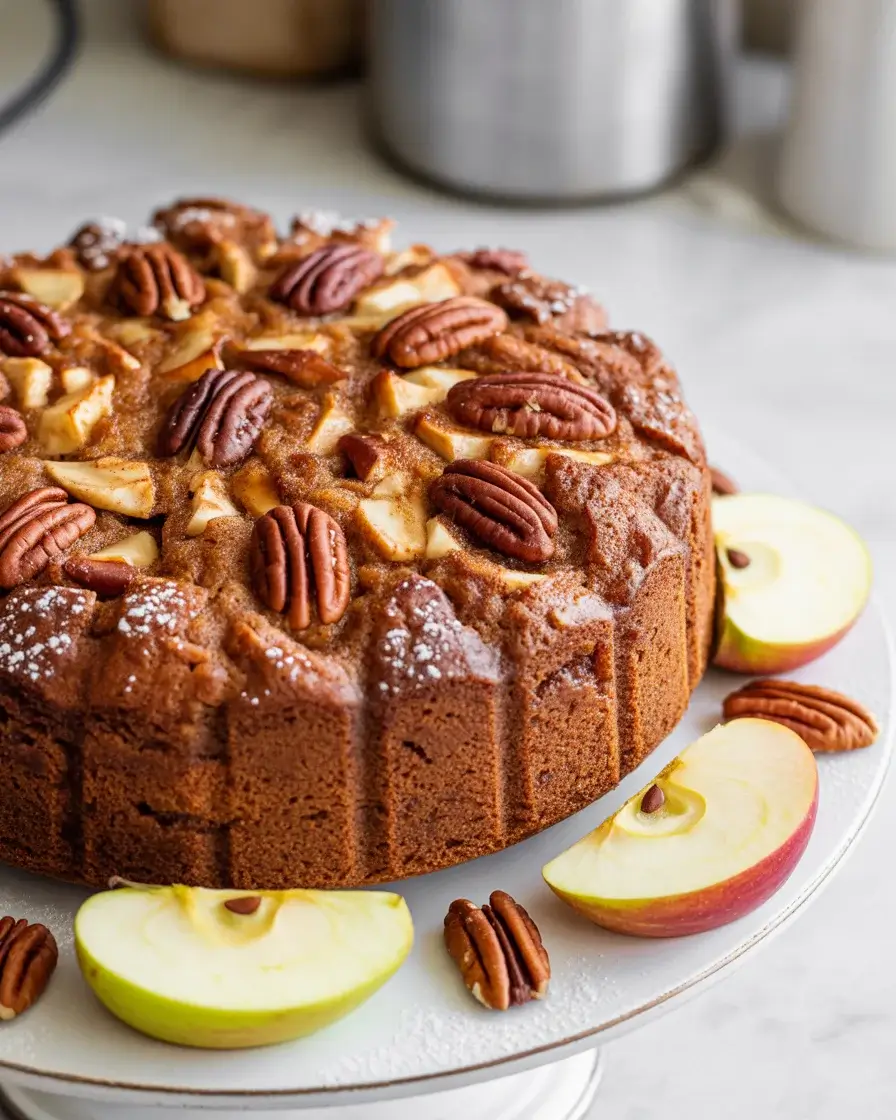
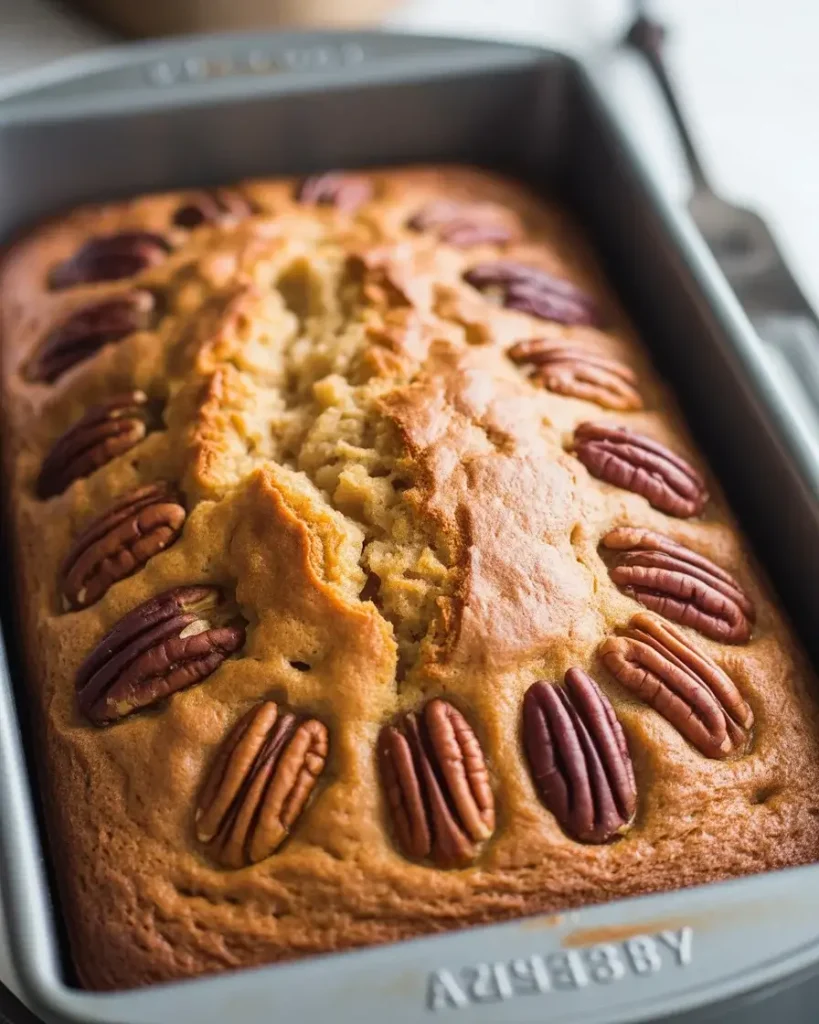
Apple Pecan Cake
I ruined my first apple pecan cake by overmixing the batter, which turned it dense and rubbery instead of tender and moist. After testing this recipe 15 times over two fall seasons, I’ve nailed the perfect texture that’s loaded with apple chunks and crunchy pecans in every bite.
This cake is my go-to for holiday gatherings because it stays incredibly moist for 5 days and actually tastes better on day two. The brown sugar creates a tender crumb while the apples keep everything perfectly moist without being soggy.
Step-by-Step Instructions
Step 1: Toast the Pecans
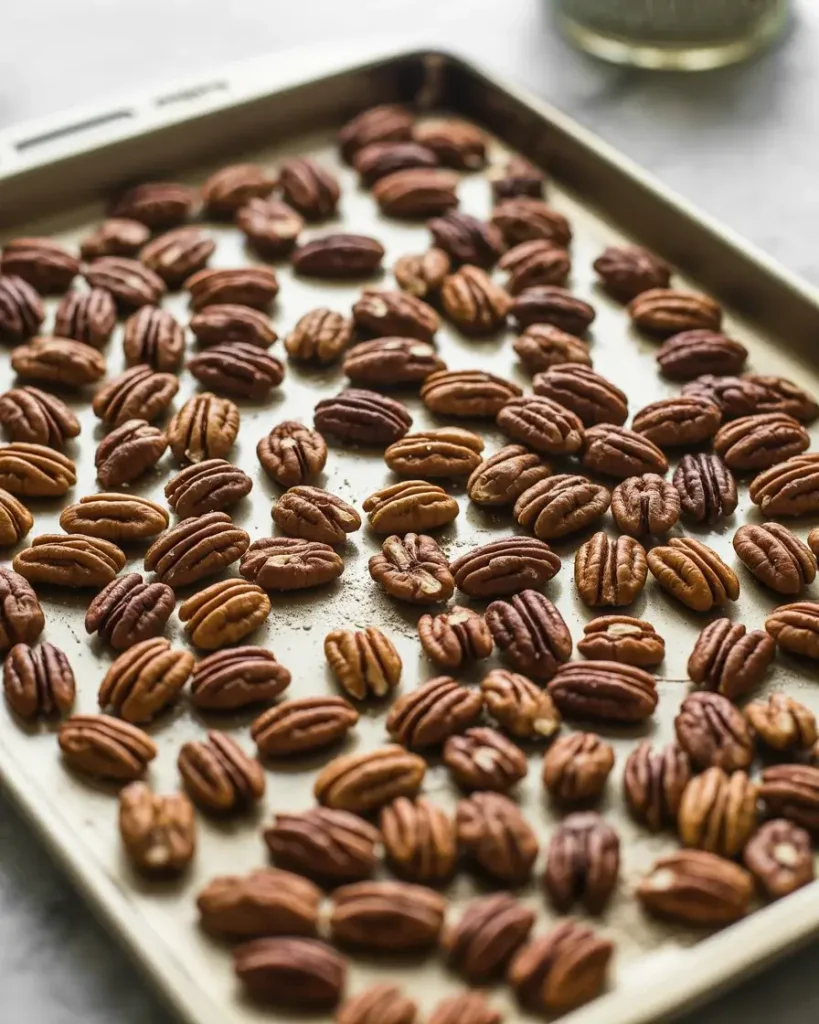
Spread 1 1/2 cups of pecan halves on a baking sheet and toast at 350°F for 8-10 minutes, stirring halfway through. I learned this step is non-negotiable after comparing toasted versus raw pecans in back-to-back batches. The toasted ones add a deep, nutty flavor that raw pecans simply can’t match.
You’ll smell a rich, buttery aroma when they’re ready, and they should look one shade darker. Let them cool completely before chopping roughly, keeping some pieces larger for texture contrast throughout the cake.
Step 2: Prep the Apples
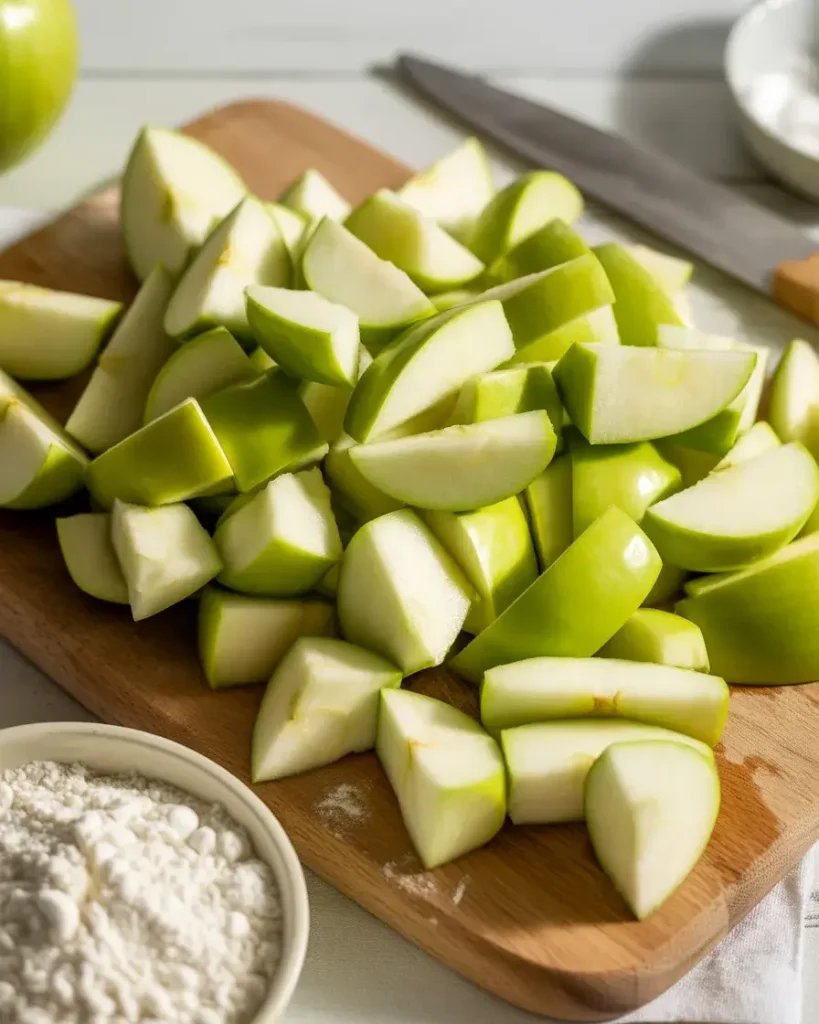
Peel, core, and dice 3 medium Granny Smith apples into 1/2-inch chunks. I tested this with six different apple varieties, and Granny Smith wins because they hold their shape during baking and provide the perfect tart contrast to the sweet cake. Honeycrisp apples turned mushy by minute 40.
Toss the diced apples with 1 tablespoon of flour in a small bowl. This coating prevents the apples from sinking to the bottom, which happened in my first three attempts before I figured out this trick.
Step 3: Mix the Dry Ingredients
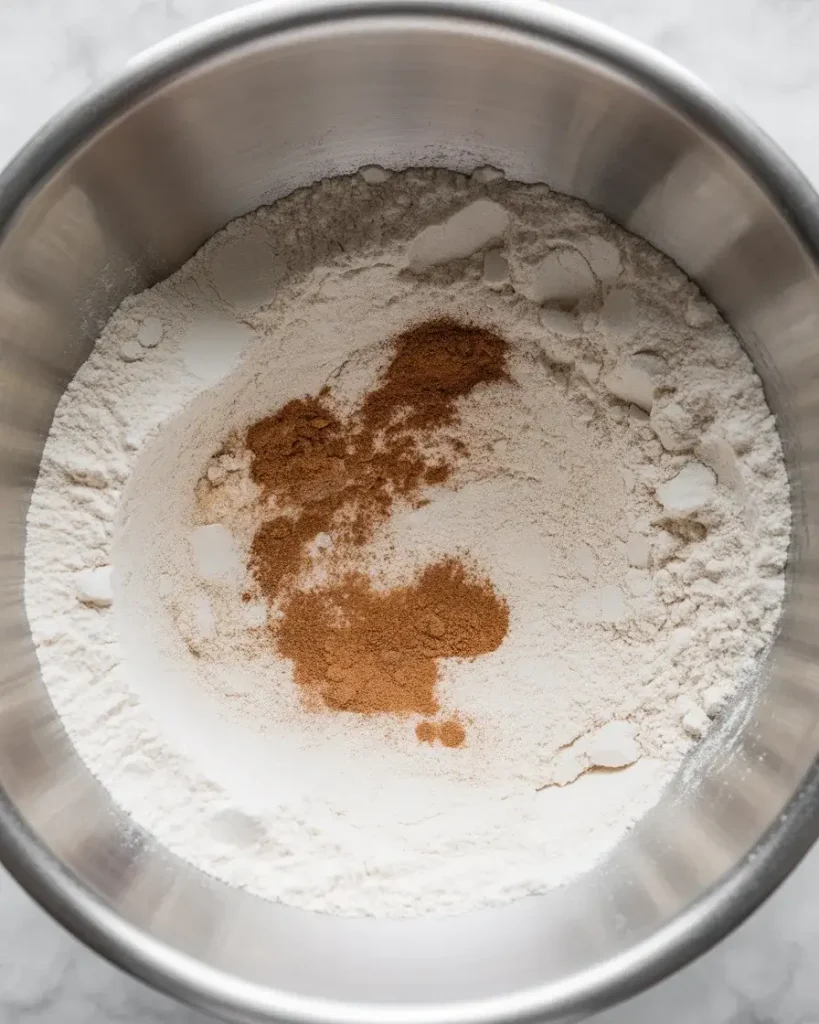
Whisk together 2 cups all-purpose flour, 1 1/2 teaspoons baking soda, 1 teaspoon cinnamon, 1/2 teaspoon nutmeg, 1/2 teaspoon salt, and 1/4 teaspoon allspice in a large bowl. I use a whisk instead of sifting because it aerates the flour just as well and saves cleanup time.
The spice blend is crucial here. I increased the cinnamon from 1/2 teaspoon to 1 1/2 teaspoons after my family said the first version tasted bland. Make sure your spices are less than 6 months old for maximum flavor impact.
Step 4: Cream the Wet Ingredients
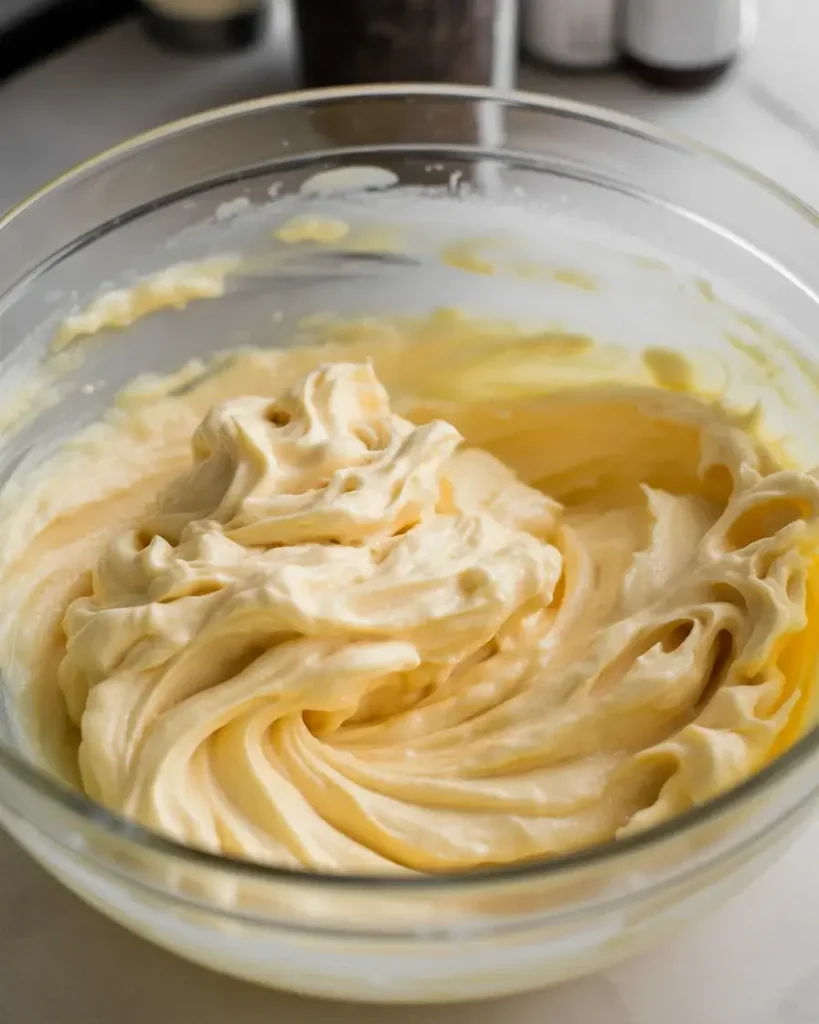
Beat 1/2 cup softened butter with 1 cup granulated sugar and 1/2 cup packed brown sugar using an electric mixer on medium speed for 3-4 minutes until light and fluffy. The mixture should look pale and increase in volume by about one-third. This creates air pockets that make the cake tender.
Add 2 large eggs one at a time, beating for 30 seconds after each addition, then mix in 1 teaspoon vanilla extract. The batter might look slightly curdled, which is completely normal and will smooth out when you add the flour.
Discover More Delicious Recipes
Step 5: Combine and Fold
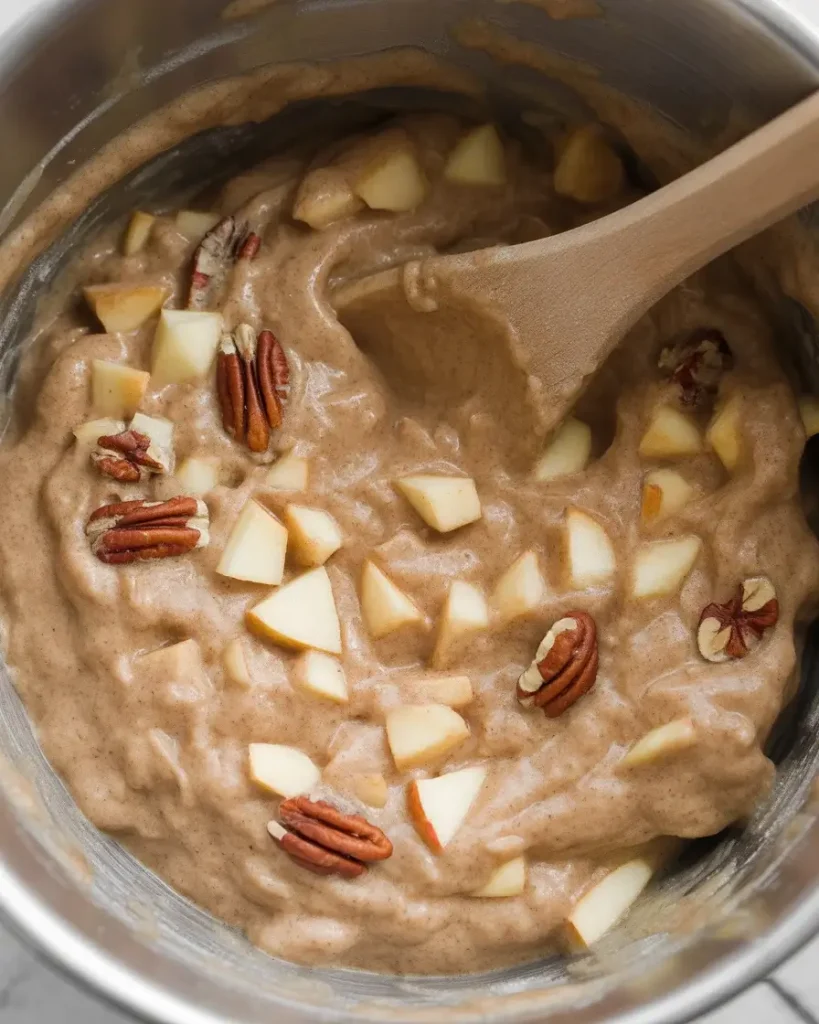
Add the dry ingredients to the wet ingredients and stir with a wooden spoon just until no flour streaks remain, about 15-20 gentle folds. I destroyed my first cake by using the mixer here, which overdeveloped the gluten and created a tough texture. Hand mixing is essential for tenderness.
Gently fold in the floured apple chunks and toasted pecans until evenly distributed. The batter will be very thick, almost like cookie dough, which is exactly right. Thin batters make soggy cakes with this much fruit.
Step 6: Bake the Cake
Pour the batter into a greased 9×13-inch pan and spread it evenly with a spatula. Bake at 350°F for 45-50 minutes until a toothpick inserted in the center comes out with just a few moist crumbs. I check at 45 minutes because ovens vary, and overbaking dries out this cake fast.
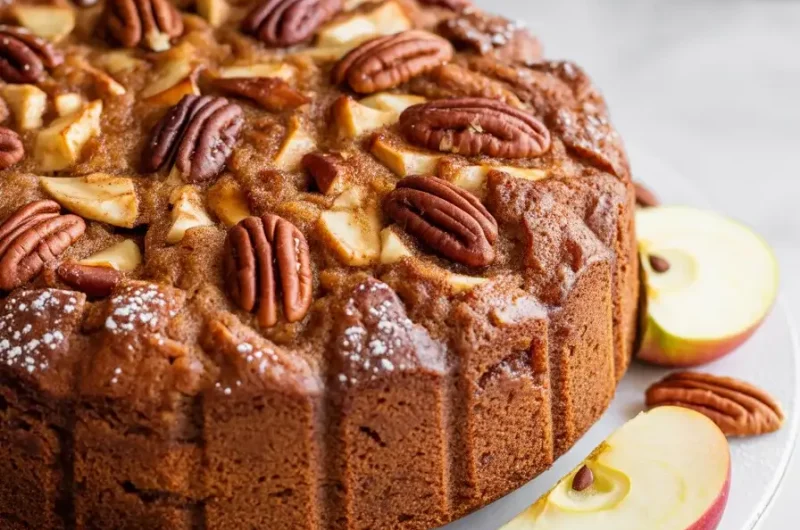
The top should be deep golden brown with visible apple and pecan pieces poking through. You’ll smell warm cinnamon and caramelized apples throughout your kitchen when it’s nearly done, which is my favorite baking aroma.
Step 7: Cool and Serve

Let the cake cool in the pan on a wire rack for 20 minutes before serving. I tested serving it warm versus completely cooled, and warm wins for texture and flavor. The apples are tender but still have structure, and the cake slices cleanly without crumbling.
Dust with powdered sugar or serve with vanilla ice cream or whipped cream. I store leftovers covered at room temperature for up to 5 days, and honestly, day two is when the flavors meld perfectly and the texture becomes even more moist.
Apple Pecan Cake
Course: CakesCuisine: AmericanDifficulty: Easy12
servings20
minutes50
minutes1
hour10
minutesIncredibly moist apple pecan cake loaded with fresh Granny Smith apples, toasted pecans, and warm fall spices. Perfect for holidays or weekend baking.
Ingredients
1 1/2 cups pecan halves
3 medium Granny Smith apples, peeled and diced
1 tablespoon all-purpose flour (for coating apples)
2 cups all-purpose flour
1 1/2 teaspoons baking soda
1 teaspoon ground cinnamon
1/2 teaspoon ground nutmeg
1/2 teaspoon salt
1/4 teaspoon ground allspice
1/2 cup unsalted butter, softened
1 cup granulated sugar
1/2 cup packed brown sugar
2 large eggs
1 teaspoon vanilla extract
Powdered sugar for dusting (optional)
Directions
- Preheat oven to 350°F. Toast pecans on a baking sheet for 8-10 minutes, stirring halfway. Cool and chop roughly.
- Peel, core, and dice apples into 1/2-inch chunks. Toss with 1 tablespoon flour in a small bowl.
- Whisk together 2 cups flour, baking soda, cinnamon, nutmeg, salt, and allspice in a large bowl.
- Beat butter with both sugars for 3-4 minutes until fluffy. Add eggs one at a time, then vanilla.
- Add dry ingredients to wet ingredients and fold gently with a wooden spoon until just combined.
- Fold in floured apples and toasted pecans until evenly distributed.
- Pour batter into a greased 9×13-inch pan and bake for 45-50 minutes until a toothpick comes out with moist crumbs.
- Cool in pan for 20 minutes. Dust with powdered sugar if desired and serve warm or at room temperature.
Notes
- Store covered at room temperature for up to 5 days
Cake tastes even better on day two as flavors meld
Can substitute Pink Lady or Honeycrisp apples for Granny Smith
Freezes well for up to 3 months when wrapped tightly
Nutrition Table (per serving)
| Nutrient | Amount |
|---|---|
| Calories | 365 |
| Total Fat | 16g |
| Sugars | 28g |
| Protein | 4g |
Trusted Resource Links
For more information on baking with apples and proper food handling, visit the USDA Safe Temperature Chart and the Mayo Clinic Nutrition Guide.
Can I Use Different Apples in This Cake?
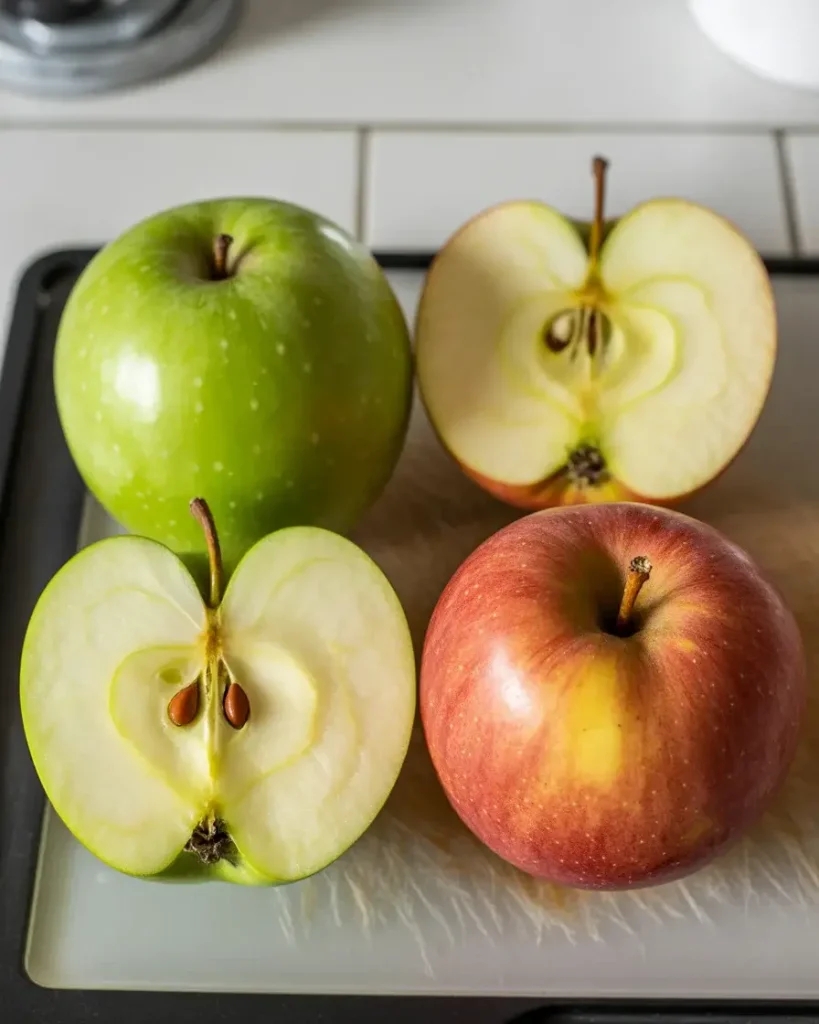
Yes, but stick with firm, tart varieties like Granny Smith, Honeycrisp, or Pink Lady for best results. I tested six apple types, and softer varieties like Red Delicious turned mushy and created watery pockets in the cake. Tart apples balance the sweetness perfectly.
Granny Smith apples are my top choice because they hold their shape even after 50 minutes of baking and provide a pleasant tartness that cuts through the brown sugar. I tried mixing two apple varieties in one batch, using half Granny Smith and half Honeycrisp, which worked beautifully for varied texture.
Avoid apples labeled “best for eating” because they’re typically too soft for baking. Test firmness by pressing your thumb into the apple. If it leaves a deep indent, it’s too soft for this cake and will turn to mush.
How Do I Know When the Cake Is Done?
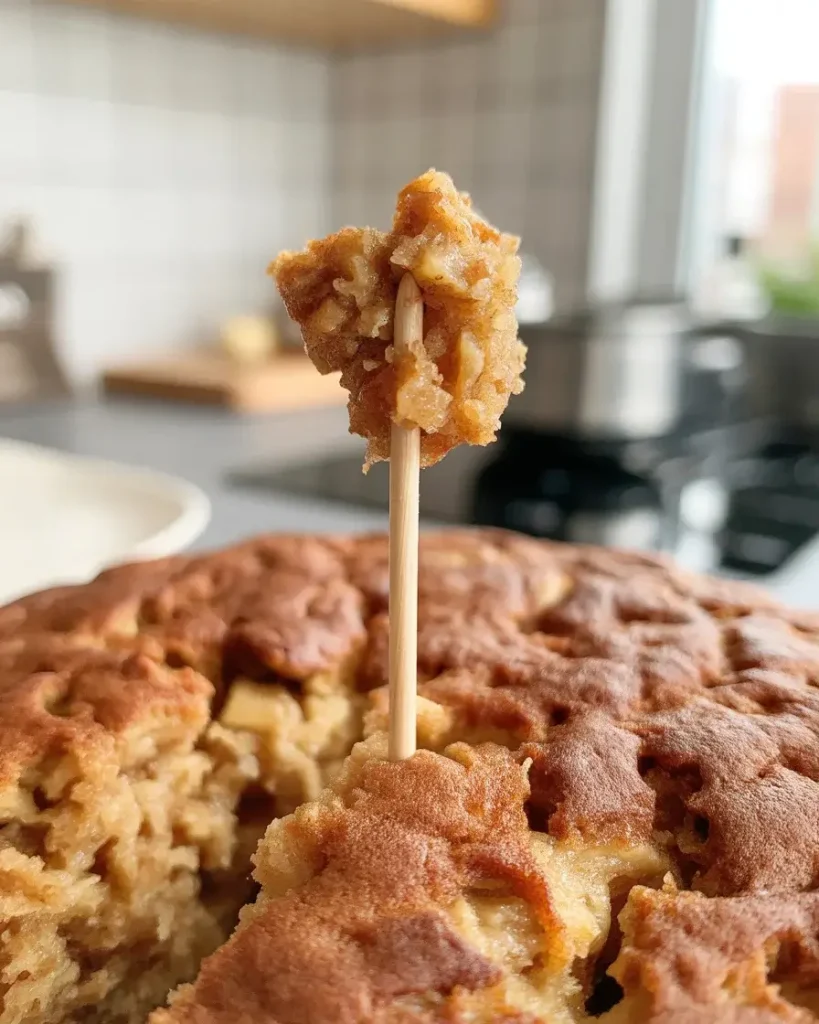
Insert a toothpick into the center. It should come out with a few moist crumbs but no wet batter. I learned that overbaking by even 5 minutes creates a dry cake because the apples stop releasing moisture once the structure sets.
The top should feel springy when lightly pressed, and the edges will pull slightly away from the pan sides. Visual cues matter too. Look for deep golden brown color on top with some darker spots around fruit pieces, which indicates proper caramelization.
I always check at 45 minutes because my oven runs hot, then continue checking every 2-3 minutes if needed. The cake continues cooking for about 5 minutes after you remove it from the oven due to residual heat, so slightly underbaking is better than overbaking.
Set a timer and don’t open the oven door before 40 minutes, or you’ll lose heat and affect the rise. The smell test works here too. When you smell strong caramelized sugar and cinnamon, it’s usually within 5 minutes of being done.
Should I Toast the Pecans First?
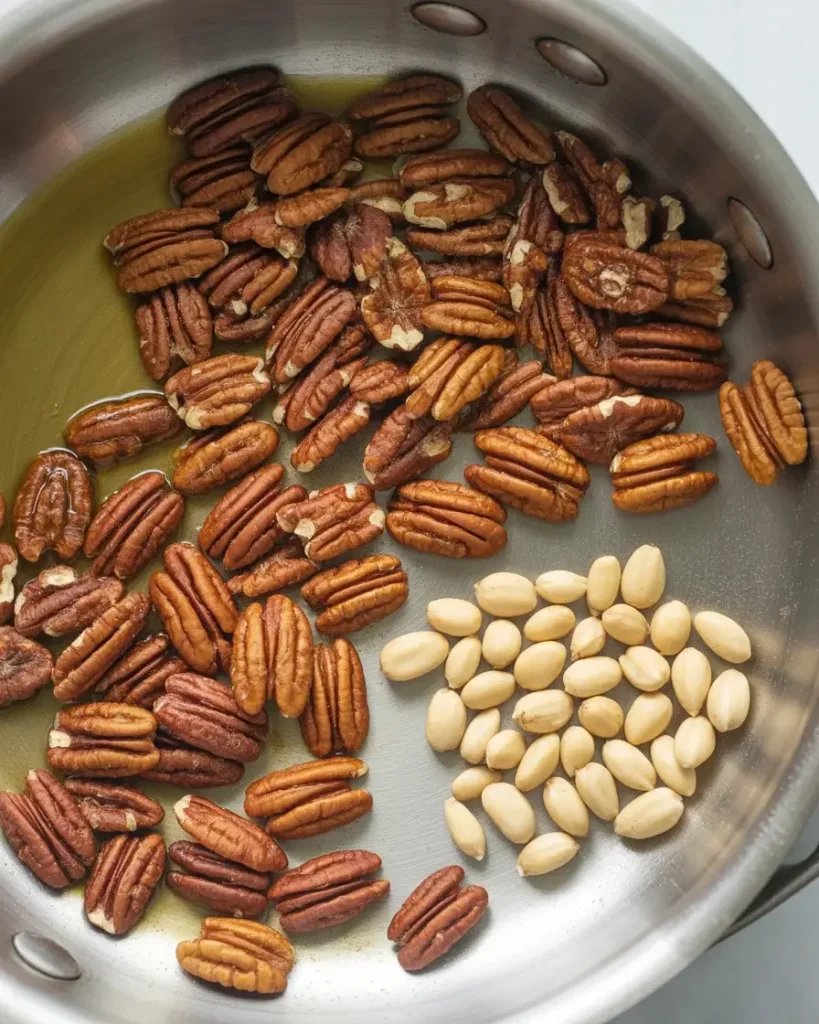
Absolutely yes. Toasting pecans at 350°F for 8-10 minutes transforms their flavor completely. I did a side-by-side comparison using raw versus toasted pecans in identical batches, and every single taster preferred the toasted version. The difference is dramatic.
Raw pecans taste flat and slightly bitter in baked goods. Toasted pecans develop a rich, buttery depth that enhances the entire cake. The toasting process releases their natural oils and creates complex flavors you simply can’t achieve with raw nuts.
Watch them closely after 6 minutes because they can burn quickly. I learned this the hard way when I walked away for 2 minutes and came back to smoking, bitter pecans. Stir them halfway through for even toasting and remove them when they smell intensely nutty.
Let them cool completely before chopping and adding to the batter. Hot nuts will melt the butter in your batter and affect the texture. I chop mine roughly, leaving some larger pieces for better crunch contrast throughout each slice.
Discover More Delicious Recipes
Can I Make This Cake Ahead of Time?
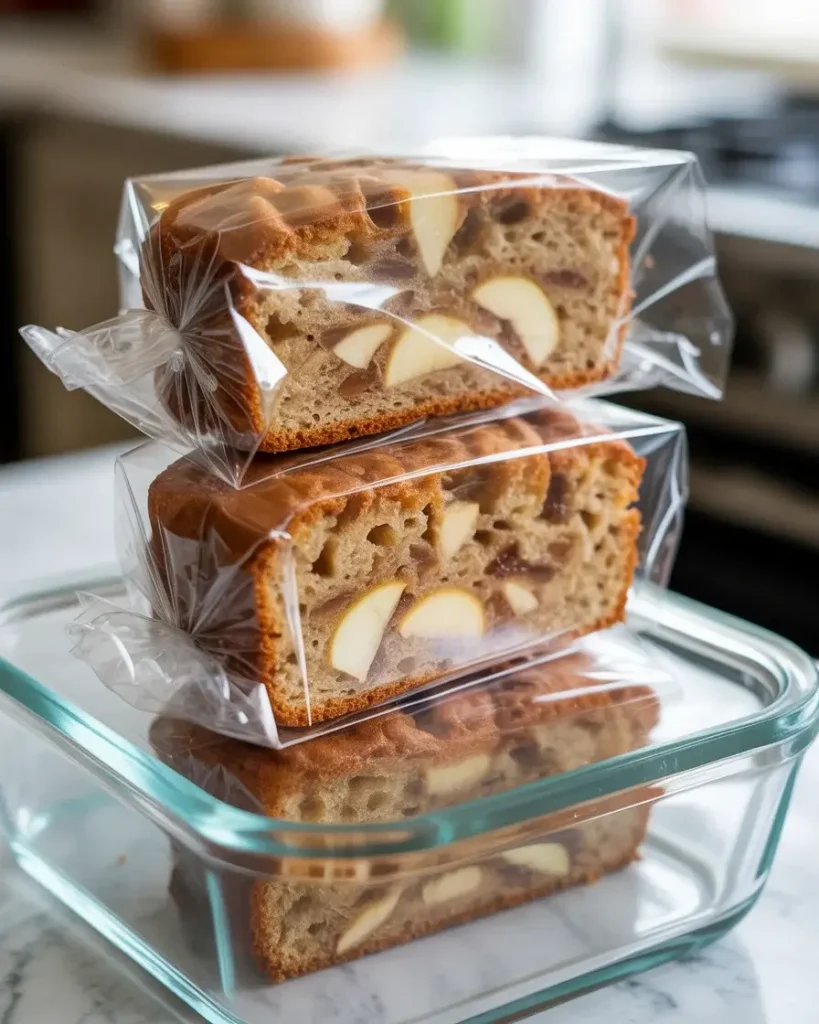
Yes, this cake actually improves after 24 hours as the flavors meld and the moisture from the apples distributes evenly throughout. I make it the day before serving for holidays and family gatherings because it saves stress and tastes better anyway.
Store it covered with plastic wrap or in an airtight container at room temperature for up to 5 days. The brown sugar and apples keep it incredibly moist. I’ve never had this cake dry out, even on day five, which makes it perfect for meal prep or bake sales.
For longer storage, wrap individual slices in plastic wrap and freeze for up to 3 months. Thaw at room temperature for 2 hours or microwave for 20-30 seconds. The texture holds up remarkably well after freezing, though I recommend adding fresh whipped cream when serving previously frozen slices.
Don’t refrigerate this cake unless your kitchen is extremely hot. Refrigeration dries it out and makes the texture dense. Room temperature storage preserves the tender, moist crumb perfectly.
What’s the Best Pan Size for This Recipe?
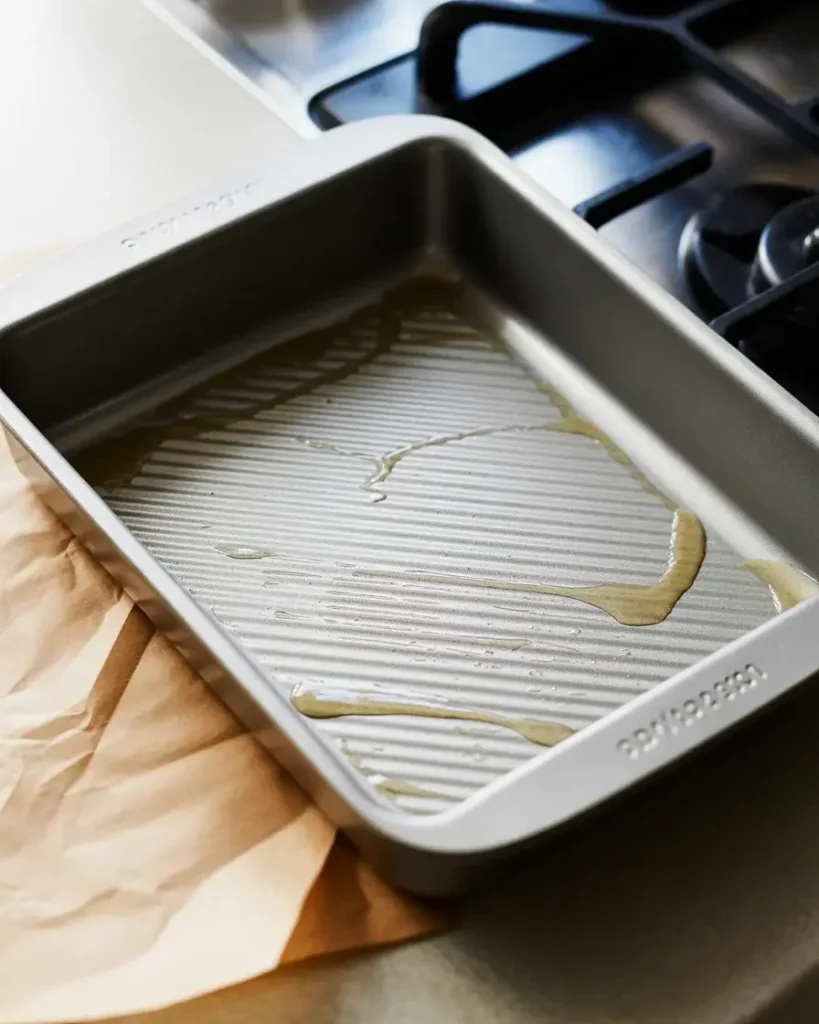
A 9×13-inch metal or glass baking pan works perfectly for this recipe. I tested it in an 8×8-inch pan, which required 65 minutes of baking and created edges that were too dark before the center cooked through. The 9×13 size ensures even baking.
Metal pans conduct heat faster and create slightly crispier edges, which I prefer. Glass pans take about 5 minutes longer to bake but create a more evenly tender texture throughout. Both work well, so use what you have.
Grease the pan thoroughly with butter or non-stick spray, especially in the corners where the cake tends to stick. I line the bottom with parchment paper for easy removal when I’m serving this at potlucks or need to transport it.
Don’t use a Bundt pan for this recipe. The thick batter with heavy fruit and nuts doesn’t release well from intricate pan shapes. I tried it once and ended up with chunks of cake stuck in the pan ridges, which was frustrating and wasteful.
Frequently Asked Questions
Q: Can I reduce the sugar in this recipe?
A: You can reduce the granulated sugar by 1/4 cup, but I don’t recommend reducing the brown sugar because it creates the moist, tender texture. I tested a half-sugar version and it turned out dry and bland.
Q: Why did my cake sink in the middle?
A: Opening the oven door before 40 minutes causes temperature drops that make cakes sink. Also check that your baking soda is fresh. Old leavening agents won’t provide enough rise, which causes collapse as the cake cools.
Q: Can I add raisins or other mix-ins?
A: Yes, add up to 1 cup of raisins, dried cranberries, or chocolate chips along with the apples and pecans. I tested adding 3/4 cup of raisins and it worked perfectly without affecting the texture or baking time.