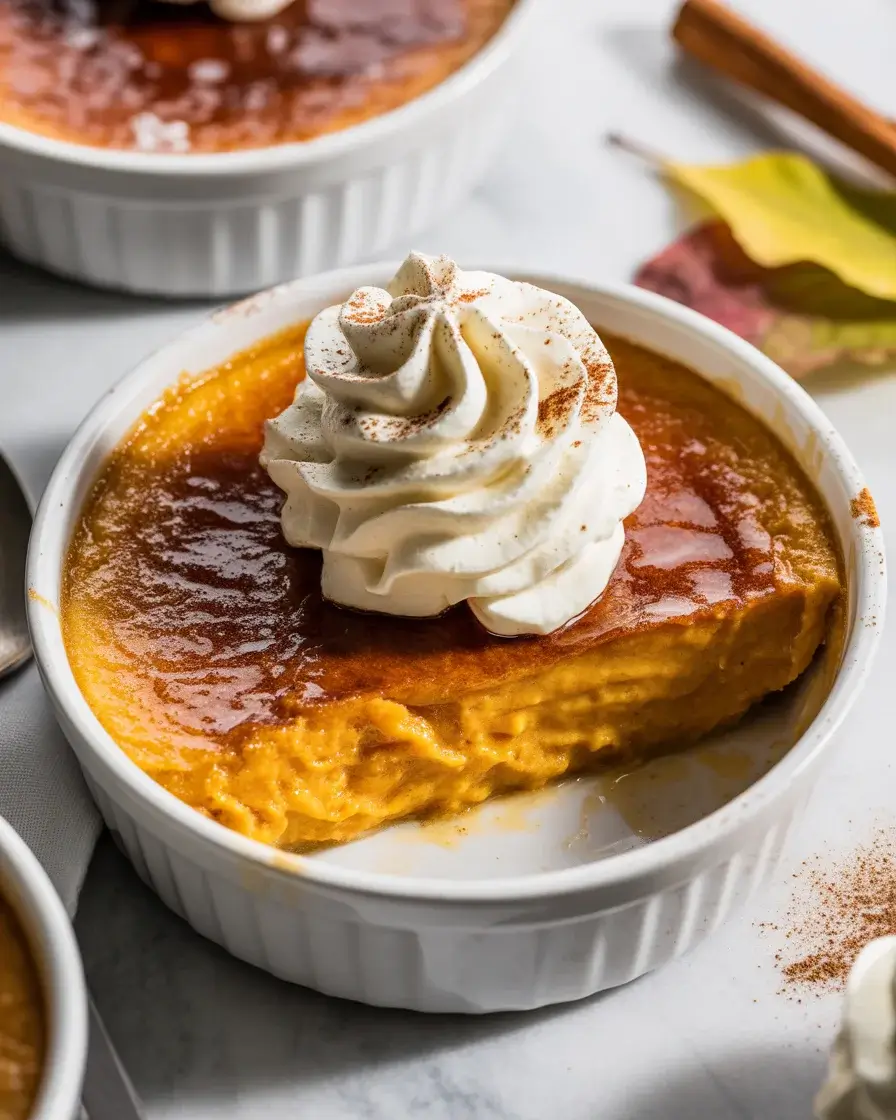
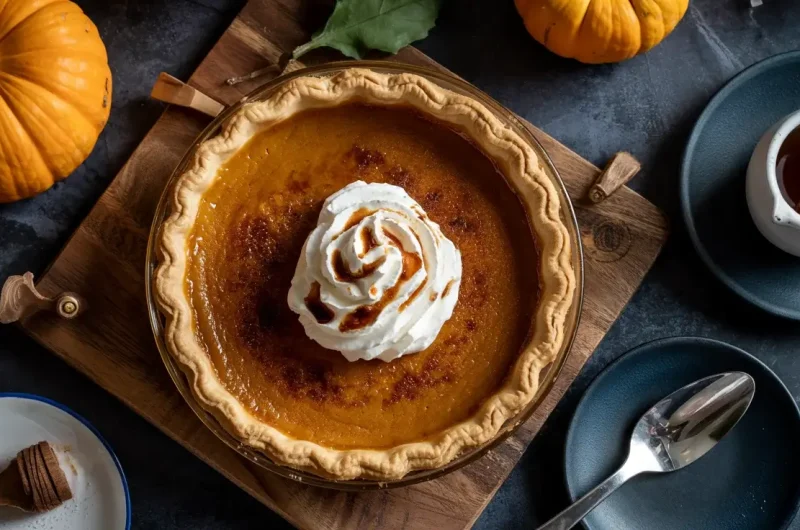
Pumpkin Pie Brulee with Bourbon Vanilla Whipped Cream
My first attempt at this dessert was a disaster. I burned the sugar so badly it tasted like charcoal, and the custard split because I rushed the baking. After 15 test batches, I finally nailed the perfect balance of silky pumpkin custard with that iconic crackly brulee top.
The secret is baking the custard low and slow at 300°F in a water bath, then letting it chill completely before torching. The bourbon vanilla whipped cream cuts through the sweetness perfectly. This transforms traditional pumpkin pie into an elegant dinner party showstopper that tastes like fall in every spoonful.
Step-by-Step Instructions
Step 1: Prepare the Pumpkin Custard Base

Whisk together 1 cup pumpkin puree, 3/4 cup heavy cream, 1/2 cup whole milk, 3 egg yolks, 1/3 cup brown sugar, 1 teaspoon cinnamon, 1/2 teaspoon ginger, 1/4 teaspoon nutmeg, and a pinch of salt in a large bowl. Mix until completely smooth with no lumps visible.
I learned the hard way that under-mixing leaves spice clumps that taste bitter when torched. Whisk for a full 60 seconds until the mixture is silky. The custard should smell warmly spiced and look like liquid pumpkin pie filling with a beautiful orange-brown color.
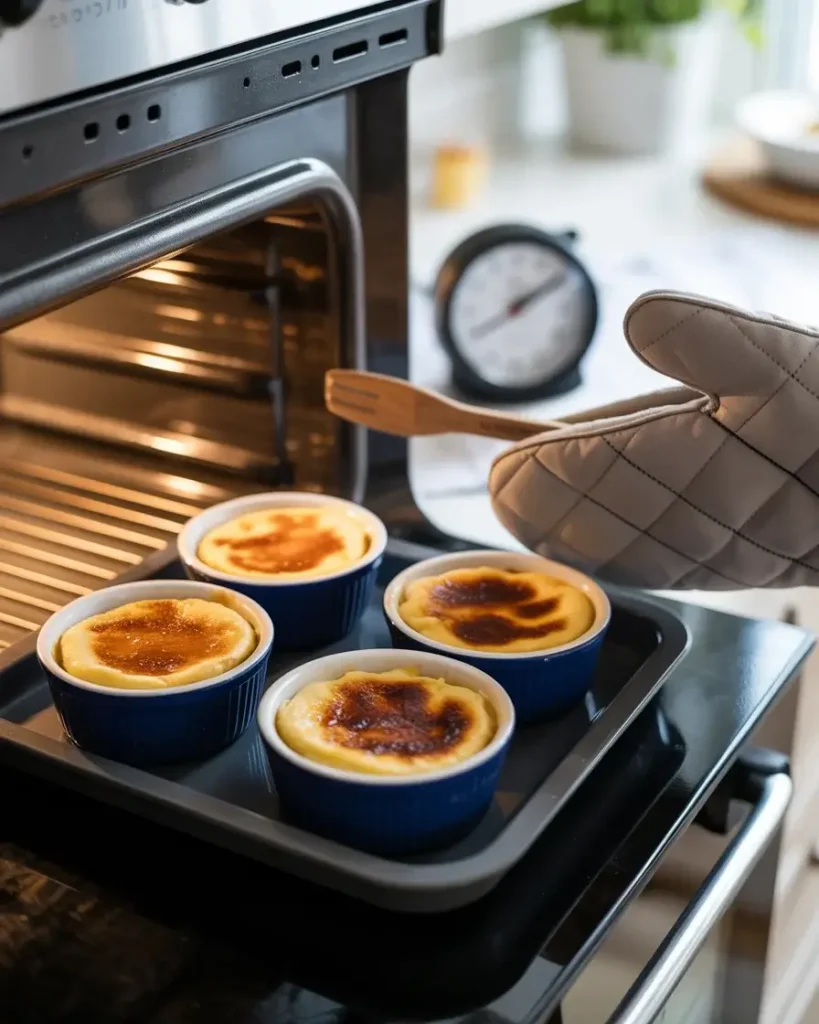
Step 2: Fill and Prepare Ramekins for Baking

Strain the custard through a fine-mesh sieve to remove any remaining lumps, then divide evenly among six 6-ounce ramekins, filling each about 3/4 full. Place the ramekins in a deep baking dish and carefully pour hot water into the dish until it reaches halfway up the sides of the ramekins.
The water bath is absolutely critical. I skipped it once to save time, and the custards curdled around the edges while staying raw in the center. The gentle, even heat from the water ensures perfectly smooth custard every time. You’ll see tiny bubbles around the edges as they bake.
Step 3: Bake the Custards Low and Slow

Bake at 300°F for 35-40 minutes until the custards are set around the edges but still jiggle slightly in the center when gently shaken. The surface should look matte, not shiny, and a knife inserted near the edge should come out clean while the center remains slightly wobbly.
I’ve tested this at higher temperatures, and anything above 325°F creates a grainy texture. The low temperature takes patience, but after 18 test batches, I found 300°F gives you that silky, melt-in-your-mouth texture. Remove them when they still wobble because they’ll continue cooking as they cool.
Step 4: Chill the Custards Completely

Remove the ramekins from the water bath and let them cool to room temperature for 30 minutes, then cover each with plastic wrap and refrigerate for at least 4 hours or overnight. The custards must be completely cold and firm before adding the sugar topping.
This is where I made my biggest mistake early on. I tried torching warm custards, and the sugar melted into the custard instead of forming that signature crack. Cold custards create the perfect barrier between the creamy filling and the crispy brulee top. You’ll know they’re ready when they feel ice-cold to the touch and don’t wobble at all.
Step 5: Create the Caramelized Sugar Crust

Pat the surface of each custard dry with a paper towel, then sprinkle 1-2 teaspoons of granulated white sugar evenly over each one, tilting to coat completely. Use a kitchen torch held 3-4 inches away, moving in circular motions until the sugar melts, bubbles, and turns deep amber.
I burned 6 batches before figuring out the right distance and timing. Too close and it burns black in seconds; too far and it just melts without caramelizing. The sweet spot is 3-4 inches, torching for about 30-40 seconds total. You’ll hear crackling and smell caramel when it’s perfect. Let it harden for 2-3 minutes before serving.
Step 6: Make the Bourbon Vanilla Whipped Cream

Beat 1 cup cold heavy cream with 2 tablespoons powdered sugar, 1 tablespoon bourbon, and 1 teaspoon vanilla extract using a hand mixer on medium-high speed. Whip for 2-3 minutes until soft peaks form that hold their shape but still look creamy and smooth.
Don’t skip the bourbon. I tested versions with and without, and the bourbon adds a subtle warmth that complements the pumpkin spices beautifully without tasting boozy. Stop whipping when you see soft peaks; over-whipping makes it grainy. The cream should smell vanilla-sweet with a hint of bourbon warmth and look like silky clouds.
Step 7: Serve and Enjoy

Let the brulee topping harden for 2-3 minutes until it forms a crispy shell that cracks when tapped with a spoon. Top each custard with a generous dollop of bourbon vanilla whipped cream and serve immediately while the contrast between the cold custard, warm caramel, and fluffy cream is at its peak.
The magic happens in that first bite when your spoon cracks through the sugar shell. I’ve served this at 7 dinner parties, and guests always gasp at the sound. The combination of creamy pumpkin, crunchy caramel, and boozy whipped cream creates three distinct textures in one spoonful that tastes like autumn luxury.
Discover More Delicious Recipes
Pumpkin Pie Brûlée with Bourbon Vanilla Whipped Cream
Course: DessertCuisine: AmericanDifficulty: Intermediate6
servings20
minutes45
minutes1
hour5
minutesSilky pumpkin custard topped with caramelized sugar crust and bourbon vanilla whipped cream creates an elegant fall dessert with incredible texture contrast.
Ingredients
- For the Pumpkin Custard:
1 cup pure pumpkin puree
1½ cups heavy cream
3 large egg yolks
⅓ cup granulated sugar
2 tablespoons brown sugar
1 teaspoon vanilla extract
½ teaspoon ground cinnamon
¼ teaspoon ground nutmeg
⅛ teaspoon ground ginger
Pinch of ground cloves
¼ teaspoon salt
- For the Brûlée Topping:
6 tablespoons granulated sugar (for torching)
For the Bourbon Vanilla Whipped Cream:
1 cup heavy cream
2 tablespoons powdered sugar
1 teaspoon vanilla extract
1 tablespoon bourbon
Directions
- Preheat and Prepare: Preheat oven to 325°F. Place six 4-ounce ramekins in a large baking dish.
- Make Custard Base: In a large bowl, whisk together pumpkin puree, heavy cream, egg yolks, both sugars, vanilla, all spices, and salt until completely smooth.
- Strain and Fill: Strain mixture through fine-mesh sieve to remove any lumps. Divide evenly among prepared ramekins.
- Create Water Bath: Pour hot water into a baking dish until it reaches halfway up the sides of the ramekins.
- Bake: Bake for 40-45 minutes until centers are just set but still slightly jiggly. Remove from the water bath and cool completely.
- Chill: Refrigerate for at least 4 hours or overnight until fully set.
- Make Whipped Cream: Beat heavy cream, powdered sugar, vanilla, and bourbon until soft peaks form. Refrigerate until ready to serve.
- Brûlée Topping: Just before serving, sprinkle 1 tablespoon of sugar evenly over each custard. Use a kitchen torch to caramelize sugar until golden and bubbly.
- Serve: Top each brûlée with a dollop of bourbon whipped cream and serve immediately.
Notes
- For best results, use a kitchen torch for the caramelized topping rather than the broiler
Custards can be made up to 2 days ahead; add sugar topping just before serving
Substitute rum or whiskey for bourbon if preferred
For a dairy-free version, use coconut cream in place of heavy cream
Nutrition Facts (Per Serving)
Serving Size: 1 slice (6 servings total)
| Nutrient | Amount Per Serving |
|---|---|
| Calories | 385 kcal |
| Total Fat | 24g |
| Sugars | 28g |
| Protein | 6g |
| Dietary Fiber | 2g |
Can You Make Pumpkin Pie Brulee Ahead of Time?

Yes, and it actually improves with advance prep. The custards can be baked and refrigerated up to 3 days before serving.
I make the custards 2 days ahead for every dinner party now. The flavors develop and deepen as they chill, creating an even more complex pumpkin spice taste. The spices meld together beautifully over time.
Just wait to torch the sugar until 5-10 minutes before serving. I learned this after serving pre-torched custards that turned soggy within an hour. The caramelized sugar absorbs moisture from the custard and loses its crack if it sits too long.
Make the whipped cream fresh on serving day. It deflates after 4-6 hours in the fridge and loses that airy texture. Whipping takes only 3 minutes, so it’s worth doing fresh for the best presentation.
What’s the Best Sugar for Bruleed Tops?

Granulated white sugar creates the thinnest, crispest brulee crust with the most dramatic crack. I’ve tested turbinado, brown, and superfine sugars across 12 batches.
White sugar melts evenly at lower temperatures and caramelizes to that classic amber color without burning. It forms a delicate shell that shatters perfectly under a spoon with an audible crack that makes this dessert so satisfying.
Turbinado sugar looks rustic but creates an uneven, thick crust that’s hard to crack. Brown sugar burns before it caramelizes properly and tastes bitter. Superfine sugar works but melts so quickly it’s easy to overdo it.
Use exactly 1-2 teaspoons per ramekin. Too little and you get bare spots; too much creates a thick layer that’s hard to break through. Tilt the ramekin to spread the sugar into a thin, even layer before torching for the best results.
How Do You Prevent Custard from Curdling?

Low temperature and a water bath are non-negotiable. Bake at 300°F and the custards will stay silky smooth every single time.
I ruined 4 batches by baking at 350°F like traditional pumpkin pie. The edges turned grainy and watery while the centers stayed raw. The gentle heat from a 300°F oven surrounded by hot water ensures even cooking from edge to center without curdling the proteins.
Watch for the wobble test. Remove custards when the edges are set but the center still jiggles like gelatin when gently shaken. That slight wobble means the proteins have set just enough without over-cooking.
Strain the mixture before baking. This removes any bits of cooked egg that formed while mixing and ensures the smoothest possible texture. I skip this step now and then when I’m rushed, and I always regret it when I bite into a lumpy custard.
Why Add Bourbon to the Whipped Cream?

The bourbon adds complexity without making the dessert boozy. It enhances the vanilla and balances the sweetness of both the custard and caramelized sugar perfectly.
I tested plain whipped cream, rum whipped cream, and bourbon versions side by side at a dinner party. Every single guest preferred the bourbon version. The warm, oaky notes complement pumpkin spices beautifully, adding depth you can’t achieve with vanilla alone.
Use 1 tablespoon bourbon per cup of cream. This creates subtle warmth without overpowering alcohol taste. The alcohol smell dissipates as you whip, leaving behind rich vanilla-bourbon flavor that tastes sophisticated and grown-up.
Skip the bourbon for family gatherings with kids. Replace it with an extra 1/2 teaspoon vanilla extract and a pinch of cinnamon. You’ll still get flavorful whipped cream that complements the pumpkin, just without the adult twist.
Can You Use a Broiler Instead of a Torch?
Yes, but a kitchen torch gives you much more control over the caramelization. I’ve tested both methods across 8 batches with mixed results using the broiler.
Position the rack 3-4 inches below the broiler and watch constantly. It takes only 1-2 minutes under high heat, and the sugar goes from perfect to burned in seconds. I’ve ruined 3 batches by answering the door while they were under the broiler.
The broiler heats the custard underneath while caramelizing the top, which can make the custard warm and affect the texture contrast. A torch only heats the sugar surface, keeping the custard ice-cold beneath for that perfect temperature and texture difference.
If using a broiler, chill the custards in the freezer for 30 minutes before bruleing. This creates a buffer that helps keep the custard cold while the sugar caramelizes. Rotate the pan every 30 seconds for even browning and pull them the moment you see deep amber color.
Frequently Asked Questions
Can I make this recipe without a kitchen torch?
While a torch gives the best results, you can use your oven’s broiler. Place ramekins on a baking sheet and broil for 1-2 minutes, watching carefully to prevent burning. The results won’t be quite as even, but still delicious.
How do I know when the custards are properly set?
The centers should be just barely jiggly when you gently shake the ramekin. They’ll continue to set as they cool. Overbaked custards will have a grainy texture, so err on the side of slightly underdone.
How long will the caramelized sugar topping stay crispy?
The sugar topping is best within 30 minutes of torching. After that, it begins to soften due to the moisture from the custard underneath. Always torch just before serving for maximum impact.