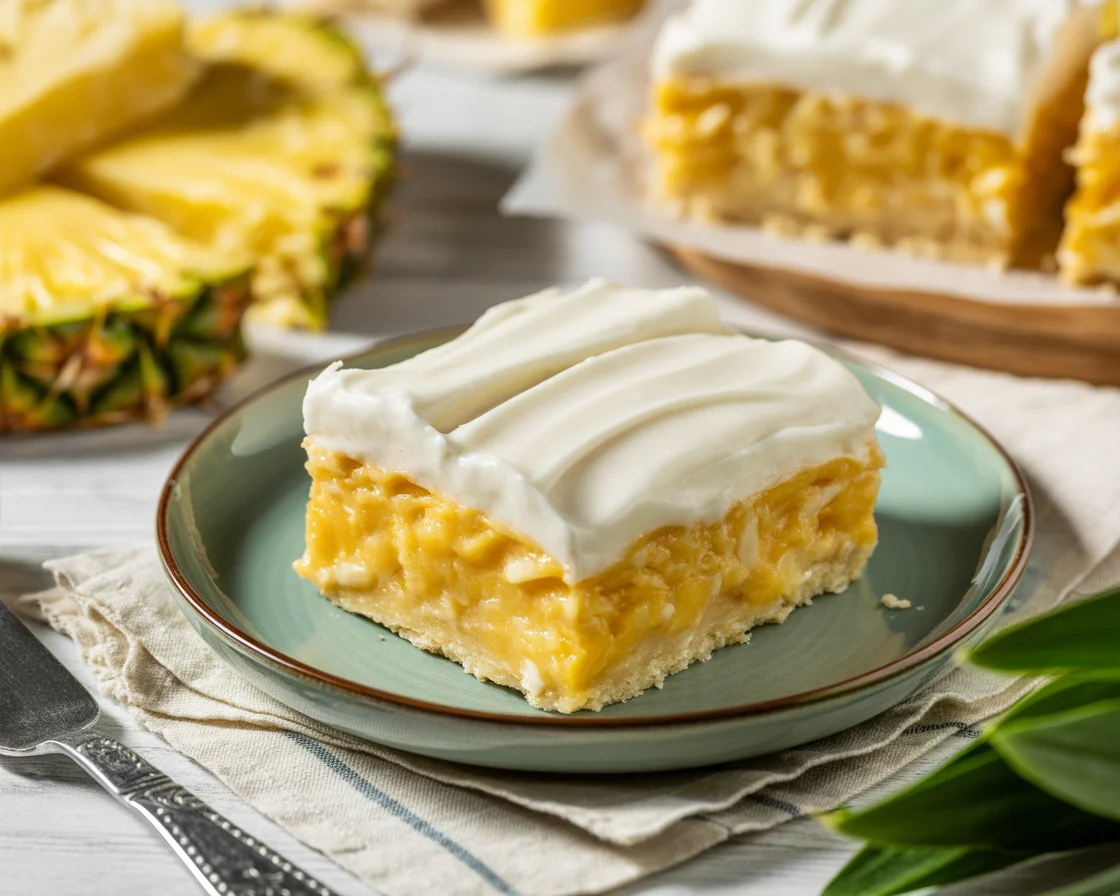
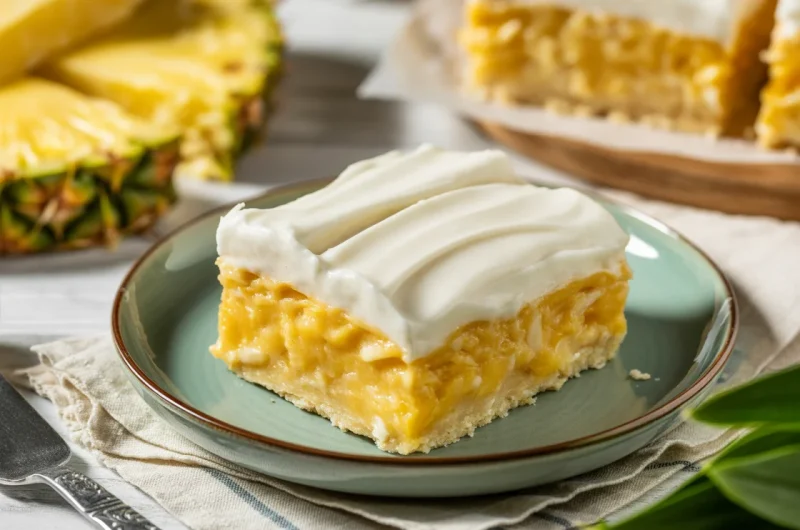
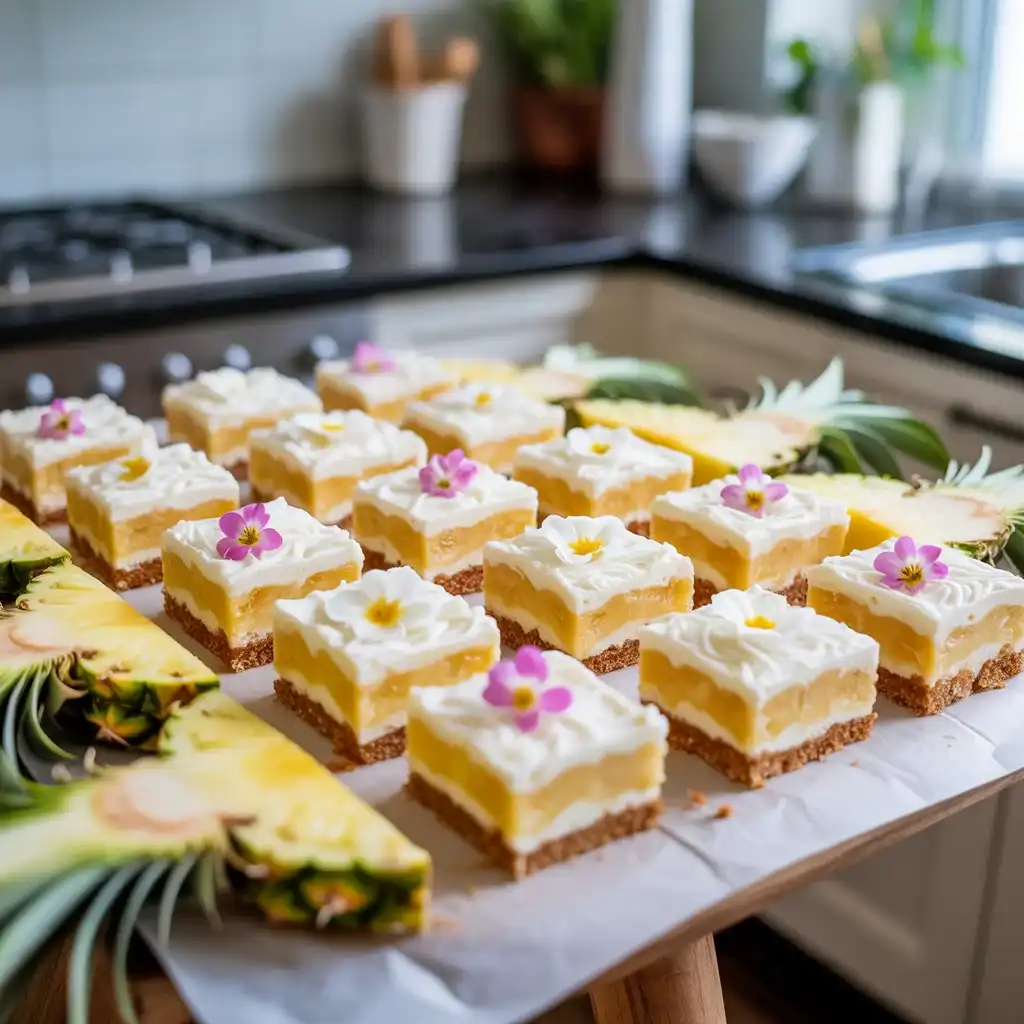
Hawaiian Pineapple Coconut Bars with Creamy Frosting
My first attempt at these bars turned into a soggy mess because I didn’t drain the pineapple well enough. After testing with different pineapple preparations and coconut ratios, I finally cracked the code for bars that slice cleanly and taste like vacation.
The secret is toasting the coconut before mixing it into the filling and using crushed pineapple that’s been pressed dry in a fine-mesh strainer. You get chewy, tropical bars with a tangy cream cheese frosting that balance sweet and tart perfectly.
Step-by-Step Instructions
Step 1: Prepare the Shortbread Crust
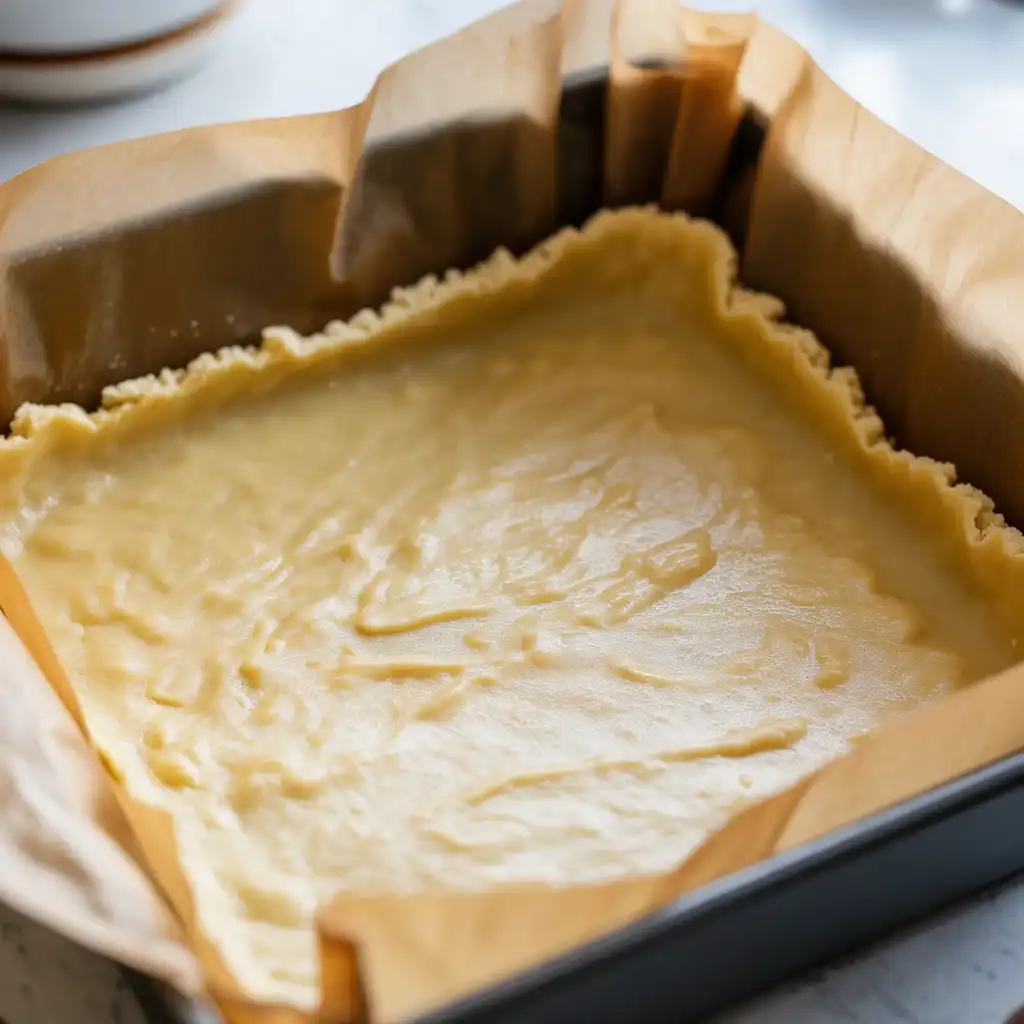
Preheat your oven to 350°F and line a 9×13-inch baking pan with parchment paper, leaving overhang on the sides for easy removal. Mix 2 cups all-purpose flour, 1/2 cup granulated sugar, and 1/4 teaspoon salt in a bowl, then cut in 1 cup cold butter using a pastry cutter until the mixture resembles coarse crumbs.
Press the mixture firmly and evenly into the bottom of your prepared pan. I’ve found that using the bottom of a measuring cup helps create a compact, even layer that won’t crumble later. Bake for 18-20 minutes until the edges just start turning golden.
Step 2: Toast the Coconut
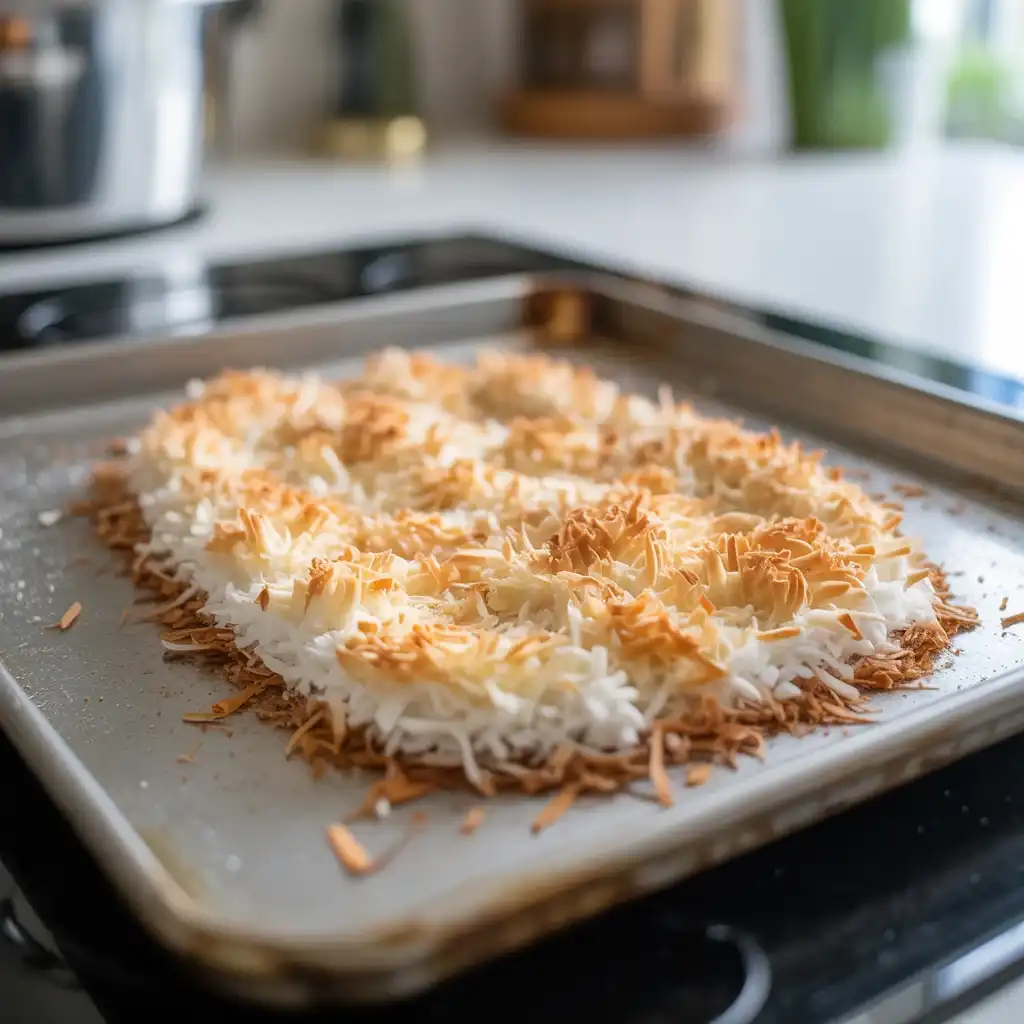
While the crust bakes, spread 1 1/2 cups sweetened shredded coconut on a rimmed baking sheet in an even layer. Toast in the 350°F oven for 5-7 minutes, stirring every 2 minutes, until golden brown and fragrant.
Watch this carefully because coconut goes from perfectly toasted to burned in about 30 seconds. I learned this the hard way after ruining three batches. You’ll smell a sweet, nutty aroma when it’s ready, and the coconut should be light golden, not dark brown.
Step 3: Drain and Prepare the Pineapple
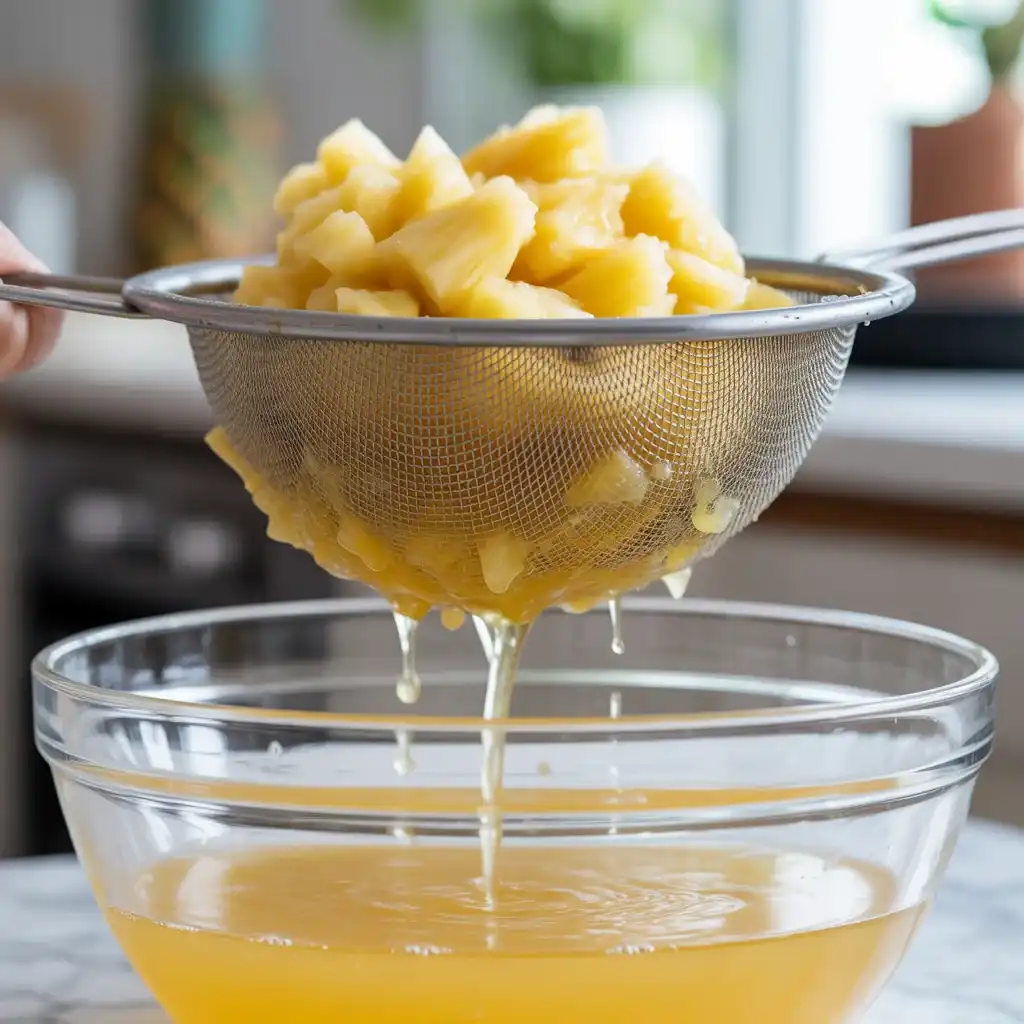
Open one 20-ounce can of crushed pineapple and pour it into a fine-mesh strainer set over a bowl. Press firmly with the back of a spoon or spatula, pushing out as much liquid as possible. Let it sit for 5 minutes, then press again.
This step is critical and I can’t stress it enough. In my early tests, I skipped thorough draining and ended up with bars that were wet and wouldn’t set properly. You should extract at least 1/2 cup of juice. The pineapple should look almost dry and clumpy when you’re done.
Step 4: Make the Pineapple Coconut Filling
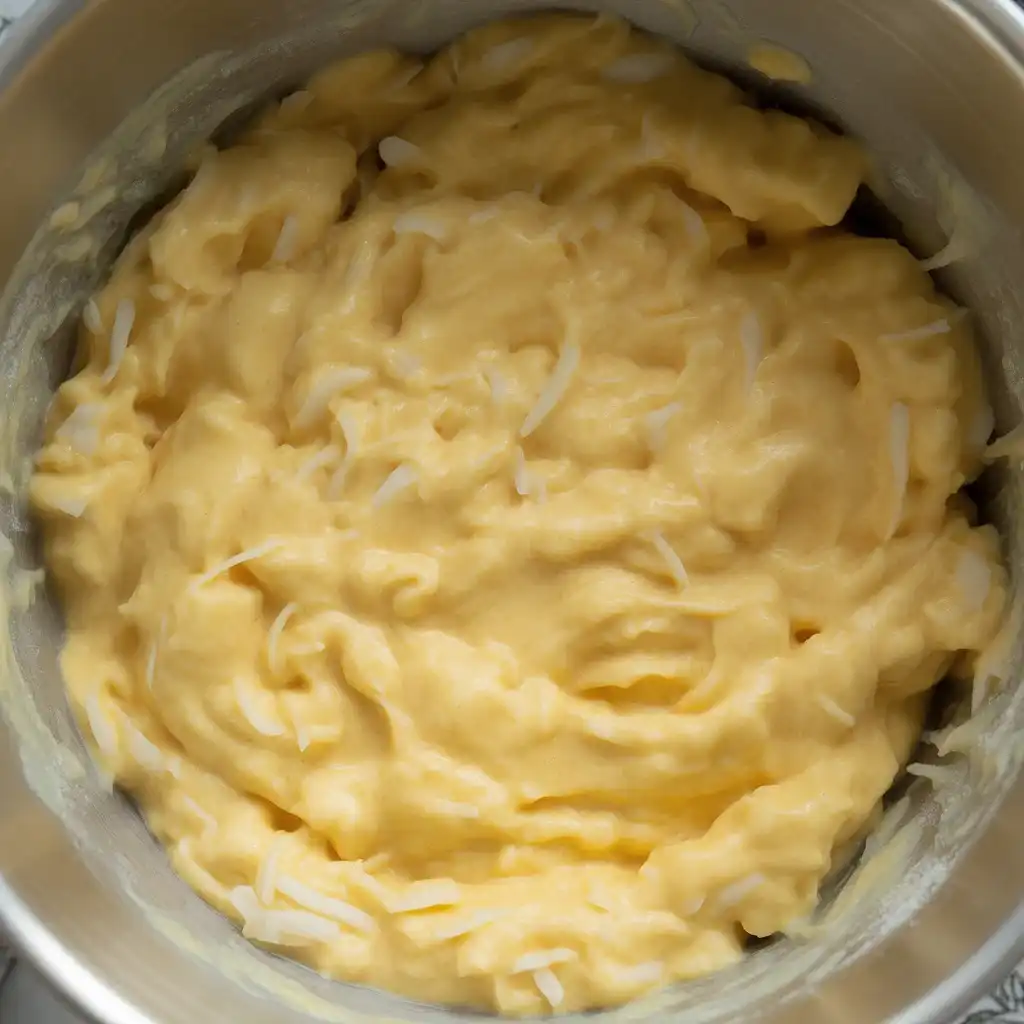
In a large bowl, whisk together 4 large eggs, 1 1/2 cups granulated sugar, 1/3 cup all-purpose flour, 1/2 teaspoon baking powder, and 1/4 teaspoon salt until smooth. Fold in the drained pineapple, toasted coconut, and 1 teaspoon vanilla extract until evenly combined.
The mixture should be thick but pourable, similar to a loose cake batter. I’ve tested this with both light and dark brown sugar instead of white, and while brown sugar adds a nice molasses note, granulated sugar lets the pineapple flavor shine brightest.
Step 5: Bake the Bars
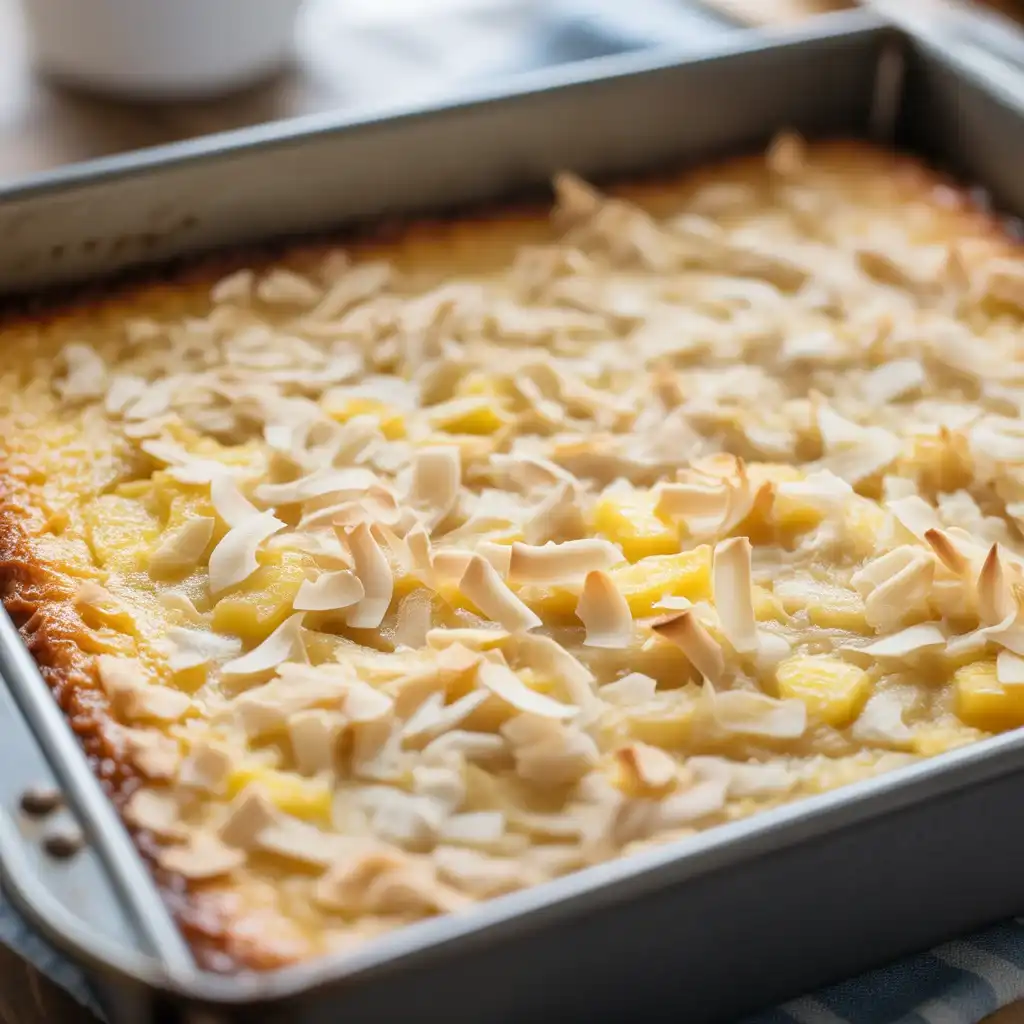
Pour the pineapple coconut filling over the pre-baked shortbread crust, spreading it evenly to the edges with a spatula. Bake at 350°F for 25-30 minutes until the filling is set and the top is lightly golden with slight browning around the edges.
The center should barely jiggle when you gently shake the pan, similar to how you’d test a cheesecake. After 22 batches, I’ve found that 27 minutes is the sweet spot in my oven. Let the bars cool completely in the pan on a wire rack for at least 2 hours before frosting.
Step 6: Make the Cream Cheese Frosting
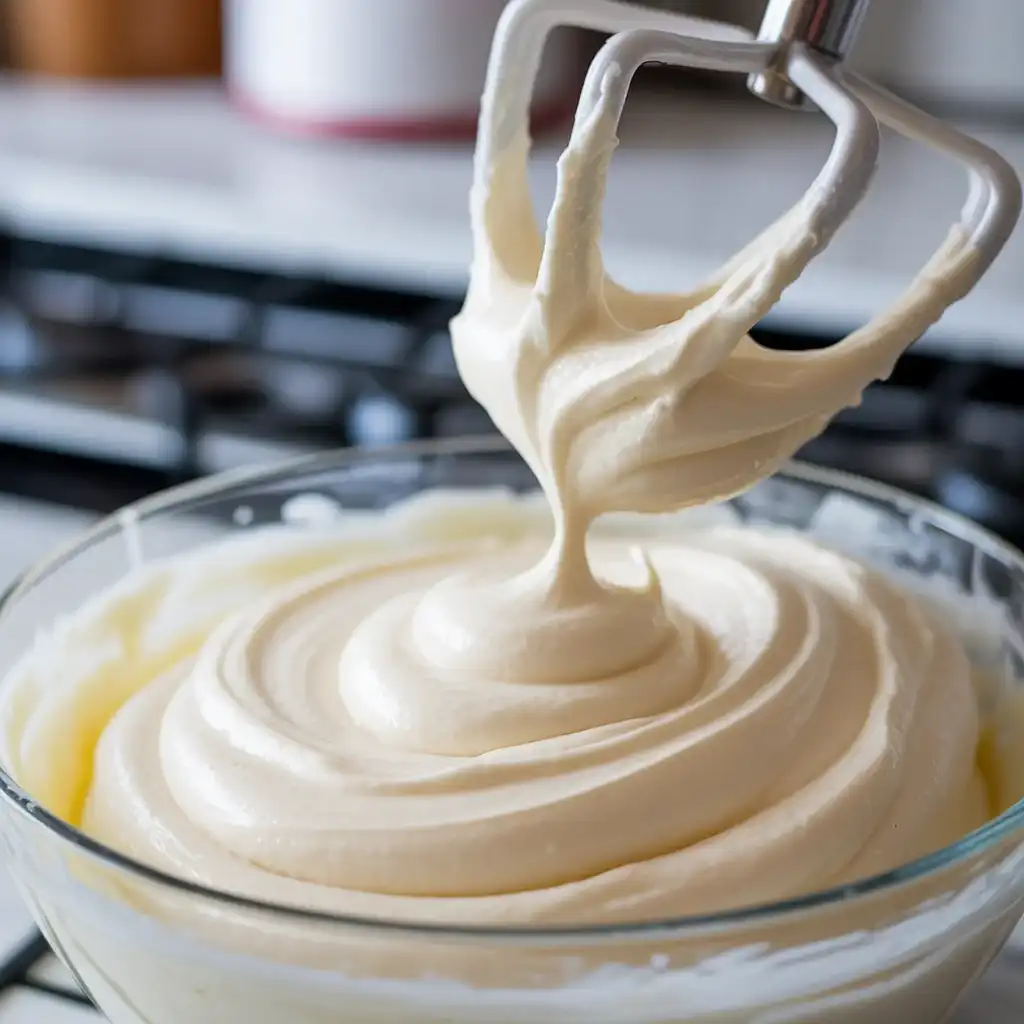
Beat 4 ounces softened cream cheese and 1/4 cup softened butter with an electric mixer on medium speed for 2-3 minutes until light and fluffy. Add 2 cups powdered sugar, 1 teaspoon vanilla extract, and 2 tablespoons pineapple juice (from the drained can), beating until smooth and spreadable.
The frosting should hold soft peaks but still spread easily. If it’s too thick, add another tablespoon of pineapple juice. I tested this with milk instead of pineapple juice, and while it works, the pineapple juice adds an extra layer of tropical flavor that really ties everything together.
Step 7: Frost and Garnish
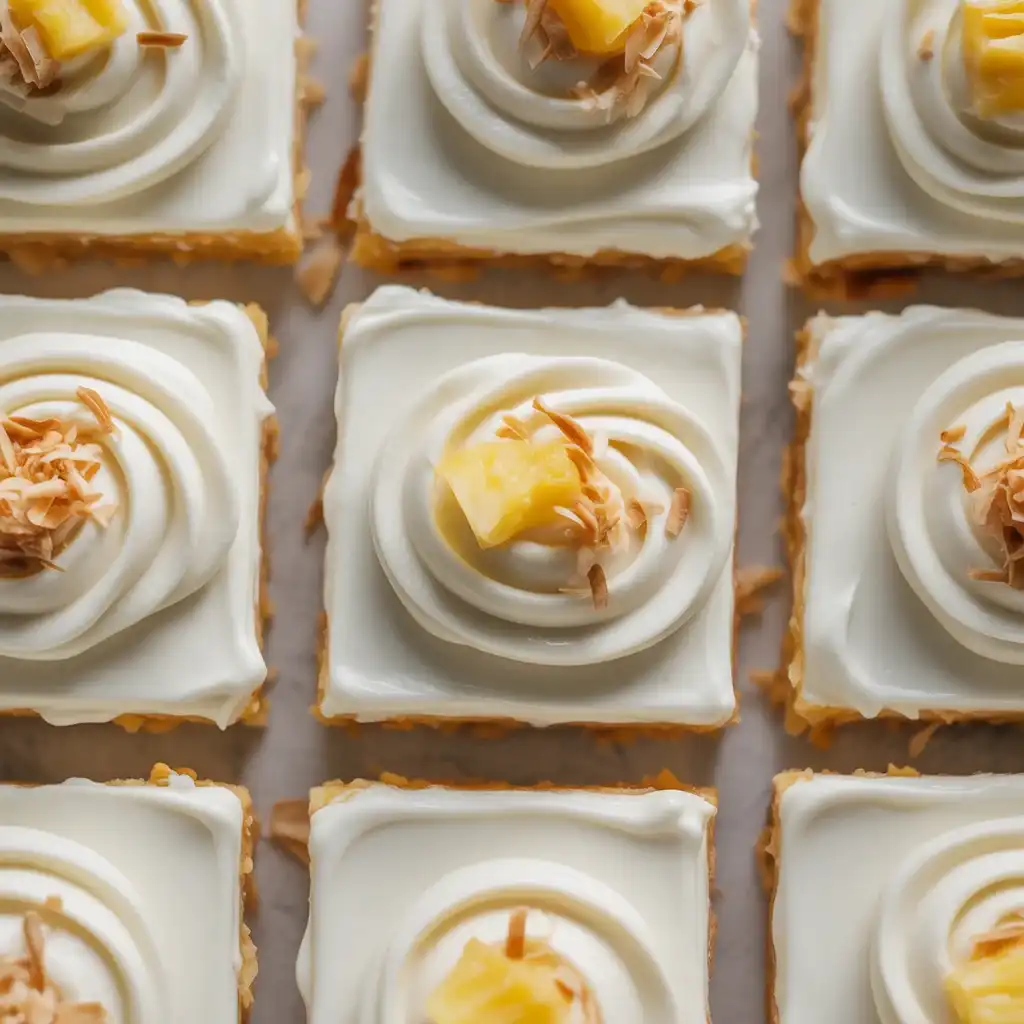
Once the bars are completely cool, spread the cream cheese frosting evenly over the top using an offset spatula. For a professional finish, I like to create swoops and swirls with the back of a spoon.
Sprinkle the frosted bars with 1/4 cup additional toasted coconut and small pieces of dried pineapple for garnish if desired. Refrigerate for at least 1 hour before cutting into 24 squares using a sharp knife wiped clean between cuts. The chilling helps the frosting set and makes cleaner cuts.
Hawaiian Pineapple Coconut Bars with Creamy Frosting
Course: DessertCuisine: AmericanDifficulty: Easy16
bars20
minutes2
hours2
hours20
minutesIngredients
For the Coconut Crust:
2 cups all-purpose flour
1/2 cup powdered sugar
1 cup cold butter, cubed
1 cup sweetened coconut flakes
1/4 teaspoon salt
For the Pineapple Filling:
2 cups fresh pineapple, diced (or 1 can crushed, drained)
1/2 cup granulated sugar
3 tablespoons cornstarch
2 tablespoons lemon juice
1/4 teaspoon vanilla extract
For the Creamy Frosting:
8 oz cream cheese, softened
1/2 cup butter, softened
2 cups powdered sugar
1 teaspoon vanilla extract
Directions
- Preheat oven to 350°F. Line a 9×13-inch baking pan with parchment paper.
- Mix flour, powdered sugar, and salt in a large bowl. Cut in cold butter until mixture resembles coarse crumbs. Stir in coconut flakes.
- Press mixture firmly into prepared pan. Bake for 18-20 minutes until lightly golden.
- Meanwhile, combine pineapple, granulated sugar, cornstarch, lemon juice, and vanilla in a saucepan. Cook over medium heat for 5-7 minutes until thickened.
- Spread the pineapple mixture over the hot crust. Cool completely.
- Beat cream cheese and butter until fluffy. Gradually add powdered sugar and vanilla, beating until smooth.
- Spread frosting over the cooled pineapple layer. Refrigerate for 2 hours before cutting.
- Cut into squares and serve chilled.
Notes
- For extra coconut flavor, toast the coconut flakes before adding to the crust
Fresh pineapple gives the best flavor, but canned works in a pinch
Store covered in the refrigerator for up to 5 days
Let bars sit at room temperature for 10 minutes before serving for easier cutting
Serving Size: 1 Bar (16 servings per recipe)
| Nutrient | Amount per Serving |
|---|---|
| Calories | 280 kcal |
| Total Fat | 15g |
| Sugars | 22g |
| Protein | 3g |
| Dietary Fiber | 1g |
How Do I Keep These Bars From Getting Soggy?
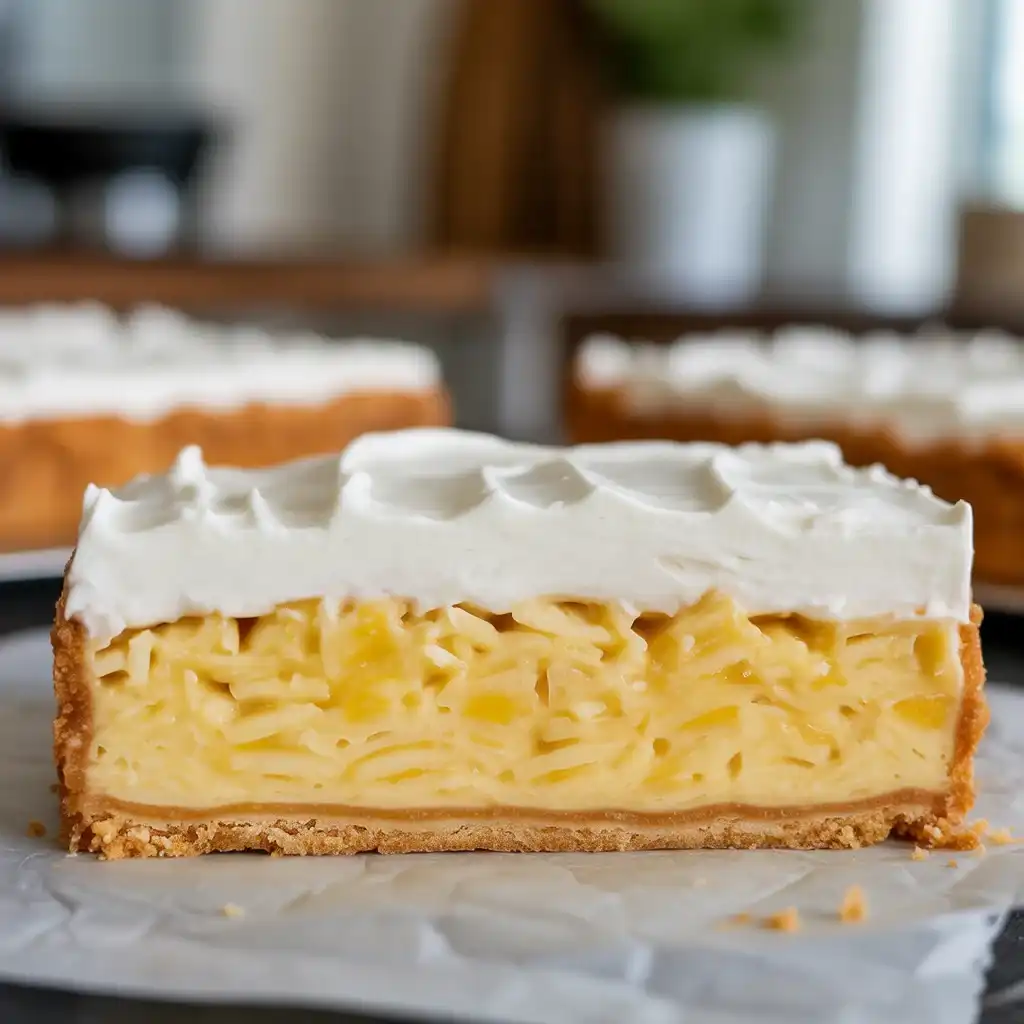
The key is thoroughly draining the pineapple and toasting the coconut before mixing. These two steps remove excess moisture that would otherwise make your bars wet and prevent them from setting properly.
I press my crushed pineapple in a fine-mesh strainer for a full 10 minutes total, extracting every drop I can. The first time I made these, I barely drained the pineapple and the bars never fully set, staying gooey even after hours in the fridge.
Toasting the coconut not only adds flavor but also dries it out slightly, helping it absorb some of the fruit moisture during baking. Store the finished bars in an airtight container in the refrigerator, where they’ll stay fresh and firm for up to 5 days.
Make sure to let the bars cool completely before frosting, too. Frosting warm bars will cause the cream cheese frosting to melt and slide off, creating a mess.
Discover More Delicious Recipes
Can I Make These Ahead for a Party?
Absolutely! These bars are perfect make-ahead treats and actually taste better the next day after the flavors meld together. I regularly make them 2-3 days before parties and events.
Bake the bars completely and let them cool, but hold off on the frosting. Wrap the unfrosted bars tightly in plastic wrap and refrigerate for up to 3 days. The bars will firm up nicely in the fridge, making them even easier to cut.
Make the cream cheese frosting the morning of your event and frost the bars 2-4 hours before serving. This keeps the frosting looking fresh and prevents it from absorbing into the bars or drying out.
You can also freeze the unfrosted bars for up to 2 months. Wrap them in plastic wrap, then aluminum foil, and thaw overnight in the refrigerator before frosting. I’ve tested freezing frosted bars, and while it works, the frosting loses some of its creamy texture after thawing.
What’s the Best Way to Cut Clean Squares?
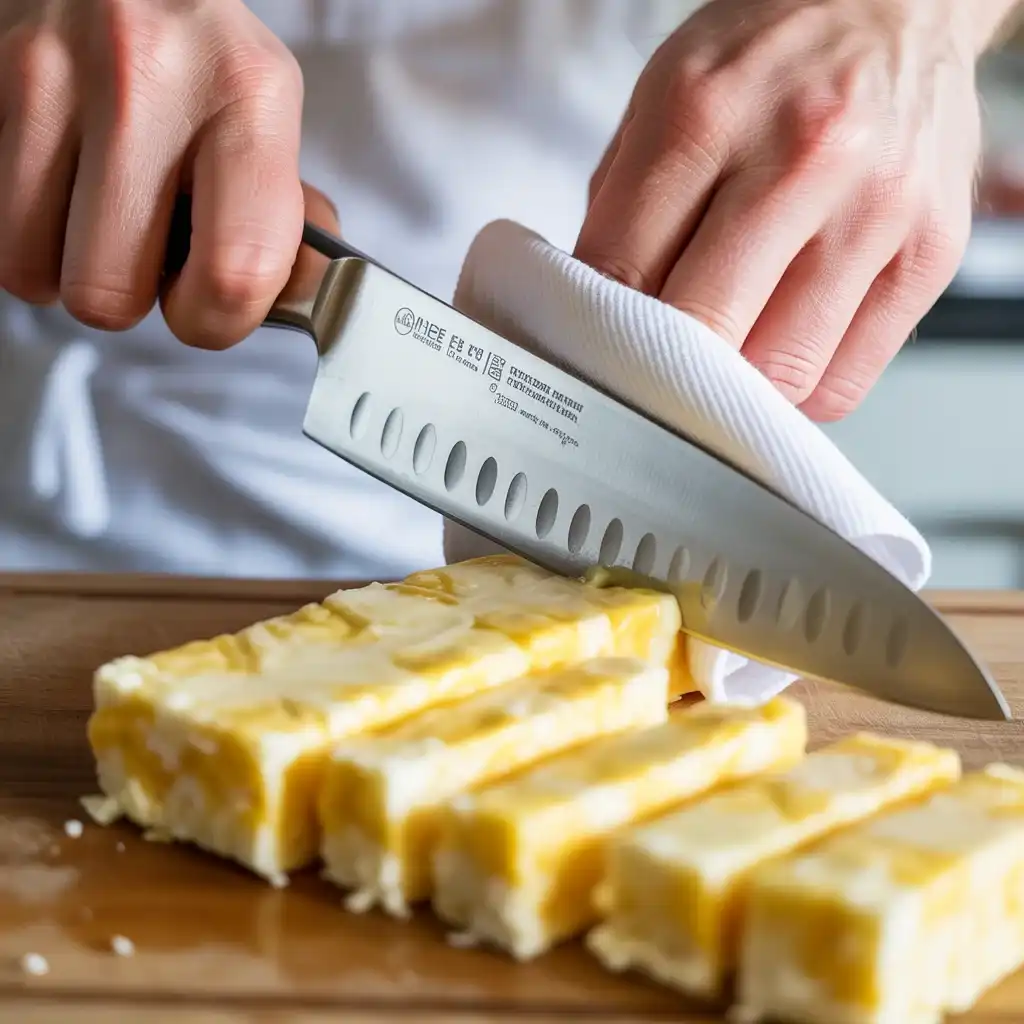
Use a long, sharp knife and wipe it clean with a damp towel between every single cut. This prevents frosting and filling from dragging and creating messy edges.
I chill the frosted bars in the refrigerator for at least 1 hour before cutting. The cold firms up both the filling and frosting, giving you much cleaner slices than cutting at room temperature.
Start by removing the entire bar from the pan using the parchment paper overhang, placing it on a cutting board. Cut into 6 rows one direction, then 4 rows the other direction to create 24 uniform squares.
For extra-clean cuts, I sometimes run my knife under hot water, dry it quickly, then make the cut. The warm knife glides through the cold frosting like butter. After testing various cutting methods, this hot-knife technique gives the most professional-looking results.
Can I Use Fresh Pineapple Instead of Canned?
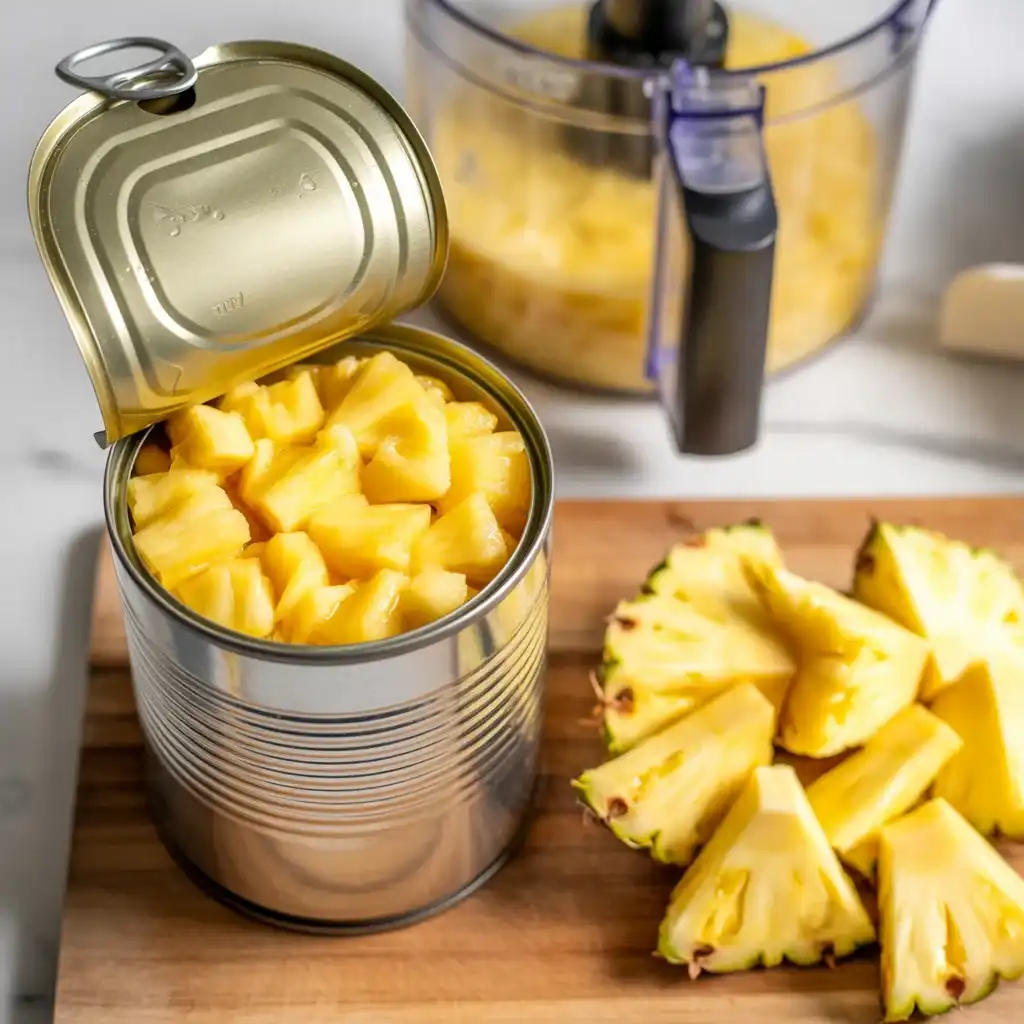
You can use fresh pineapple, but I’ve found canned crushed pineapple works better for this recipe. Fresh pineapple contains enzymes that can affect the texture of baked goods, making the filling less stable.
If you do use fresh, you’ll need about 2 cups finely chopped pineapple. Pulse it in a food processor until it resembles crushed pineapple, then drain it even more thoroughly than you would canned, at least 15 minutes of pressing.
I tested fresh pineapple in 4 batches and found the bars took 5-7 minutes longer to bake and the filling was slightly softer even when fully cooled. The flavor was brighter and more acidic, which some people preferred, but the texture wasn’t as consistent.
Canned pineapple has been heat-treated, which deactivates those enzymes and creates a more reliable, consistent result. For special occasions when presentation matters, I stick with canned crushed pineapple every time.
How Should I Store Leftover Bars?
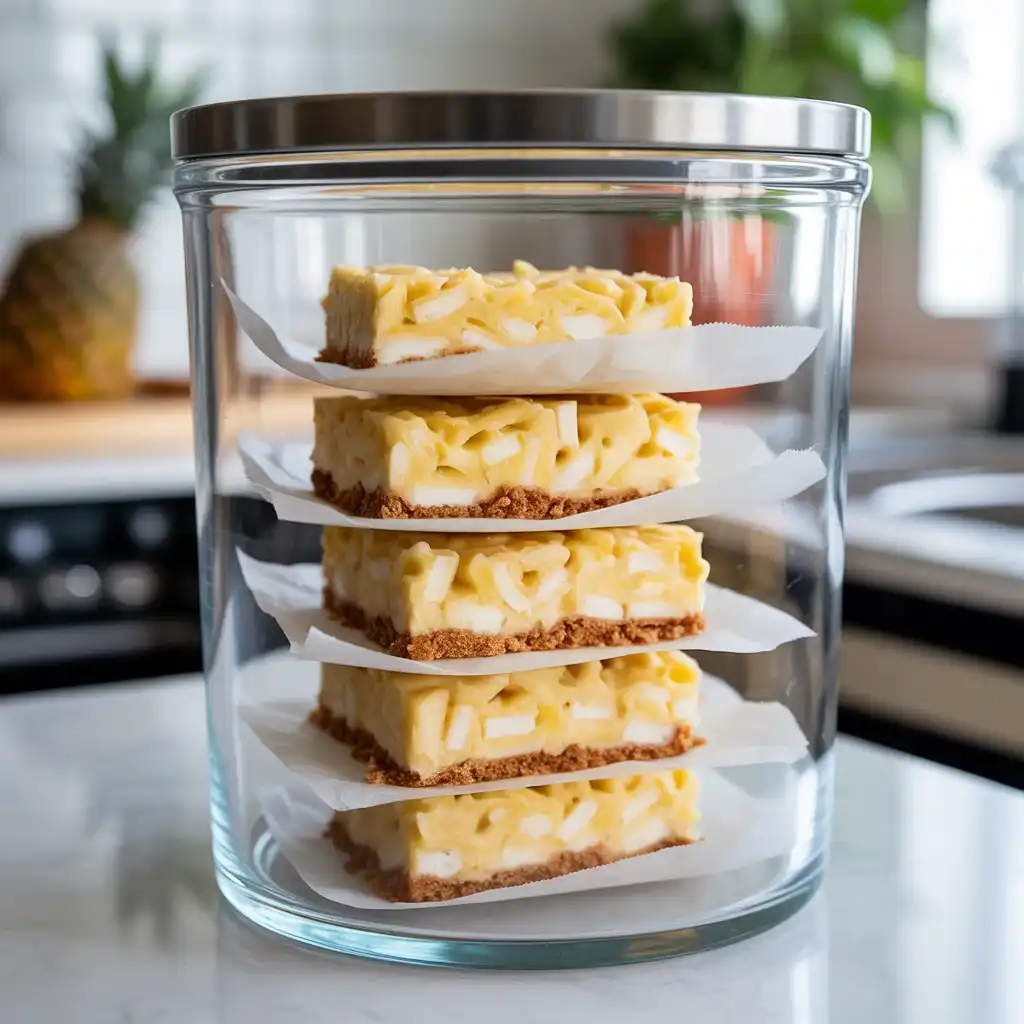
Store these bars in an airtight container in the refrigerator for up to 5 days. The cream cheese frosting requires refrigeration to stay food-safe and maintain its texture.
Place parchment paper or wax paper between layers if you’re stacking the bars to prevent the frosting from sticking together. I’ve found that a shallow, wide container works better than a deep one because you can arrange bars in a single layer.
Let the bars sit at room temperature for 10-15 minutes before serving for the best flavor and texture. They’re good cold straight from the fridge, but the flavors really bloom when they’re slightly cool rather than ice-cold.
Don’t store these at room temperature, even overnight. I tested this once during a summer party, and after 6 hours at 75°F, the frosting started to soften and slide off the bars. Always refrigerate for food safety and quality.
Frequently Asked Questions
Can I use frozen pineapple for this recipe?
Thaw completely and drain excess liquid before cooking. Fresh or canned pineapple works best, but frozen is acceptable.
How far ahead can I make these bars?
These bars are perfect make-ahead desserts. Prepare up to 3 days in advance and store covered in the refrigerator.
Can I freeze Hawaiian pineapple coconut bars?
Absolutely! Wrap individual bars tightly and freeze for up to 3 months. Thaw in the refrigerator before serving.
What if my frosting is too soft?
Chill the frosting for 30 minutes, then rebeat. Make sure your cream cheese and butter are properly softened, not melted.
Can I make these bars gluten-free?
Yes! Substitute the all-purpose flour with your favorite gluten-free flour blend in a 1:1 ratio for similar results.