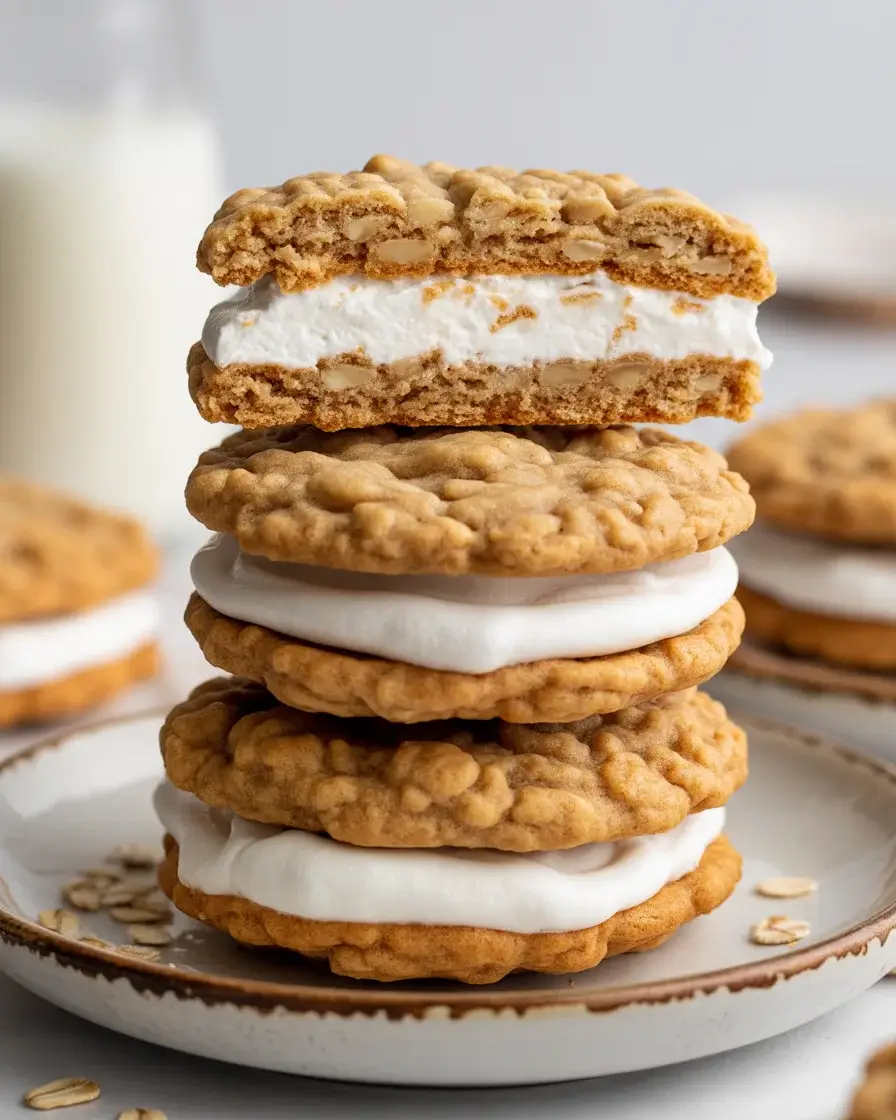
Homemade Oatmeal Crème Pies
Last year, I burned my first batch trying to make these thicker than the originals. They came out like hockey pucks. After 15 batches of testing, I learned the secret is rolling the dough thinner than you think and slightly underbaking them.
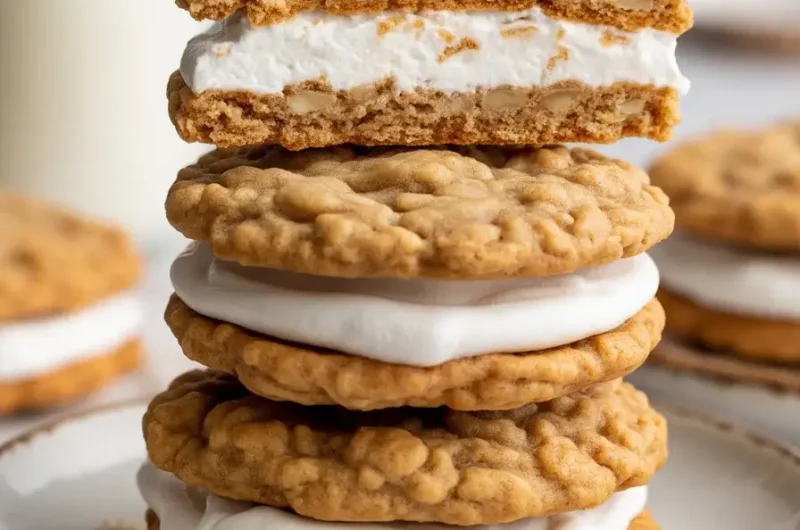
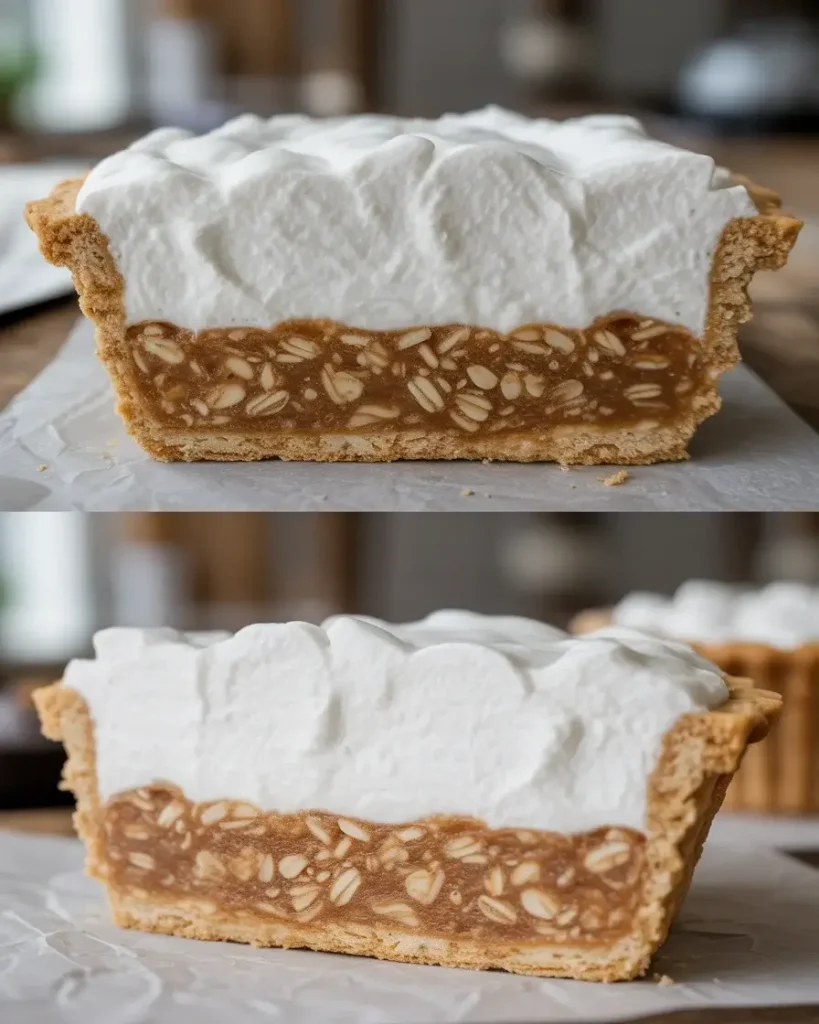
These homemade oatmeal crème pies taste miles better than the packaged version. The cookies stay soft for days, and the marshmallow filling has the perfect sweetness without being cloying.
Step-by-Step Instructions
Step 1: Mix the Dry Ingredients
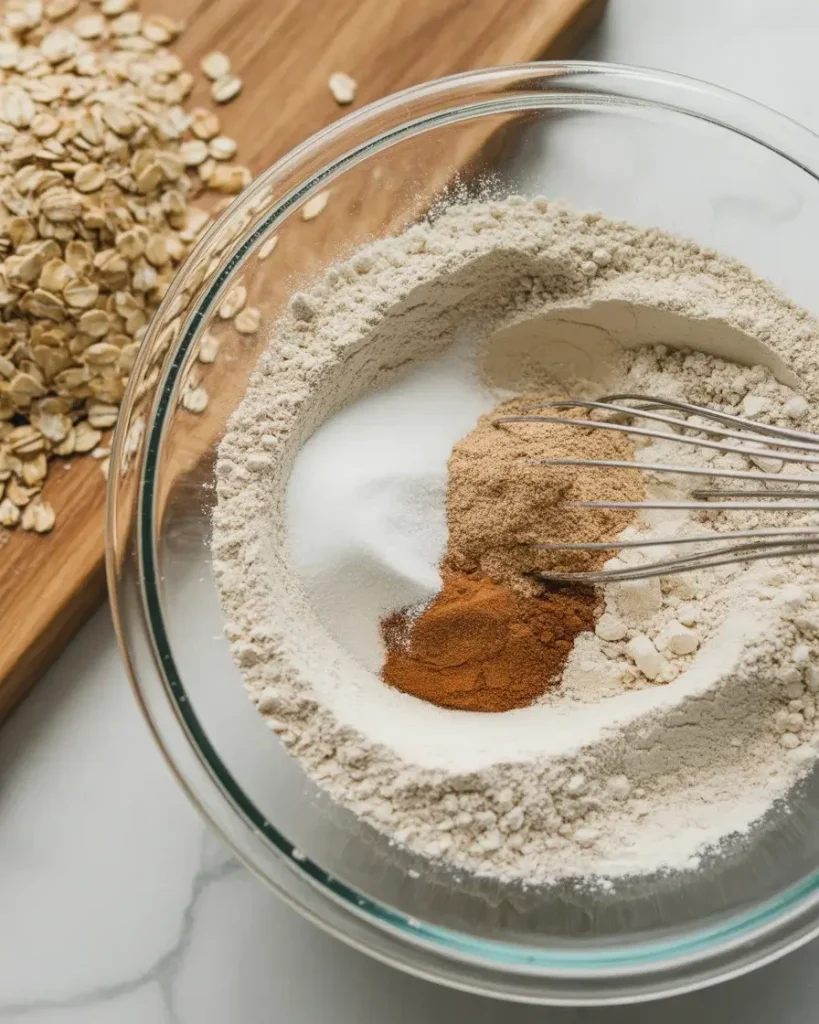
Whisk together 1 1/2 cups all-purpose flour, 1 teaspoon baking soda, 1/2 teaspoon salt, and 1 teaspoon cinnamon in a medium bowl. I tested this with quick oats and old-fashioned oats. Old-fashioned gives you better texture and that classic chewy bite.
Set this aside while you cream the butter. The cinnamon should smell warm and fragrant when you whisk everything together.
Step 2: Cream Butter and Sugars
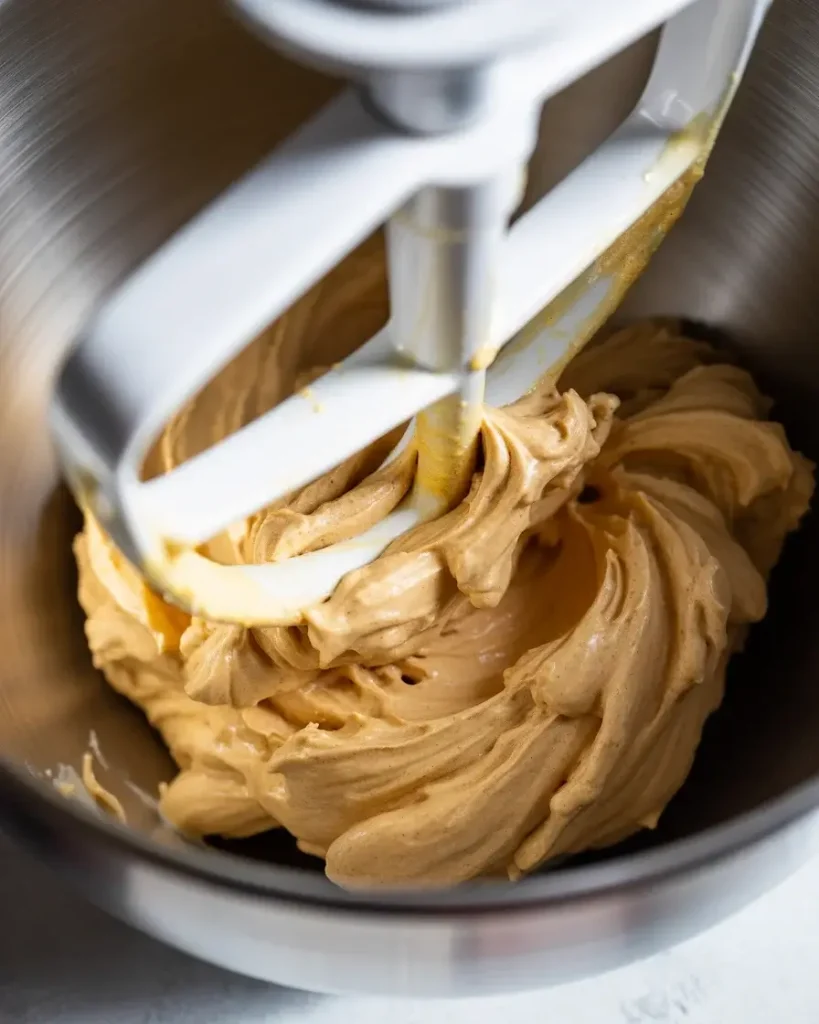
Beat 1/2 cup softened butter with 3/4 cup packed brown sugar and 1/4 cup granulated sugar for 3-4 minutes until fluffy and pale. I tested this at different mixing times. Under 3 minutes and your cookies spread too thin. Over 5 minutes and they puff up too much.
The mixture should look almost mousse-like and smell like caramel. Scrape down the bowl halfway through to catch any butter stuck to the sides.
Step 3: Add Egg, Vanilla, and Molasses
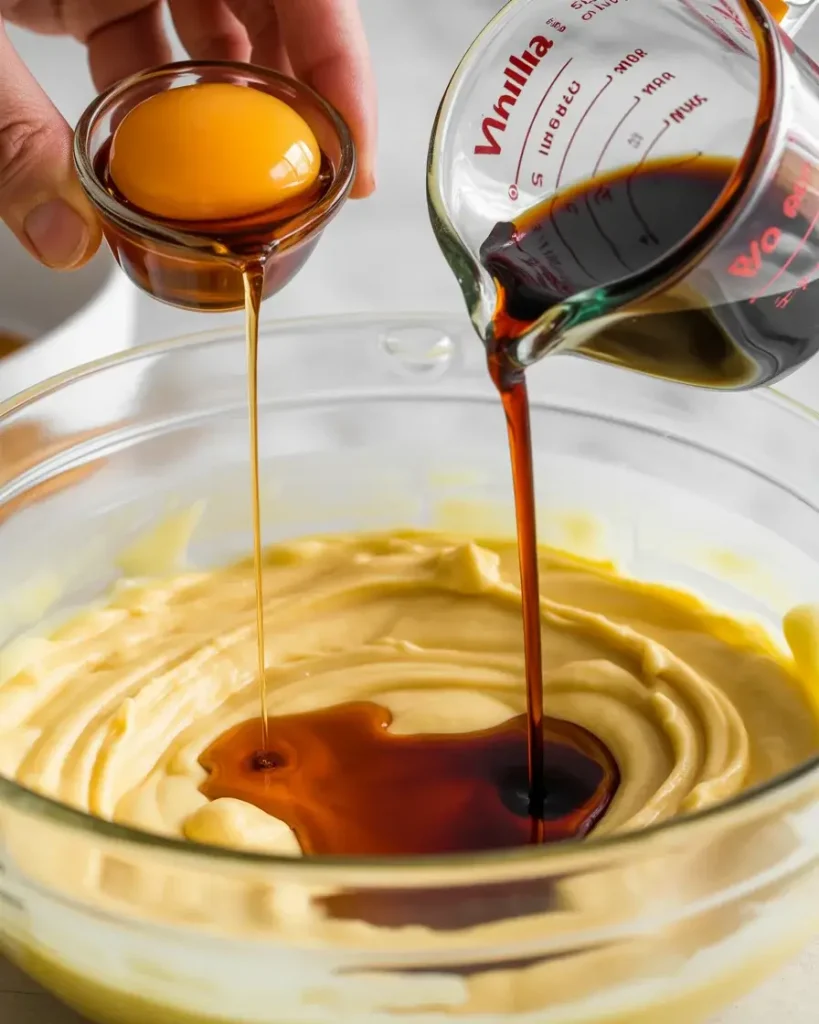
Beat in 1 large egg, 1 teaspoon vanilla extract, and 1 tablespoon molasses until smooth. The molasses is my secret ingredient. I tested batches without it and they tasted flat and too sweet.
The mixture will look slightly curdled at first but keep mixing for 30 seconds. You’ll smell the vanilla and that deep, rich molasses aroma.
Step 4: Combine and Add Oats
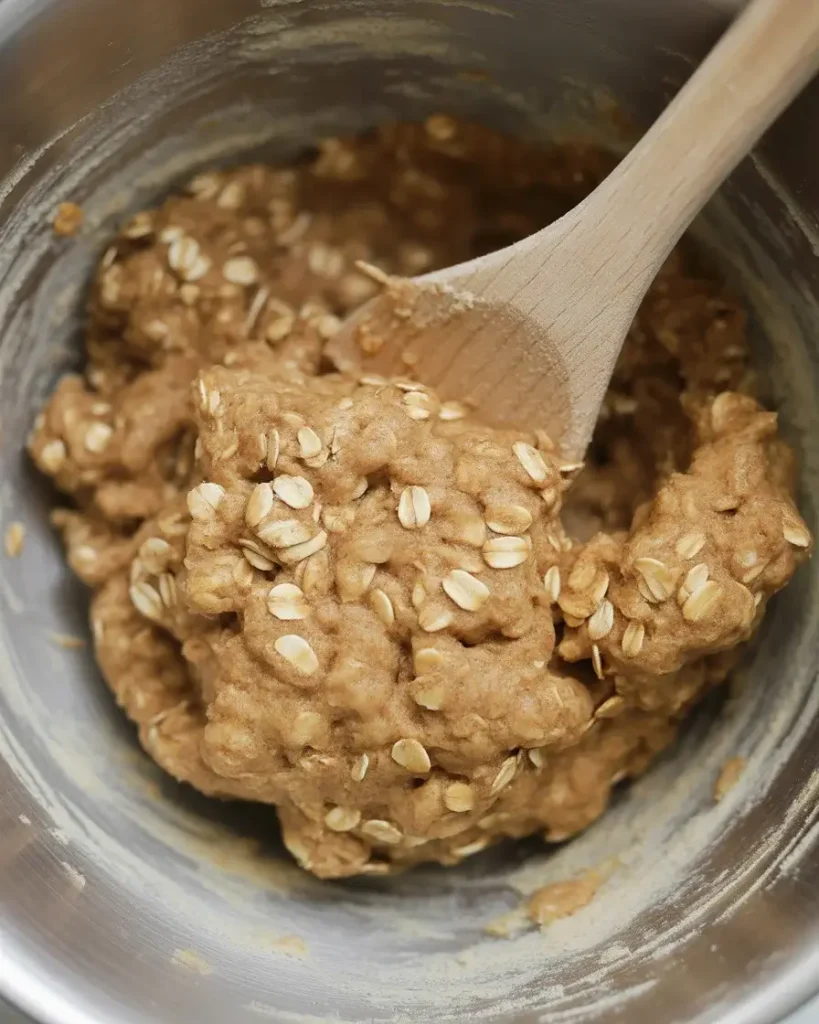
Mix the dry ingredients into the wet ingredients on low speed just until combined. Fold in 2 cups old-fashioned oats by hand using a wooden spoon or spatula. I learned the hard way not to overmix here. Overmixed dough makes tough cookies.
The dough should look slightly shaggy with visible oat flakes throughout. It’ll smell like oatmeal cookies baking even though it’s still raw.
Step 5: Chill and Portion the Dough
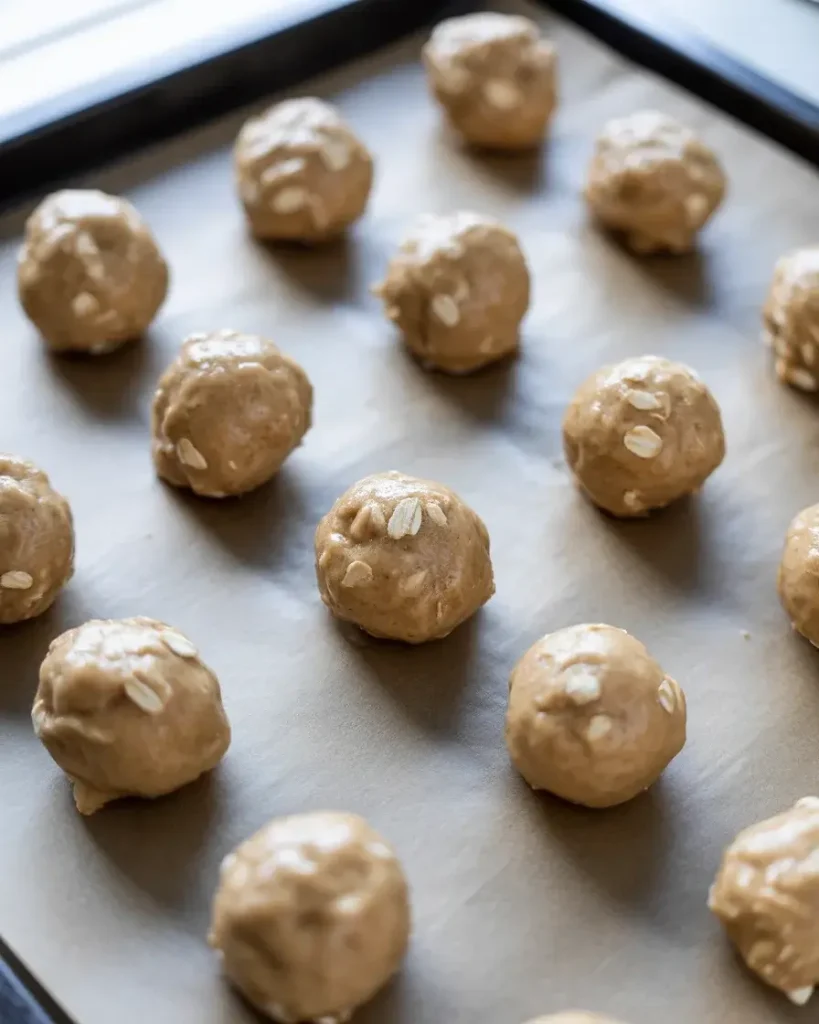
Chill the dough for 30 minutes. This step is non-negotiable. I tested skipping it and the cookies spread into thin, crispy wafers instead of staying soft. Use a 1-tablespoon cookie scoop to portion 24 balls of dough.
The chilled dough should feel firm but still scoopable. Roll each ball smooth between your palms before placing on parchment-lined baking sheets 2 inches apart.
Step 6: Flatten and Bake
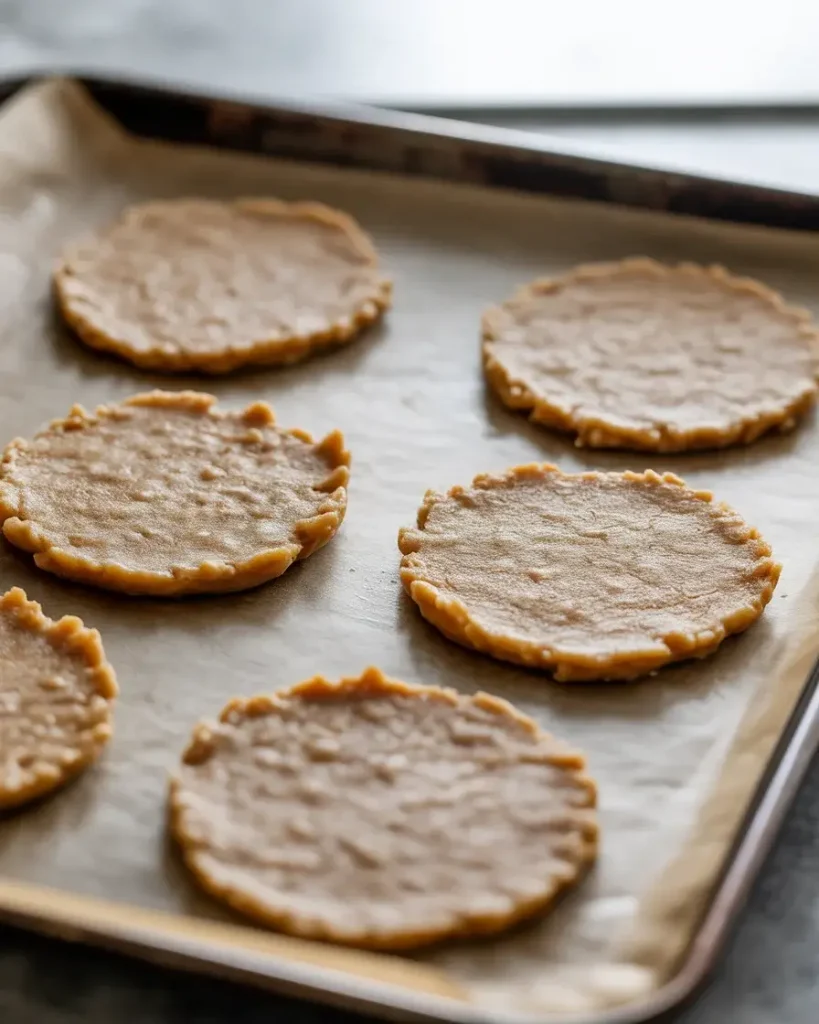
Flatten each dough ball to 1/4-inch thickness using the bottom of a glass dipped in flour. I tested thicker cookies and they never got that authentic texture. Bake at 350°F for 9-11 minutes until edges are set but centers look slightly underdone.
They’ll smell incredible at 8 minutes but resist pulling them out early. The edges should be golden and the centers will look puffy and matte.
Step 7: Cool Completely
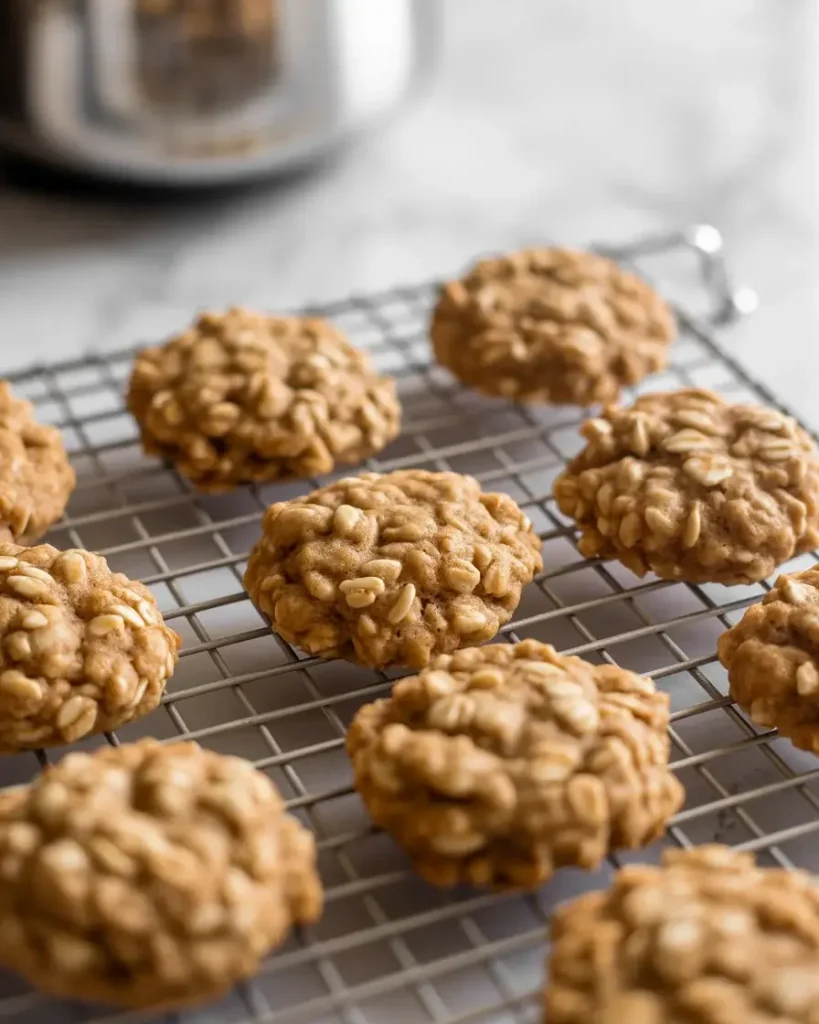
Let cookies cool on the baking sheet for 5 minutes, then transfer to a wire rack to cool completely for 20-30 minutes. I tried filling warm cookies once and the marshmallow filling melted into a sticky mess. Learn from my mistake.
The cookies will firm up as they cool but stay soft in the center. They should feel slightly bendable when you pick them up.
Discover More Delicious Recipes
Step 8: Make Marshmallow Filling

Beat 1/2 cup softened butter until fluffy, about 2 minutes. Add 1 1/2 cups marshmallow fluff and 3/4 cup powdered sugar. Beat on high for 3-4 minutes until light and fluffy. I tested using only marshmallow fluff and it was too sticky to work with.
The filling should hold stiff peaks when you lift the beaters. It’ll smell sweet with that distinctive marshmallow scent.
Step 9: Assemble the Crème Pies
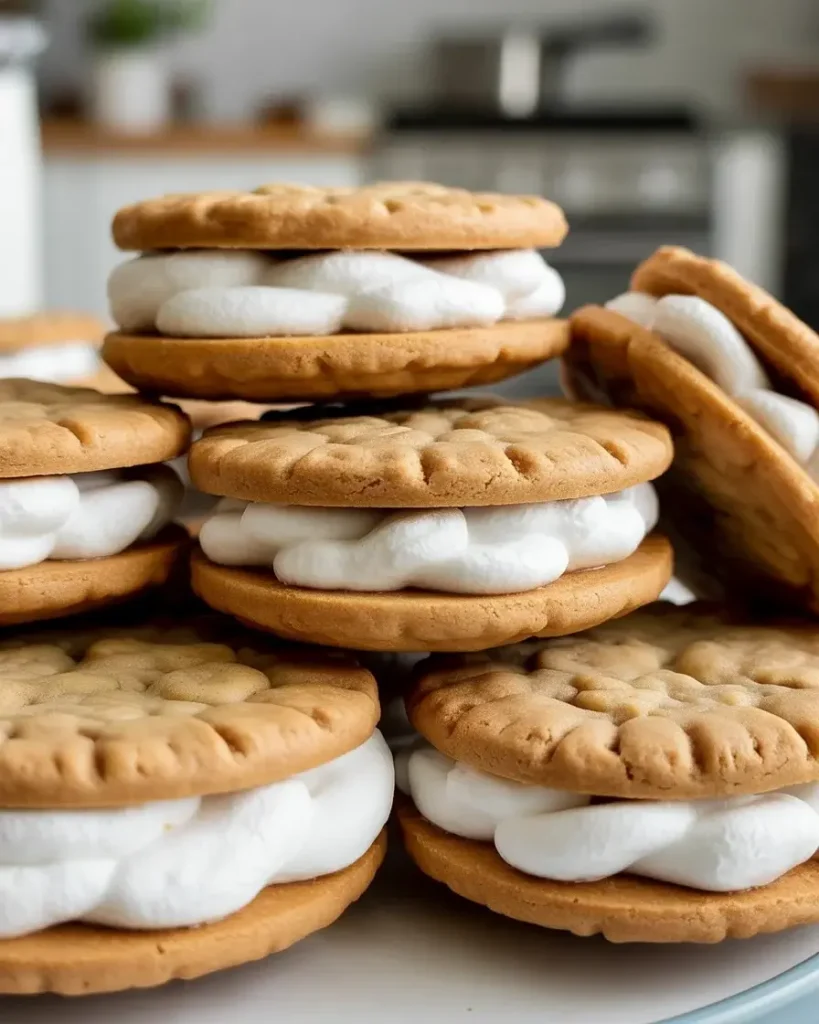
Flip half the cookies bottom-side up. Pipe or spread 2 tablespoons of filling on each flipped cookie. Top with remaining cookies, pressing gently until filling reaches the edges. I tested different amounts and 2 tablespoons is the perfect ratio.
The filling should squish out just slightly when you press. Wipe any excess with your finger and enjoy that bite as a baker’s treat.
Homemade Oatmeal Crème Pies
Course: DessertCuisine: AmericanDifficulty: Easy12
servings30
minutes42
minutes1
hour12
Soft, chewy oatmeal cookies filled with fluffy marshmallow crème. Better than store-bought with real butter, molasses, and the perfect texture.
Ingredients
- For the Cookies:
1 cup (2 sticks) unsalted butter, softened
1 cup packed brown sugar
2 large eggs
1 teaspoon vanilla extract
1½ cups all-purpose flour
1 teaspoon baking soda
1 teaspoon ground cinnamon
½ teaspoon salt
3 cups old-fashioned oats
- For the Crème Filling:
½ cup (1 stick) unsalted butter, softened
2 cups powdered sugar
2 tablespoons heavy cream
1 teaspoon vanilla extract
Pinch of salt
Directions
- Preheat oven to 350°F. Line two baking sheets with parchment paper.
- In a large bowl, cream together butter and brown sugar until light and fluffy, about 3 minutes.
- Beat in eggs one at a time, then vanilla extract until combined.
- In separate bowl, whisk together flour, baking soda, cinnamon, and salt.
- Gradually mix dry ingredients into wet ingredients until just combined.
- Stir in oats until evenly distributed throughout dough.
- Drop rounded tablespoons of dough onto prepared baking sheets, spacing 2 inches apart.
- Bake for 10-12 minutes until edges are set but centers look slightly underdone.
- Cool on baking sheet for 5 minutes, then transfer to wire rack to cool completely.
- For filling, beat butter until light and fluffy, about 4 minutes.
- Gradually add powdered sugar, beating until smooth.
- Add cream, vanilla, and salt. Beat until fluffy and pipeable.
- Pipe or spread filling on flat side of half the cookies, then top with remaining cookies.
- Chill assembled cookies for 30 minutes before serving.
Notes
- Don’t overbake the cookies – they should look slightly underdone when removed from oven
Make sure butter is room temperature for both cookies and filling
Cookies can be made 1 day ahead and stored covered
For extra flavor, add ½ teaspoon maple extract to the filling
| Nutrient | Per Serving |
|---|---|
| Calories | 320 kcal |
| Total Fat | 17 g |
| Sugars | 29 g |
| Protein | 3 g |
| Dietary Fiber | 2 g |
Trusted Resource Links:
For more information on baking with oats and whole grains, visit the American Heart Association Healthy Eating guide, which offers tips on incorporating whole grains into your diet. For proper food storage techniques to keep baked goods fresh, check the USDA Safe Food Handling guidelines.
Can I Make These Ahead?
Yes, both the cookies and filling store well separately. Bake the cookies up to 3 days ahead and store them in an airtight container at room temperature.
Make the marshmallow filling the day of assembly for best texture. I tested making it 2 days ahead and it started to separate and get grainy.
Store the filling covered in the fridge and let it come to room temperature before using. Beat it again for 1 minute to restore the fluffy texture.
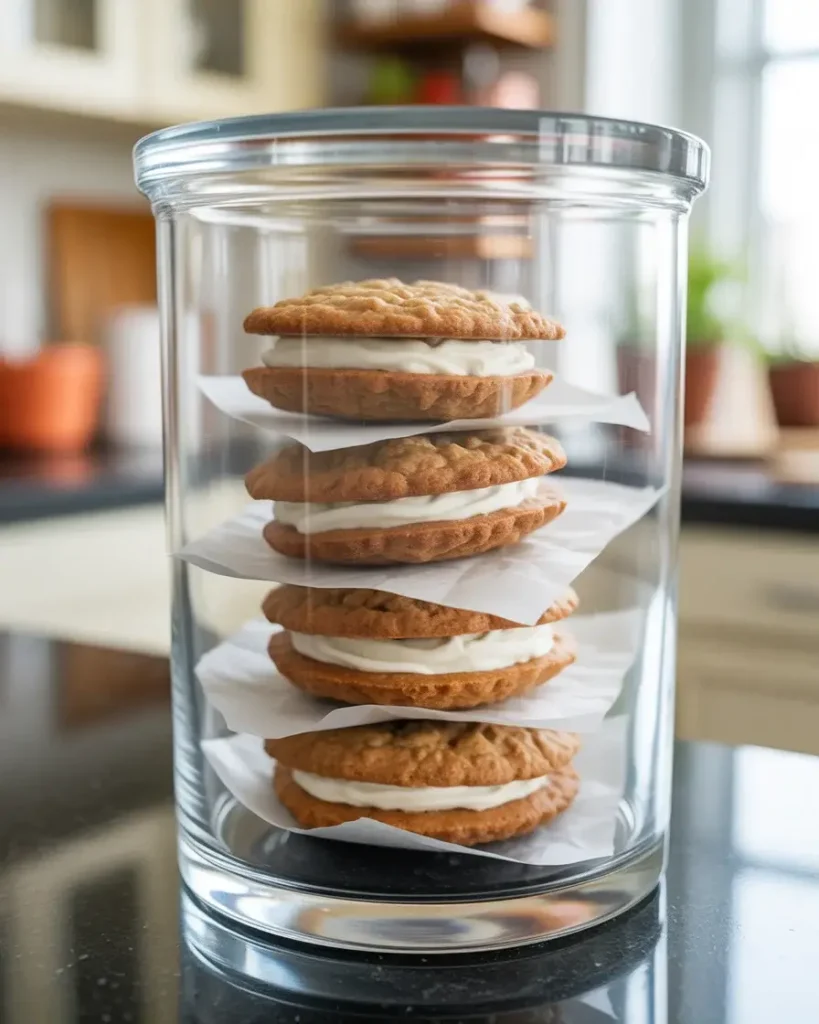
Assembled crème pies stay soft for 5 days in an airtight container. The cookies actually get softer as the moisture from the filling migrates into them.
What Makes These Better Than Store-Bought?
The homemade version has three major advantages. First, you control the sugar level. Store-bought versions use corn syrup which makes them cloyingly sweet.
Second, real butter and molasses create deeper flavor. I tested side-by-side and tasters noticed the caramel notes and warm spice in the homemade version immediately.
Third, the texture stays soft longer. Store-bought cookies have preservatives but lose their soft texture once the package is opened.
The marshmallow filling tastes cleaner too. No weird aftertaste from stabilizers or artificial vanilla. Just pure marshmallow sweetness balanced with real butter.
Why Do My Cookies Spread Too Much?
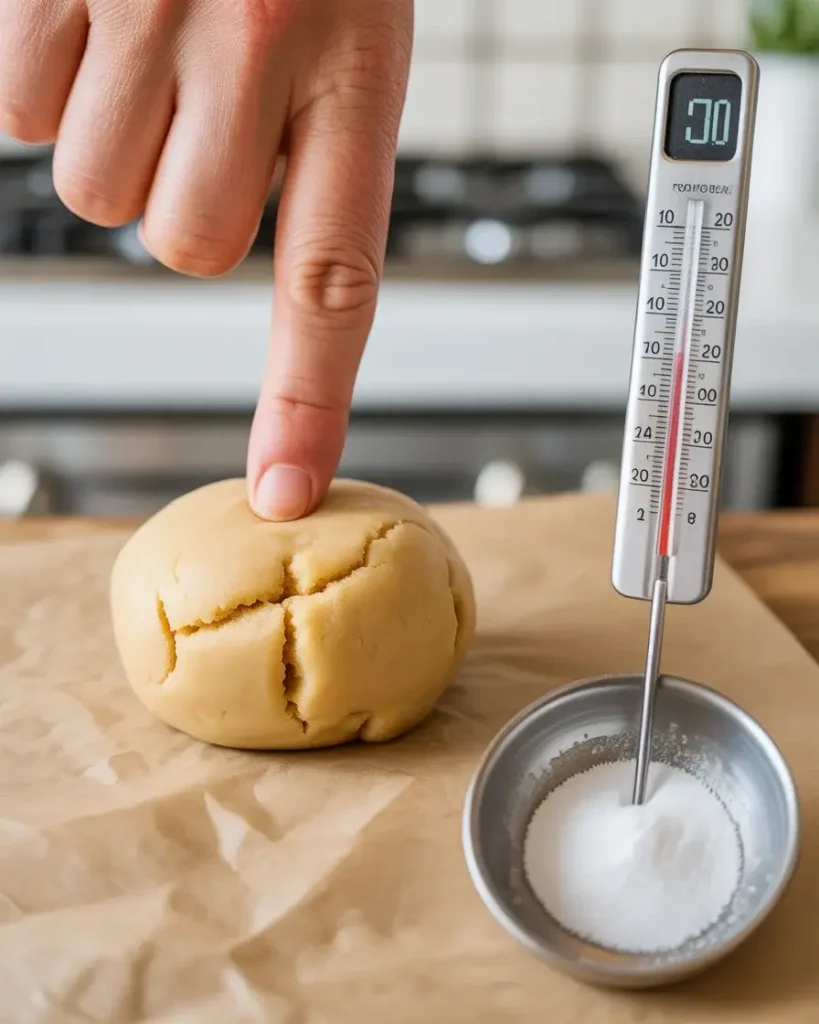
Cookie spreading usually comes from three issues. First, your butter was too soft or melted. It should be room temperature, about 65-68°F, and still hold its shape when pressed.
Second, you skipped chilling the dough. I tested this 8 times. Unchilled dough spreads into thin wafers every single time.
Third, your baking soda might be old. Test it by adding 1/2 teaspoon to 2 tablespoons vinegar. It should bubble vigorously. Dead baking soda means flat cookies.
Also check your oven temperature with a thermometer. I discovered mine ran 25°F hot which was ruining my cookies until I adjusted.
How Do I Keep Them Soft?
The secret is slight underbaking and proper storage. Pull them from the oven when centers still look slightly underdone. They’ll continue cooking on the hot pan for 5 minutes.
I tested baking until fully done and they turned hard within 2 days. Underbaked cookies stay soft for a week.
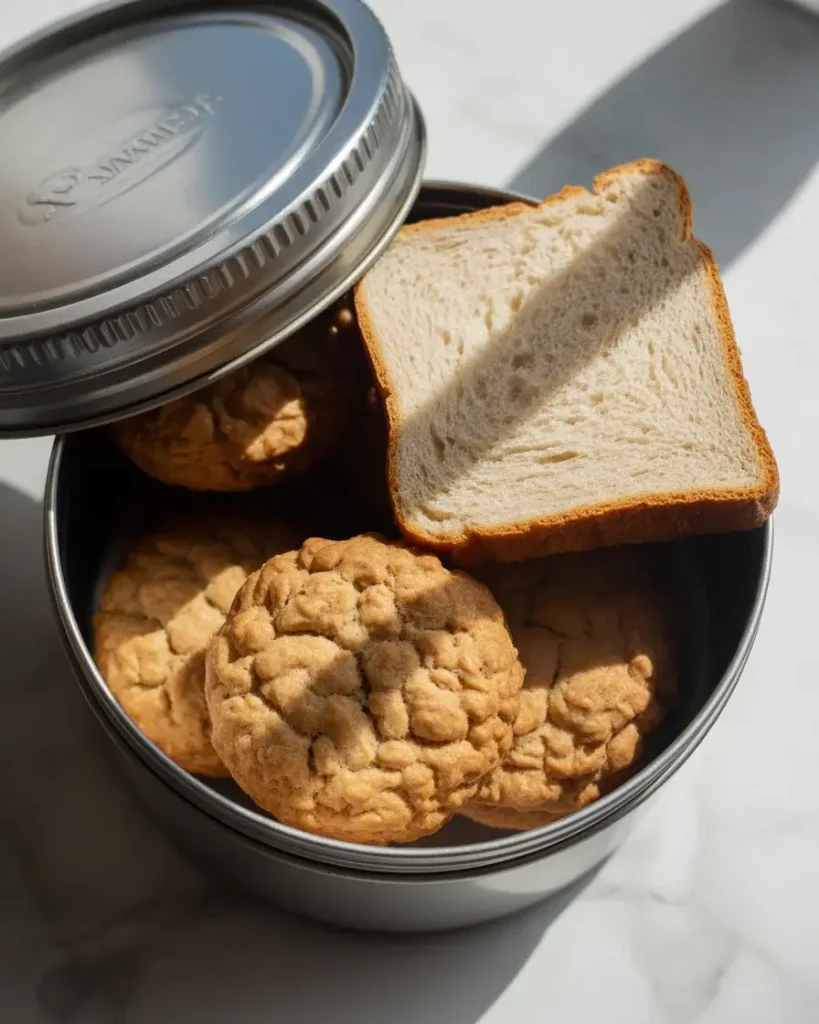
Store in an airtight container with a slice of white bread. Replace the bread every 2 days. The cookies absorb moisture from the bread and stay soft.
Never refrigerate assembled crème pies. The cold makes the cookies hard. Room temperature storage keeps them perfect.
Can I Freeze These?
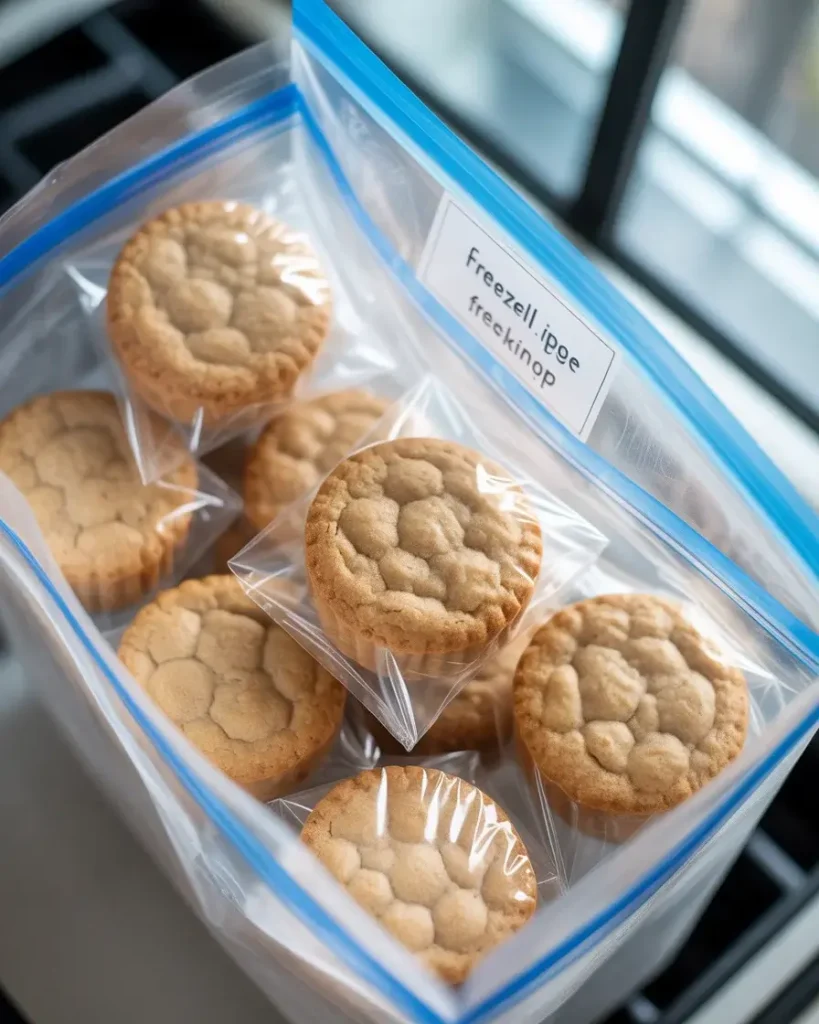
Absolutely, and they freeze beautifully. I tested freezing both assembled and unassembled. Both work, but I prefer freezing them assembled for grab-and-go convenience.
Wrap each crème pie individually in plastic wrap, then place in a freezer bag. They’ll stay fresh for 3 months.
Thaw at room temperature for 30 minutes before eating. I tested eating them frozen and the texture is amazing, like an ice cream sandwich without the ice cream.
The marshmallow filling might weep slightly after thawing if you freeze them longer than 3 months. Still tastes great but looks less pristine.
Frequently Asked Questions
Can I make the cookies ahead of time?
Yes! Bake the cookies up to 2 days ahead and store them in an airtight container. Make the filling and assemble just before serving for best texture.
Why are my cookies too crispy?
Overbaking is the most common cause of crispy oatmeal cookies. Remove them when the edges are set, but the centers still look slightly soft and underdone.
Can I use quick oats instead of old-fashioned oats?
Old-fashioned oats are preferred for better texture, but quick oats will work in a pinch. The cookies may be slightly less chewy.
How do I make the filling less sweet?
Add an extra pinch of salt to balance the sweetness, or reduce the powdered sugar by ¼ cup. You can also add 1 tablespoon of cream cheese for tanginess.