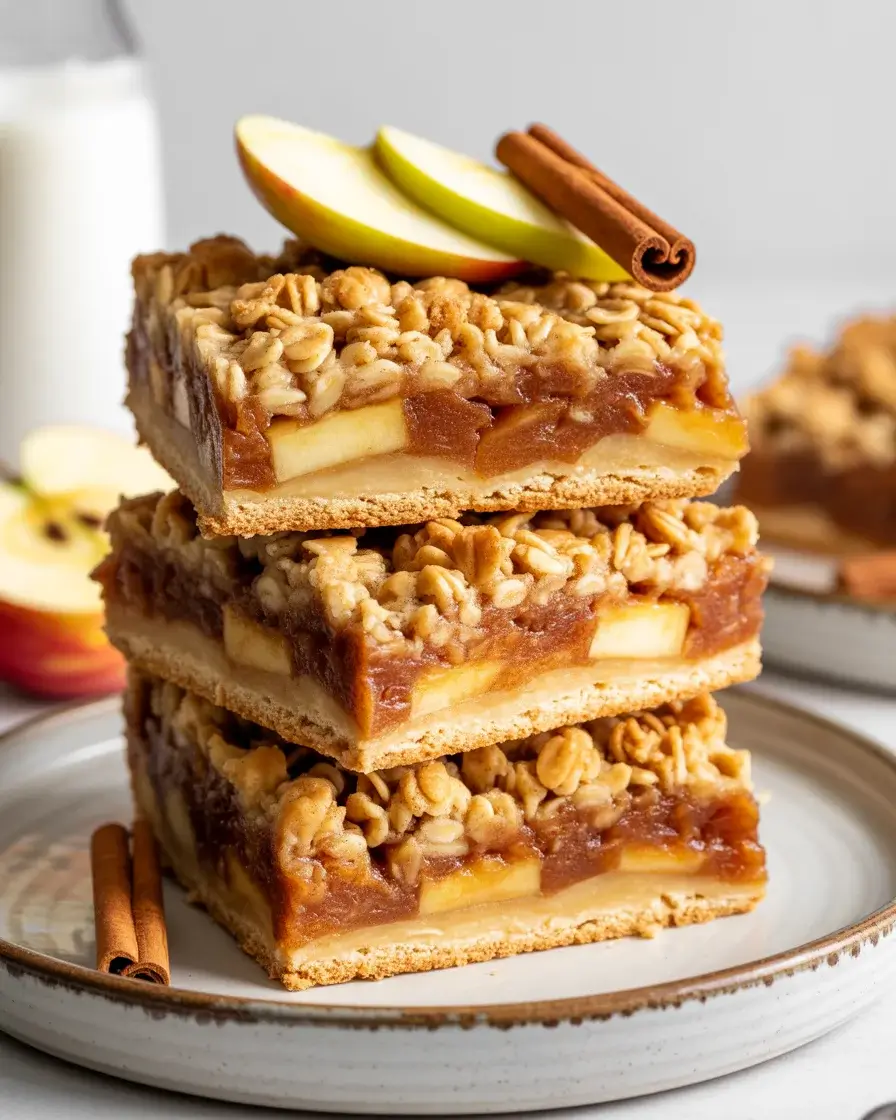
Apple Crisp Bars Recipe
I discovered this recipe after my traditional apple crisp fell apart during transport to a potluck. I needed something portable that captured those cozy fall flavors without the serving spoon drama. After testing 15 batches, these bars deliver crispy edges, tender apples, and zero mess.
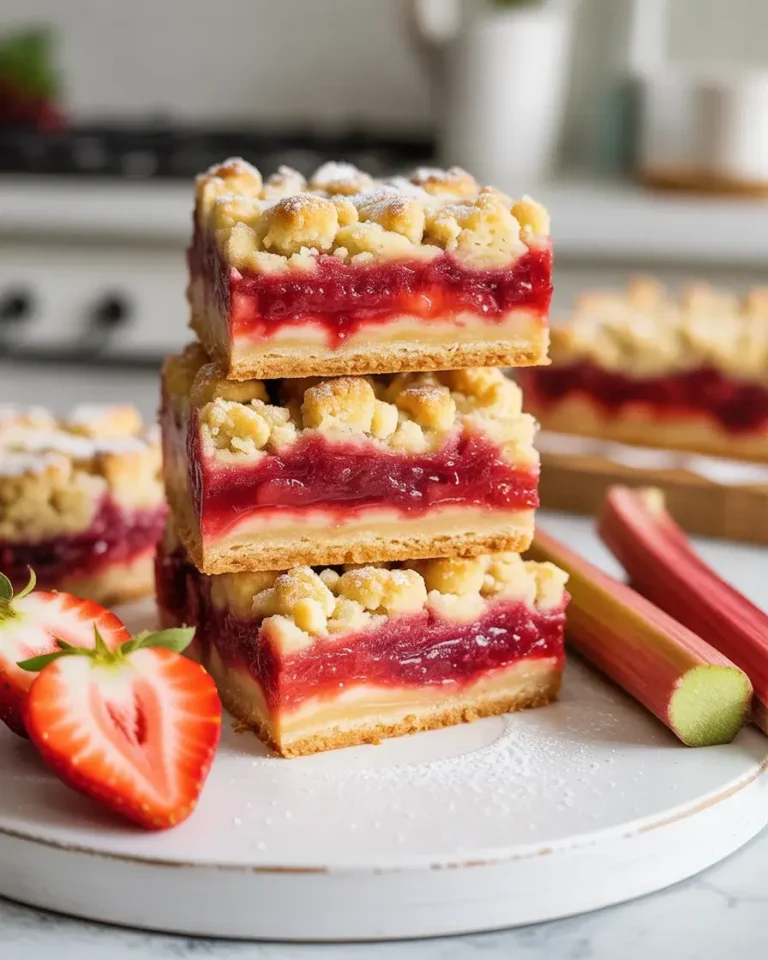
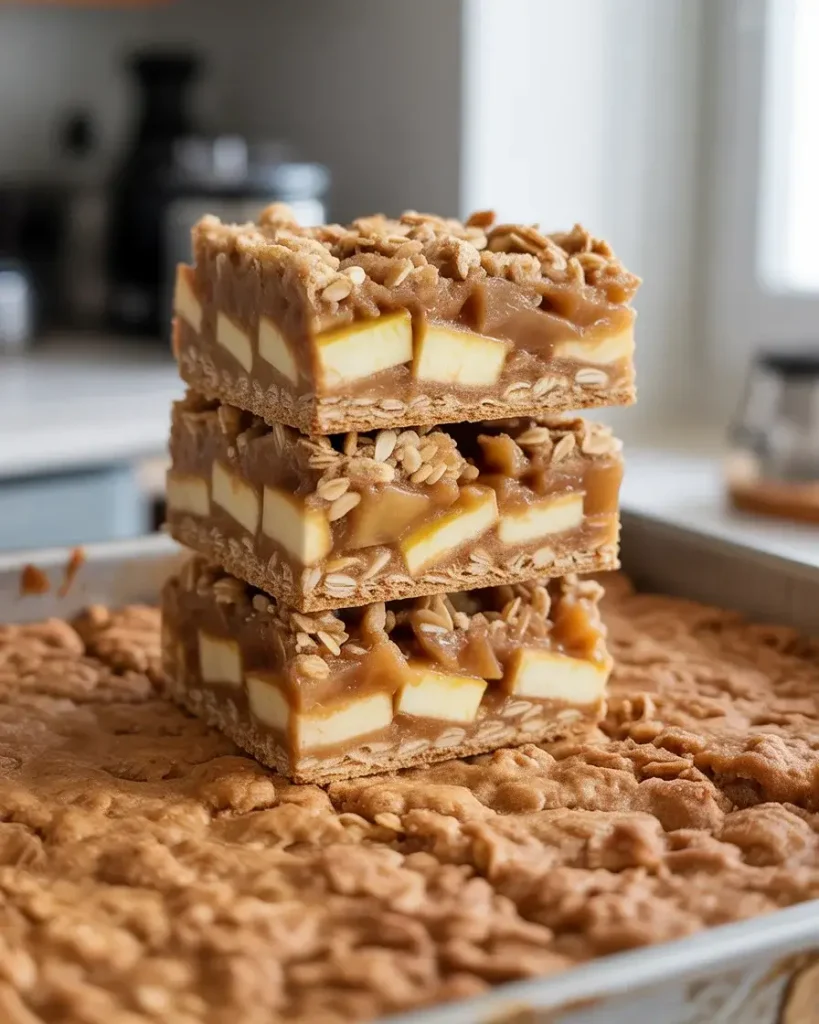
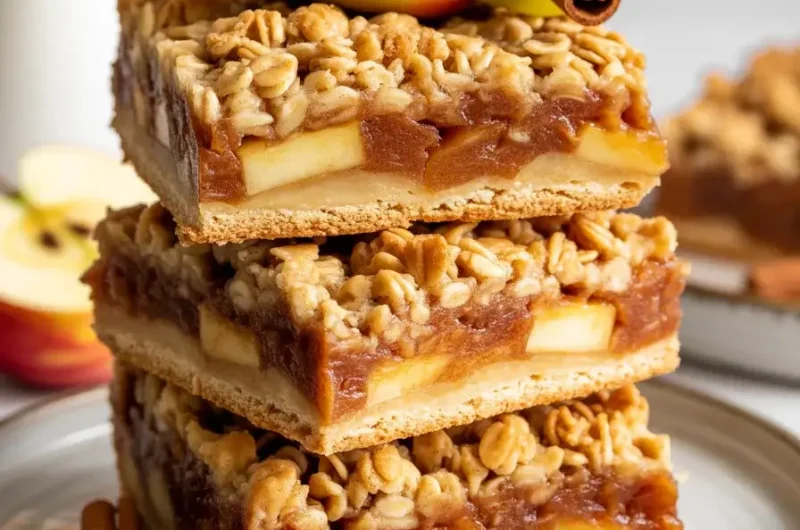
These bars combine a sturdy oat crust with cinnamon-spiced apples and a crumbly topping. They slice cleanly, freeze beautifully, and actually taste better the next day. I’ve served them at bake sales, packed them in lunch boxes, and watched them disappear at every fall gathering.
Step-by-Step Instructions
Step 1: Prepare the Pan and Preheat

Line a 9×13 inch baking pan with parchment paper, leaving overhang on two sides for easy lifting. Preheat your oven to 350°F. I’ve tested this with aluminum pans, glass dishes, and metal pans. Metal works best because it creates crispier edges and prevents soggy bottoms.
The parchment overhang is crucial. In my early tests, I skipped this step and had to dig bars out with a spatula, creating crumbled messes instead of clean squares. Trust me on this one.
Step 2: Make the Oat Crust Base
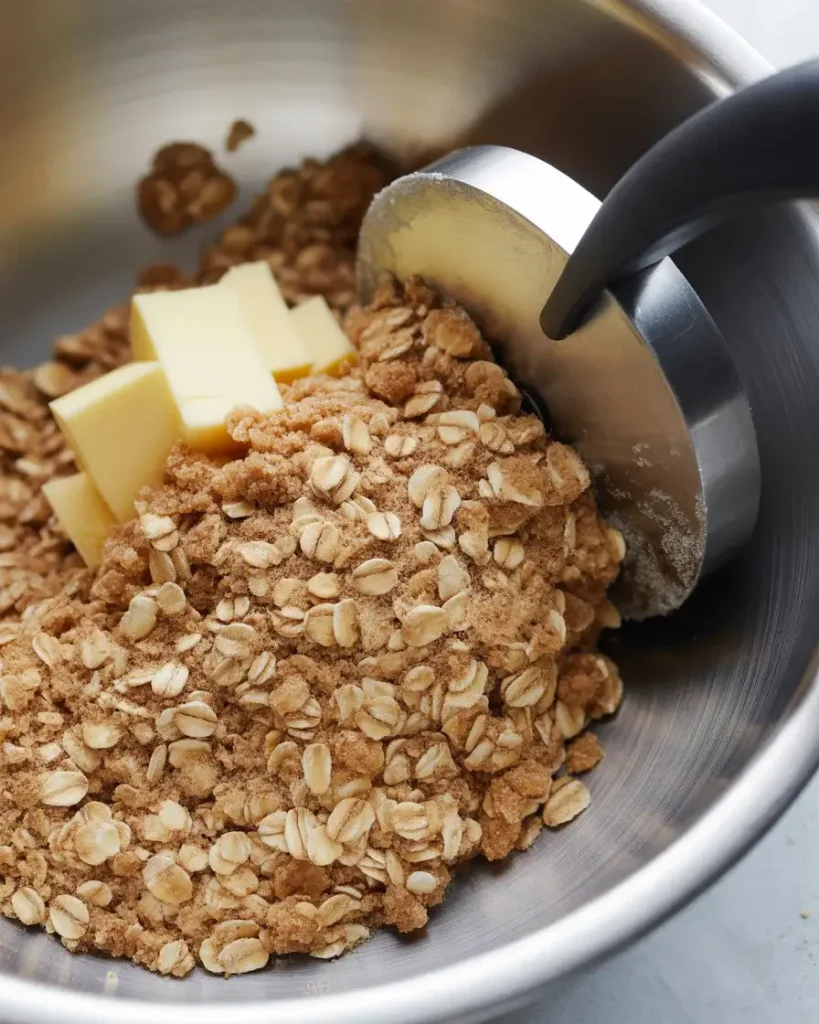
Mix 2 cups old-fashioned oats, 1 ½ cups all-purpose flour, ¾ cup packed brown sugar, and ½ teaspoon salt in a large bowl. Cut in ¾ cup cold butter using a pastry cutter or fork until the mixture resembles coarse crumbs. I tested this with melted butter once and ended up with a greasy, dense layer that wouldn’t crisp up.
The mixture should hold together when squeezed but still look crumbly. Reserve 1 ½ cups of this mixture for the topping. Press the remaining mixture firmly into your prepared pan using the bottom of a measuring cup. I discovered that firm pressing is essential after my first batch crumbled apart when sliced.
If you are looking for more delicious fruit-filled treats, try these fan-favorite recipes:
Step 3: Prepare the Apple Filling
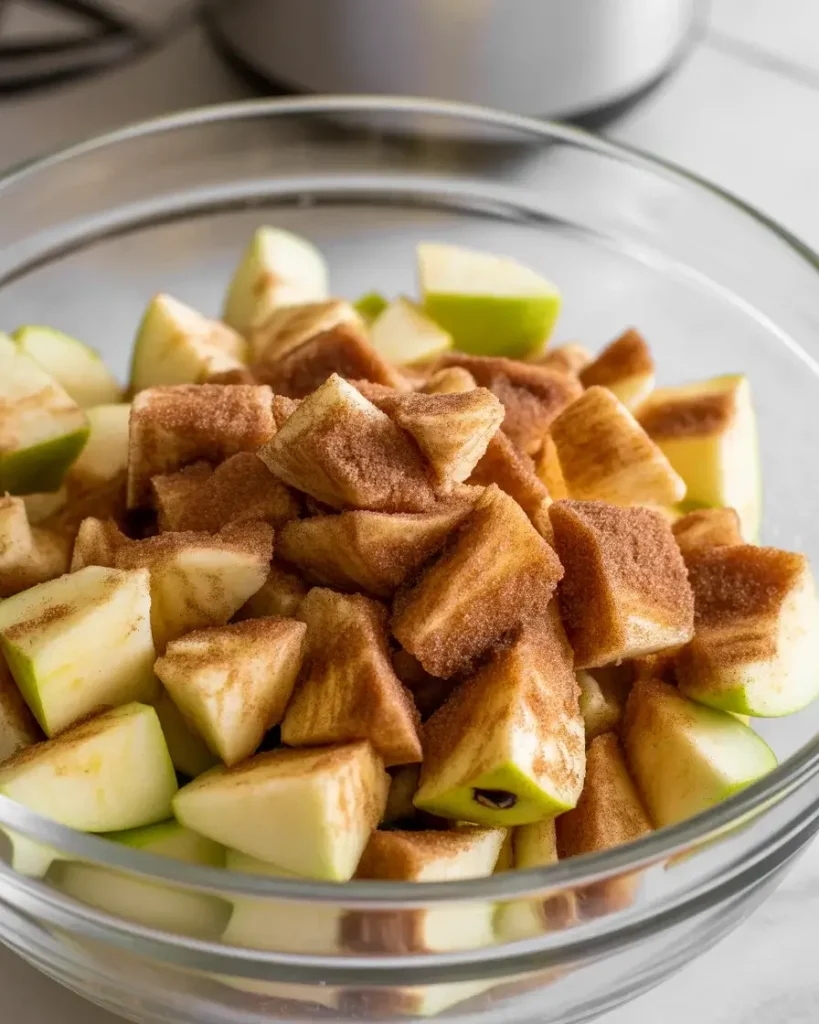
Peel and dice 4 medium Granny Smith apples into ½-inch cubes. I’ve tested Honeycrisp, Gala, and Fuji, but Granny Smith holds its shape best and doesn’t turn mushy during baking. Toss the apples with 3 tablespoons all-purpose flour, ⅓ cup granulated sugar, 1 teaspoon cinnamon, and ¼ teaspoon nutmeg.
The flour coating is critical. It absorbs apple juices during baking and prevents soggy bars. I learned this the hard way when my unfloured filling created a puddle that soaked through the crust. The apples should be evenly coated with a light dusting of the flour-spice mixture.
Step 4: Assemble the Bars
Spread the apple filling evenly over the pressed crust layer. Make sure the apples reach all corners and edges. I’ve found that uneven distribution creates bars with wildly different textures, some all crust and some drowning in apples. Sprinkle the reserved oat mixture evenly over the apples.
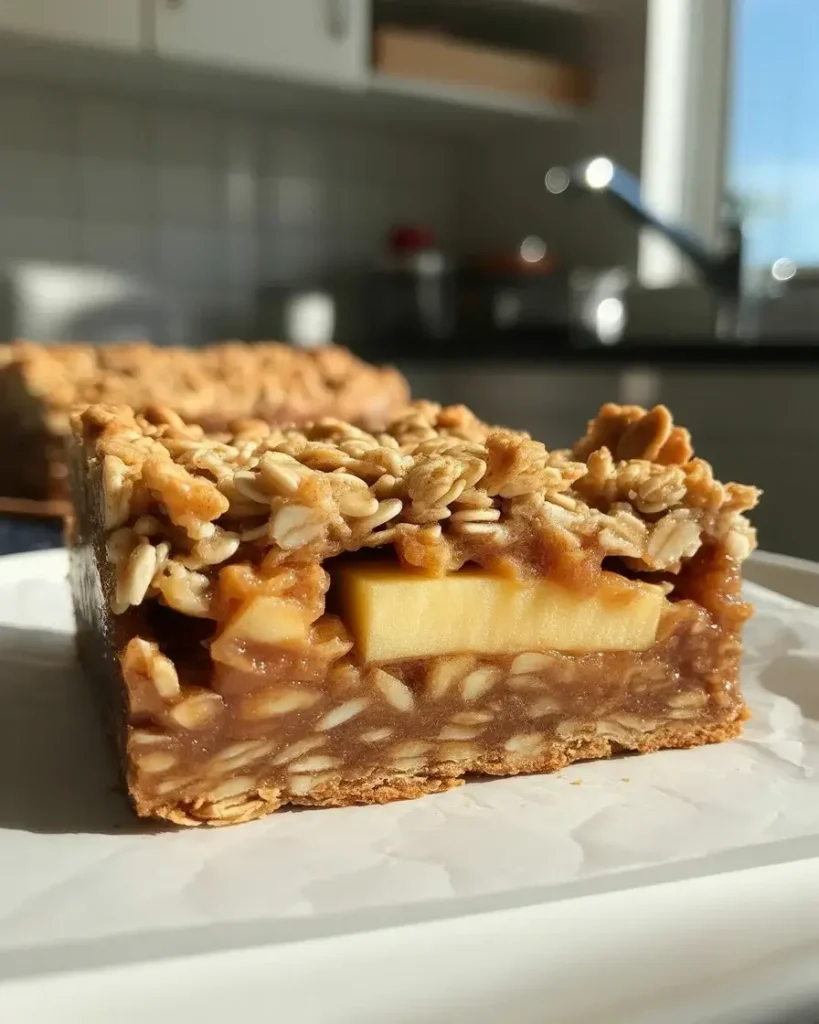
Don’t pack down the topping. It should sit loosely on the apples to create those crispy, crumbly bits we love. In my testing, I pressed the topping once and ended up with a dense, cake-like layer instead of the signature crisp texture.
Step 5: Bake Until Golden
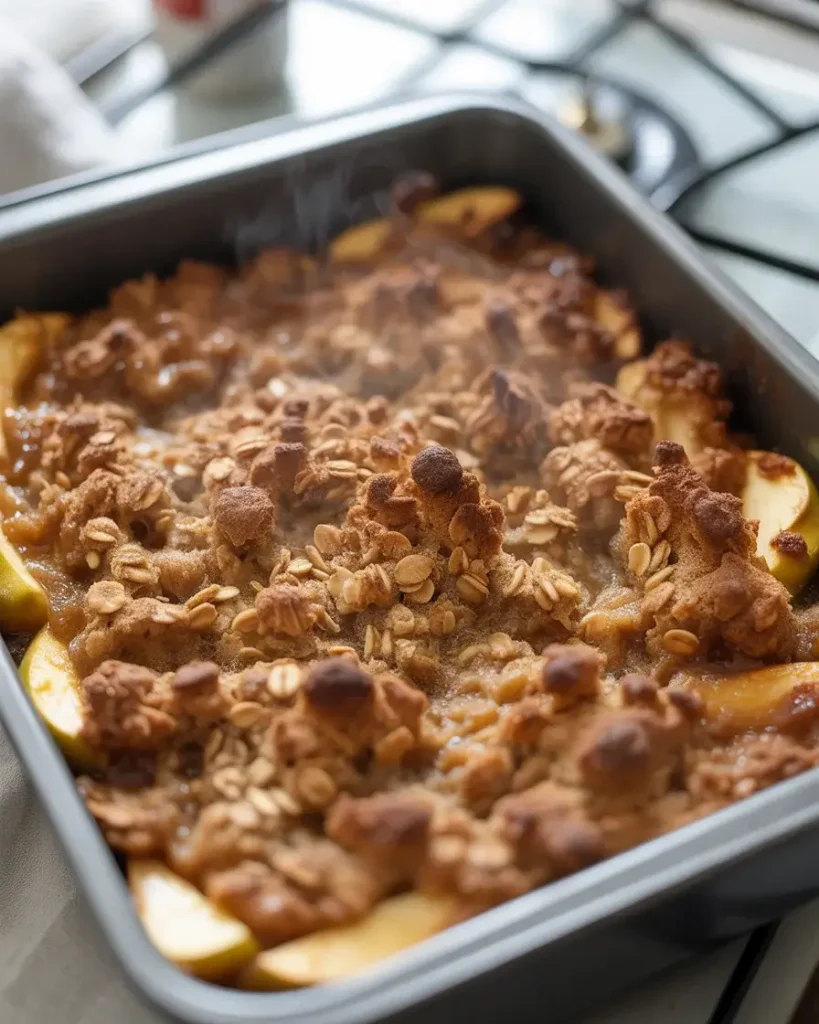
Bake for 45-50 minutes until the topping is golden brown and you can see the filling bubbling around the edges. I set a timer for 45 minutes and check visually. The edges should be deeply golden, almost caramelized, and you’ll hear a gentle bubbling sound when you lean close to the oven.
If the top browns too quickly before the filling bubbles, tent loosely with foil for the last 10 minutes. I’ve had this happen in ovens that run hot. The bubbling is your sign that the apples are tender and the flour has thickened the juices properly.
Step 6: Cool Completely Before Cutting
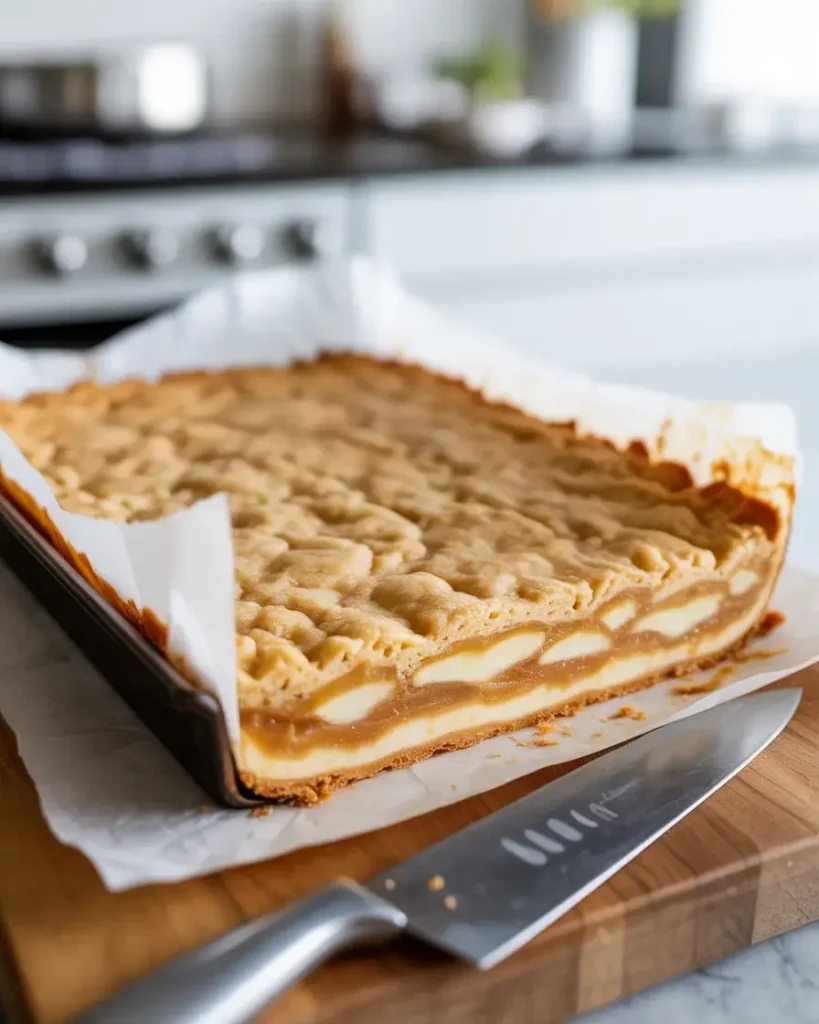
Let the bars cool in the pan for at least 2 hours at room temperature. This is the hardest part, but I’ve learned it’s non-negotiable. Warm bars will fall apart when cut. The filling needs time to set and thicken as it cools.
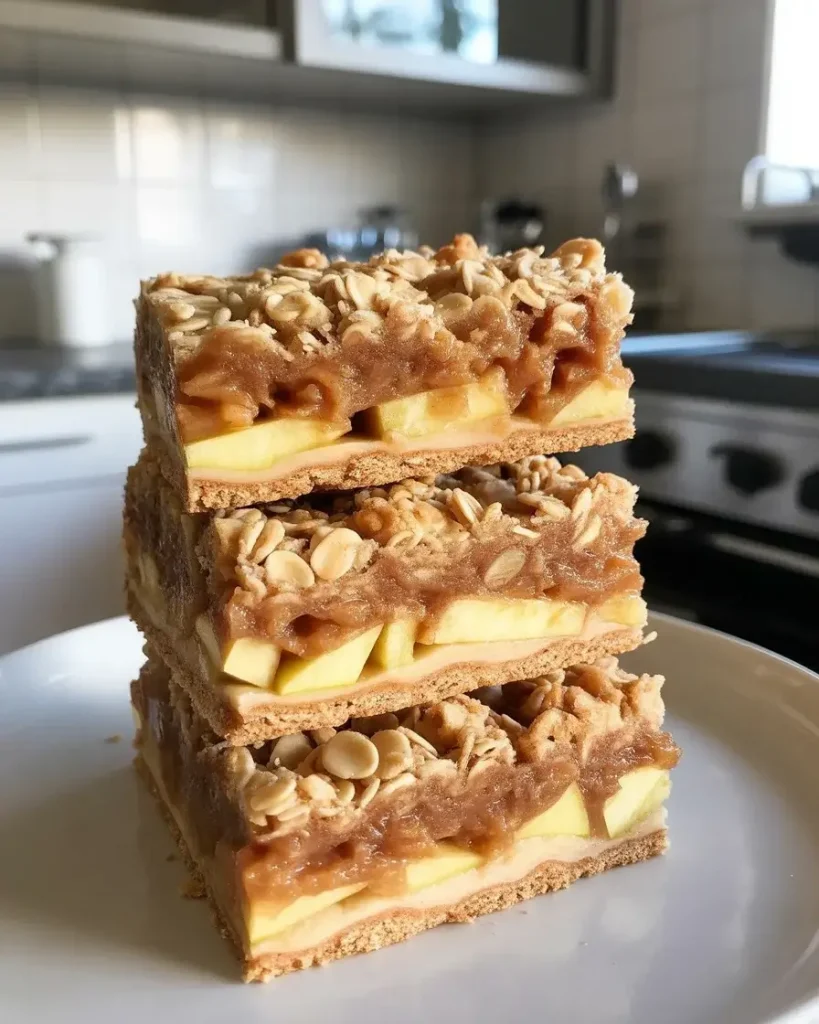
After cooling, use the parchment overhang to lift the entire slab onto a cutting board. Use a sharp knife, wiping it clean between cuts. I cut mine into 24 squares, but you can make them larger or smaller. The bars should slice cleanly with defined edges and no crumbling.
Apple Crisp Bars Recipe
Course: DessertCuisine: AmericanDifficulty: Easy24
20
minutes50
minutes1
hour10
minutesEasy apple crisp bars with buttery oat crust, spiced apple filling, and crumbly topping that slice cleanly and freeze perfectly.
Ingredients
- For the Crust and Topping
2 cups old-fashioned oats
1 ½ cups all-purpose flour
¾ cup packed brown sugar
½ teaspoon salt
¾ cup cold butter, cut into cubes
- For the Apple Filling
4 medium Granny Smith apples, peeled and diced
3 tablespoons all-purpose flour
⅓ cup granulated sugar
1 teaspoon ground cinnamon
¼ teaspoon ground nutmeg
Directions
- Preheat oven to 350°F. Line a 9×13 inch metal baking pan with parchment paper, leaving overhang on two sides.
- Mix oats, 1 ½ cups flour, brown sugar, and salt. Cut in cold butter until mixture resembles coarse crumbs.
- Reserve 1 ½ cups of oat mixture. Press remaining mixture firmly into prepared pan.
- Toss diced apples with 3 tablespoons flour, granulated sugar, cinnamon, and nutmeg.
- Spread apple mixture evenly over crust. Sprinkle reserved oat mixture on top without packing down.
- Bake 45-50 minutes until golden brown and filling bubbles at edges.
- Cool completely in pan for 2 hours before lifting out using parchment overhang.
- Cut into 24 bars with a sharp knife, wiping clean between cuts.
Notes
- Metal pans create crispier edges than glass dishes
Bars taste best on day two after flavors meld
Freeze wrapped bars for up to 3 months
Substitute half Braeburn for milder sweetness
Reheat at 300°F for 10 minutes before serving with ice cream
Nutrition Table (per bar)
| Nutrient | Amount |
|---|---|
| Calories | 145 |
| Total Fat | 6g |
| Sugars | 12g |
| Protein | 2g |
Trusted Resource Links
For proper apple storage and selection, visit the USDA Safe Food Handling guide. For heart-healthy dessert modifications, check the American Heart Association Healthy Eating resources.
Can You Make Apple Crisp Bars Ahead of Time?
Yes, these bars are perfect make-ahead desserts. They actually improve in flavor and texture after 24 hours. I’ve tested them fresh, next-day, and three-day-old. The bars taste best on day two when the flavors have melded and the crust firms up slightly.
Store cut bars in an airtight container at room temperature for up to 3 days. Layer parchment paper between stacks to prevent sticking. I’ve taken these on road trips and packed them for school lunches without any issues.
For longer storage, freeze individual bars wrapped in plastic wrap, then placed in a freezer bag. They keep for 3 months. I thaw them at room temperature for 2 hours or warm them in a 300°F oven for 10 minutes. The texture holds up remarkably well, though the topping loses a tiny bit of crispness.
What’s the Best Type of Apple for Apple Crisp Bars?
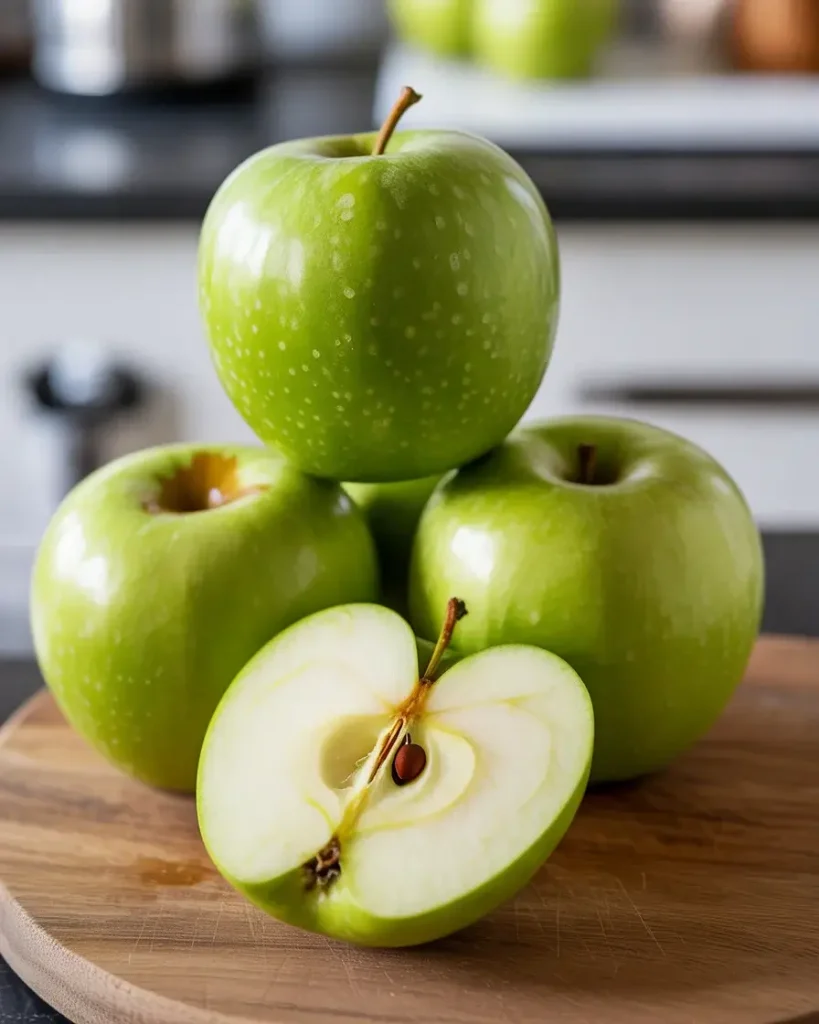
Granny Smith apples are my top choice after testing 6 varieties. They hold their shape during the 45-minute bake time and provide tangy contrast to the sweet oat topping. Honeycrisp apples turned mushy and released too much liquid, creating soggy bars.
If you can’t find Granny Smith, use a mix of tart and sweet apples. I’ve had success with half Granny Smith and half Braeburn. The key is choosing firm apples that won’t break down into applesauce.
Avoid Red Delicious and McIntosh entirely. Red Delicious lacks flavor and turns grainy. McIntosh is too soft and creates a pudding-like filling. I learned this after a disappointing batch where the filling leaked through the crust and pooled at the bottom of the pan.
How Do You Prevent Soggy Apple Crisp Bars?
The flour coating on the apples is your first defense against sogginess. Those 3 tablespoons absorb excess moisture as the apples cook. I tested batches without flour and ended up with a wet, cake-like bottom layer that never crisped.
Press the bottom crust firmly and bake it on the middle oven rack. Hot air circulating around the pan helps the bottom crisp up. I’ve found that baking on the bottom rack traps steam underneath and creates sogginess.
Metal pans work better than glass for crispy bars. Metal conducts heat more efficiently and promotes browning on the bottom. Let the bars cool completely before cutting. Cutting warm bars releases steam that softens the crust.
If you live in a humid climate, store bars in the refrigerator. Room temperature storage in high humidity can soften the topping overnight. I discovered this during a particularly humid summer when my countertop bars turned chewy after one night.
Can You Substitute Quick Oats for Old-Fashioned Oats?
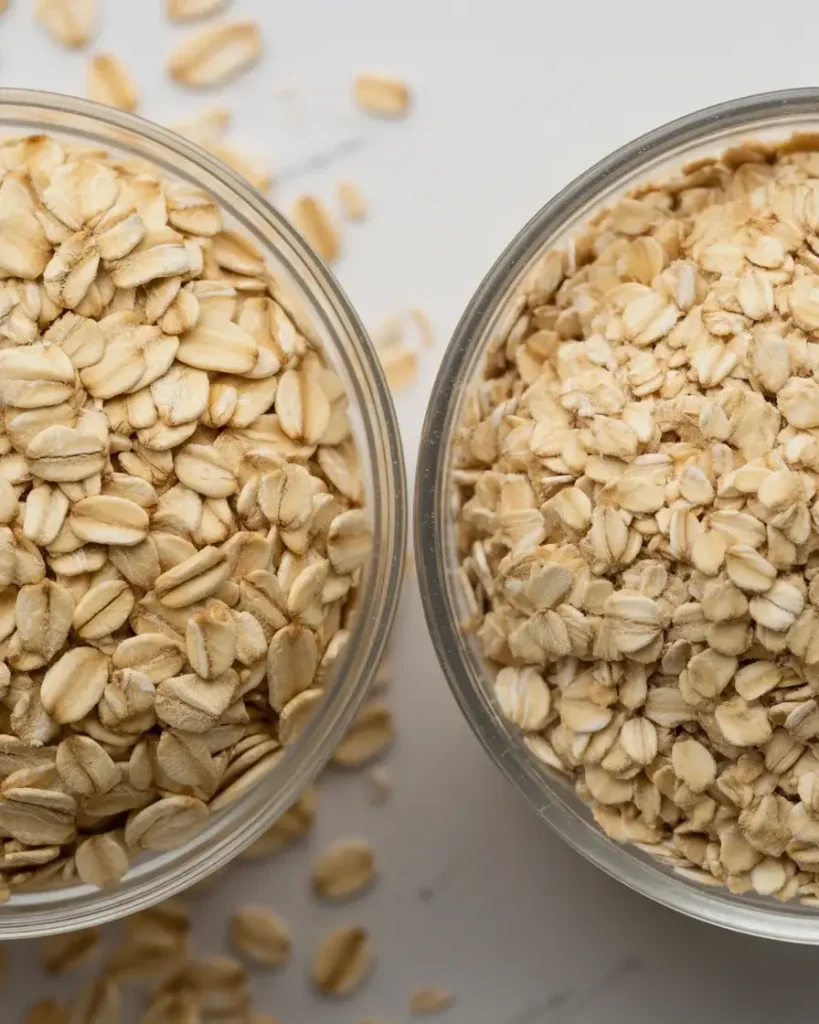
No, stick with old-fashioned oats for proper texture. Quick oats are too fine and create a dense, pasty topping without the crispy bits that make these bars special. I tested this substitution thinking it wouldn’t matter much, but the difference was dramatic.
Old-fashioned oats have more structure and create distinct crumbly pieces. Quick oats absorb butter too quickly and turn almost cake-like. The topping loses its signature crunch and becomes uniform instead of varied in texture.
If you only have quick oats, reduce the butter by 2 tablespoons. This helps prevent excessive moisture absorption. The bars will still be good but won’t have that perfect crispy-chewy contrast I’ve worked to achieve.
Steel-cut oats are too tough and won’t soften enough during baking. I tried them once out of curiosity and ended up with crunchy, almost raw-tasting oat pieces. Save those for your morning porridge.
What Are the Best Toppings for Apple Crisp Bars?
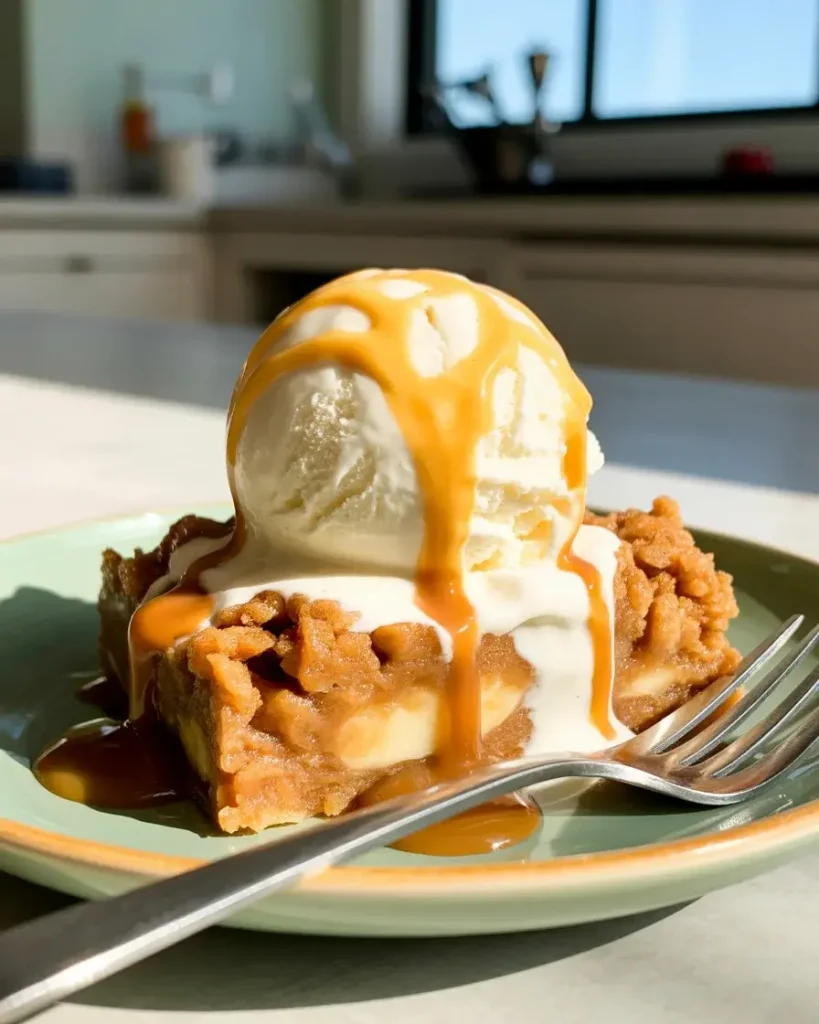
Vanilla ice cream is classic and melts beautifully over warm bars. I reheat individual bars at 300°F for 8-10 minutes before serving with ice cream. The temperature contrast creates an irresistible combination. Caramel sauce drizzled over the top adds richness and complements the cinnamon.
Whipped cream works well if you want something lighter. I’ve also served these with a dusting of powdered sugar for a simple presentation. Greek yogurt makes a tangy breakfast option. These bars are surprisingly good in the morning with coffee.
For holiday gatherings, I’ve made a cream cheese frosting by mixing 4 ounces softened cream cheese with ½ cup powdered sugar and 1 teaspoon vanilla. Spread it on cooled bars for a decadent twist. It adds moisture and a cheesecake-like flavor.
My kids love these bars plain straight from the freezer. The frozen texture is almost like ice cream bars. I keep a stash in the freezer for after-school snacks.
Frequently Asked Questions
Q: Can I use a different size pan for apple crisp bars?
A: Yes, but adjust baking time accordingly. An 8×8 pan creates thicker bars and needs 55-60 minutes. A larger pan makes thinner bars that bake in 35-40 minutes. The filling should still bubble at edges when done.
Q: Why did my apple crisp bars fall apart when cutting?
A: You likely cut them while still warm. The filling needs 2 hours to cool and set properly. Warm bars will crumble. Also, make sure you pressed the bottom crust firmly before adding filling.
Q: Can I reduce the sugar in apple crisp bars?
A: You can reduce the granulated sugar in the filling by half if using sweeter apples like Fuji. Don’t reduce the brown sugar in the crust, as it provides structure and moisture for proper binding.