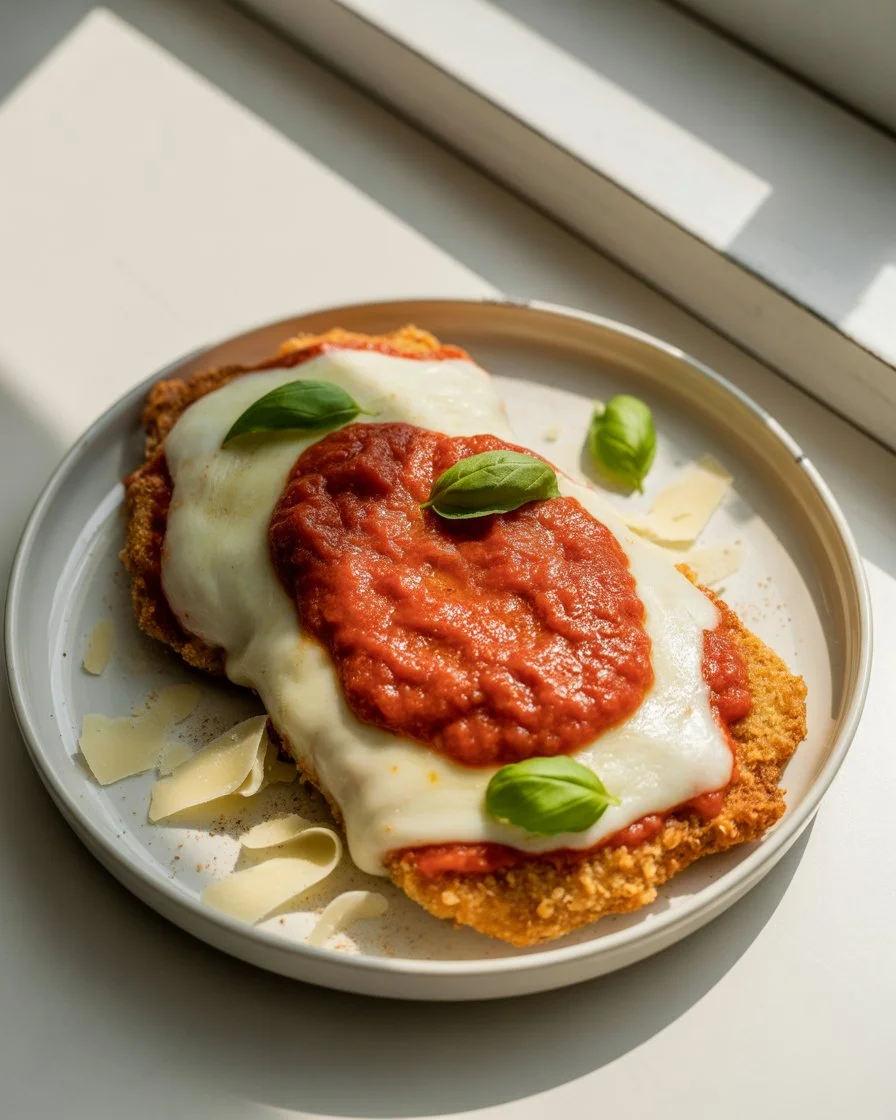
Crispy Chicken Parmesan
The first time I made chicken parmesan, I pulled soggy, sad cutlets out of the oven and wondered where I went wrong. After testing this dish over 15 times, I finally cracked the code on keeping that crust genuinely crispy even under the sauce and cheese.
The secret comes down to a few small moves that make a huge difference. This recipe gives you shatteringly crisp chicken with juicy meat inside, bubbling mozzarella, and enough sauce to coat every bite without drowning your crust.
Step-by-Step Instructions
Step 1: Pound and Season the Chicken
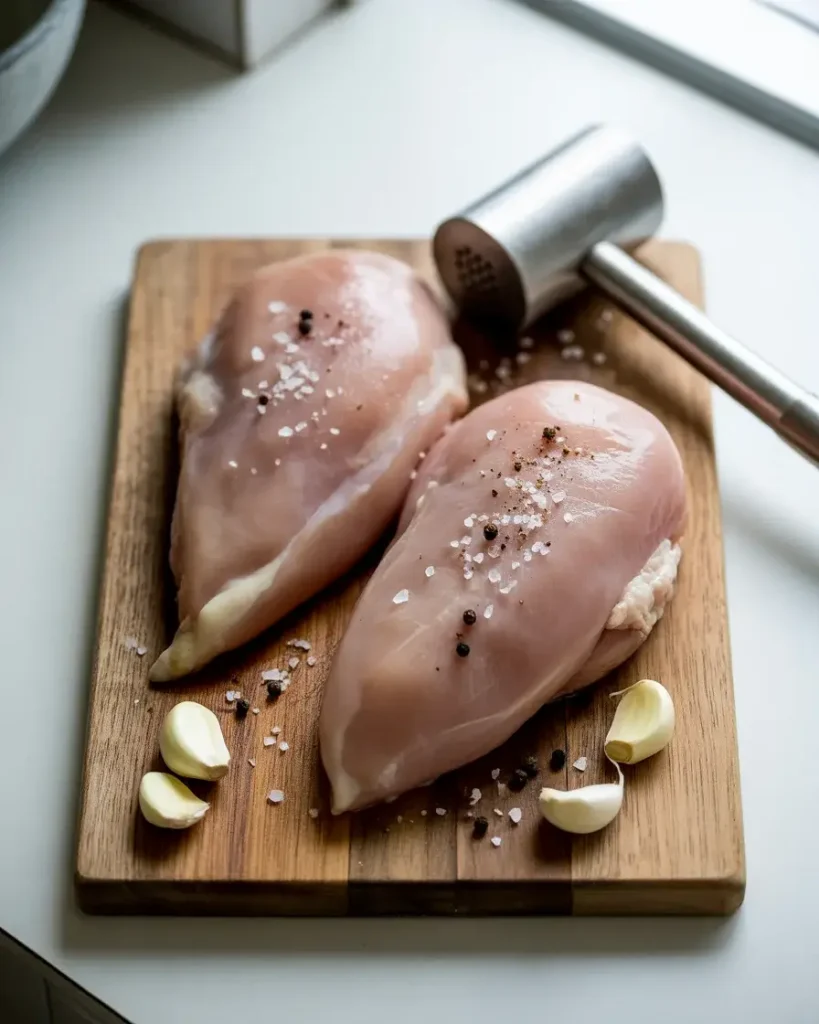
Pound each chicken breast to about 3/4 inch thickness using a meat mallet or rolling pin. This was my biggest early mistake – uneven thickness means some parts overcook while others stay raw.
Season both sides generously with salt, pepper, and garlic powder. I let the seasoned cutlets rest for 10 minutes uncovered; the surface dries out slightly, which helps the breading stick better.
Step 2: Set Up Your Breading Station
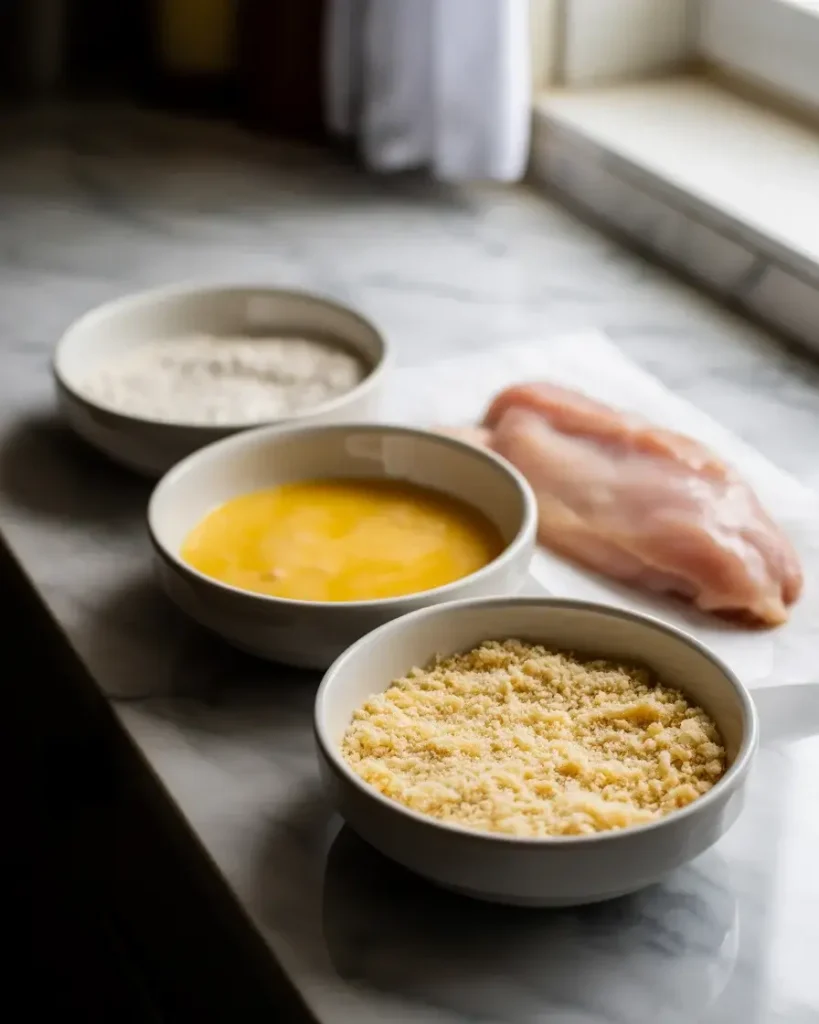
Set out three shallow bowls: one with flour seasoned with salt and pepper, one with 2 beaten eggs mixed with 2 tablespoons of water, and one with a mix of 1 cup panko breadcrumbs and 1/2 cup finely grated Parmesan.
I tested regular breadcrumbs versus panko across 6 batches. Panko wins every single time – it creates a thicker, airier crust that stays crisp much longer, even after the sauce goes on.
Step 3: Bread the Cutlets
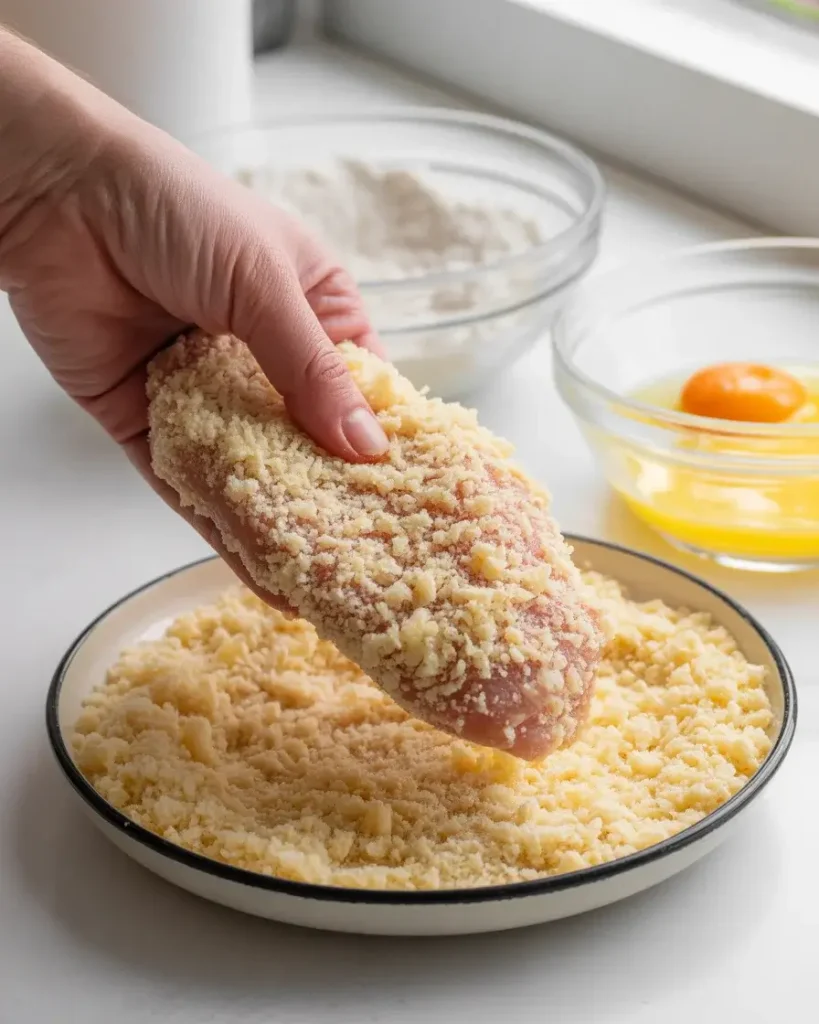
Dredge each cutlet in flour, shake off the excess, dip fully in the egg wash, then press firmly into the panko mixture on both sides. That pressing step matters – I used to just lay the chicken in the crumbs, and they’d fall off in the pan.
Place breaded cutlets on a wire rack and let them sit for 5 minutes. This quick rest helps the coating bond so you get fewer bare spots when frying.
Step 4: Pan-Fry Until Golden
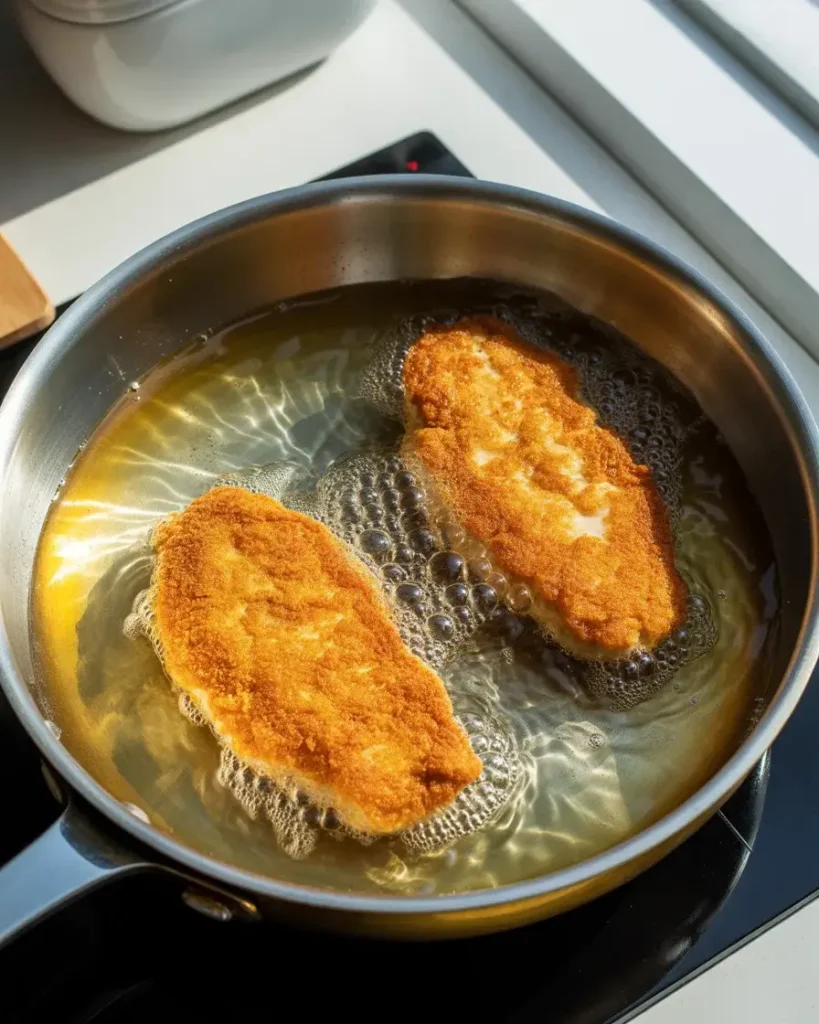
Heat 1/3 cup of neutral oil in a large skillet over medium-high heat until it shimmers – around 350°F if you’re using a thermometer. I tested lower temperatures and the crust absorbed too much oil and turned greasy.
Cook each cutlet 3-4 minutes per side until deeply golden. You should hear a loud, steady sizzle the moment the chicken hits the pan. If it just whispers, your oil isn’t hot enough.
Step 5: Transfer to a Wire Rack
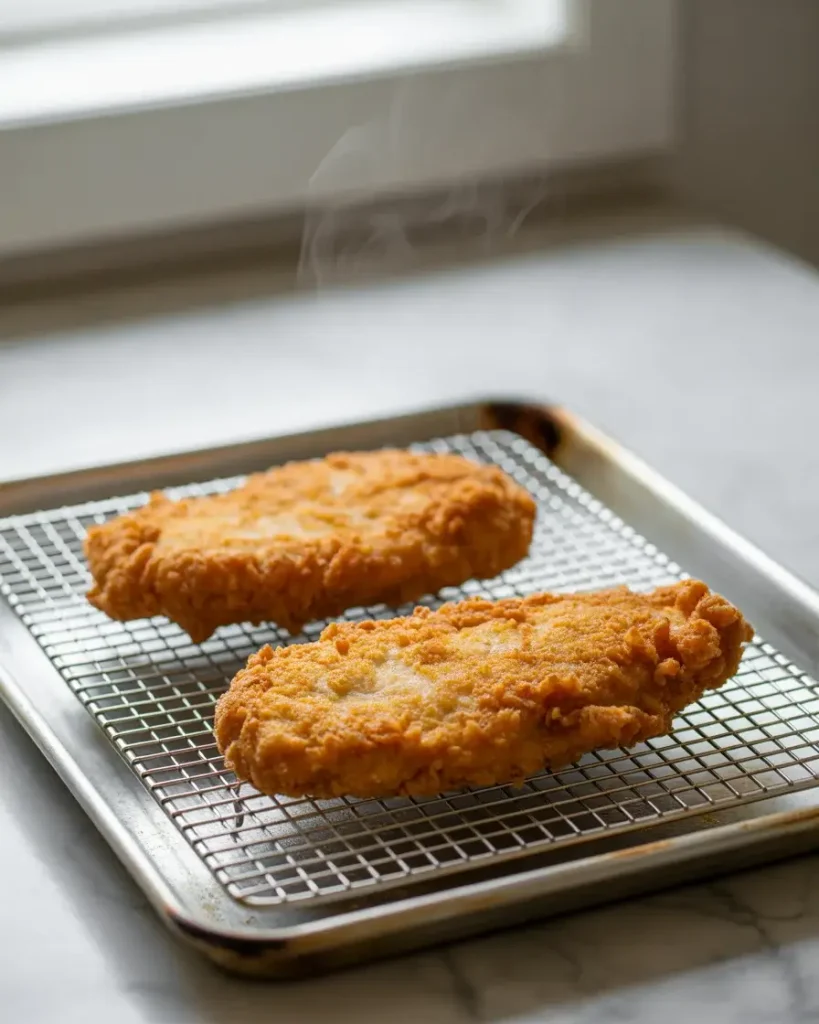
This is the step most recipes skip, and it cost me my first six batches. Drain the fried cutlets on a wire rack set over a baking sheet – never on paper towels. Paper towels trap steam underneath and soften your crust within minutes.
The rack lets air circulate on all sides. You can hold the fried chicken here at 250°F in the oven for up to 20 minutes while you prep the rest.
Get More Delicious Recipes
Step 6: Add Sauce and Cheese
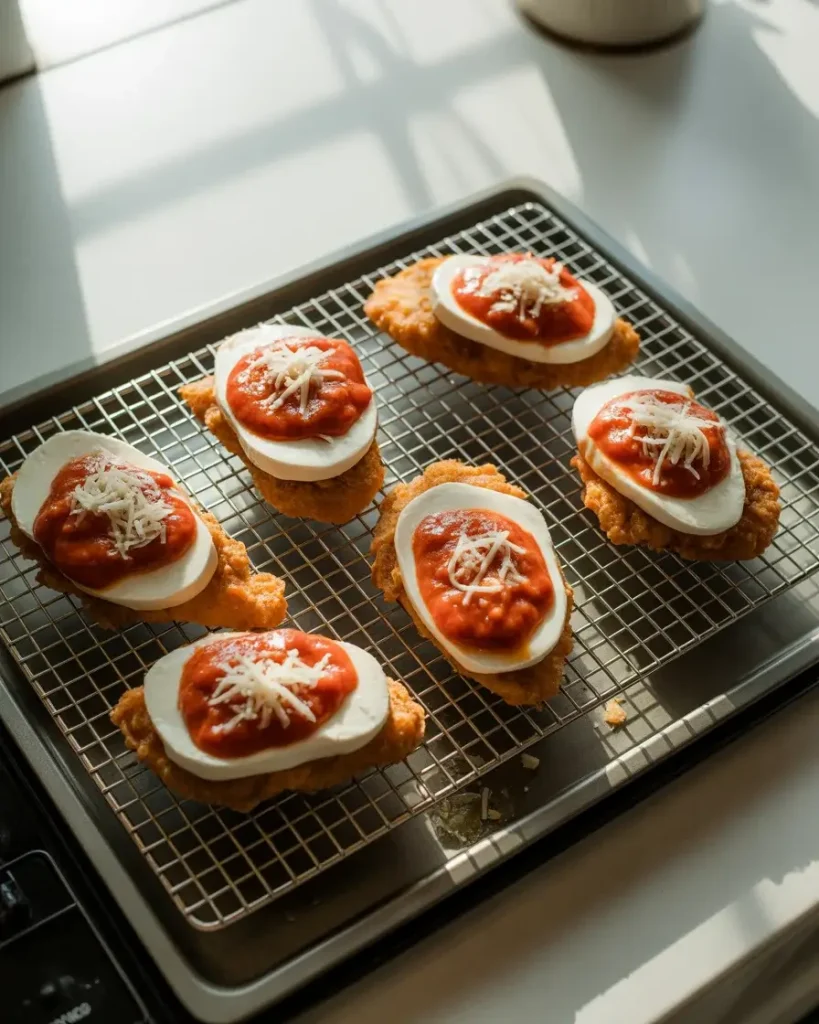
Spoon 2-3 tablespoons of marinara sauce onto the center of each cutlet – not edge to edge. Leaving a half-inch border of bare crust exposed is the trick that keeps the edges crispy while the center gets saucy.
Top with a slice of fresh mozzarella and a small handful of shredded Parmesan. The combination of both cheeses gives you that stretchy pull from the mozzarella and the nutty depth from the Parmesan.
Step 7: Broil Until Bubbling
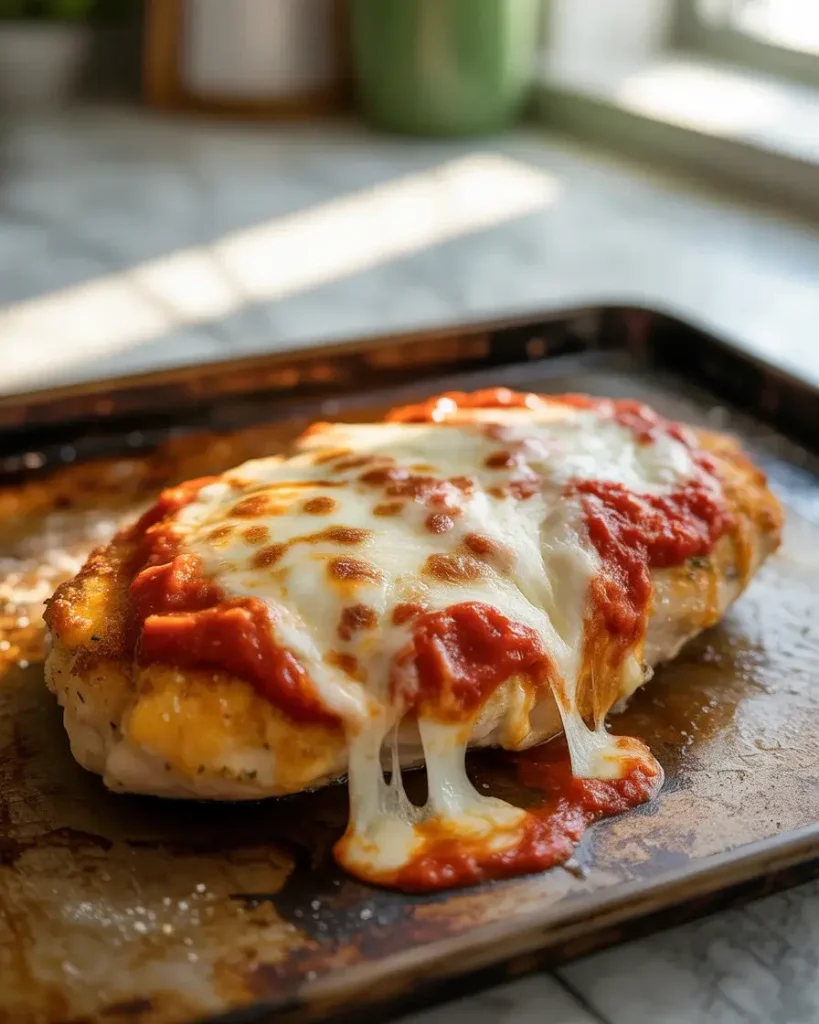
Slide the tray under the broiler for 3-4 minutes until the mozzarella is fully melted, golden in spots, and just starting to bubble at the edges. Watch it closely – I’ve burned more than one tray by walking away for 60 seconds too long.
Let the finished chicken rest for 2 minutes before serving. That brief pause helps the cheese set so it doesn’t slide off when you cut in.
Crispy Chicken Parmesan
Course: DinnerDifficulty: Medium4
servings15
minutes25
minutes40
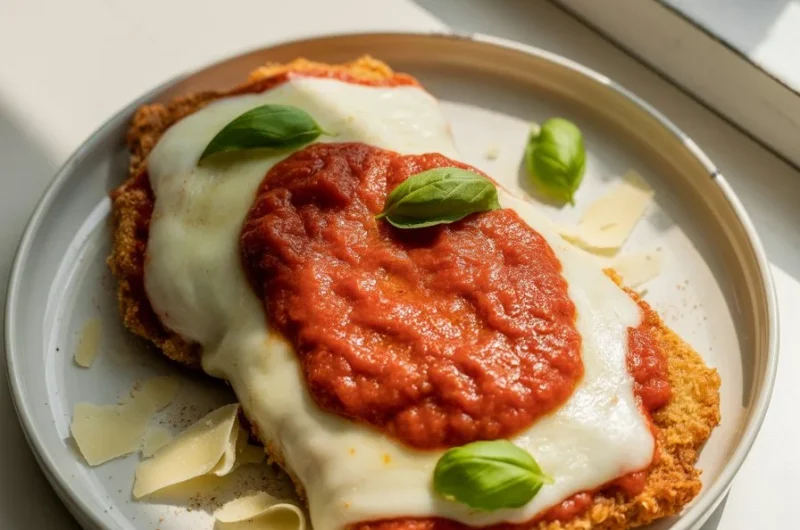
minutesGolden panko-crusted chicken cutlets topped with marinara and melted mozzarella, broiled to bubbly perfection in under 45 minutes.
Ingredients
4 boneless skinless chicken breasts (about 6 oz each)
1 cup all-purpose flour, seasoned with 1 tsp salt and 1/2 tsp pepper
2 large eggs, beaten with 2 tbsp water
1 cup panko breadcrumbs
1/2 cup finely grated Parmesan, divided
1 tsp garlic powder
1/3 cup neutral oil (vegetable or canola)
1 cup marinara sauce (thick preferred)
4 slices fresh mozzarella (or 1 cup shredded low-moisture)
Fresh basil for garnish
Salt and black pepper to taste
Directions
- Pound chicken breasts to 3/4-inch thickness. Season both sides with salt, pepper, and garlic powder. Rest 10 minutes.
- Set up breading station: flour in bowl 1, egg wash in bowl 2, panko mixed with 1/4 cup Parmesan in bowl 3.
- Dredge each cutlet in flour, dip in egg, press firmly into panko. Rest breaded cutlets on a wire rack 5 minutes.
- Heat oil in a large skillet over medium-high until shimmering (350°F). Fry cutlets 3-4 minutes per side until deep golden brown. Transfer to wire rack.
- Preheat broiler. Spoon 2-3 tbsp marinara onto the center of each cutlet, leaving edges bare. Top with mozzarella and remaining Parmesan.
- Broil 3-4 minutes until cheese is melted, golden, and bubbling. Rest 2 minutes before serving.
Notes
- Store leftovers in an airtight container for up to 3 days. Reheat in an air fryer at 375°F for 5-6 minutes.
Substitute chicken breasts with chicken thighs for juicier results; add 2 minutes to frying time.
For make-ahead: fry and freeze untopped cutlets up to 1 month. Reheat at 400°F on a wire rack before adding sauce and broiling fresh.
Nutrition Table (per serving)
| Nutrient | Amount |
|---|---|
| Calories | 520 |
| Total Fat | 24g |
| Sugars | 5g |
| Protein | 46g |
Trusted Resource Links: For food safety guidelines when cooking poultry, visit the USDA Safe Temperature Chart to ensure your chicken reaches a safe internal temperature of 165°F.
How Do You Keep Chicken Parmesan Crispy?
The single biggest factor is keeping sauce away from the edges and using a wire rack at every stage – under frying and under broiling. Crispy crust turns soft the moment it sits in moisture.
I also found that broiling instead of baking makes a real difference. At 425°F conventional bake, it took 12 minutes for the cheese to melt, and by then the steam had softened my crust noticeably. Broiling does the job in under 4 minutes with less heat exposure to the crust.
Another overlooked move: pat your chicken very dry before breading. Any surface moisture turns to steam during frying and creates a gap between the meat and the coating. Dry chicken equals coating that stays put.
Should You Use Fresh or Store-Bought Marinara?
Either works, but the quality of your sauce matters more than whether it’s homemade. A thin, watery sauce will soak into your crust faster than a thick, chunky one regardless of the source.
When I use store-bought, I simmer it for 5-7 minutes first to thicken it slightly and concentrate the flavor. Brands with whole tomatoes listed first tend to be less watery. If you have 20 minutes, a quick homemade sauce with crushed San Marzano tomatoes, garlic, and olive oil is genuinely worth it.
Whatever sauce you use, make sure it’s not hot when it goes on the chicken. Spooning boiling-hot sauce onto a just-fried cutlet softens the crust before it even hits the broiler. Room temperature or slightly warm is ideal.
Can You Make Chicken Parmesan Ahead of Time?
You can bread and fry the cutlets up to 4 hours ahead and hold them on a wire rack at room temperature. Don’t refrigerate them before the final broil step – cold chicken takes longer under the broiler, which again softens the crust.
For full make-ahead, fry the cutlets and freeze them without sauce or cheese. Reheat at 400°F on a wire rack for 10-12 minutes straight from frozen, then add sauce and broil fresh. This method gave me results almost identical to fresh in my testing.
Fully assembled leftover chicken parm reheats best in an air fryer at 375°F for 5-6 minutes. The oven works too, but the air fryer recovers the crust texture much better than a conventional oven.
What’s the Best Cheese for Chicken Parmesan?
Fresh mozzarella melts beautifully but releases more water than low-moisture mozzarella. I slice fresh mozzarella and blot it with paper towels for 2-3 minutes before using to reduce that moisture.
Low-moisture part-skim mozzarella (the block kind you shred yourself) melts slightly less dramatically but holds up better under the broiler without puddling. For everyday cooking, I reach for the shredded block mozzarella mixed with Parmesan.
The Parmesan layer underneath the mozzarella is something I discovered on my 8th test. It creates a barrier that slows moisture from soaking into the crust, and it adds a salty, nutty flavor layer that makes the whole dish taste more complex.
Panko vs. Regular Breadcrumbs: Does It Matter?
After testing six batches side by side, panko wins clearly. Panko is coarser and drier, which means it fries to a crisper texture and stays crunchier longer once sauce and cheese are added.
Regular breadcrumbs pack together more tightly on the chicken and absorb oil faster, giving you a denser, less textured crust. They’re not bad, but the difference in crunch is immediately obvious when you cut through both versions.
If you only have regular breadcrumbs, toast them in a dry skillet for 2-3 minutes before using. It removes some moisture and gets you closer to that panko-level crunch without a special grocery run.
Frequently Asked Questions
Q: Why does my chicken parmesan always come out soggy?
A: Soggy crust usually comes from resting fried chicken on paper towels or adding too much sauce. Use a wire rack and keep sauce only in the center of each cutlet.
Q: What internal temperature should chicken parmesan reach?
A: Your chicken should hit 165°F at the thickest part. At 3/4-inch thickness with the frying method above, it typically reaches this after about 7-8 minutes total cook time.
Q: Can I bake instead of fry the chicken?
A: Yes – bake breaded cutlets at 425°F on a greased wire rack for 18-20 minutes, flipping once. The crust won’t be quite as crunchy as fried, but it’s a solid lighter option.