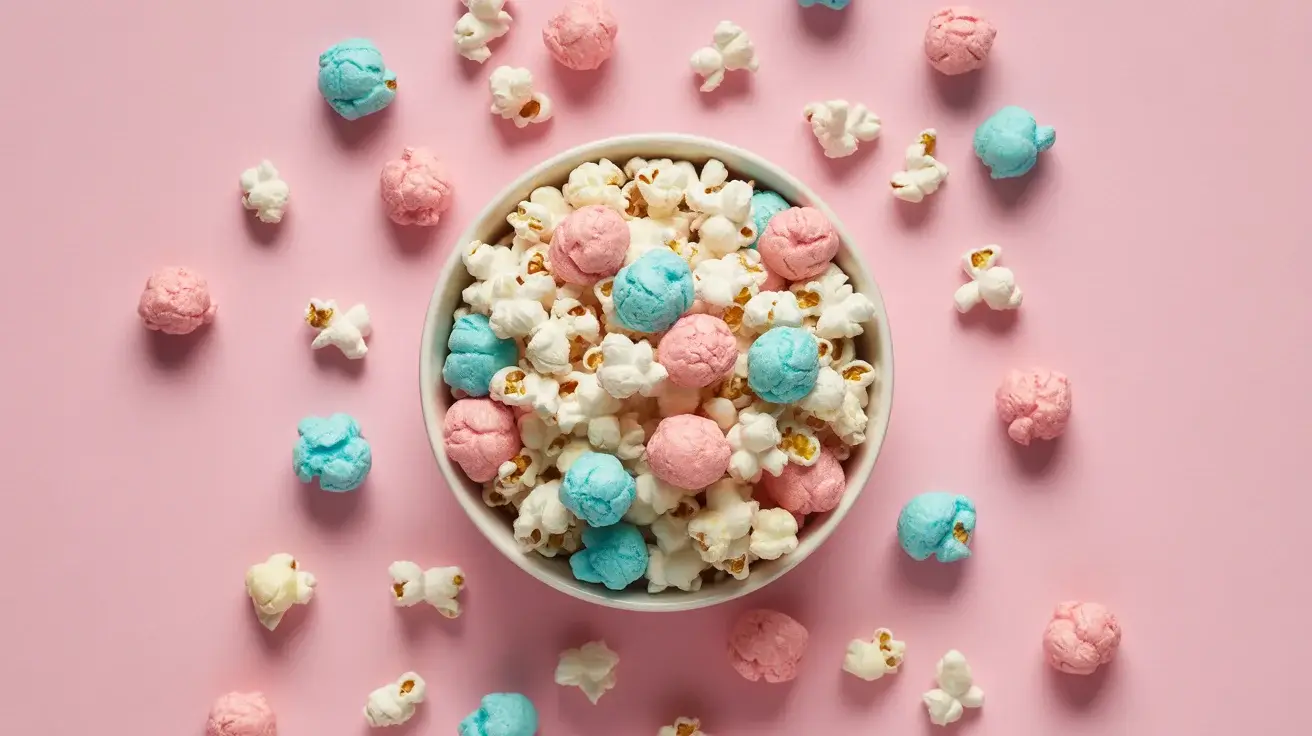
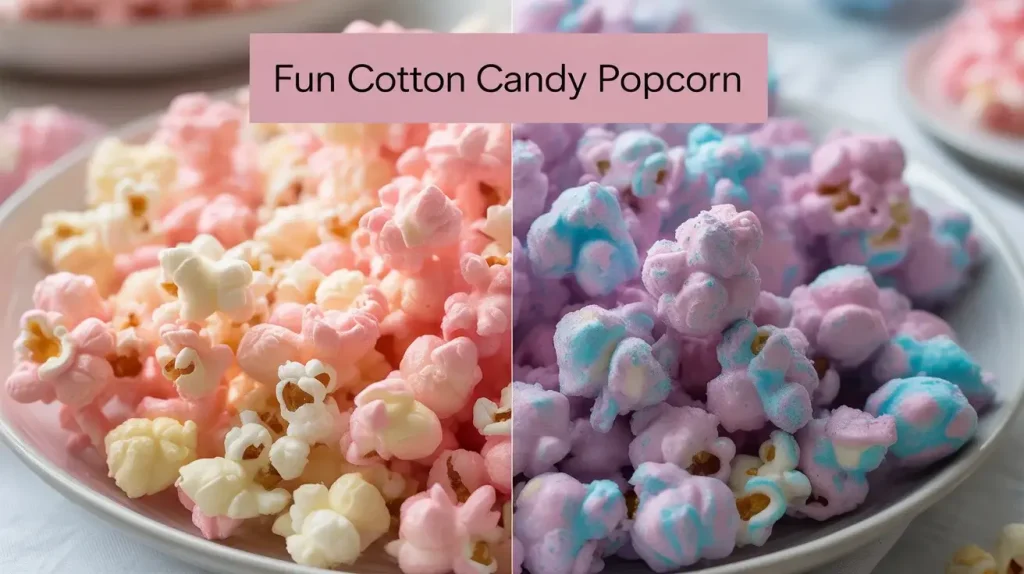
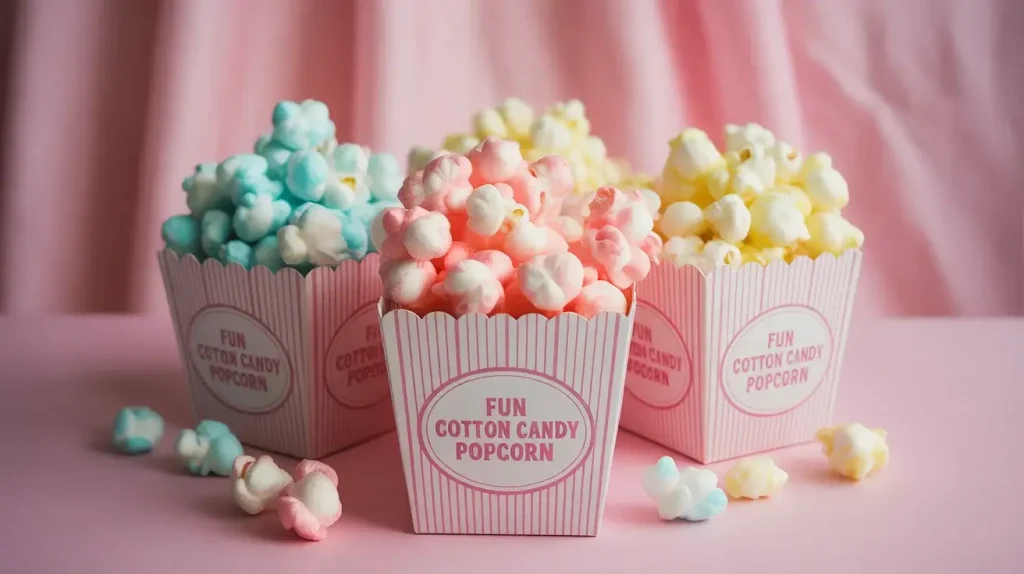
Fluffy Fun Cotton Candy Popcorn
There’s something magical about combining the nostalgic sweetness of cotton candy with the satisfying crunch of popcorn. This fluffy fun cotton candy popcorn brings carnival vibes straight to your kitchen with just a handful of ingredients.
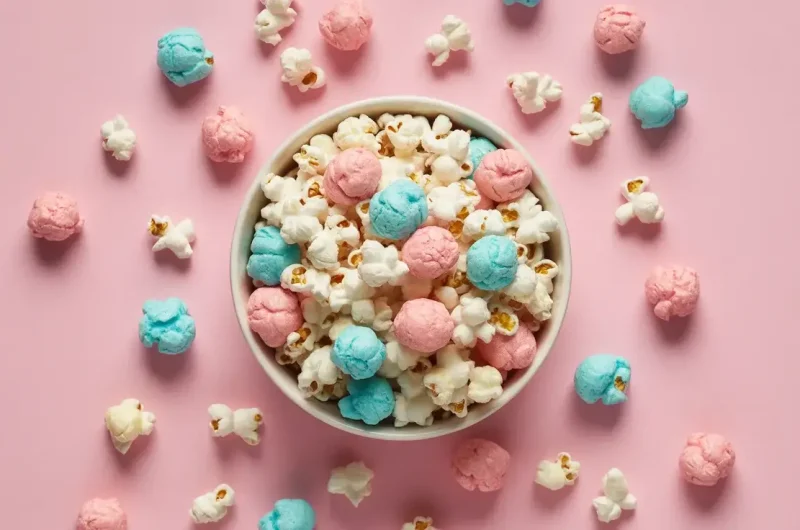
Perfect for movie nights, birthday parties, or whenever you’re craving a playful snack. The pink and blue hues make it incredibly Instagram-worthy, while the flavor delivers pure childhood joy in every bite.
This recipe comes together in under 15 minutes and requires no special equipment. Just pop, melt, mix, and watch it transform into a colorful, cloud-like treat everyone will love.
Why You’ll Love This Recipe
This cotton candy popcorn hits all the right notes—sweet, crunchy, and visually stunning. It’s lighter than caramel corn but just as addictive, making it dangerously easy to polish off an entire batch.
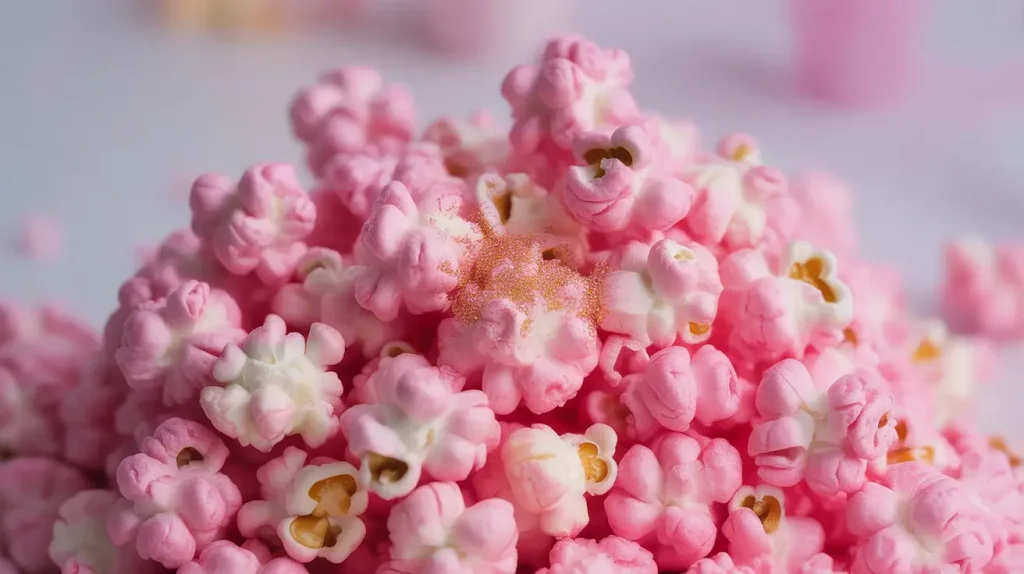
The cotton candy flavor comes from actual cotton candy-flavored candy melts, which coat each kernel in sugary perfection. Unlike traditional candied popcorn, this version stays wonderfully crispy without being sticky or hard on your teeth.
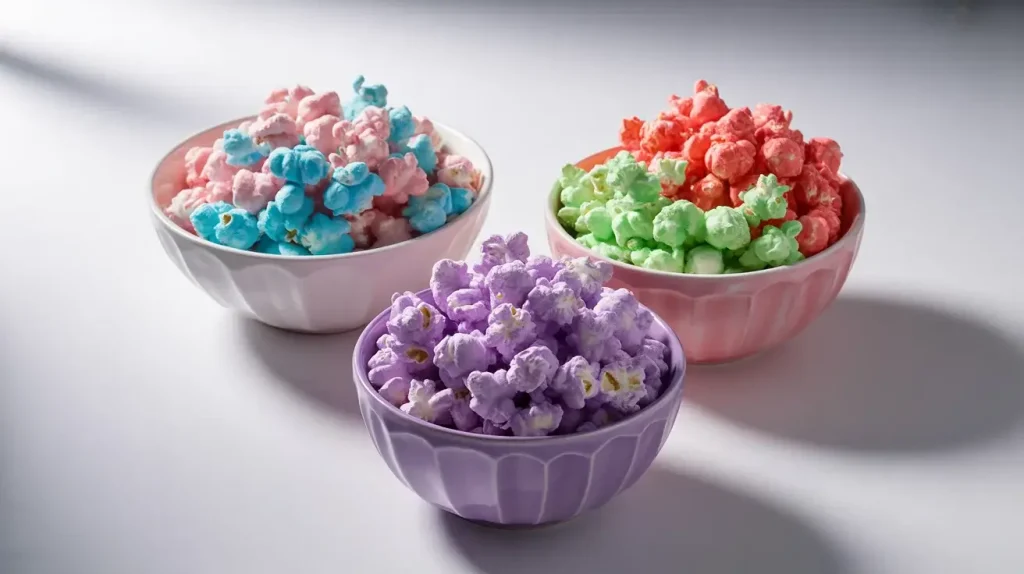
It’s also completely customizable. Stick with classic pink and blue, go monochrome, or match your party theme. Kids absolutely flip for this, and adults secretly love it just as much.
Ingredients You’ll Need
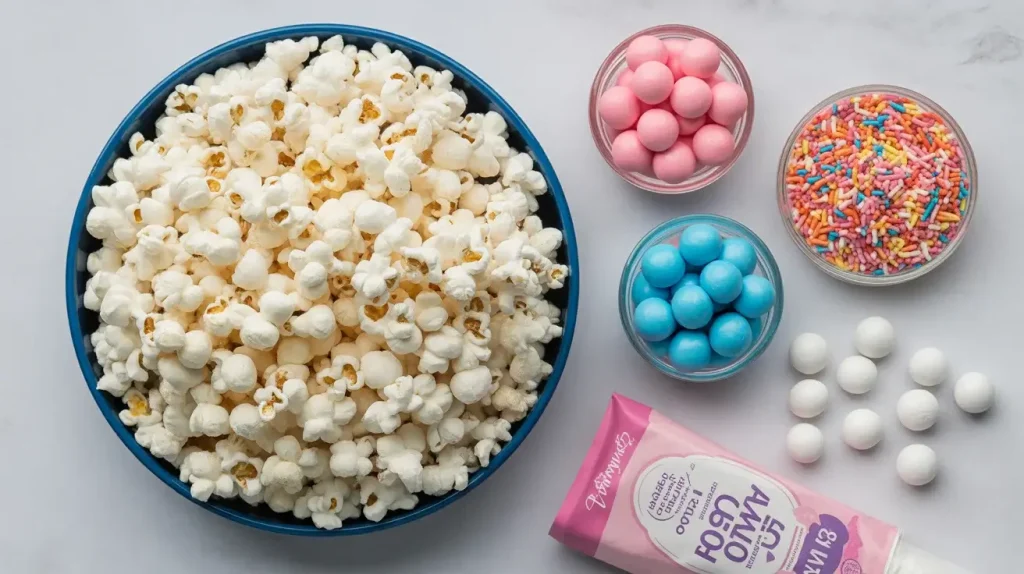
The beauty of this recipe lies in its simplicity. You only need four main ingredients, and chances are you already have popcorn in your pantry.
You can find cotton candy candy melts in the baking aisle of most craft stores or online. Wilton and Ghirardelli both make great versions in pink and blue.
Read More: Chocolate Chip Cookie Dough Cheesecake Cookies
How to Make Cotton Candy Popcorn
Start by popping about 8 cups of popcorn and removing any unpopped kernels. Spread it on a large parchment-lined baking sheet so you have plenty of room to mix.
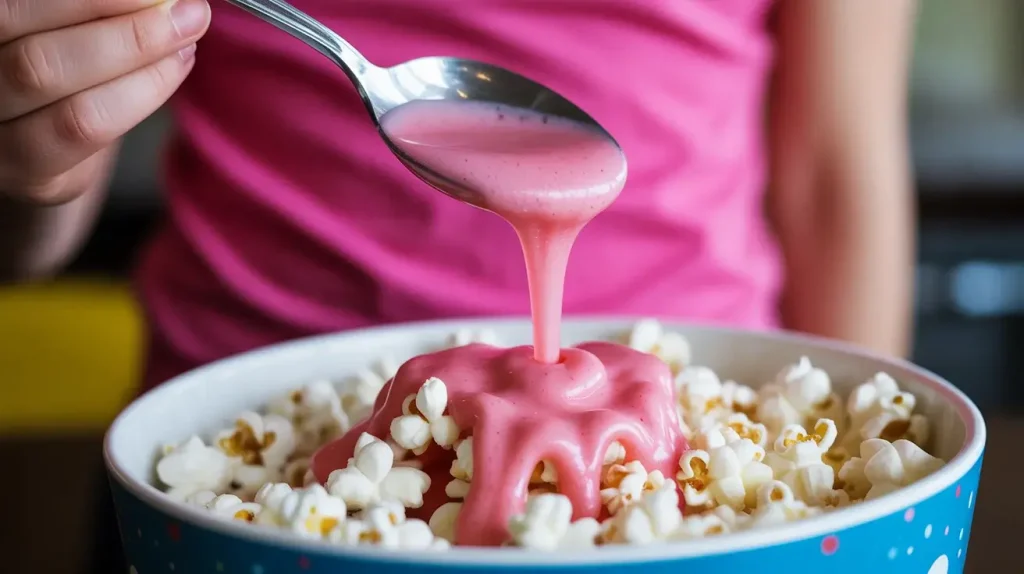
Melt your candy melts according to package directions—microwave works best at 30-second intervals, stirring between each. Add a teaspoon of vegetable oil to thin the coating slightly for better coverage.
Drizzle the melted candy over the popcorn in a zigzag pattern, then gently toss with your hands or a spatula. Add sprinkles immediately while the coating is still wet, then let it set for 10-15 minutes before serving.
Fluffy Fun Cotton Candy Popcorn
Course: DessertCuisine: AmericanDifficulty: Easy8
servings5
10
minutes15
Carnival-inspired popcorn coated in sweet cotton candy, candy melts, and colorful sprinkles—a playful snack that’s ready in 15 minutes!
Ingredients
8 cups popped popcorn (plain or lightly salted)
1 cup pink cotton candy-flavored candy melts
1 cup blue cotton candy-flavored candy melts
2 teaspoons vegetable oil (divided)
¼ cup rainbow sprinkles
Pinch of sea salt (optional)
Directions
- Prep the popcorn: Pop your popcorn and remove any unpopped kernels. Spread evenly on a large parchment-lined baking sheet.
- Melt pink candy: Place pink candy melts in a microwave-safe bowl. Microwave in 30-second intervals, stirring between each, until completely smooth. Stir in 1 teaspoon vegetable oil.
- Coat with pink: Drizzle half the popcorn with melted pink candy in a zigzag pattern. Gently toss to coat evenly using your hands or a large spoon.
- Melt blue candy: Repeat the melting process with blue candy melts and the remaining 1 teaspoon of vegetable oil.
- Add blue layer: Drizzle blue candy over the popcorn, focusing on areas with less pink coating. Toss gently to create a marbled effect.
- Add sprinkles: Immediately sprinkle with rainbow sprinkles while the coating is still wet. Add a tiny pinch of sea salt if desired.
- Let it set: Allow popcorn to cool and harden for 10-15 minutes. Break apart any large clusters.
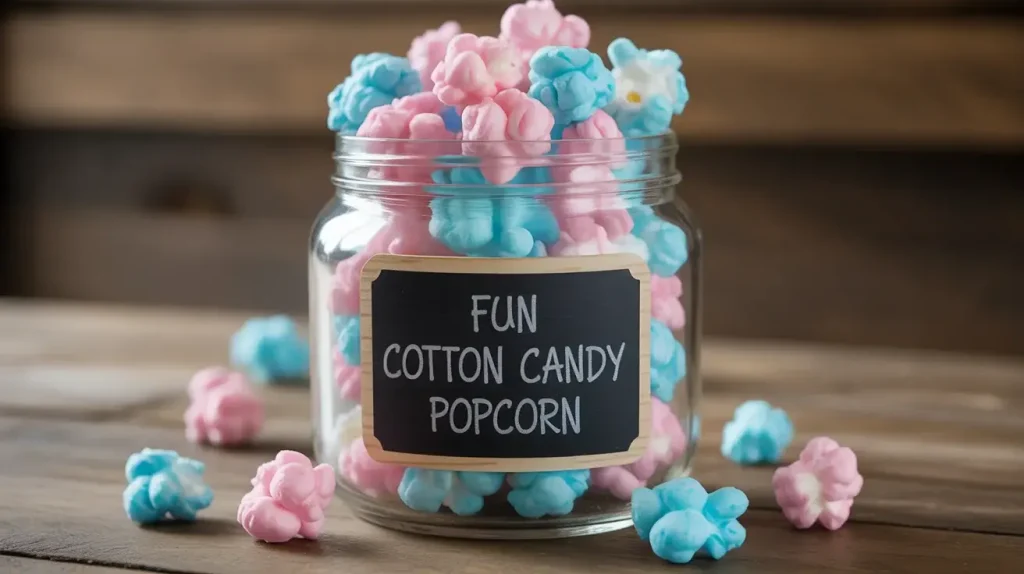
- Serve: Transfer to serving bowls or store in an airtight container for up to 3 days.
Notes
- Storage: Keep in an airtight container at room temperature. Avoid humidity, which can make the coating sticky.
Flavor swaps: Try strawberry, vanilla, or bubblegum-flavored candy melts for variety.
Make it fancy: Add edible glitter or gold stars for parties.
Vegan option: Use dairy-free candy melts (check labels).
Color customization: Match any party theme by using different colored candy melts.
| Nutrient | Per Serving (1 oz / 28g) |
|---|---|
| Calories | 110 kcal |
| Total Fat | 2.5 g |
| Dietary Fiber | <1 g |
| Sugars | 18 g |
| Protein | 1 g |
Tips for Perfect Results
The key to non-sticky cotton candy popcorn is working quickly and not over-coating. Too much candy melt will create clumps instead of a light, even coating.
Make sure your popcorn is completely cool before adding the candy coating. Hot popcorn can cause the candy to melt unevenly or become grainy. Room temperature popcorn gives you the best texture.
If your candy melts thicken too much while working, pop them back in the microwave for 10-15 seconds. The vegetable oil helps keep the coating smooth and spreadable throughout the process.
Serving Suggestions
Serve this fluffy, fun cotton candy popcorn in individual paper cones for a carnival party theme. Tie them with colorful ribbons and arrange them in a popcorn stand for maximum visual impact.
It makes an adorable party favor when packaged in clear cellophane bags tied with curly ribbon. Add a cute tag that says “Thanks for popping by!” for birthday parties or baby showers.
For movie nights, serve it in vintage popcorn boxes alongside other candy. The sweet-salty combination pairs beautifully with fruit punch, pink lemonade, or cream soda.
Storage and Make-Ahead
Store your cotton candy popcorn in an airtight container at room temperature for up to 3 days. Make sure the coating has completely hardened before storing, or pieces will stick together.
Avoid refrigerating this treat—moisture is the enemy of candy-coated popcorn. Keep it in a cool, dry place away from direct sunlight to maintain that perfect crunch.
While best enjoyed fresh, you can make this up to 2 days ahead for parties. Just keep it sealed tight and it’ll stay crispy and delicious.
Flavor Variations to Try
Swap cotton candy melts for birthday cake-flavored candy melts and add rainbow sprinkles for a celebration version. You can also use vanilla candy melts with pink food coloring for a custom shade.
Create an ombre effect by using three shades of pink or blue candy melts, applying them from lightest to darkest. This creates a stunning gradient effect that’s perfect for weddings or bridal showers.
For holidays, use seasonal colors—red and green for Christmas, orange and black for Halloween, or pastels for Easter. The base recipe works with any color scheme.
Frequently Asked Questions
Can I use homemade cotton candy instead of candy melts?
Unfortunately, no. Real cotton candy dissolves when it touches moisture in the popcorn, creating a sticky mess rather than a coating. Cotton candy-flavored candy melts are specifically formulated to harden and provide that sweet flavor without dissolving.
Why is my candy coating not sticking to the popcorn?
This usually happens if the popcorn is too greasy or the candy melts are too thick. Use plain or lightly salted popcorn (not butter-heavy microwave popcorn), and thin your candy melts with a bit of vegetable oil or coconut oil for better flow and adhesion.
How do I prevent the popcorn from getting soggy?
Make sure the candy coating is completely set and hardened before storing. Keep it in an airtight container away from humidity, and never refrigerate it. Moisture is what causes the candy coating to become sticky or soft.