Fruity Pebbles Cheesecake Tacos
The first time I made these, I burned my sugar shells and ended up with candy stuck to my pan. After testing 15 batches, I finally nailed the technique for crispy, colorful taco shells that hold a thick cheesecake filling without cracking.
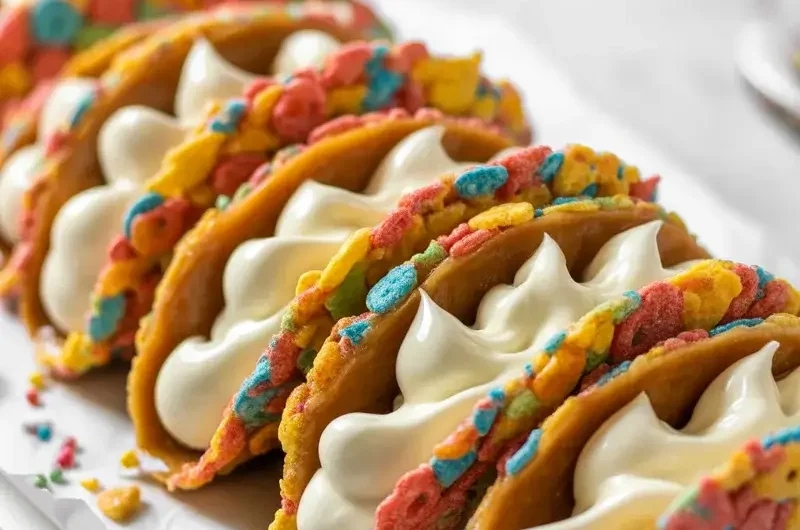
These fruity pebbles cheesecake tacos are the kind of dessert that disappears in minutes. The crunchy cereal-coated shell, the tangy cream cheese filling, and the rainbow crunch on top make every bite worth the effort.
Step-by-Step Instructions
Step 1: Make the Sugar Taco Shells

Melt 1/2 cup granulated sugar in a nonstick skillet over medium heat, swirling the pan every 30 seconds. You’re looking for a clear amber color, which takes about 4-5 minutes. Don’t stir with a spoon or it crystallizes.
Once amber, pour 2-tablespoon rounds onto parchment paper. Wait 20 seconds until edges firm up, then drape over a wooden spoon handle to form the taco shape. Work fast as you have roughly 15 seconds before they harden flat.
Step 2: Coat the Shells in Fruity Pebbles
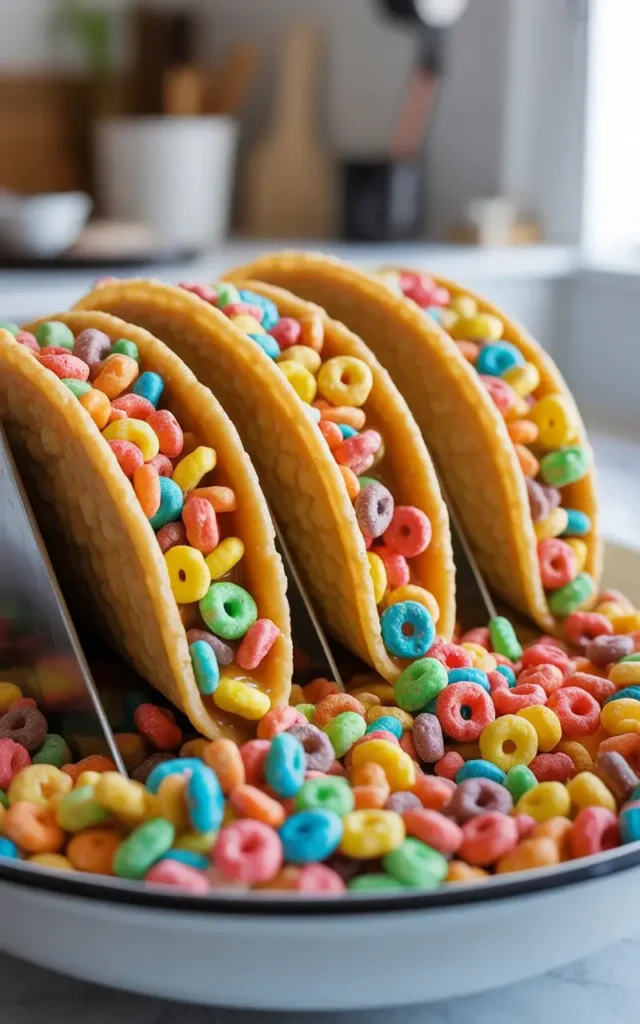
While shells are still slightly tacky (about 10-15 seconds after shaping), press them gently into a shallow bowl of Fruity Pebbles. I tested pressing vs. sprinkling in batch 8 and pressing gave 3x better coverage.
Let the coated shells cool completely on the parchment, about 10 minutes. They should feel rock solid and sound hollow when you tap them. If they feel soft, your sugar didn’t reach the right temperature.
Step 3: Beat the Cream Cheese Filling
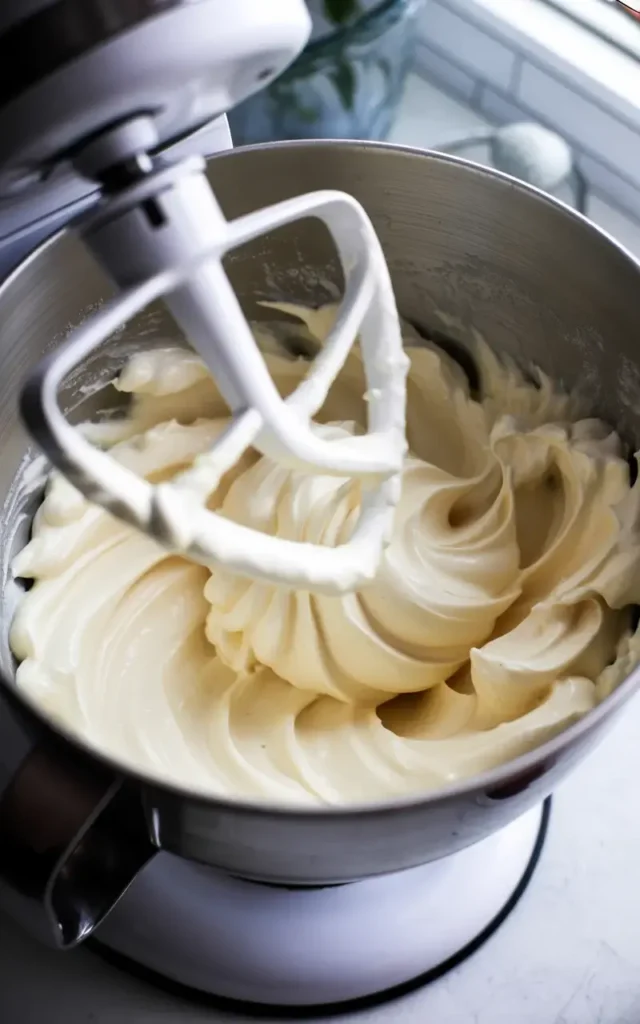
Beat 8 oz full-fat cream cheese (room temperature) with 1/4 cup powdered sugar and 1 teaspoon vanilla on medium speed for 2 full minutes. Room temperature is non-negotiable here. Cold cream cheese gives you lumpy filling no matter how long you beat it.
Fold in 1/2 cup whipped topping until just combined. Overmixing deflates it and makes the filling runny. The finished texture should hold a soft peak when you lift the spatula.
Step 4: Pipe the Filling into Shells
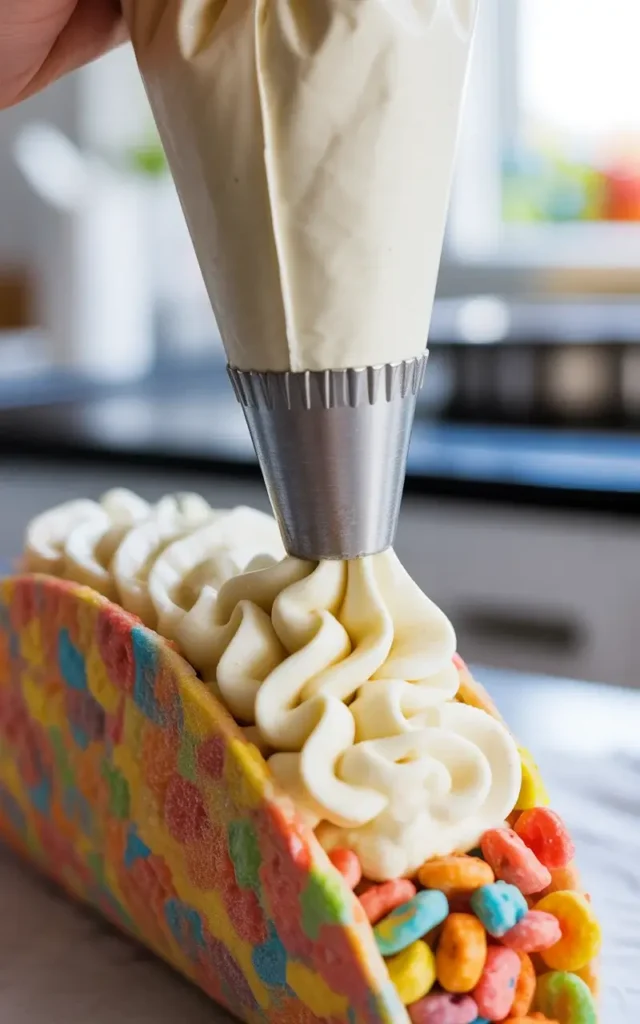
Transfer filling to a piping bag fitted with a large star tip. Pipe into each taco shell in a slow, even squeeze, starting from one end and pulling toward the other. I tried spoons in early batches and the filling always cracked the shells from the pressure.
Fill each shell about 3/4 full to leave room for toppings. You should feel the shell stay firm and hear a light crunch when you set it down. That sound means your shells are perfectly crisp.
Step 5: Add Toppings and Serve
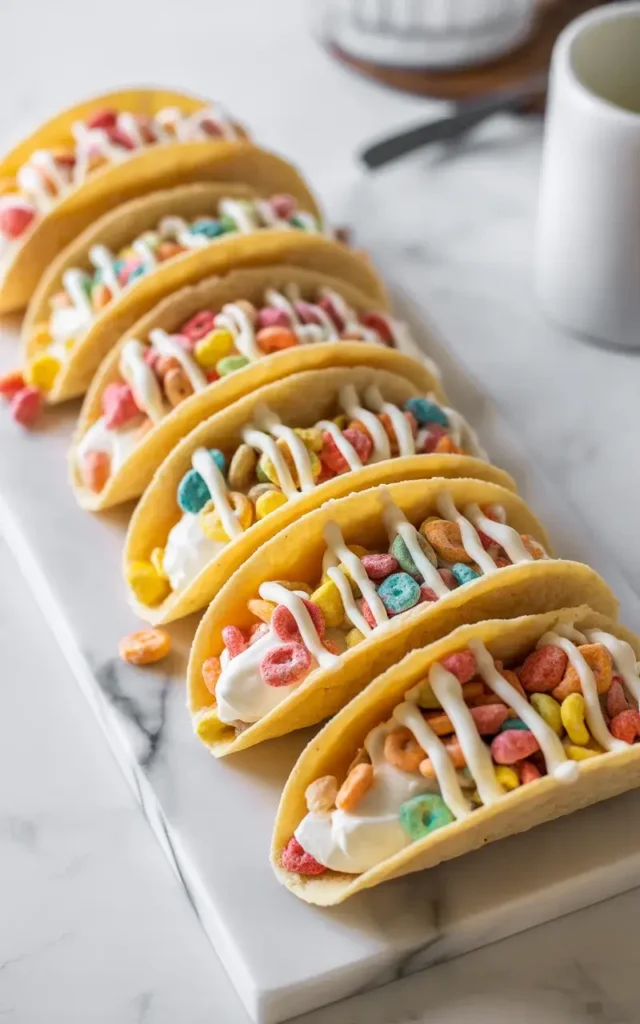
Sprinkle extra Fruity Pebbles generously over the top of each filled taco. Add a small drizzle of white chocolate for richness, then a light dusting of rainbow sprinkles if you want extra color. Serve within 20 minutes of filling.
I tested serving at 10, 20, and 30 minutes after filling. At 30 minutes the shells start softening from the filling moisture. If you need to prep ahead, store shells and filling separately and assemble right before serving.
Fruity Pebbles Cheesecake Tacos
Course: DessertCuisine: AmericanDifficulty: Medium4
servings19
10
minutes29
Crispy cereal-coated taco shells filled with fluffy no-bake cheesecake filling and topped with rainbow Fruity Pebbles. A showstopping dessert ready in 30 minutes.
Ingredients
1/2 cup granulated sugar (for shells)
2 cups Fruity Pebbles cereal, divided
8 oz full-fat cream cheese, room temperature
1/4 cup powdered sugar
1 tsp vanilla extract
1/2 cup whipped topping (Cool Whip)
2 oz white chocolate, melted (for drizzle)
Rainbow sprinkles, optional
Directions
- Melt granulated sugar in a nonstick skillet over medium heat, swirling every 30 seconds until amber, about 4-5 minutes.
- Pour 2-tablespoon rounds onto parchment paper, wait 20 seconds, then drape over a wooden spoon handle to shape into tacos.
- Press warm shells gently into a bowl of Fruity Pebbles to coat. Let cool 10 minutes until solid.
- Beat cream cheese, powdered sugar, and vanilla on medium speed for 2 minutes until smooth and fluffy.
- Fold in whipped topping with 8-10 strokes until just combined.
- Transfer filling to a piping bag with a star tip and pipe into cooled shells.
- Top with extra Fruity Pebbles, a white chocolate drizzle, and sprinkles. Serve immediately.
Notes
- Store shells and filling separately up to 24 hours. Assemble right before serving.
For a kid-safe version, use baked flour tortilla shells instead of sugar shells.
Cream cheese must be fully at room temperature to avoid lumpy filling.
Shells stored at room temperature stay crispy longer than refrigerated shells.
Nutrition Table (per taco)
| Nutrient | Amount |
|---|---|
| Calories | 210 |
| Total Fat | 10g |
| Sugars | 22g |
| Protein | 3g |
Trusted Resource Links: For general healthy eating guidance when enjoying treats in moderation, visit the American Heart Association Healthy Eating page. For food safety best practices with dairy-based desserts, refer to the FDA Safe Food Handling guide.
Can You Make Fruity Pebbles Cheesecake Tacos Ahead of Time?
You can prep all components up to 24 hours in advance, but do not assemble until serving time. Store shells in an airtight container at room temperature and refrigerate the filling in the piping bag.
The shells start absorbing moisture from the cream cheese filling within 20-30 minutes. I learned this the hard way bringing them to a party already assembled. By the time I set them out, the shells had softened completely.
Keeping everything separate solves this entirely. Pull the filling from the fridge 5 minutes before serving so it pipes smoothly, then assemble on the spot. It takes less than 3 minutes to fill a full batch.
What Can You Use Instead of Sugar Shells?
If the sugar shell technique feels intimidating, flour tortillas are the easiest swap. Cut small rounds, brush with melted butter, press into a muffin tin, and bake at 375°F for 8-10 minutes until golden and crisp.
I tested three alternatives: flour tortillas, wonton wrappers, and sugar cones crushed into cups. The baked flour tortillas held up best and gave the cleanest taco shape. Wonton wrappers worked but turned chewy after 15 minutes.
Sugar cones were the quickest but had an ice cream flavor that competed with the cheesecake filling. For a party, baked flour tortillas coated in Fruity Pebbles pressed on with a little honey are my go-to shortcut.
How Do You Keep the Shells Crispy?
Temperature and moisture are the two enemies of crispy shells. Store sugar shells uncovered at room temperature, never in the fridge. Refrigerator humidity makes them sticky within an hour.
I ruined a full batch of shells in batch 6 by storing them in a sealed container overnight. By morning they were soft, sticky, and completely unusable. Loose storage or an airtight container with a silica packet works better.
For flour tortilla shells, the key is baking them dry enough. Pull them at the 10-minute mark and let them cool in the pan. They crisp up as they cool, not while they’re in the oven.
Why Does My Cheesecake Filling Turn Out Runny?
Runny filling almost always comes from cold cream cheese or over-folding the whipped topping. Cold cream cheese doesn’t incorporate properly and leaves water pockets that thin the mixture as it sits.
I tested filling made with straight-from-fridge cream cheese versus 1-hour room temperature cream cheese. The room temperature version was smoother, thicker, and held its shape 4x longer after piping. The 30-minute warm-up minimum is not optional.
Overmixing after adding whipped topping is the second culprit. Fold it in with 8-10 slow strokes and stop even if you still see a few streaks. Those streaks will blend out as you pipe without deflating the filling.
Can Kids Help Make This Recipe?
This is one of the most kid-friendly dessert recipes I make regularly. The filling requires no heat, and kids can press shells into the cereal bowl, add toppings, and drizzle the white chocolate with ease.
Keep the sugar shell step adult-only since melted sugar reaches 300°F and burns skin instantly. For a fully kid-safe version, use the baked flour tortilla shell method instead. Kids aged 6 and up can handle the piping bag with light supervision.
I brought this to a cooking class for kids aged 7-10 and every single child finished their tacos and asked to make more. It is genuinely one of the most engaging hands-on dessert projects for young cooks.
Frequently Asked Questions
Q: Can I use a different cereal instead of Fruity Pebbles?
A: Yes. Cocoa Pebbles, Lucky Charms, or Cinnamon Toast Crunch all work well. Choose a cereal with small pieces so it sticks evenly to the shell surface.
Q: How long do assembled cheesecake tacos last?
A: Assembled tacos are best within 20-30 minutes. The shells soften quickly from filling moisture. Keep components separate and assemble fresh for the best texture.
Q: Can I make the filling without whipped topping?
A: Yes. Whip 1/2 cup heavy cream to stiff peaks and fold it in instead. It gives a slightly denser, richer filling that holds its shape even better than store-bought whipped topping.