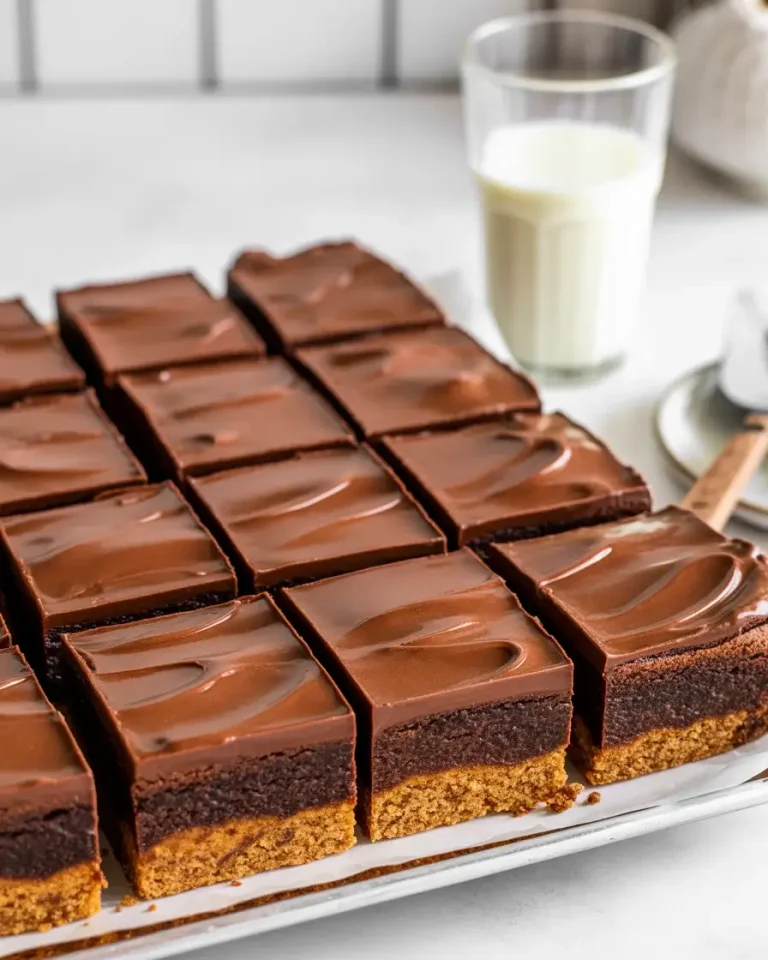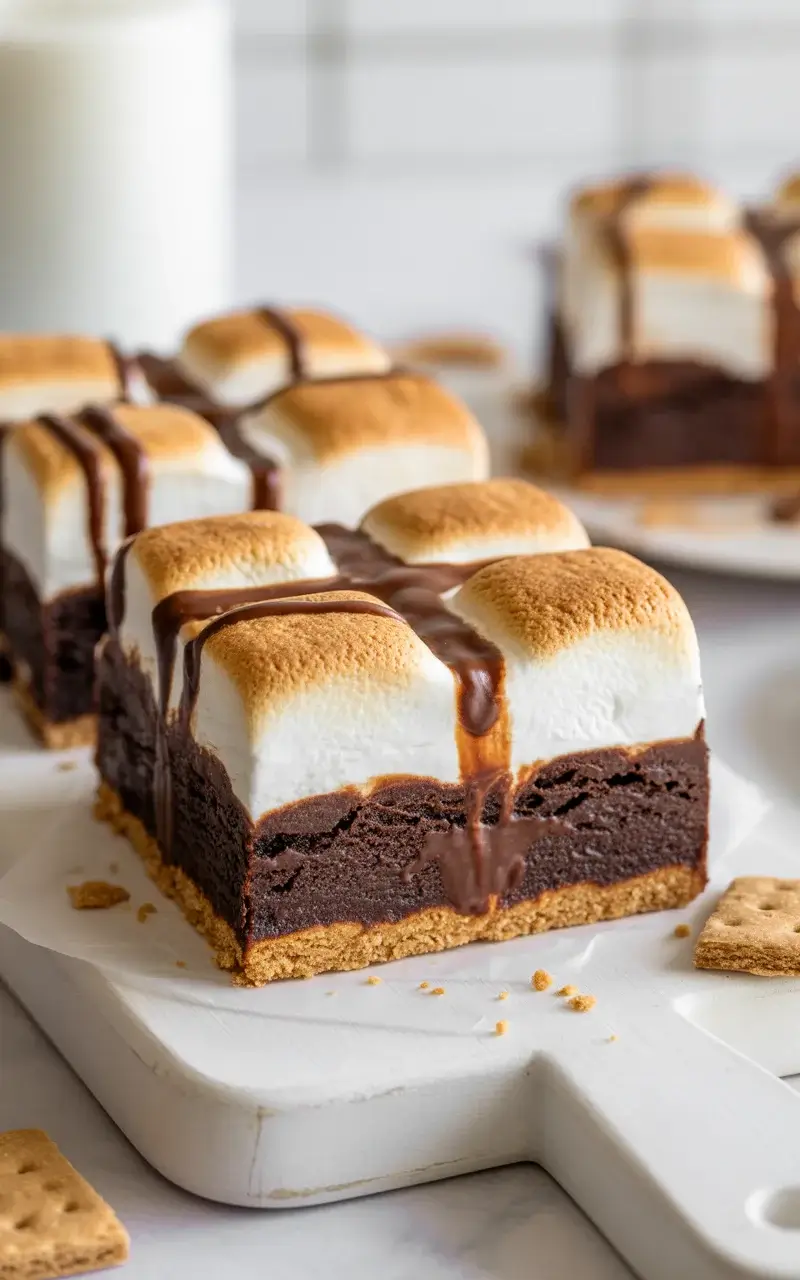
S’mores Brownies from Scratch
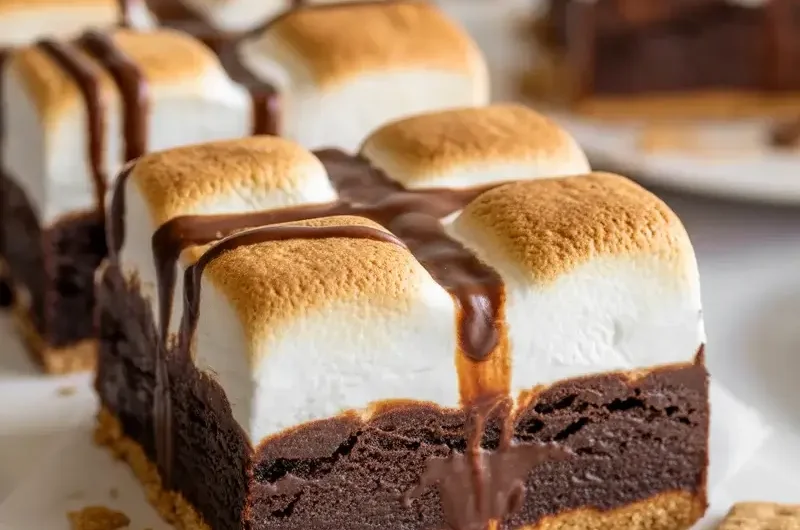
After burning my first batch of marshmallow topping three times straight, I finally cracked the secret to perfectly golden s’mores brownies. These bars combine a buttery graham cracker base, dense fudgy brownie layer, and gooey toasted marshmallows into one showstopping dessert.
The best part? You don’t need a campfire. I’ve tested over 15 variations of this recipe, and the version below delivers that classic smoky, chocolatey, marshmallow magic every single time.
Step-by-Step Instructions
Step 1: Build the Graham Cracker Crust
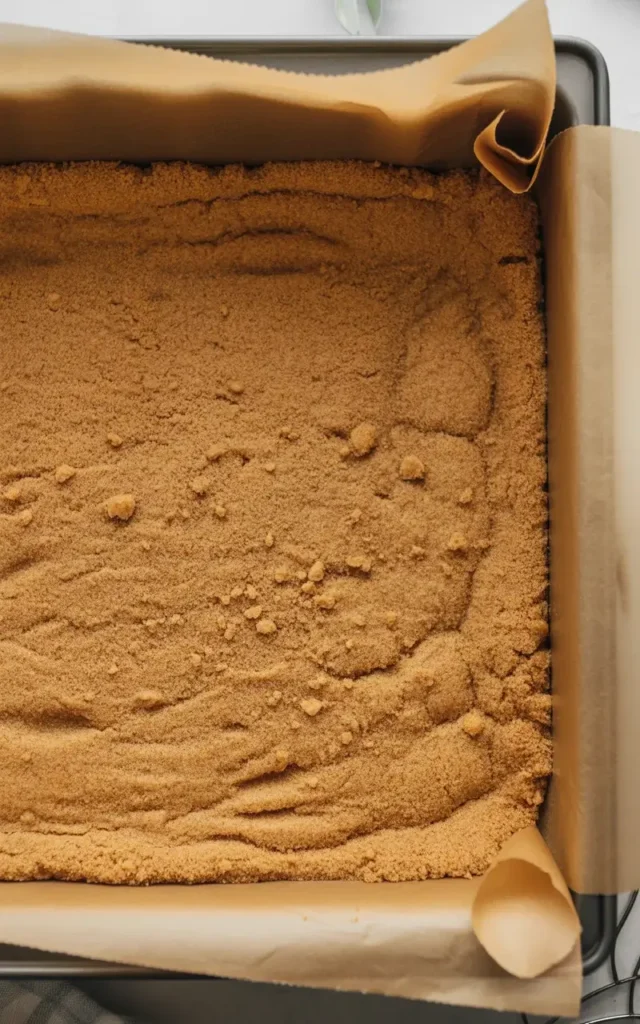
Preheat your oven to 350°F and line a 9×13-inch pan with parchment paper. Mix 2 cups of graham cracker crumbs with 1/2 cup melted butter and 3 tablespoons of sugar until it resembles wet sand.
Press the mixture firmly into the pan using the bottom of a measuring cup. After testing with both butter amounts, I found 1/2 cup gives the crunch you want without going greasy. Bake for 8 minutes until just set and lightly golden.
Step 2: Make the Fudgy Brownie Batter
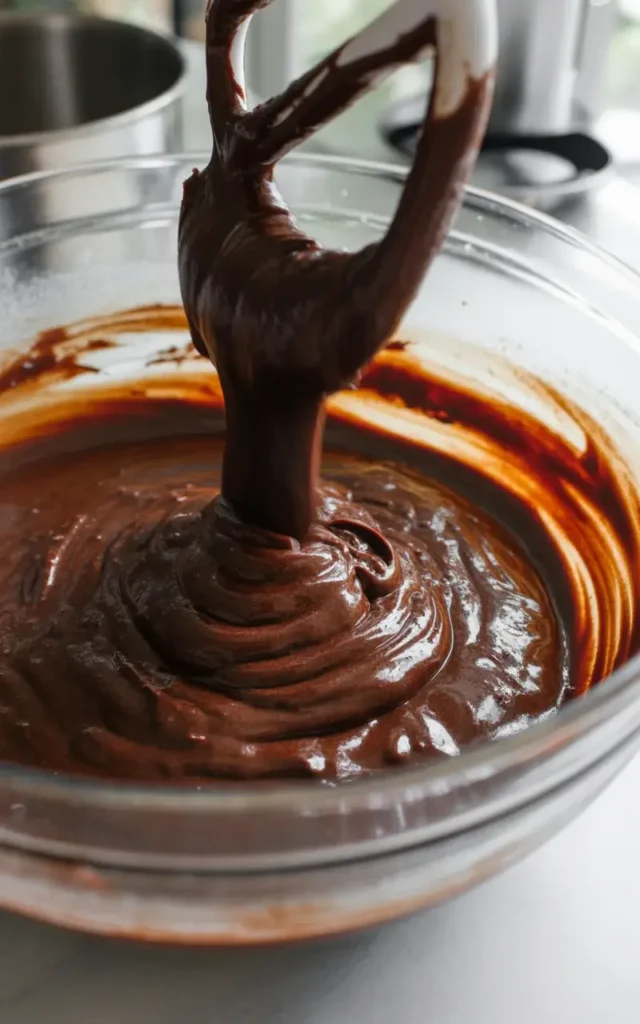
Melt 1 cup of butter with 8 oz of dark chocolate in a heatproof bowl over simmering water, stirring until smooth and glossy. Remove from heat and whisk in 2 cups of sugar, then 4 eggs one at a time.
Fold in 1 cup of all-purpose flour and 1/4 teaspoon of salt just until no streaks remain. Don’t overmix or you’ll lose that fudgy texture. I discovered after 8 batches that folding by hand rather than using a mixer makes a significant difference in the final chew.
Step 3: Pour and Spread the Brownie Layer
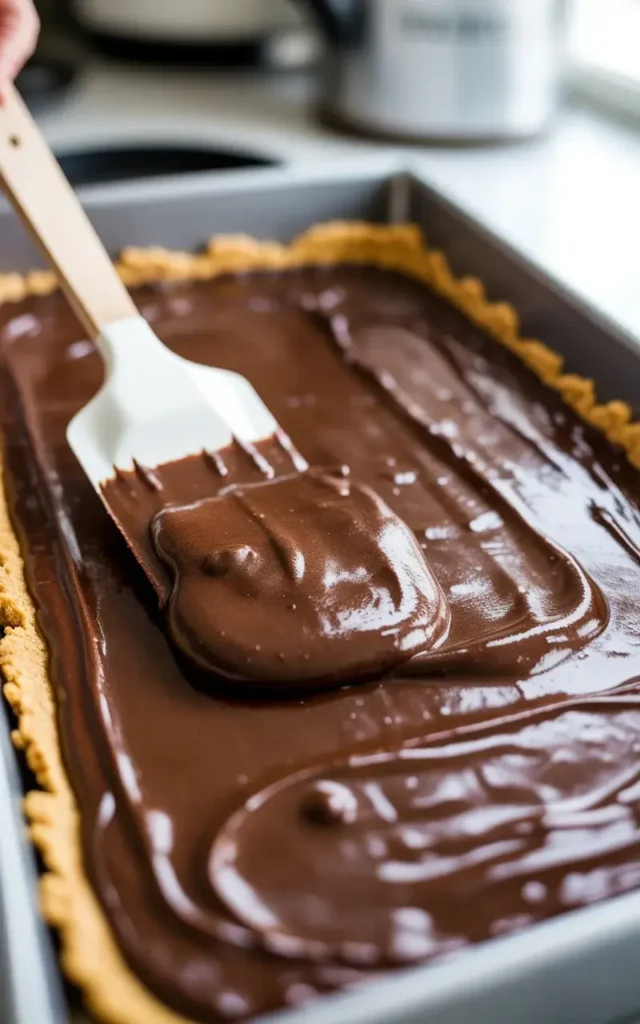
Pour the brownie batter over the pre-baked graham cracker crust and spread it into an even layer using an offset spatula. It should reach all four corners completely.
Tap the pan gently on the counter twice to release any air bubbles. Bake at 350°F for 22 to 25 minutes. You’re looking for the edges to be set while the center still has a very slight jiggle.
Step 4: Add the Marshmallow Topping
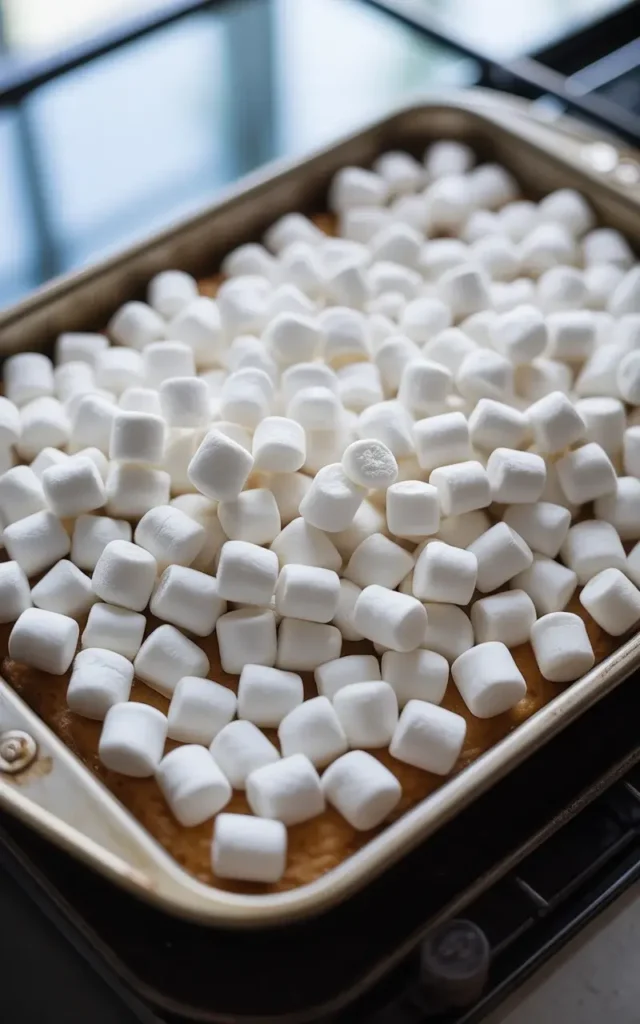
Pull the pan out of the oven and immediately cover the entire surface with 3 cups of mini marshmallows. Work quickly since the heat from the brownie layer helps them stick.
Return the pan to the oven and bake for another 5 to 7 minutes. Watch closely at the 5-minute mark because this is where I lost my first three batches to over-browning. You want the tops puffed and golden, not charred.
Step 5: Broil for That Toasted Finish
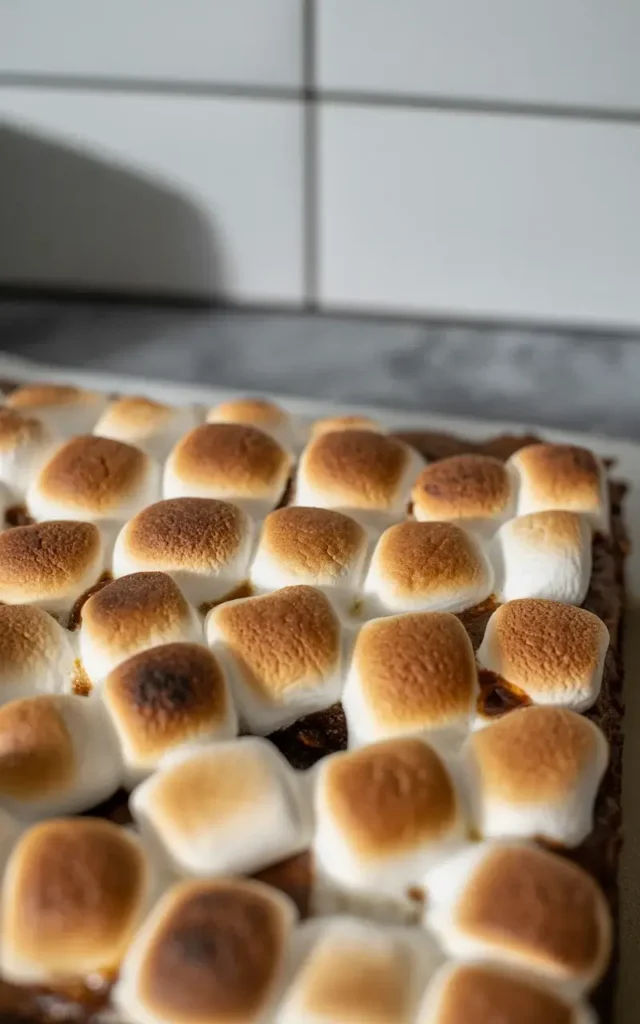
Switch your oven to broil on high and move the rack to the top position. Broil for 60 to 90 seconds max, door slightly ajar so you can watch every second.
The marshmallows should turn deep golden brown and caramelized, just like a campfire toasting. The smell alone will tell you when they’re ready. Pull them out the moment you see color across the majority of the surface.
Step 6: Cool and Cut
Let the pan cool at room temperature for at least 45 minutes before cutting. I know it’s tempting to slice right in, but rushing this step causes the marshmallow to tear and drag through the brownie.
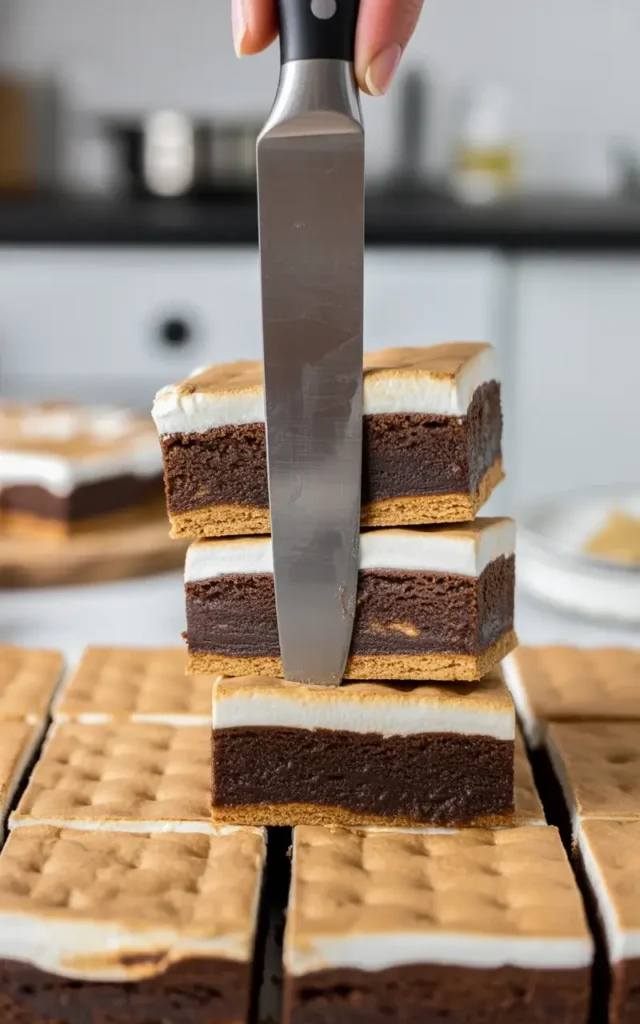
Use a sharp knife dipped in warm water and wiped clean between each cut. This trick alone transformed my presentation from messy to bakery-worthy. You’ll get 16 clean, gorgeous squares.
S’mores Brownies
Course: DessertCuisine: AmericanDifficulty: Easy16
bars15
35
minutes50
minutesThese s’mores brownies layer fudgy chocolate, graham cracker crust, and toasted marshmallows into one irresistible bite. Make them tonight!
Ingredients
2 cups graham cracker crumbs
1/2 cup unsalted butter, melted (for crust)
3 tablespoons granulated sugar
1 cup unsalted butter (for brownies)
8 oz dark chocolate (60% cacao or higher), chopped
2 cups granulated sugar
4 large eggs
1 cup all-purpose flour
1/4 teaspoon salt
3 cups mini marshmallows
Directions
- Preheat oven to 350°F. Line a 9×13-inch pan with parchment paper.
- Mix graham cracker crumbs, melted butter, and sugar. Press firmly into pan. Bake 8 minutes.
- Melt butter and chopped chocolate over simmering water, stirring until smooth.
- Whisk sugar into melted chocolate, then add eggs one at a time.
- Fold in flour and salt until just combined. Do not overmix.
- Pour batter over baked crust and spread evenly. Bake 22 to 25 minutes until edges are set.
- Top immediately with mini marshmallows. Return to oven 5 to 7 minutes until puffed.
- Broil on high for 60 to 90 seconds until marshmallows are golden. Watch closely.
- Cool 45 minutes before slicing with a warm, wiped knife.
Notes
- Storage: Keep in an airtight container at room temperature up to 3 days with parchment between layers.
Make-Ahead: Bake brownie base up to 2 days ahead. Add marshmallows and broil before serving.
Substitution: Large marshmallows cut in half work in place of mini marshmallows.
Freeze individual bars for up to 2 months. Thaw 20 minutes at room temperature.
Nutrition Table (per serving)
| Nutrient | Amount |
|---|---|
| Calories | 385 |
| Total Fat | 19g |
| Sugars | 38g |
| Protein | 4g |
Trusted Resource Links: For more on safe baking temperatures and food handling, visit the FDA Safe Food Handling guide. For a look at balancing indulgent desserts in an overall healthy diet, the American Heart Association Healthy Eating resource is a great reference.
Can You Make S’mores Brownies Ahead of Time?
Yes, you can make s’mores brownies up to 2 days in advance. Bake the brownie base with the graham crust, cool completely, and cover tightly. Add and toast the marshmallow topping within 2 hours of serving for the best texture.
I’ve tested storing fully assembled bars overnight, and while they taste great the next day, the marshmallow softens and loses its toasted crust by morning. For parties, I prep the brownie base the night before and finish the marshmallow step just before guests arrive.
The broil step takes under 2 minutes, so it’s genuinely no effort to do last minute. Everyone always asks how you got them to look so perfectly toasted when you pull them fresh from the oven.
What’s the Secret to Keeping S’mores Brownies Fudgy?
The key is not overbaking the brownie layer. Pull it at 22 to 25 minutes when the center still has a slight jiggle. Residual heat finishes the cooking, and the marshmallow step adds a few more minutes.
I learned this the hard way after baking a batch to a clean toothpick and ending up with cakey, dry brownies. The toothpick test doesn’t work well here because you need the center slightly underdone.
Using dark chocolate (at least 60% cacao) instead of cocoa powder also makes a big difference. Melted chocolate creates a richer, denser crumb that stays moist for days. I tested both methods side by side and the melted chocolate version won by a landslide.
Mini Marshmallows vs. Marshmallow Fluff: Which Is Better?
Mini marshmallows consistently outperform marshmallow fluff in this recipe. Mini marshmallows puff up into pillowy peaks when broiled and develop those signature golden-brown spots that make the dessert look and taste like a true s’more.
Marshmallow fluff spreads too thin and tends to burn in patches under the broiler before the rest catches color. I tried fluff across 4 test batches and got uneven browning every single time.
If you only have large marshmallows, cut them in half with kitchen scissors spritzed with cooking spray. They work well but require an extra 1 to 2 minutes of bake time before broiling to soften properly.
How Do You Get Clean Cuts on S’mores Brownies?
A warm, wiped knife is the single most important tool for clean cuts. Dip a long sharp knife in hot water, dry it completely, then cut in one smooth downward motion. Never saw back and forth.
Chill the fully cooled brownies in the refrigerator for 30 minutes before cutting if you want ultra-sharp bakery-style edges. Cold bars hold their shape much better than room-temperature ones during slicing.
I also found that scoring the marshmallow top lightly with the knife tip before making full cuts prevents the topping from dragging. This small extra step makes every slice look intentional and clean.
How to Store S’mores Brownies
Store cut bars in an airtight container at room temperature for up to 3 days. Place a layer of parchment between stacked bars so the marshmallow tops don’t fuse together.
For longer storage, freeze individual bars on a parchment-lined tray until solid, then transfer to a zip bag. They keep beautifully for up to 2 months. Thaw at room temperature for about 20 minutes and they taste freshly baked.
Avoid refrigerating s’mores brownies long-term as the cold air dries out the brownie layer quickly. Room temperature storage in a sealed container keeps that fudgy texture intact far better than the fridge.
Frequently Asked Questions
Q: Can I use a boxed brownie mix for s’mores brownies?
A: Yes, a boxed mix works well as a shortcut. Prepare it according to package directions and pour it over the pre-baked graham crust. The texture will be slightly lighter but still delicious.
Q: Why are my marshmallows burning before they brown evenly?
A: Your broiler is likely too hot or the rack is too close to the element. Move the rack down one position and watch the bars every 20 seconds. Keeping the oven door slightly open gives you much better control.
Q: Can s’mores brownies be made gluten-free?
A: Yes. Swap regular graham crackers for gluten-free graham crackers and use a 1:1 gluten-free flour blend in the brownie batter. The texture is nearly identical, and I tested this version twice with great results.