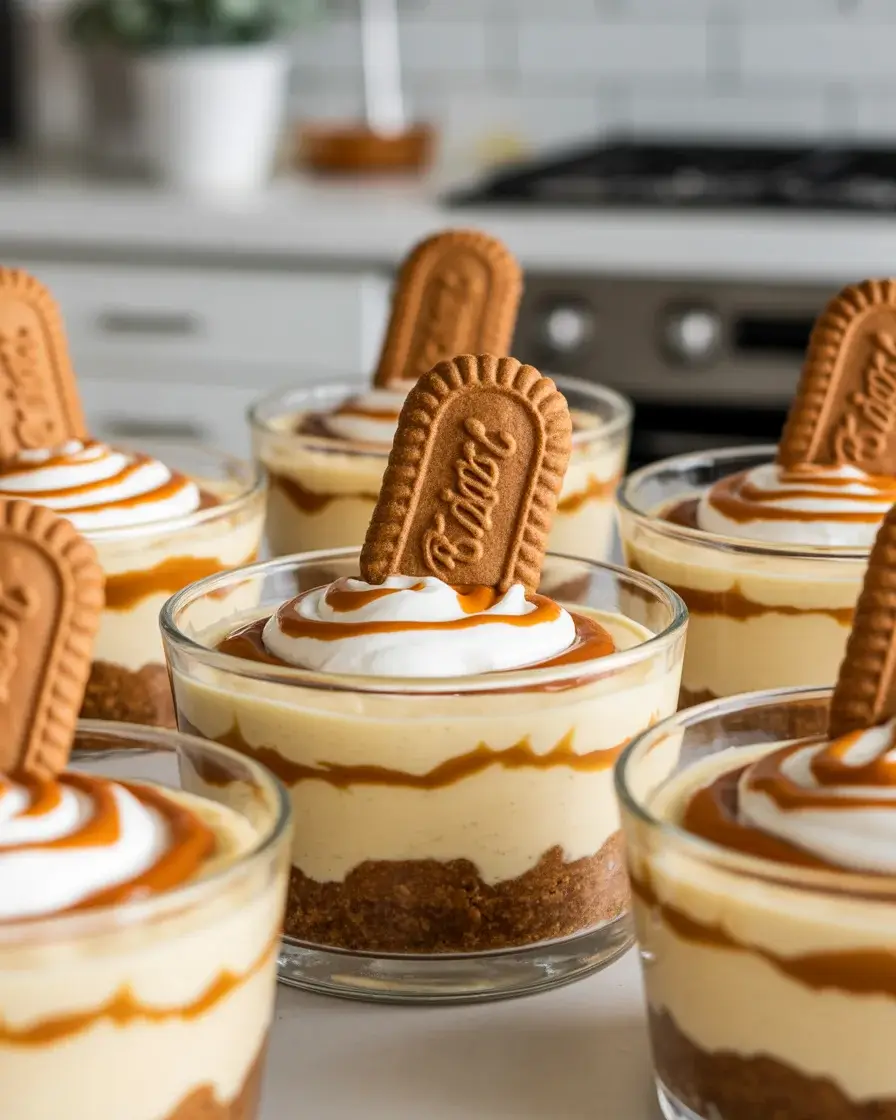
Biscoff Cheesecake Cups
I stumbled onto this recipe after a disaster with a full-sized Biscoff cheesecake that cracked beyond repair. I needed individual servings that wouldn’t fall apart, and these cups solved everything. They’re rich, creamy, and packed with that signature spiced cookie flavor.
These no-bake cups take just 20 minutes of hands-on time and chill while you get on with your day. I’ve made them for dinner parties, holidays, and random Tuesday cravings. They work every single time.
Step-by-Step Instructions
Step 1: Make the Biscoff Crust
Pulse 12-15 Biscoff cookies (about 1.5 cups crumbs) in a food processor until they’re fine crumbs with no large chunks. Mix in 3 tablespoons melted butter until the mixture looks like wet sand. I tested this with both salted and unsalted butter, and salted wins for balancing the sweetness.
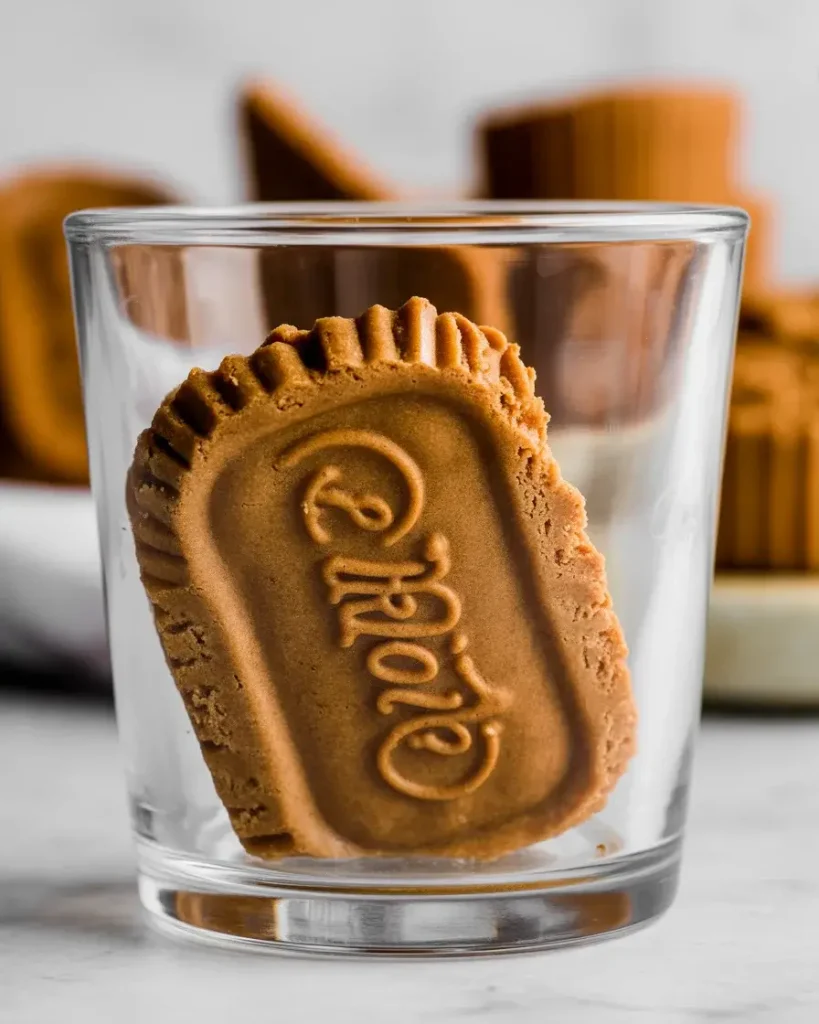
Press about 2 tablespoons of the mixture firmly into the bottom of each cup or glass. I use a shot glass to pack it down tight. If the crust is loose, it’ll fall apart when you dig in. Let these chill in the fridge while you make the filling.
Step 2: Beat the Cream Cheese Base
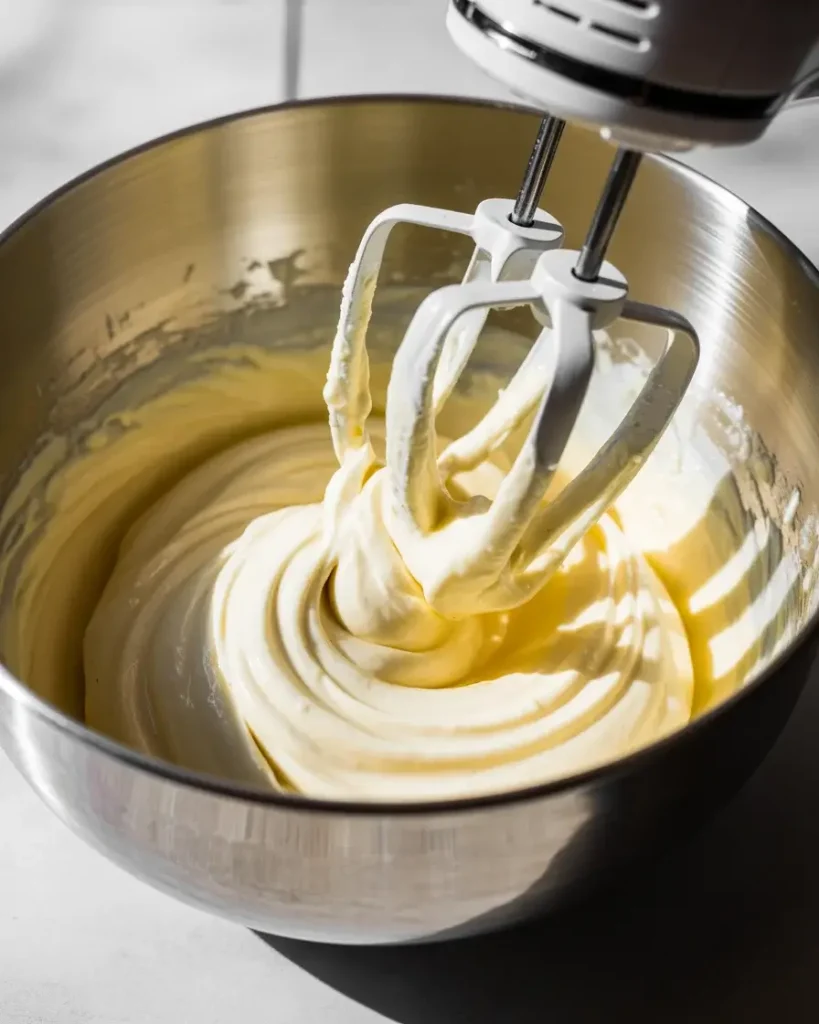
Beat 16 ounces of room-temperature cream cheese with an electric mixer on medium speed for 2-3 minutes until it’s completely smooth with no lumps. I cannot stress this enough: cold cream cheese will give you chunks that never blend out. I leave mine on the counter for 45-60 minutes before starting.
Add 1/2 cup powdered sugar and beat for another minute. The sugar dissolves better than granulated and keeps the filling silky. Scrape down the sides twice during this process. I’ve learned that hidden pockets of unbeaten cream cheese ruin the texture.
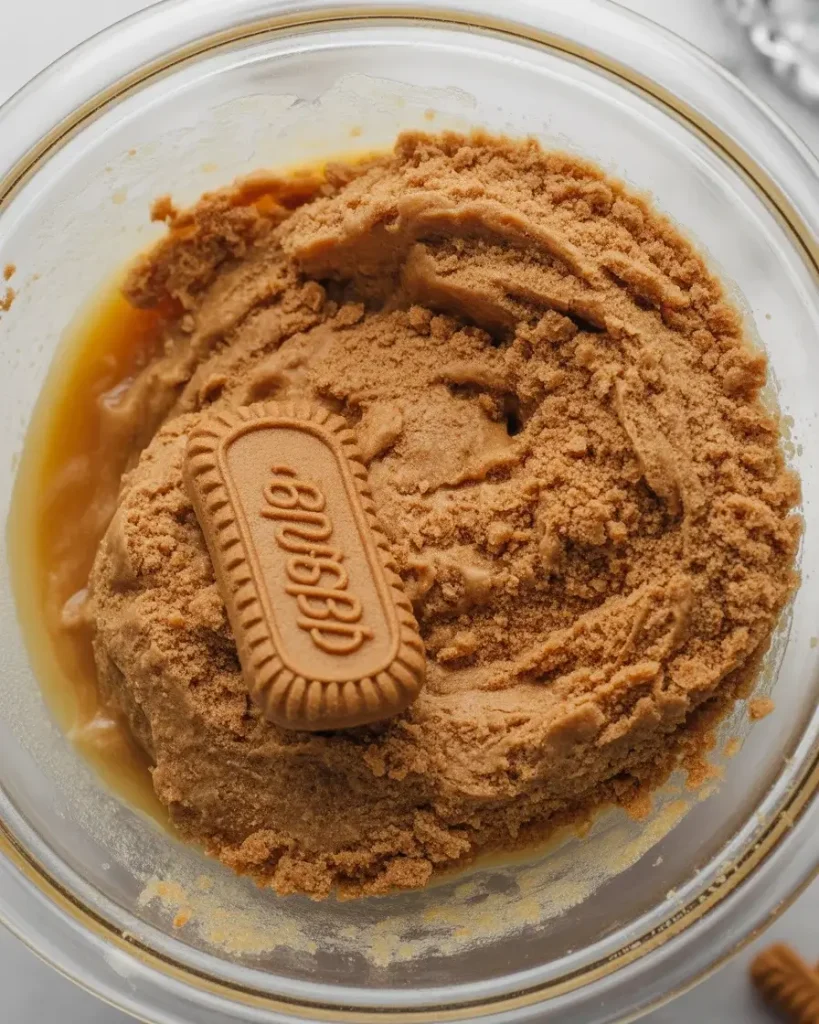
Step 3: Add the Biscoff Spread
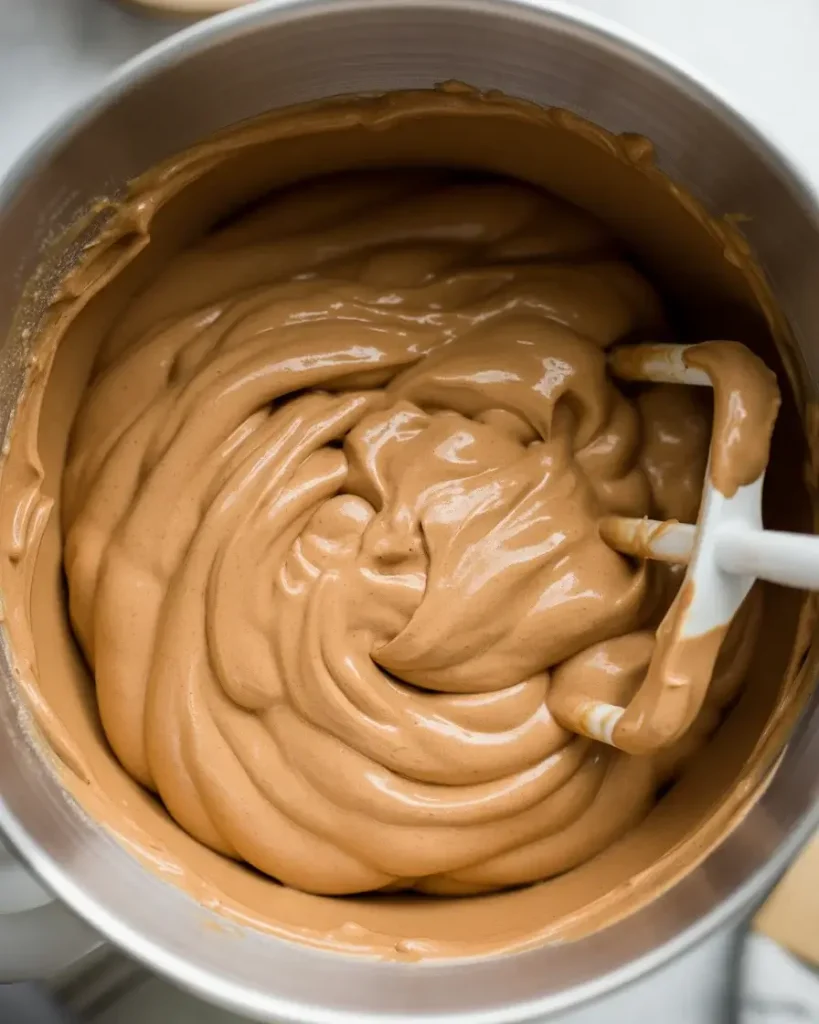
Mix in 1/2 cup of Biscoff spread (also called cookie butter) on low speed until fully incorporated. The filling will turn a gorgeous caramel color. I tested smooth versus crunchy spread, and smooth creates a better texture. Crunchy adds interesting bits, but it’s not as creamy.
The spread should be at room temperature too, or it’ll create streaks. If yours is cold, microwave it for 10-15 seconds. I add 1 teaspoon of vanilla extract here for depth. Beat everything for 30 seconds until uniform.
Discover your next favorite dish here
Step 4: Fold in the Whipped Cream
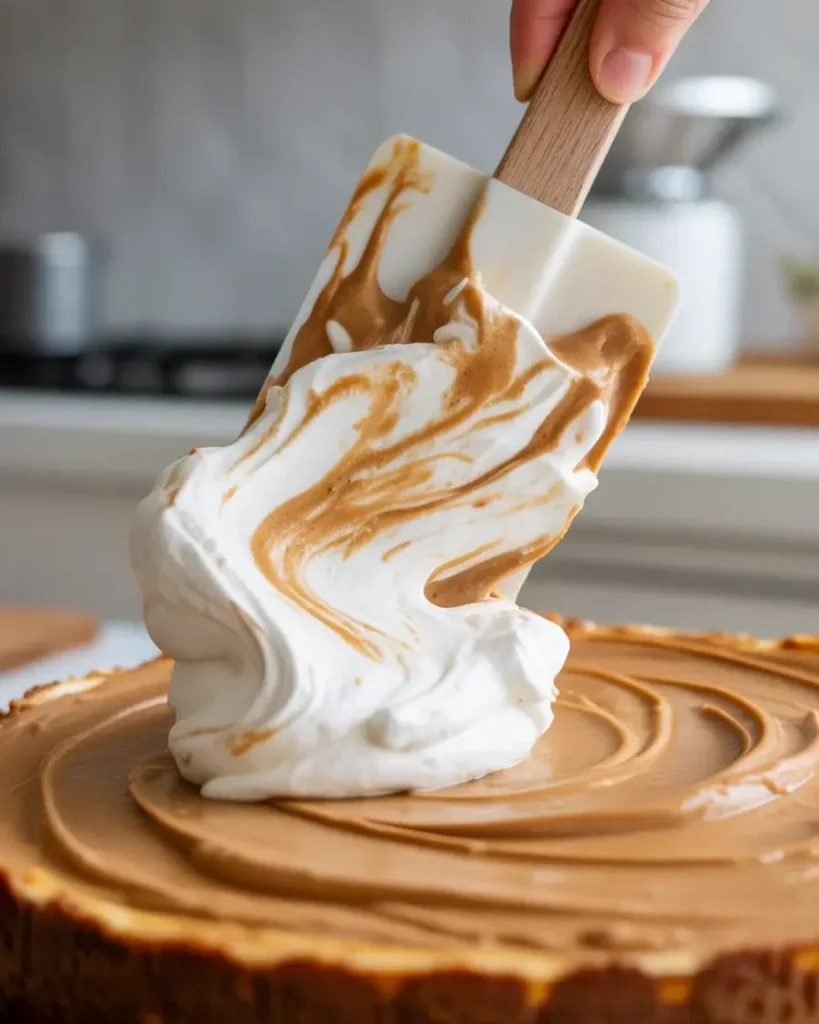
Whip 1 cup of heavy cream to stiff peaks in a separate bowl. This takes 3-4 minutes with a hand mixer on high speed. You’ll know it’s ready when you lift the beaters and peaks stand straight up without drooping. Under-whipped cream makes the filling too soft.
Fold the whipped cream into the Biscoff mixture in three additions using a spatula. Use gentle folding motions from the bottom up. I tested just mixing everything together, and you lose all the airiness. The folding method keeps the filling light and mousse-like instead of dense.
Step 5: Pipe the Filling into Cups
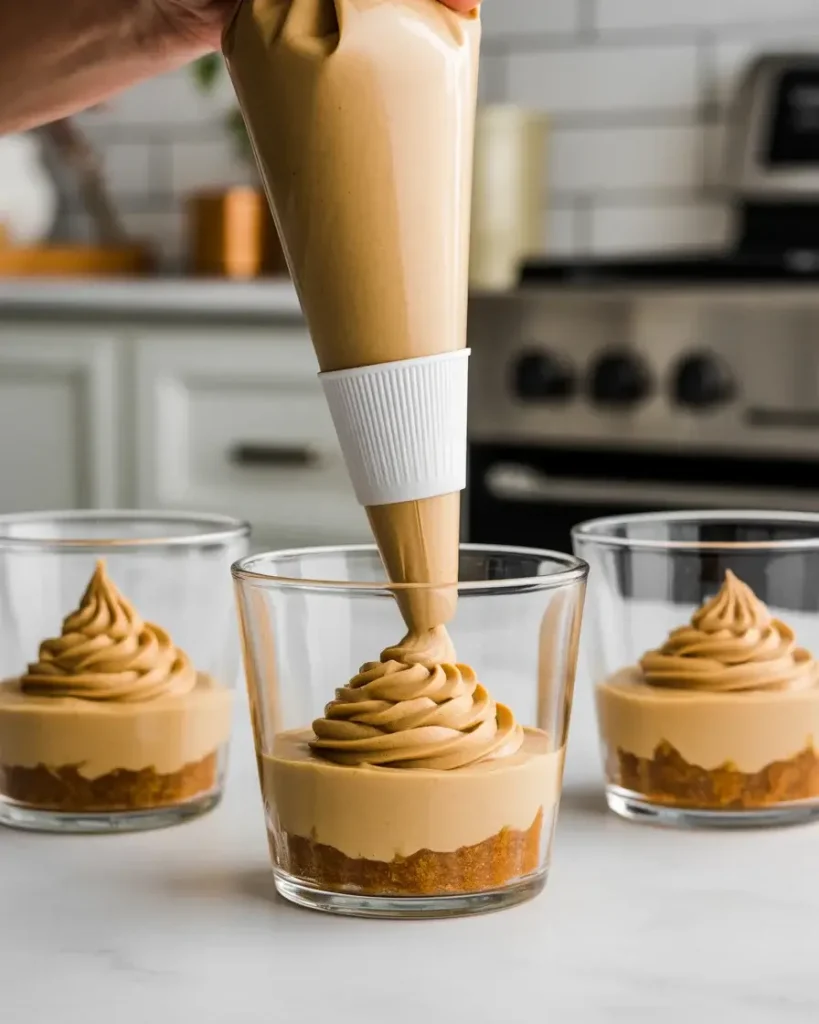
Transfer the filling to a piping bag or a large ziplock bag with one corner snipped off. Pipe the filling over the chilled crusts, leaving about 1/4 inch of space at the top. I learned this the hard way when I overfilled cups and the toppings had nowhere to go.
A piping bag gives you clean, professional-looking swirls. If you don’t have one, spoon the filling in carefully and smooth the top with the back of a spoon. I’ve done it both ways. Piping looks better, but spooning tastes exactly the same.
Step 6: Add Toppings and Chill
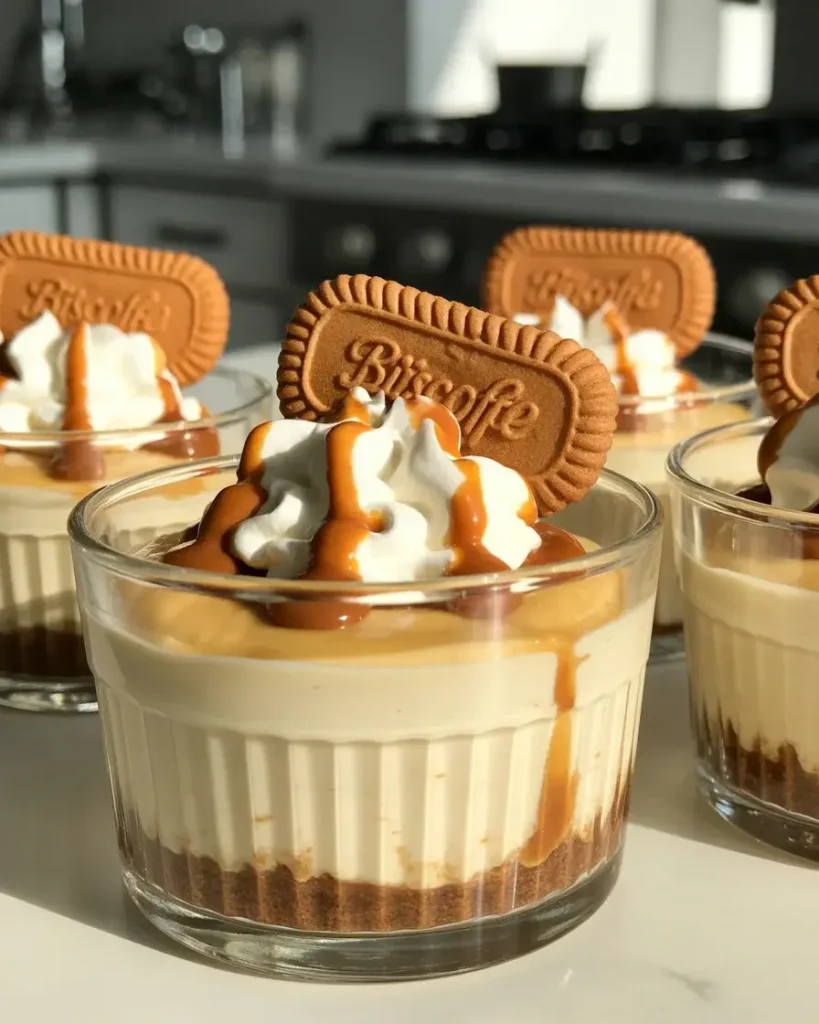
Top each cup with a small dollop of whipped cream (I save extra from the filling step), a drizzle of melted Biscoff spread, and a whole or broken Biscoff cookie. Melt the spread in the microwave for 15-20 seconds so it’s pourable but not hot. Hot spread will melt your whipped cream.
Refrigerate for at least 3 hours, but 4-5 hours is better. I tested them at every hour mark. At 2 hours they’re too soft. At 3 hours they’re set but still delicate. At 4+ hours they’re perfect and hold their shape when you scoop into them.

Biscoff Cheesecake Cups
Course: DessertCuisine: AmericanDifficulty: Easy6
20
minutes4
hours4
hours20
minutesCreamy no-bake cheesecake cups with a spiced Biscoff cookie crust and rich cookie butter filling, ready in 20 minutes plus chill time.
Ingredients
12-15 Biscoff cookies (about 1.5 cups crumbs)
3 tablespoons salted butter, melted
16 ounces cream cheese, room temperature
1/2 cup powdered sugar
1/2 cup Biscoff spread (cookie butter), room temperature
1 teaspoon vanilla extract
1 cup heavy cream, cold
Extra whipped cream for topping
2 tablespoons Biscoff spread for drizzling, melted
6 whole Biscoff cookies for garnish
Directions
- Pulse Biscoff cookies in food processor until fine crumbs, mix with melted butter until wet sand consistency
- Press 2 tablespoons crust mixture firmly into bottom of each cup, chill while making filling
- Beat cream cheese on medium speed for 2-3 minutes until smooth and lump-free
- Add powdered sugar and beat 1 minute until fully incorporated
- Mix in Biscoff spread and vanilla on low speed for 30 seconds until uniform caramel color
- In separate bowl, whip heavy cream to stiff peaks (3-4 minutes on high speed)
- Gently fold whipped cream into Biscoff mixture in three additions to maintain airiness
- Pipe or spoon filling over chilled crusts, leaving 1/4 inch space at top
- Top with whipped cream dollop, drizzle melted Biscoff spread, add whole cookie
- Refrigerate 4-5 hours until firm and set before serving
Notes
- Cream cheese and Biscoff spread must be room temperature to avoid lumps
Cover tightly with plastic wrap for storage up to 3 days
Add whipped cream topping just before serving for best appearance
Freeze without toppings for up to 1 month, thaw in refrigerator overnight
Nutrition Table (per serving)
| Nutrient | Amount |
|---|---|
| Calories | 520 |
| Total Fat | 38g |
| Sugars | 32g |
| Protein | 6g |
Trusted Resource Links
For more information on safe dairy handling and food storage, visit the FDA Safe Food Handling guide. For general healthy eating guidance and dessert moderation tips, check out the American Heart Association Healthy Eating resources.
Can You Make Biscoff Cheesecake Cups Ahead of Time?
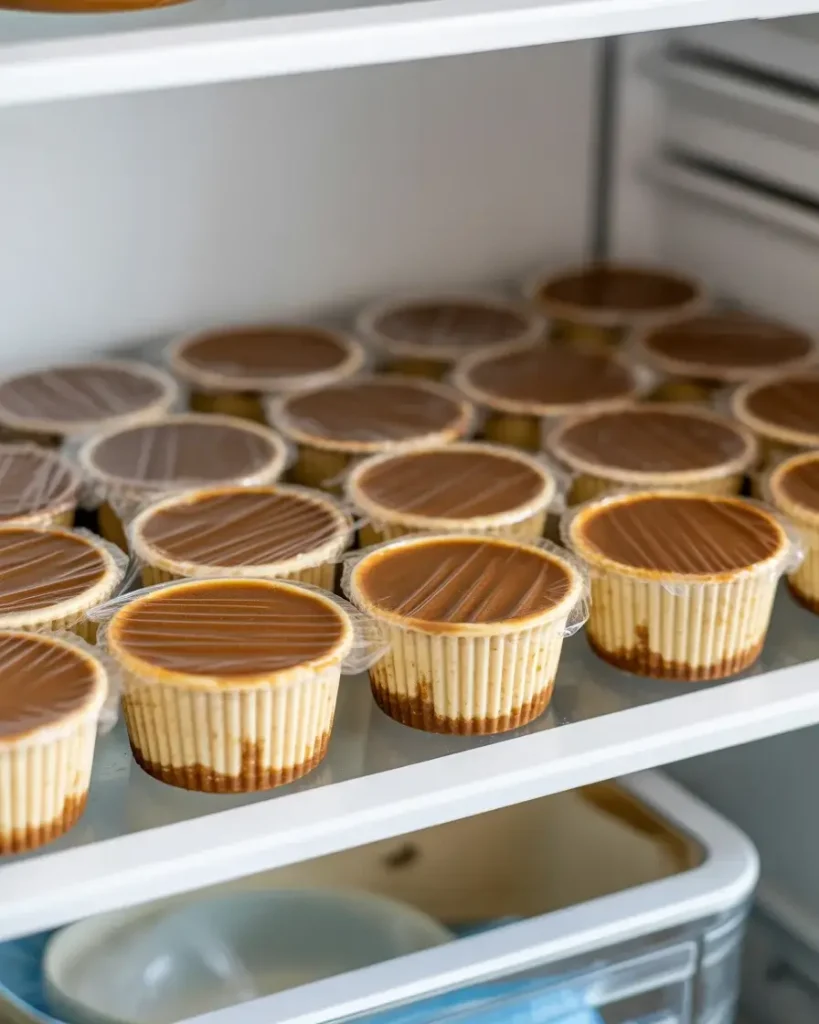
Yes, these cups keep beautifully for up to 3 days in the refrigerator. I make them every Friday for weekend gatherings. The filling actually firms up more on day two, which makes them easier to eat without them getting too soft.
Cover each cup tightly with plastic wrap, pressing it directly onto the surface to prevent a skin from forming. I tested leaving them uncovered, and the tops dried out and cracked. Covered cups stay creamy and fresh.
Don’t add the whipped cream topping until serving day. I learned this after finding deflated, weepy cream on day-old cups. Add the toppings 1-2 hours before serving.
The cookie and drizzle can go on early, but save the whipped cream dollop for the last minute. If you’re making these for a party, prep everything the night before and top them the morning of.
What’s the Best Container for Cheesecake Cups?
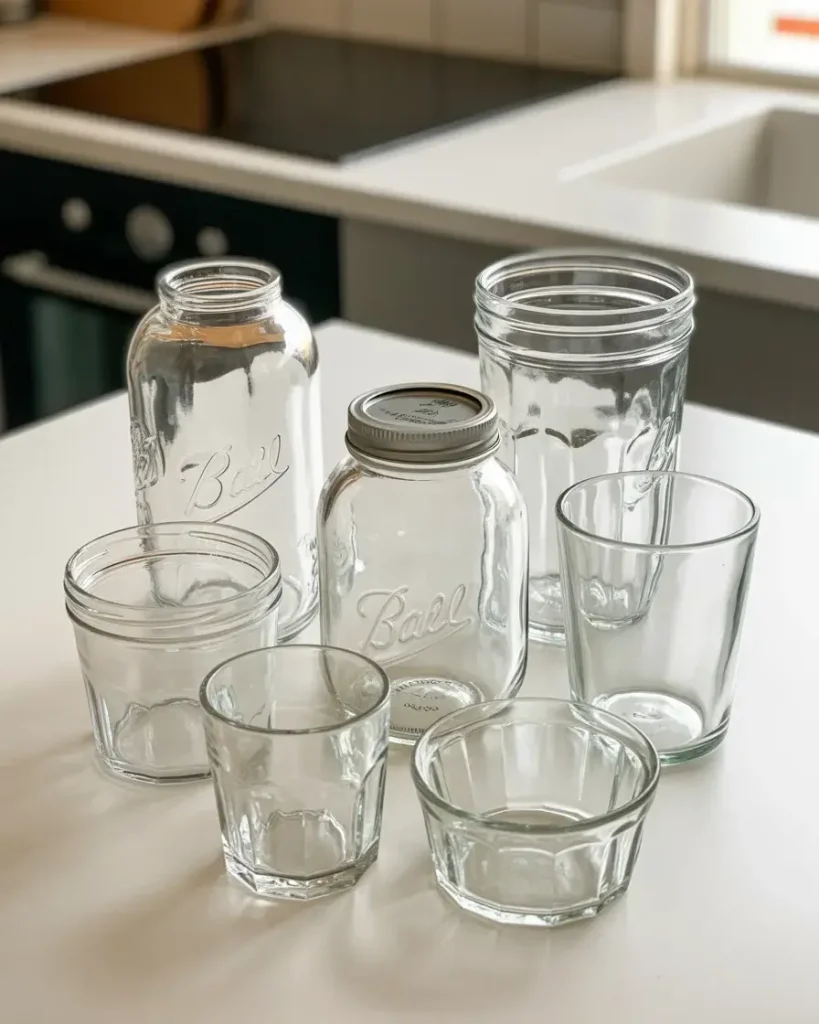
Clear glass cups or jars show off the gorgeous layers and make your dessert look impressive. I use 8-ounce mason jars or small glass tumblers. The clear sides let guests see the cookie crust, creamy filling, and toppings all at once.
Plastic cups work fine if you’re serving a crowd or taking these to a potluck. They’re lighter and safer to transport. I’ve used 9-ounce clear plastic cups with lids dozens of times. They don’t look quite as fancy, but they’re practical.
Avoid anything smaller than 6 ounces because you won’t get enough filling in each serving. I tested 4-ounce cups once and ended up with 12 tiny portions that disappeared in two bites. T
he 8-9 ounce size gives you a satisfying dessert without being overwhelming. Wide-mouth containers are easier to eat from than narrow ones. I switched from tall, skinny cups to short, wide ones after watching guests struggle to get their spoons to the bottom.
Can You Freeze Biscoff Cheesecake Cups?
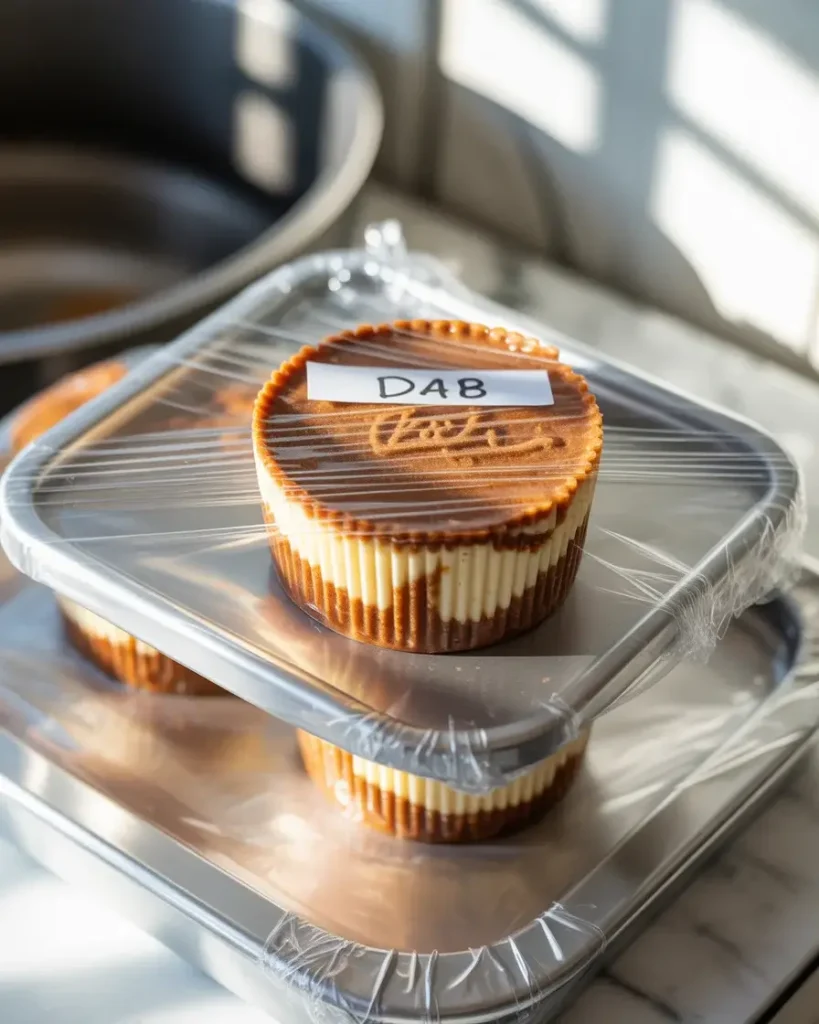
Yes, these freeze surprisingly well for up to 1 month. I keep a batch in the freezer for unexpected guests or emergency dessert situations. Freeze them without the whipped cream topping, just the filling and crust.
Cover each cup with plastic wrap, then aluminum foil. The double layer prevents freezer burn and flavor absorption. I label them with the date because they look like other desserts I have frozen. Thaw in the refrigerator overnight, never at room temperature.
Room temperature thawing makes the filling weep and separate. I tested this and ended up with watery cups. Slow refrigerator thawing keeps everything creamy. Add fresh toppings after thawing.
The texture changes slightly after freezing, becoming a bit denser, but the flavor stays incredible. I actually prefer eating these semifrozen on hot summer days. They’re like Biscoff ice cream cups.
How Do You Prevent a Soggy Crust?
Pack the cookie crust firmly and let it chill for at least 15 minutes before adding the filling. A loose, warm crust absorbs moisture from the filling and turns to mush. I press mine down with the bottom of a shot glass until it feels solid.
The ratio of butter to cookies matters too. I tested different amounts and found that 3 tablespoons of butter per 1.5 cups of crumbs is the sweet spot. Less than that and the crust is crumbly. More and it’s greasy.
Don’t skip chilling the filled cups for the full 3-4 hours. Under-chilled cups have soft filling that seeps into the crust. I got impatient once and served them after 90 minutes. The crusts were soggy and the filling was too loose to hold a spoon. Full chilling time lets everything set properly.
The filling firms up and creates a barrier that keeps the crust crisp. If you’re really concerned, brush a thin layer of melted Biscoff spread over the crust before chilling. It creates a waterproof seal.
What Can You Use Instead of Biscoff Cookies?
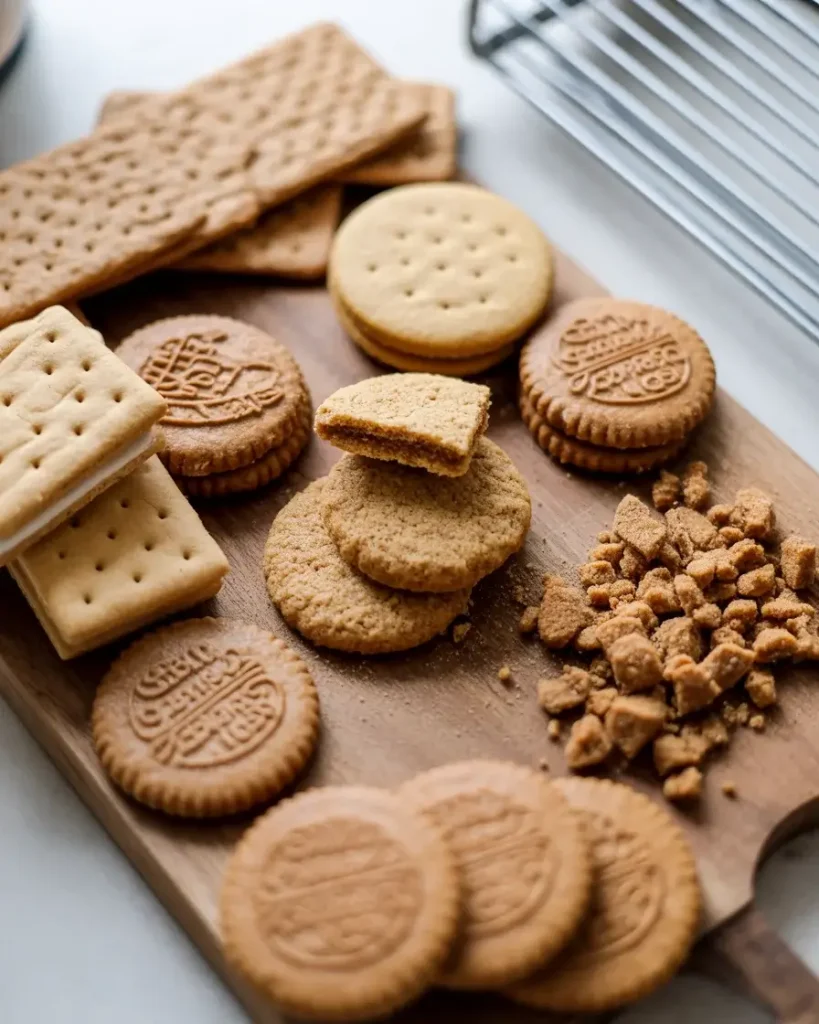
Graham crackers work but lose the signature spiced cookie flavor. I tested them when I ran out of Biscoff cookies once. The texture was right, but the taste was plain. Add 1/2 teaspoon of cinnamon to the graham cracker crust to get closer to Biscoff flavor.
Ginger snaps are the best substitute because they have similar spices. Use the same measurements and follow the recipe exactly. The flavor is slightly sharper and more ginger-forward, but it’s delicious. I’ve also tested vanilla wafers, which create a sweeter, less complex flavor.
Speculoos cookies are basically the same as Biscoff and work perfectly. They’re the same spiced cookie sold under different brand names in different countries. If you want to get creative, try half Biscoff and half chocolate cookies for a chocolate-Biscoff hybrid.
I tested this combo for a party and guests loved it. Use Oreos (filling removed) or chocolate graham crackers. The chocolate doesn’t overpower the Biscoff spread in the filling.
Frequently Asked Questions
Q: Can I use low-fat cream cheese for Biscoff cheesecake cups?
A: I don’t recommend it. I tested low-fat cream cheese twice and the filling was too loose and didn’t set properly even after 6 hours of chilling. Full-fat cream cheese is essential for the right texture and stability.
Q: Why is my cheesecake filling grainy?
A: Cold cream cheese is the culprit. Let it sit at room temperature for 45-60 minutes before starting. Beat it longer (3 full minutes) to ensure all lumps disappear before adding other ingredients.
Q: Can I make these without a food processor?
A: Yes. Place Biscoff cookies in a sealed ziplock bag and crush with a rolling pin until fine crumbs form. It takes more effort but works perfectly. Mix the crumbs with melted butter as directed.