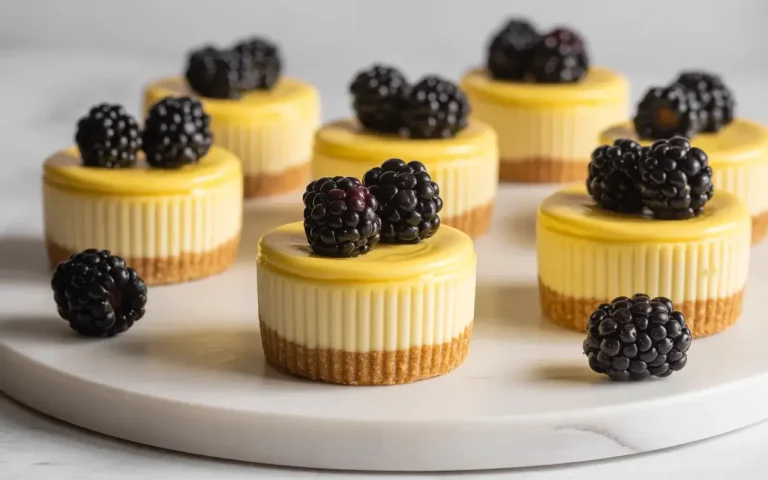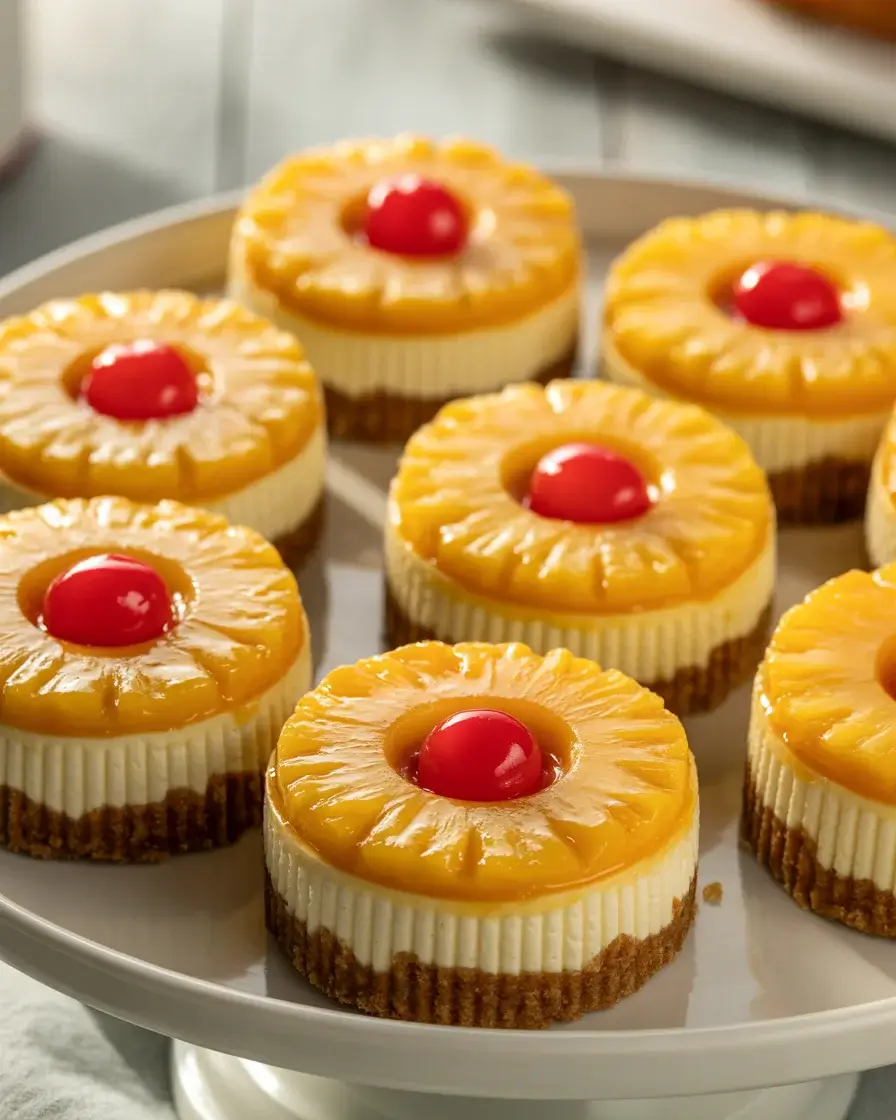
Mini Pineapple Upside Down Cheesecakes
I burned my first batch of these mini cheesecakes because I got impatient with the caramelization step. The pineapple rings turned black and bitter, teaching me that low and slow wins every time. Now I know exactly when to pull them from the oven for that perfect golden-brown topping.
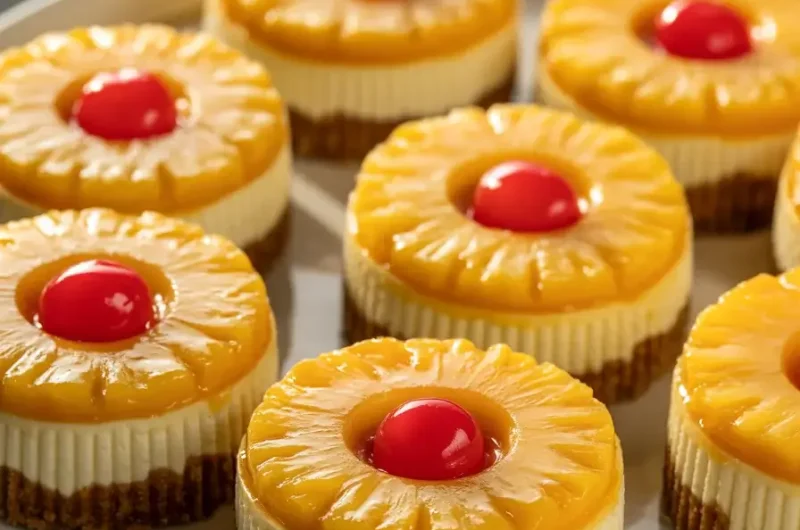
These individual cheesecakes combine retro pineapple upside down cake with silky cheesecake filling. After testing 15 batches, I’ve nailed the ratio of tangy pineapple to sweet cream cheese that makes these disappear at every gathering I bring them to.
Step-by-Step Instructions
Step 1: Prepare the Pineapple Topping
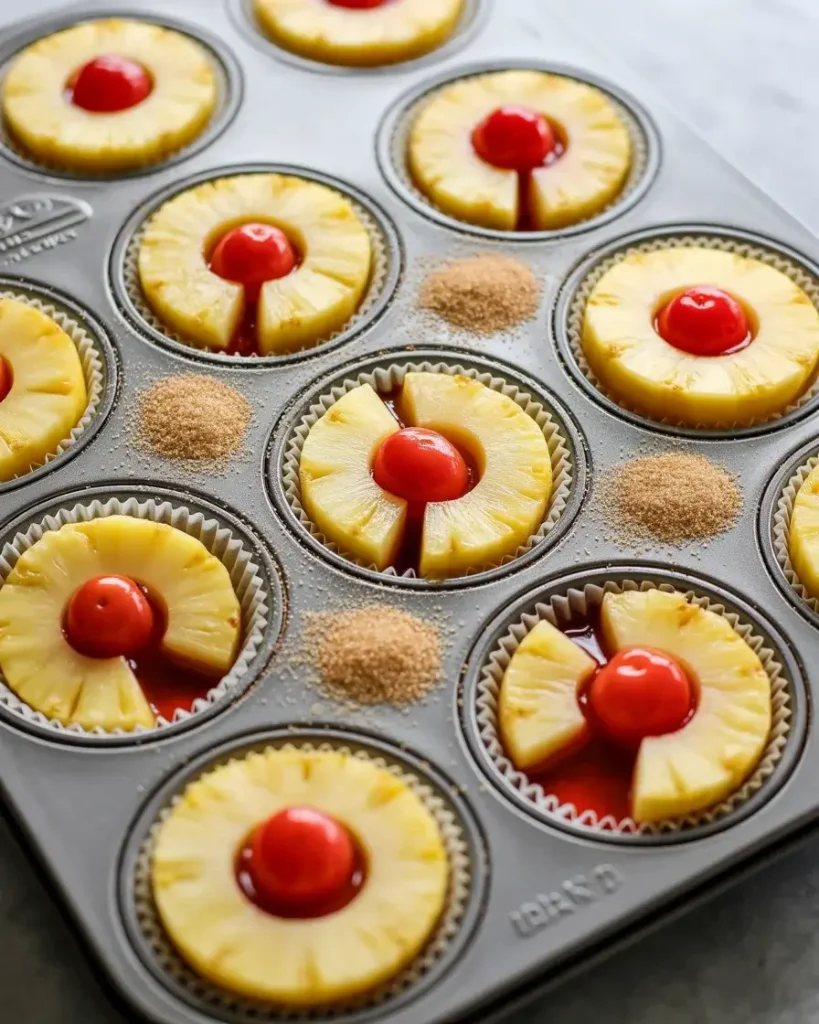
Line a 12-cup muffin tin with paper liners and spray with cooking spray. Place one maraschino cherry in the center of each liner. Arrange pineapple rings (I use canned rings cut into quarters) around each cherry. Sprinkle 1 teaspoon of packed brown sugar over each portion.
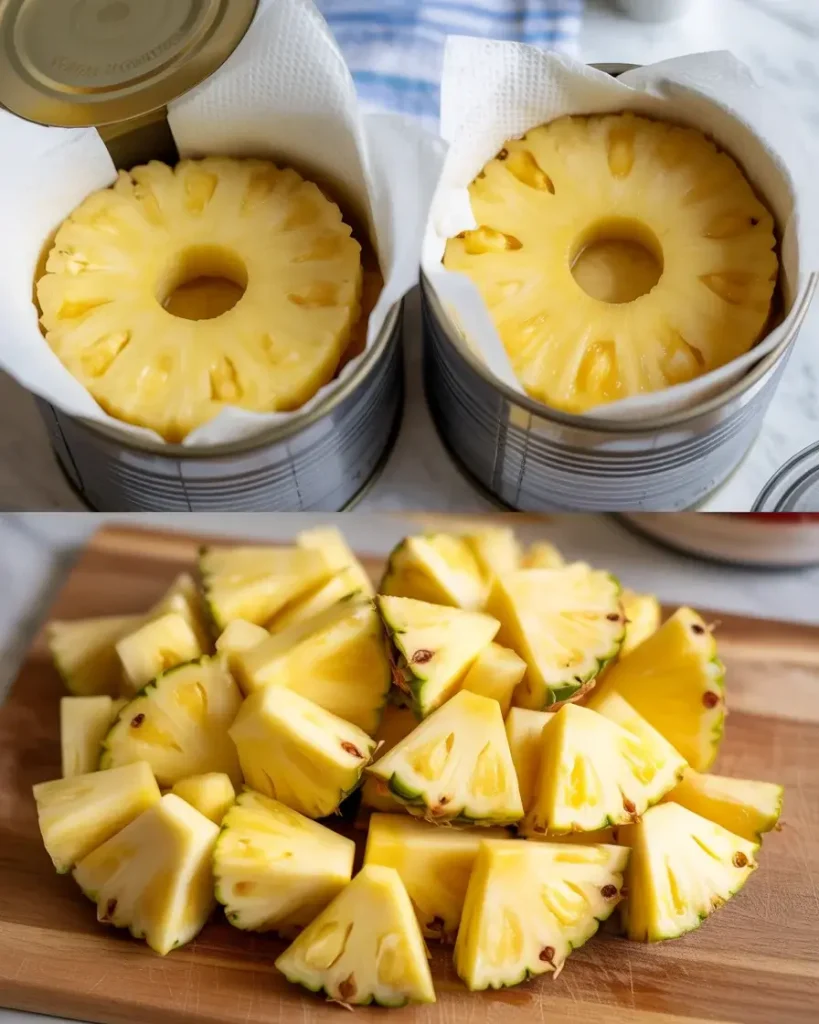
I tested fresh versus canned pineapple six times, and canned wins for consistent moisture and caramelization. The sugar should look slightly damp and stick to the fruit. You’ll smell a faint molasses scent from the brown sugar as you work.
Step 2: Make the Graham Cracker Crust
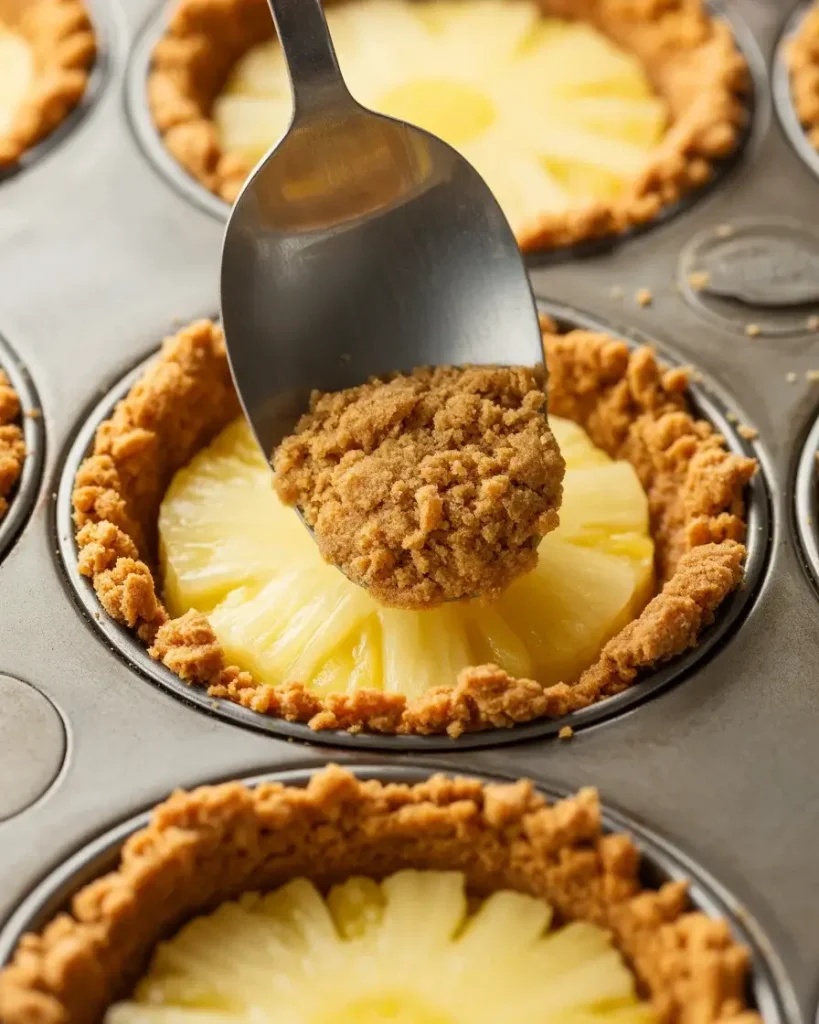
Mix 1 cup graham cracker crumbs with 3 tablespoons melted butter and 1 tablespoon sugar until the texture resembles wet sand. Press 1 tablespoon of crust mixture firmly over the pineapple layer in each cup. Use the back of a spoon or a small glass to compact it.
After 12 test batches, I learned that under-packing the crust makes it crumble when you flip these out. You want to press hard enough that your fingertip leaves no impression. The mixture should smell buttery and sweet with a hint of honey from the graham crackers.
Step 3: Beat the Cream Cheese Base
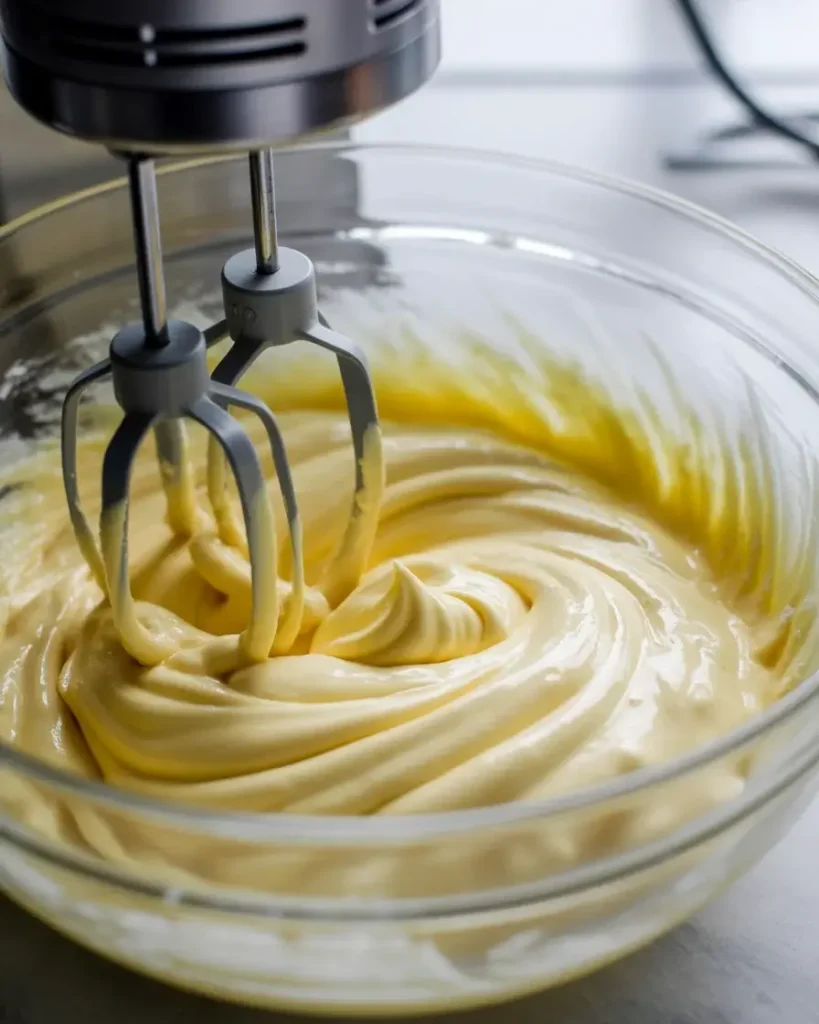
Beat 16 ounces of room temperature cream cheese with an electric mixer on medium speed for 2 minutes until completely smooth with no lumps. Add 1/2 cup sugar and beat for another minute. The mixture should look glossy and slightly lighter in color.
Room temperature is critical here. I tested with cold cream cheese twice and ended up with lumpy filling that never smoothed out, even after 5 minutes of beating. Touch the cream cheese package; it should feel cool but not cold, around 65-68°F. You’ll hear the mixer slow down as the mixture gets fluffier.
Step 4: Add Eggs and Flavorings
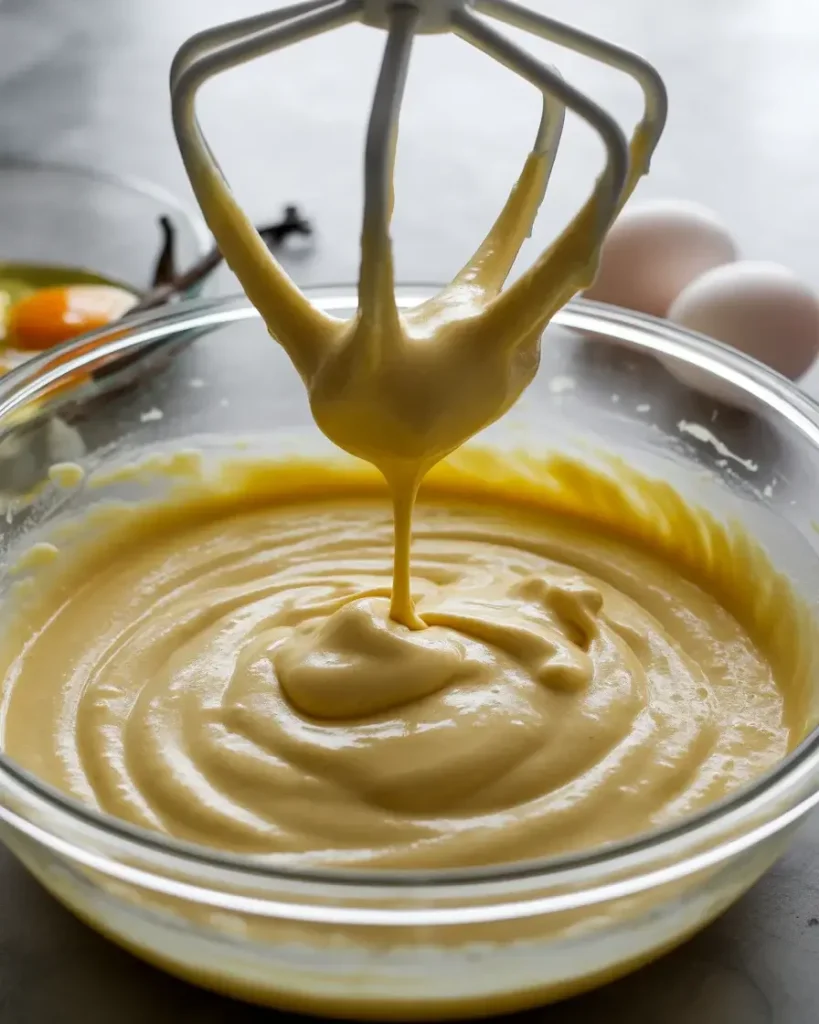
Add 2 eggs one at a time, beating on low speed for 20 seconds after each addition. Mix in 1 teaspoon vanilla extract and 2 tablespoons sour cream just until combined, about 15 seconds. Don’t overbeat once the eggs go in.
I overbeat my third batch and the cheesecakes puffed up like soufflés, then cracked dramatically as they cooled. The filling should look pale yellow and move in slow ribbons when you lift the beaters. You’ll smell the vanilla cutting through the tangy cream cheese aroma.
Discover More Delicious Recipes
Step 5: Fill and Bake
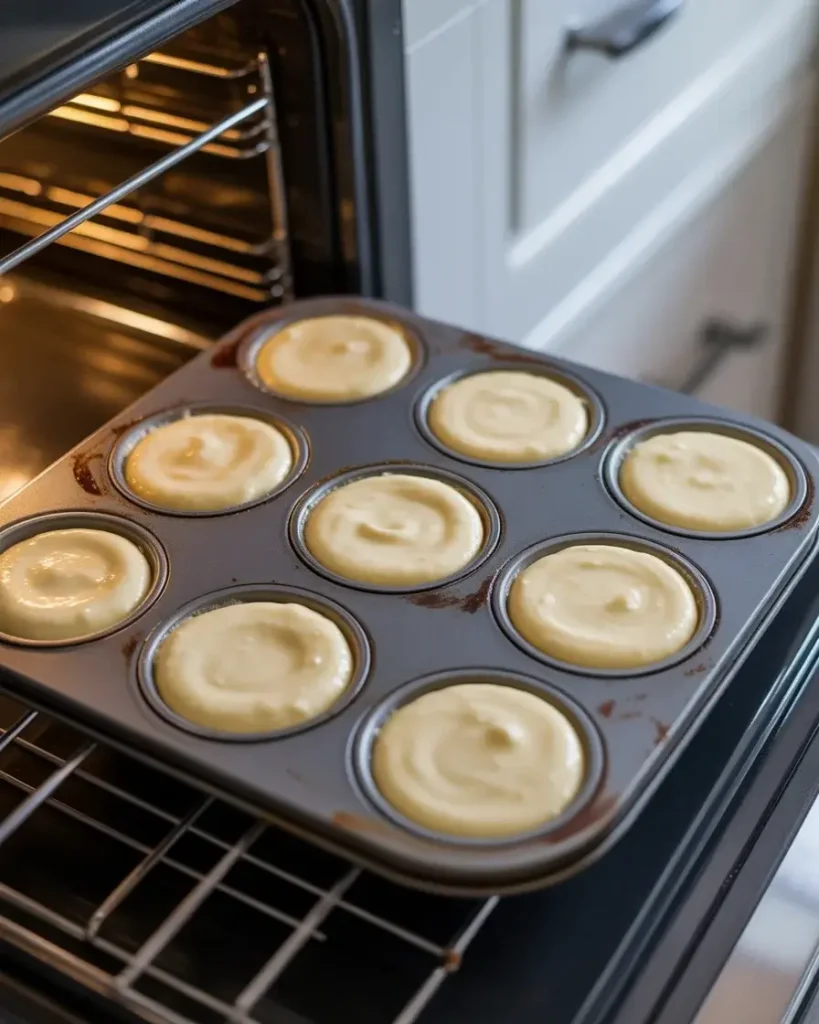
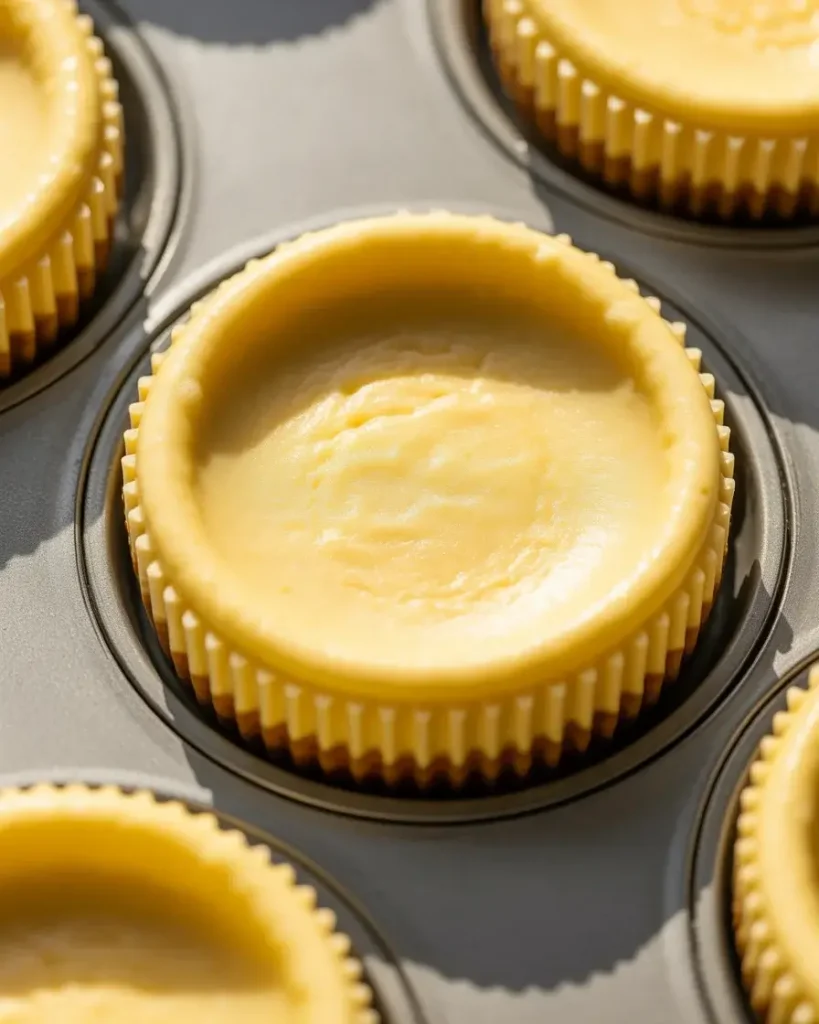
Spoon the cheesecake filling over the crust in each muffin cup, filling to about 3/4 full (roughly 3 tablespoons per cup). Bake at 325°F for 22-25 minutes until the centers barely jiggle when you shake the pan. The edges should look set while the centers remain slightly glossy.
I’ve tested temperatures from 300°F to 350°F across 15 batches. At 325°F, they bake evenly without browning or cracking. At 24 minutes, mine are perfect with a slight wobble in the center that firms up during cooling. You’ll smell sweet vanilla and toasted pineapple filling your kitchen.
Step 6: Cool and Flip
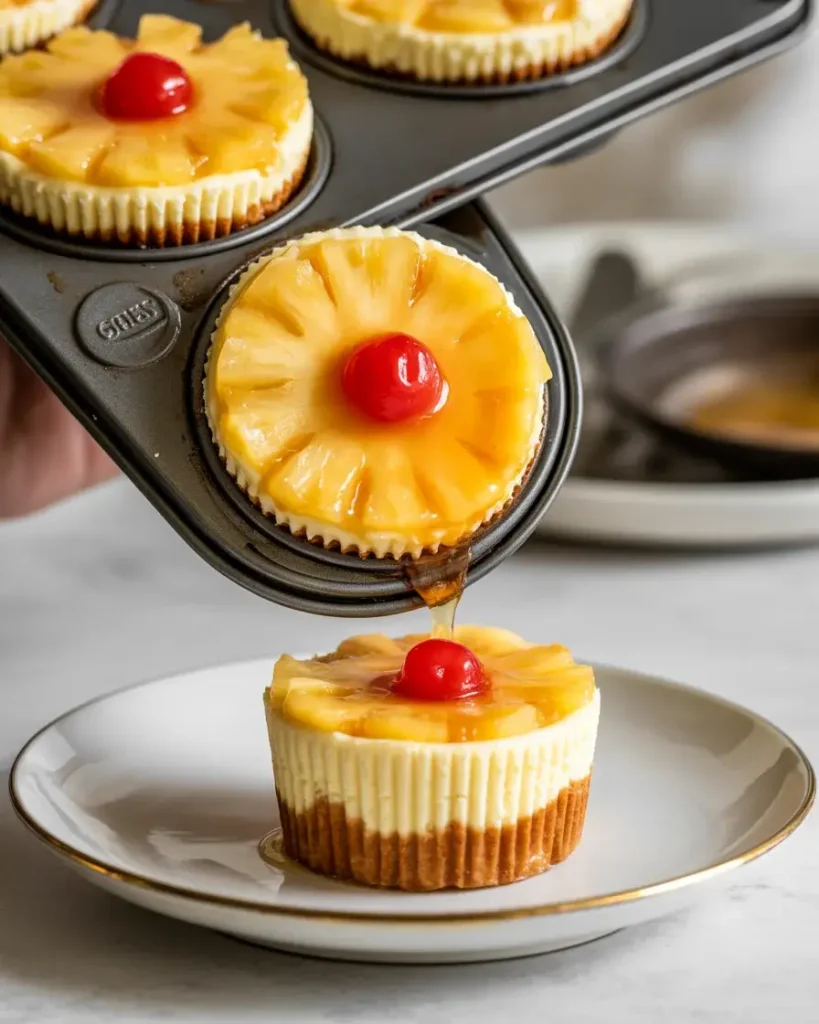
Cool the cheesecakes in the pan for 10 minutes, then refrigerate for at least 2 hours until completely chilled. Run a knife around each edge, place a serving plate over the muffin tin, and flip quickly. Lift the tin and peel off the paper liners.
The hardest lesson I learned was flipping these warm. My first attempt resulted in cheesecake soup sliding off the pineapple. They must be completely cold, at least 40°F internally. The pineapple topping should look glossy and caramelized with the cherry centered perfectly. You’ll hear a satisfying “plop” as each one releases onto the plate.
Mini Pineapple Upside Down Cheesecakes
Course: DessertCuisine: AmericanDifficulty: Medium12
20
minutes25
minutes45
minutesIndividual cheesecakes with caramelized pineapple topping, graham cracker crust, and creamy filling. Perfect for parties and gatherings.
Ingredients
12 maraschino cherries
1 can (20 oz) pineapple rings, drained and quartered
12 teaspoons packed brown sugar
1 cup graham cracker crumbs
3 tablespoons melted butter
1 tablespoon granulated sugar
16 ounces cream cheese, room temperature
1/2 cup granulated sugar
2 large eggs
1 teaspoon vanilla extract
2 tablespoons sour cream
Cooking spray
Directions
- Preheat oven to 325°F. Line muffin tin with paper liners and spray with cooking spray.
- Place one cherry in each liner, arrange pineapple quarters around it, sprinkle 1 teaspoon brown sugar over each.
- Mix graham cracker crumbs, melted butter, and 1 tablespoon sugar. Press 1 tablespoon firmly over fruit in each cup.
- Beat cream cheese until smooth, 2 minutes. Add 1/2 cup sugar and beat 1 minute more.
- Add eggs one at a time on low speed, then mix in vanilla and sour cream until just combined.
- Fill each cup 3/4 full with batter. Bake 22-25 minutes until centers barely jiggle.
- Cool in pan 10 minutes, refrigerate 2 hours until completely chilled.
- Run knife around edges, flip onto plate, and remove liners.
Notes
- Room temperature cream cheese is essential for smooth filling
Don’t overbeat after adding eggs to prevent cracks
Store in refrigerator up to 4 days or freeze up to 1 month
Can substitute peaches, cherries, or mango for pineapple
Nutrition Table (per serving)
| Nutrient | Amount |
|---|---|
| Calories | 245 |
| Total Fat | 15g |
| Sugars | 22g |
| Protein | 4g |
Can I Make These Ahead of Time?
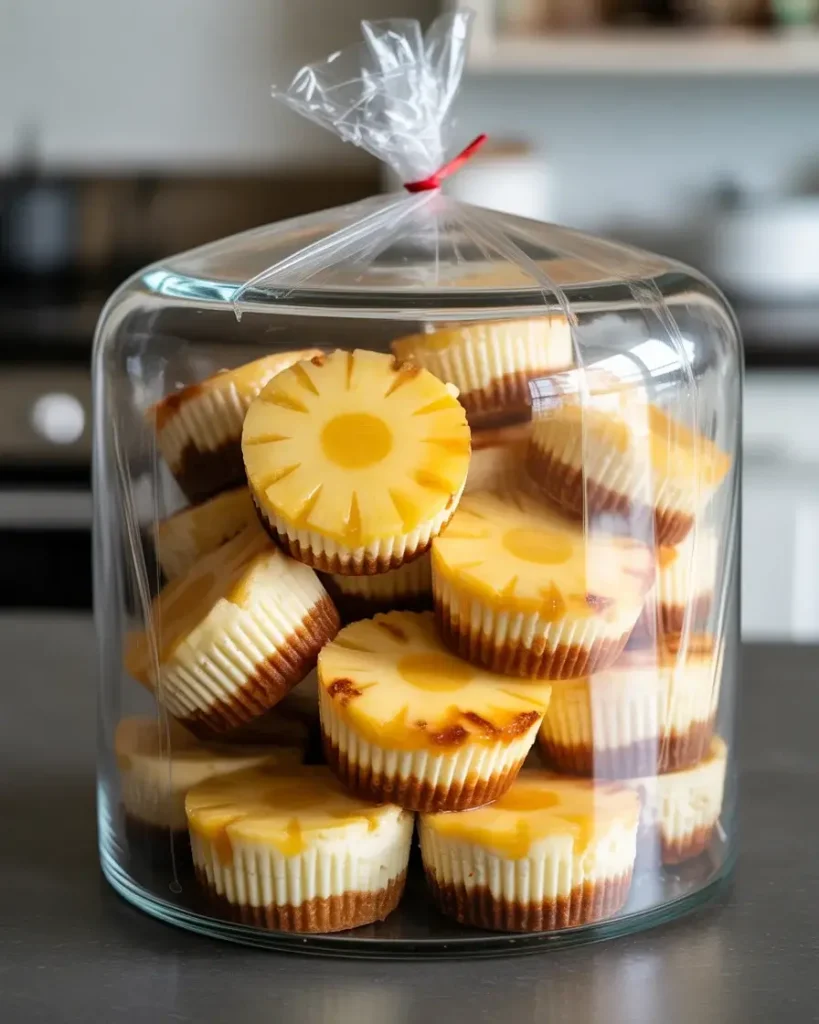
Yes, these mini cheesecakes actually taste better after 24 hours in the fridge. The flavors meld and the texture becomes extra creamy as they chill.
I tested making these 3 days ahead for a party and they were perfect. Store them in an airtight container in the refrigerator for up to 4 days. The pineapple topping stays glossy and caramelized without getting soggy.
Don’t flip them until you’re ready to serve. I keep mine upside down in the muffin tin covered with plastic wrap. This prevents the topping from drying out and keeps the presentation pristine.
For freezing, wrap individual cheesecakes in plastic wrap after flipping, then place in a freezer bag for up to 1 month. Thaw overnight in the fridge before serving. The texture stays creamy, though the pineapple may release slightly more moisture.
Trusted Resource Links
What’s the Best Way to Get Clean Flips?
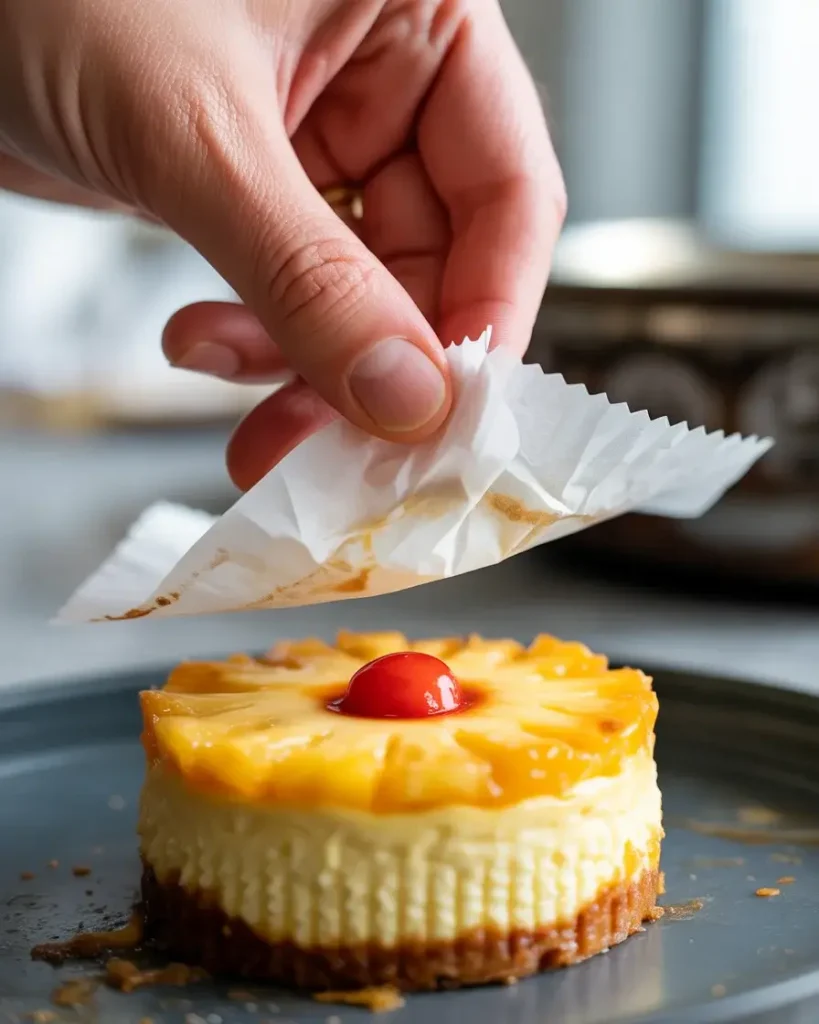
Thorough chilling and well-greased liners are your secret weapons. I spray the paper liners generously with cooking spray before adding any ingredients.
After testing different liner types, I found that standard paper cupcake liners sprayed with cooking spray release cleanly every time. Foil liners stick, and silicone cups make the crust soggy. The cooking spray creates a barrier between the caramelized sugar and the paper.
Make sure the cheesecakes are completely cold, at least 2 hours in the fridge. I check by touching the top; it should feel firm and cold to the touch, not just cool.
Run a thin knife around the edge of each cheesecake before flipping. Use a quick, confident flip motion over a large plate or cutting board. Hesitation causes the cheesecakes to slide sideways instead of dropping cleanly. If a liner sticks, peel it off gently while the cheesecake is still slightly warm from your hands.
How Do I Prevent Cracks in the Cheesecake?
Low temperature, minimal mixing after adding eggs, and gradual cooling prevent nearly all cracks. I bake at 325°F, which is lower than most cheesecake recipes.
The biggest mistake I made in my early batches was overbeating after adding the eggs. This incorporates too much air, causing the cheesecakes to rise dramatically and then collapse with cracks. Beat on low speed just until the eggs disappear into the batter, about 20 seconds per egg.
Don’t open the oven door during baking. Temperature fluctuations cause the surface to contract and crack. I set a timer and resist peeking until at least 20 minutes have passed.
Let them cool gradually. After baking, I turn off the oven, crack the door open, and let the cheesecakes sit for 5 minutes before moving them to the counter. This prevents thermal shock. Then they cool at room temperature for 10 minutes before refrigerating.
Can I Use Fresh Pineapple Instead of Canned?
You can, but canned pineapple gives more consistent caramelization and moisture levels. I tested fresh pineapple in 4 batches with mixed results.
Fresh pineapple contains more enzymes that can make the cheesecake filling runny if it sits for too long. The moisture content also varies dramatically depending on ripeness, making it hard to predict how much liquid will release during baking.
If you want to use fresh pineapple, cut it into small pieces and pat it very dry with paper towels. Reduce the brown sugar to 1/2 teaspoon per cup since fresh pineapple is sweeter. Bake immediately after assembling to minimize enzyme contact with the dairy.
I recommend canned pineapple rings or tidbits packed in juice, not syrup. Drain them well and pat dry before using. The uniform moisture content means your cheesecakes will turn out the same every time. The slight acidity balances perfectly with the sweet cream cheese filling.
What Other Fruits Work Well for This Recipe?
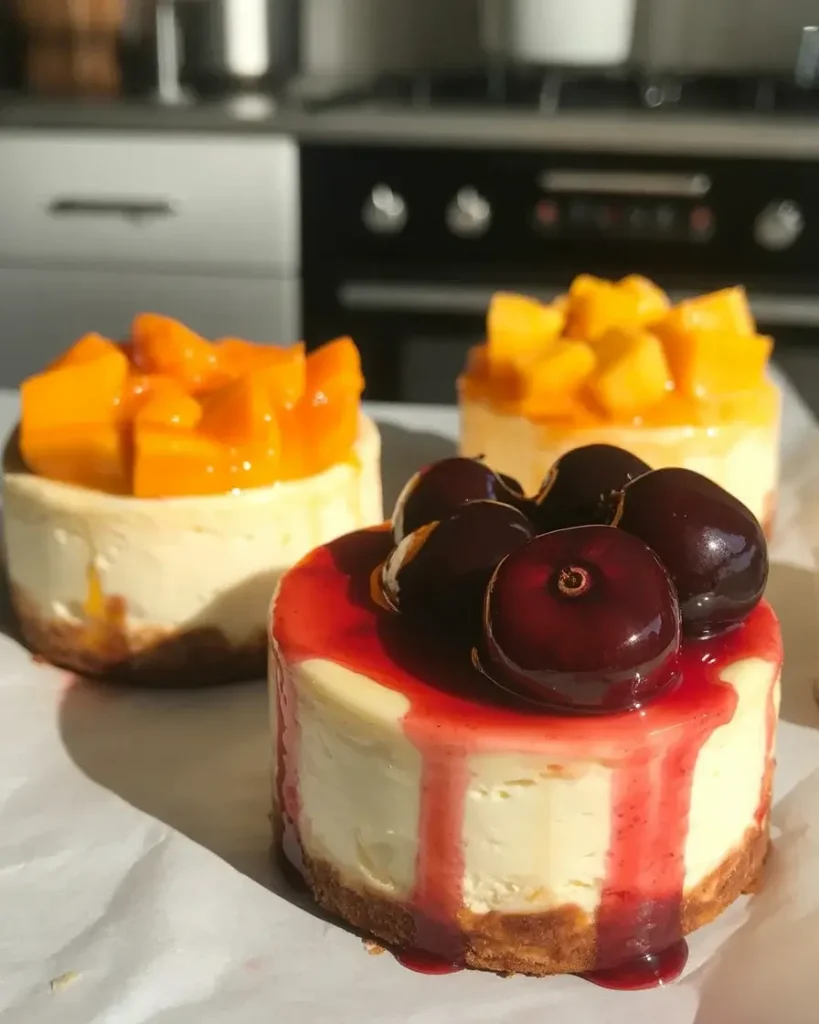
Peaches, cherries, and mangoes all make excellent alternatives to pineapple. I’ve tested 8 different fruits with varying success.
Canned peach slices work beautifully with the same amount of brown sugar. They caramelize into a golden topping that tastes like peach cobbler. Fresh cherries (pitted and halved) create a more sophisticated version, but increase the brown sugar to 1.5 teaspoons per cup since they’re tart.
Mango chunks (fresh or frozen and thawed) need to be patted extremely dry and work best with only 1/2 teaspoon brown sugar since mango is naturally very sweet. I tested strawberries twice, but they release too much water and make the topping soggy.
Avoid citrus fruits like oranges or grapefruit as the acidity can curdle the cheesecake filling. Apples need to be pre-cooked or they’ll stay too firm. Stick with soft, sweet fruits that caramelize well and pair with cream cheese.
Frequently Asked Questions
Q: Can I make these without a water bath?
A: Yes, these mini cheesecakes don’t need a water bath because they’re small and bake quickly. The muffin tin provides enough insulation to prevent over-browning. I’ve never used a water bath in 15+ test batches and they turn out perfectly creamy every time.
Q: Why is my pineapple topping not caramelized?
A: The brown sugar needs direct contact with the pineapple and heat to caramelize. Make sure you’re using packed brown sugar (not loose) and baking at the full 325°F. If your oven runs cool, increase temperature to 335°F. The topping caramelizes during baking, not after flipping.
Q: Can I use a different size pan?
A: Standard muffin tins work best for proper ratios. Mini muffin tins make the cheesecakes too small and they overbake in 12-15 minutes. Regular cupcake-sized portions are ideal. I don’t recommend making this in a 9-inch cake pan as the crust-to-filling ratio gets thrown off.