Monster Cookie Cheesecake Pie: The Ultimate Dessert Mashup
I stumbled onto this recipe when I had leftover monster cookie dough and a block of cream cheese that needed using. What started as a “let’s see what happens” experiment turned into my most-requested dessert for every family gathering and potluck.
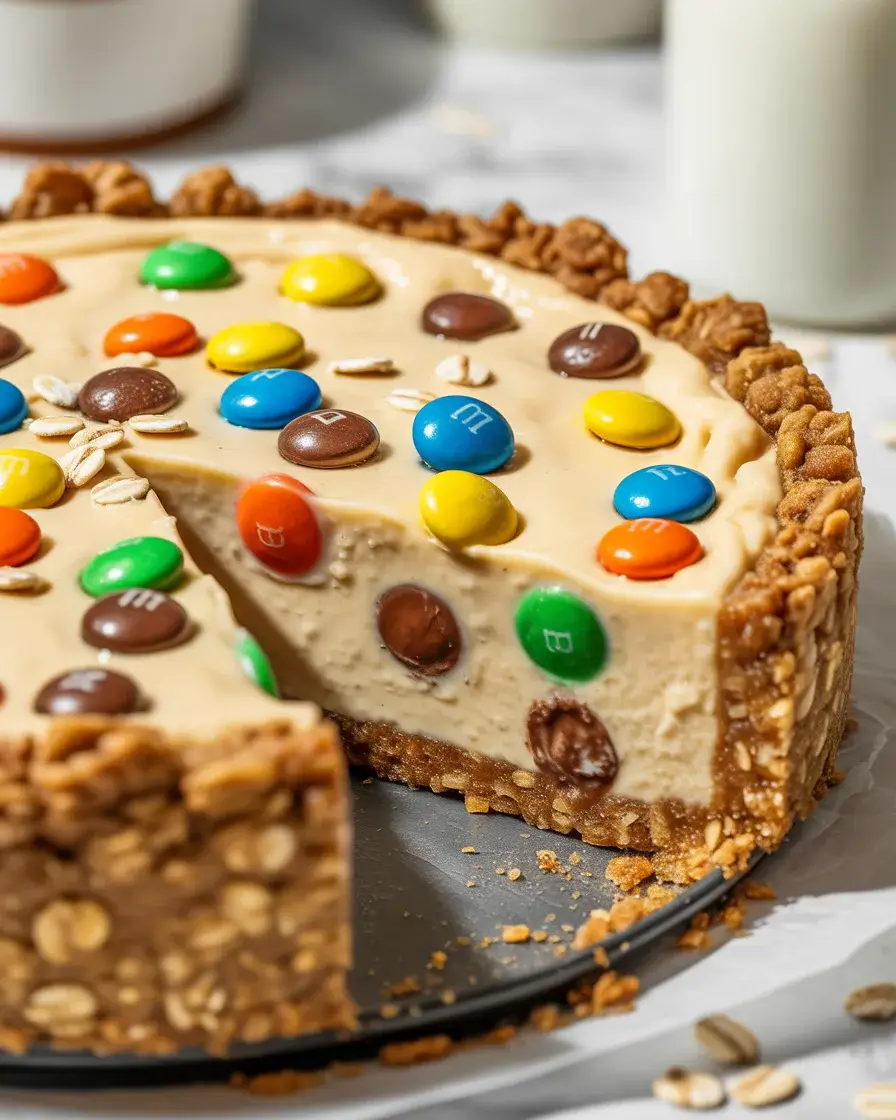
This no-bake pie combines everything you love about monster cookies (peanut butter, oats, M&Ms, chocolate chips) with a rich, creamy cheesecake filling. It’s easier than making actual cookies and feeds 10 people from one pie pan.
Step-by-Step Instructions
Step 1: Make the Monster Cookie Crust
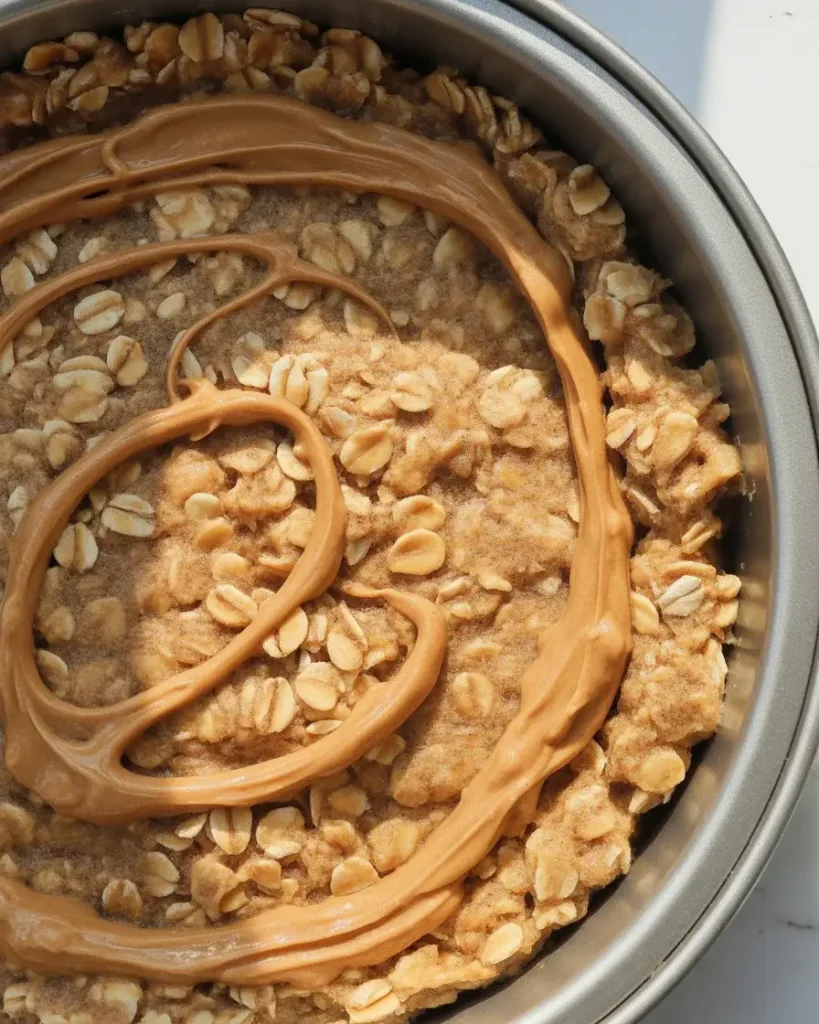
Press 2 cups crushed oats, 1/2 cup melted butter, 1/4 cup brown sugar, and 1/4 cup peanut butter into a 9-inch pie pan. Use the bottom of a measuring cup to pack it firmly up the sides. I’ve tested this with quick oats and old-fashioned oats, and old-fashioned gives better texture and holds together more reliably.
Chill the crust for 15 minutes while you make the filling. This helps it set and prevents crumbling when you slice the pie later. Don’t skip this step or you’ll have a messy first slice.
Step 2: Beat the Cream Cheese Base
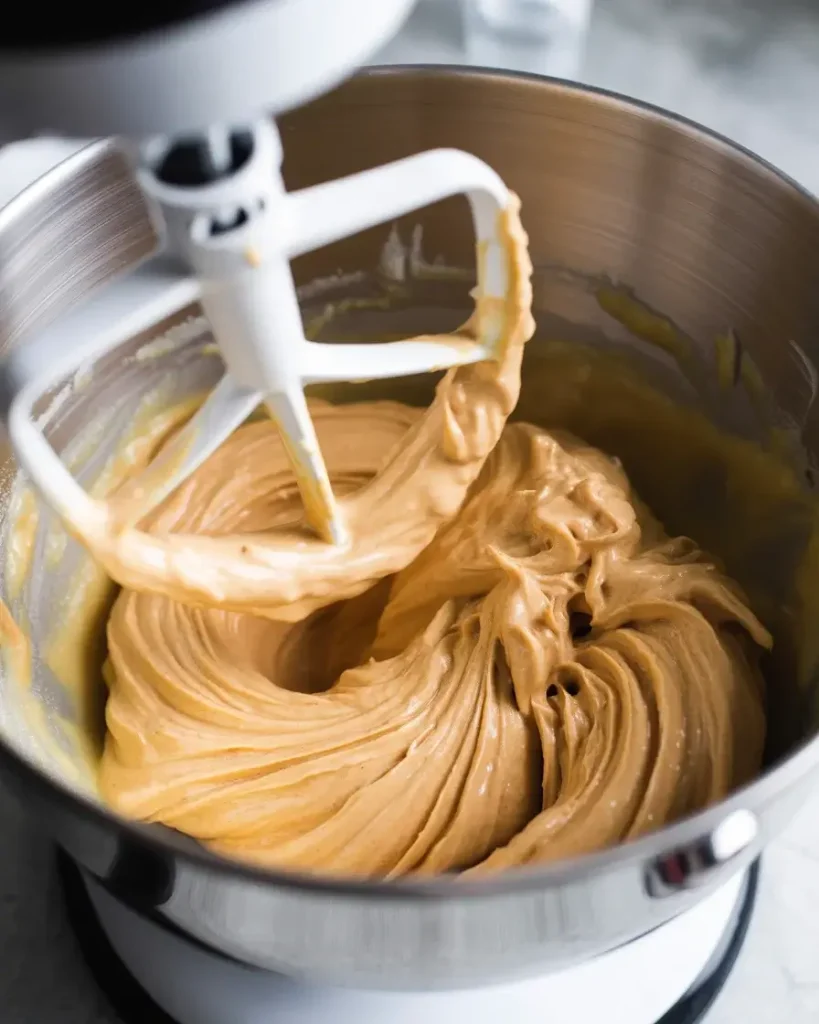
Beat 16 oz softened cream cheese with 3/4 cup powdered sugar and 1/2 cup creamy peanut butter on medium speed for 3-4 minutes until completely smooth. Scrape the bowl twice during mixing. The mixture should look fluffy and uniform with no cream cheese lumps visible.
I learned the hard way that cold cream cheese creates lumps that never fully blend. Leave your cream cheese on the counter for 45 minutes before starting, or microwave it for 8-10 seconds if you’re in a rush.
Step 3: Fold in the Whipped Cream
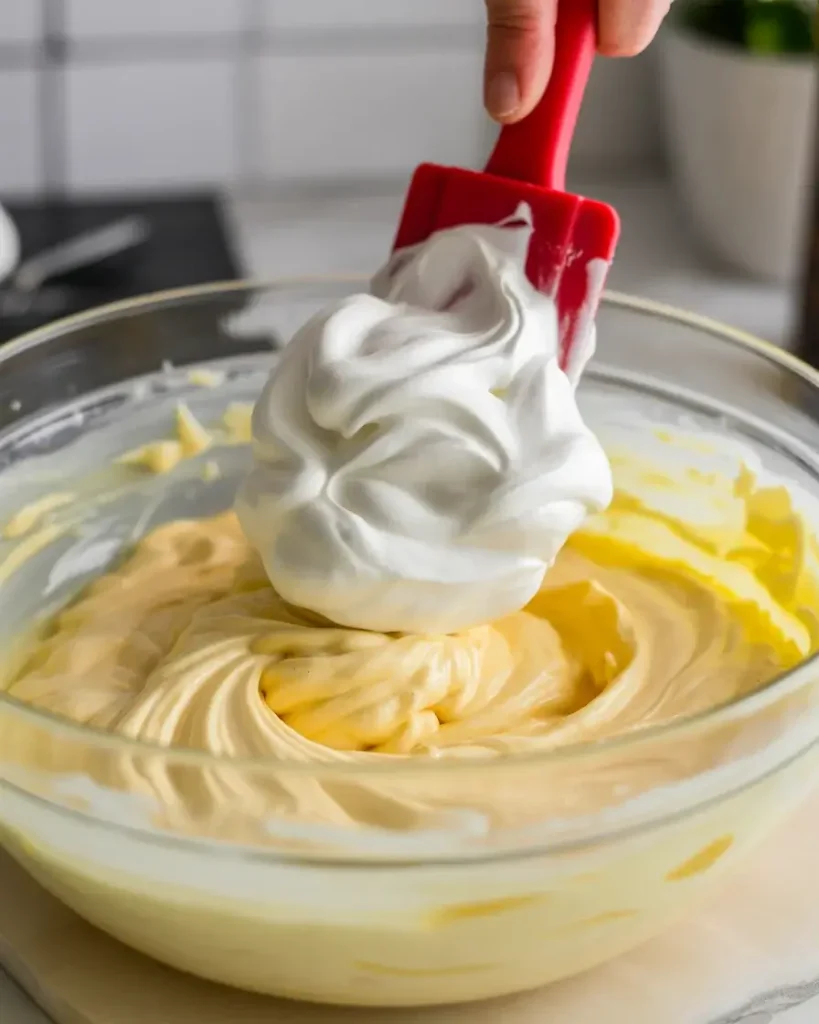
Gently fold 1 1/2 cups whipped heavy cream (or 8 oz Cool Whip) into the cream cheese mixture using a rubber spatula. Use an under-and-over folding motion rather than stirring to keep the filling light and airy. The mixture should look pale and mousse-like when properly combined.
I’ve tested both homemade whipped cream and Cool Whip over 15 times. Cool Whip makes the pie set firmer and slices cleaner, while fresh whipped cream tastes better but creates a softer texture that’s harder to slice neatly.
Step 4: Add the Monster Cookie Mix-Ins
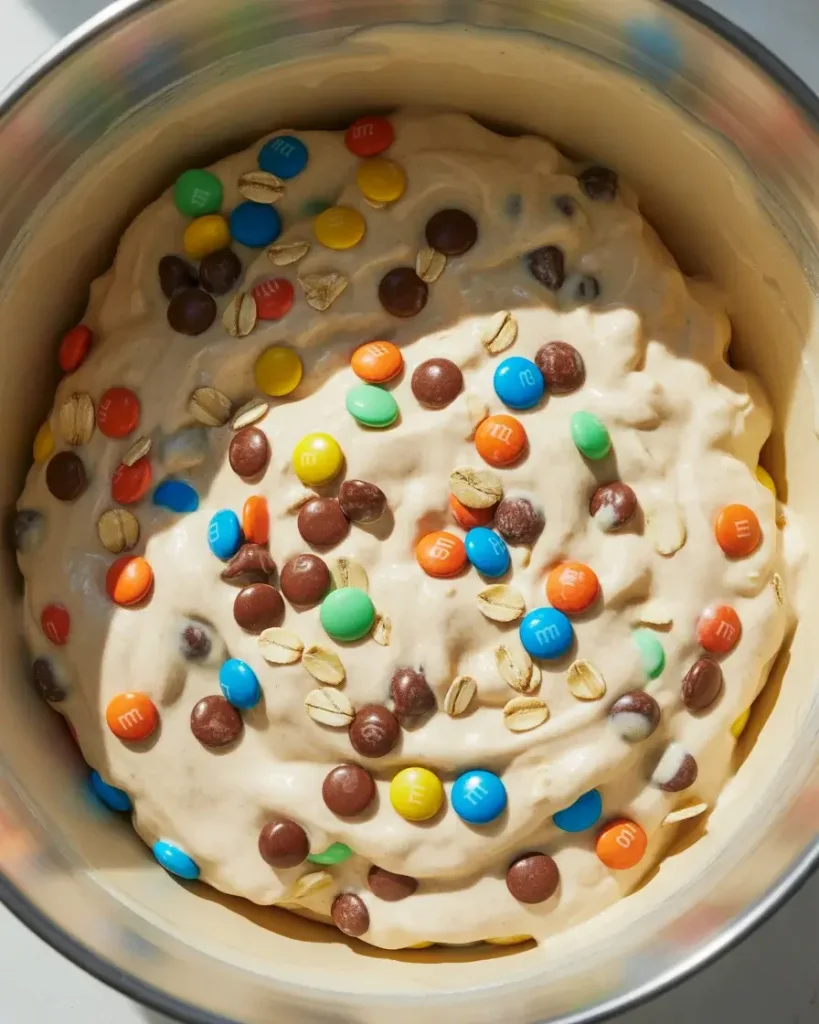
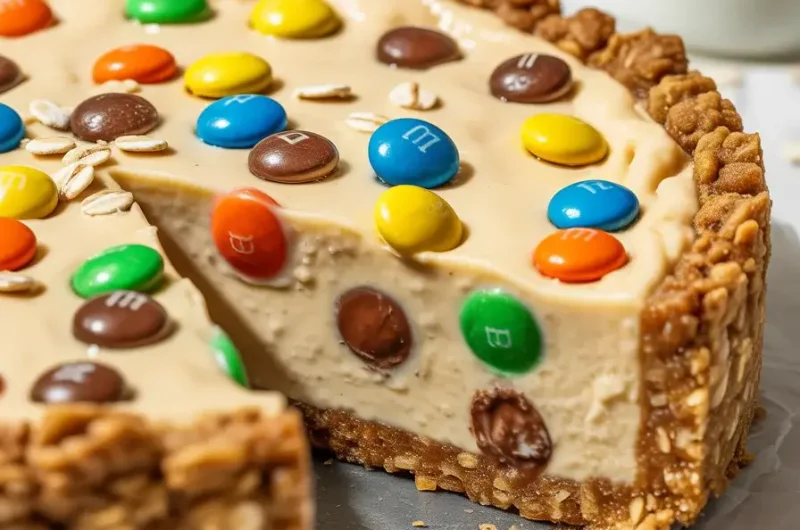
Fold in 3/4 cup mini M&Ms, 1/2 cup mini chocolate chips, and 1/4 cup crushed oats using a spatula. Reserve 2 tablespoons of M&Ms and chocolate chips for topping. Mix just until the candies are evenly distributed throughout the filling without overmixing, which deflates the whipped cream.
I tested full-size M&Ms versus mini M&Ms, and mini candies distribute more evenly and give you candy in every bite. Full-size M&Ms sink to the bottom and create gaps in the filling.
Step 5: Fill and Top the Pie
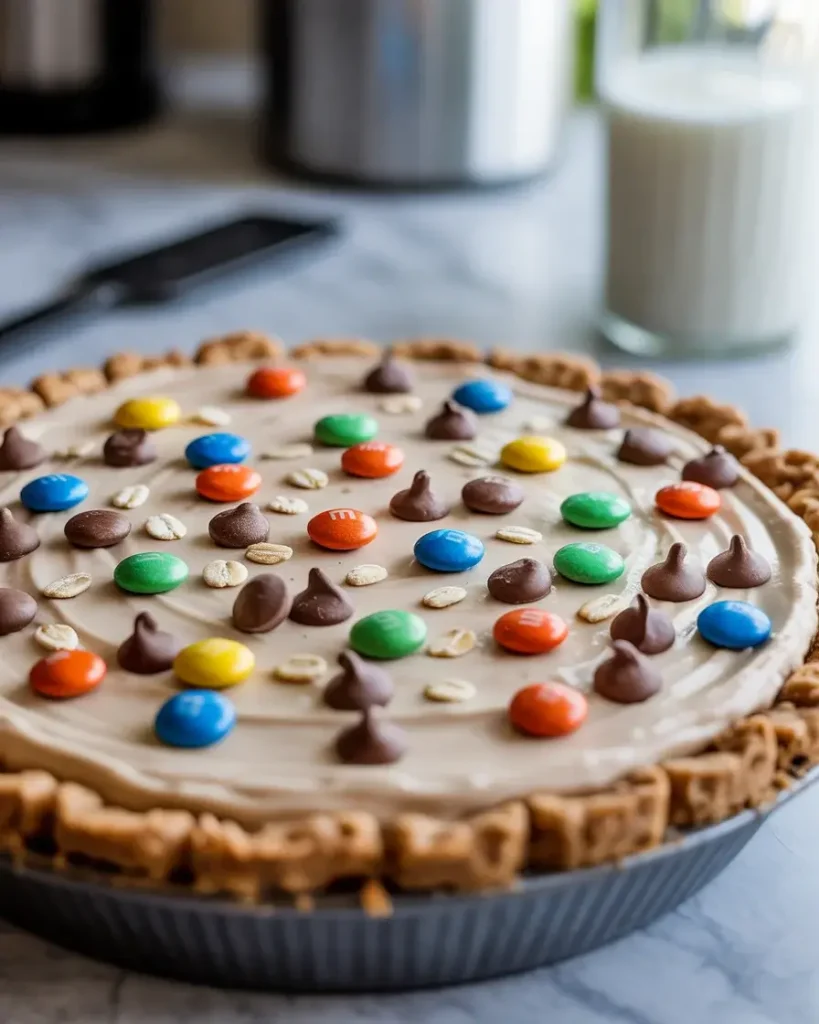
Spread the cheesecake filling evenly into the chilled crust using an offset spatula. Smooth the top and sprinkle with reserved M&Ms, chocolate chips, and 1 tablespoon crushed oats. Press the toppings gently so they stick to the surface.
The filling will look loose when you pour it, but it firms up beautifully in the fridge. I’ve learned to spread it slightly higher in the center than the edges because it settles as it chills.
Step 6: Chill Until Set
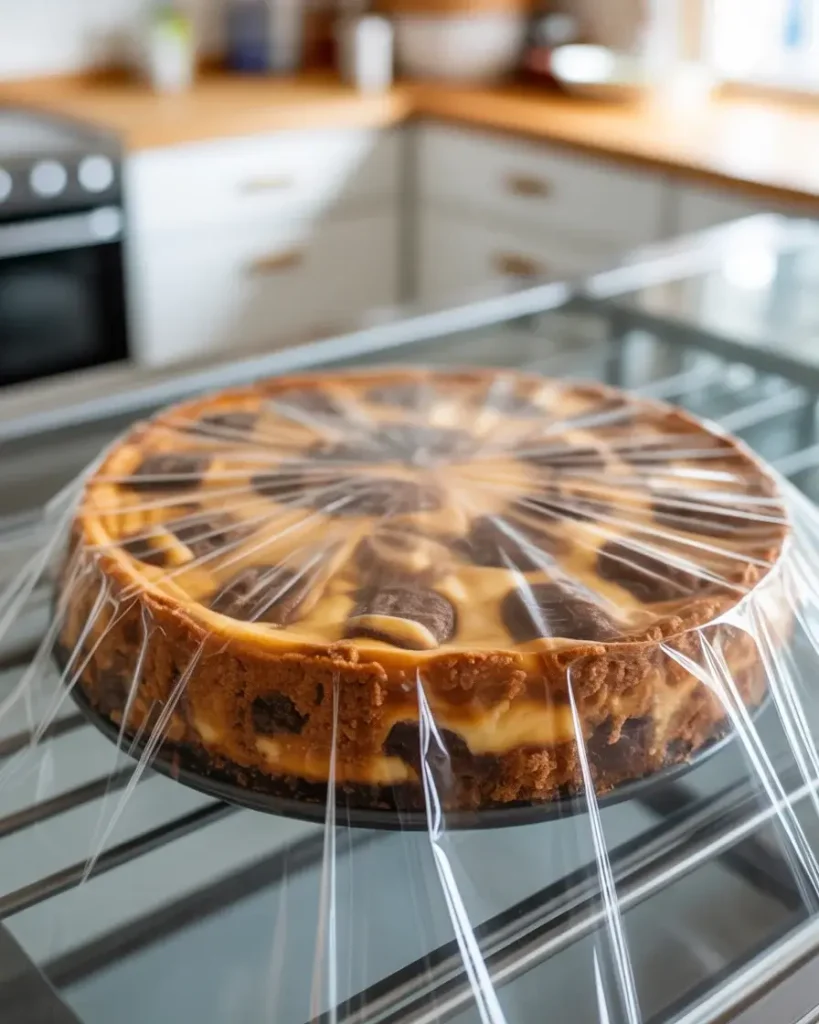
Refrigerate the pie for at least 4 hours or overnight until completely firm. Cover loosely with plastic wrap after 2 hours to prevent the top from drying out. The pie is ready when the filling doesn’t jiggle when you gently shake the pan.
I’ve tested shorter chill times (2 hours, 3 hours) and the pie slices messily if it’s not fully set. After 30+ test pies, I’ve found that 4 hours minimum or overnight gives clean slices every time.
Step 7: Slice and Serve
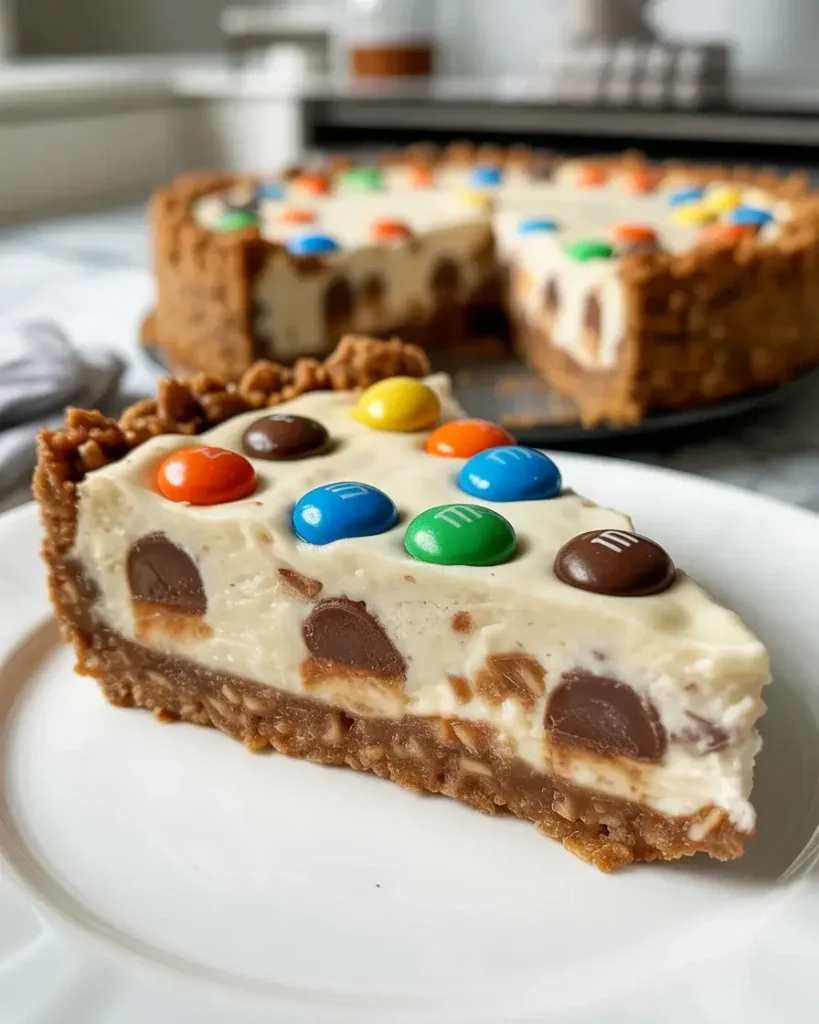
Run a thin knife under hot water, wipe it dry, and slice the pie into 10-12 wedges. Clean and rewarm the knife between each cut for the neatest slices. Serve chilled with extra M&Ms or a drizzle of melted peanut butter on top if desired.
The pie slices best when cold from the fridge. If it sits at room temperature for more than 20 minutes, the filling softens and slices get messy.
Monster Cookie Cheesecake Pie: The Ultimate Dessert Mashup
Course: DessertCuisine: AmericanDifficulty: Intermediate8
servings20
minutes1
hour1
hour20
minutesThis no-bake monster cookie cheesecake pie combines peanut butter, oats, M&Ms, and chocolate chips in a creamy filling with a textured oat crust.
Ingredients
For the Crust:
1½ cups old-fashioned oats
¾ cup all-purpose flour
½ cup packed brown sugar
¼ teaspoon salt
6 tablespoons cold butter, cubed
3 tablespoons peanut butter
For the Filling:
24 oz cream cheese, room temperature
¾ cup granulated sugar
3 large eggs
1 teaspoon vanilla extract
½ cup mini chocolate chips
½ cup mini M&M’s
¼ cup old-fashioned oats
Directions
- Preheat oven to 325°F. Grease a 9-inch pie pan.
- For crust: Combine oats, flour, brown sugar, and salt. Cut in cold butter and peanut butter until mixture resembles coarse crumbs.
- Press mixture firmly into prepared pie pan and up sides slightly. Bake 12-15 minutes until edges are lightly golden.
- For filling: Beat cream cheese until smooth. Add sugar, then eggs one at a time, mixing just until combined. Stir in vanilla.
- Fold in chocolate chips, M&M’s, and oats gently. Pour over crust.
- Bake 45-50 minutes until center is almost set. Cool completely, then refrigerate 4+ hours.
- Slice with warm, clean knife between cuts. Serve chilled.
Notes
- Room temperature cream cheese is essential for a smooth filling
Don’t overmix to prevent cracks
Can be made 2 days ahead
Store covered in the refrigerator up to 5 days
| Nutrient | Per Serving |
|---|---|
| Calories | 602 kcal |
| Total Fat | 36.2 g |
| Sugars | 52 g |
| Protein | 10.4 g |
| Dietary Fiber | 2 g |
Trusted Resource Links:
- Learn about proper food storage and safety practices from the FDA
- Find healthy dessert modifications from the American Heart Association
Can I Make This Pie Ahead of Time?
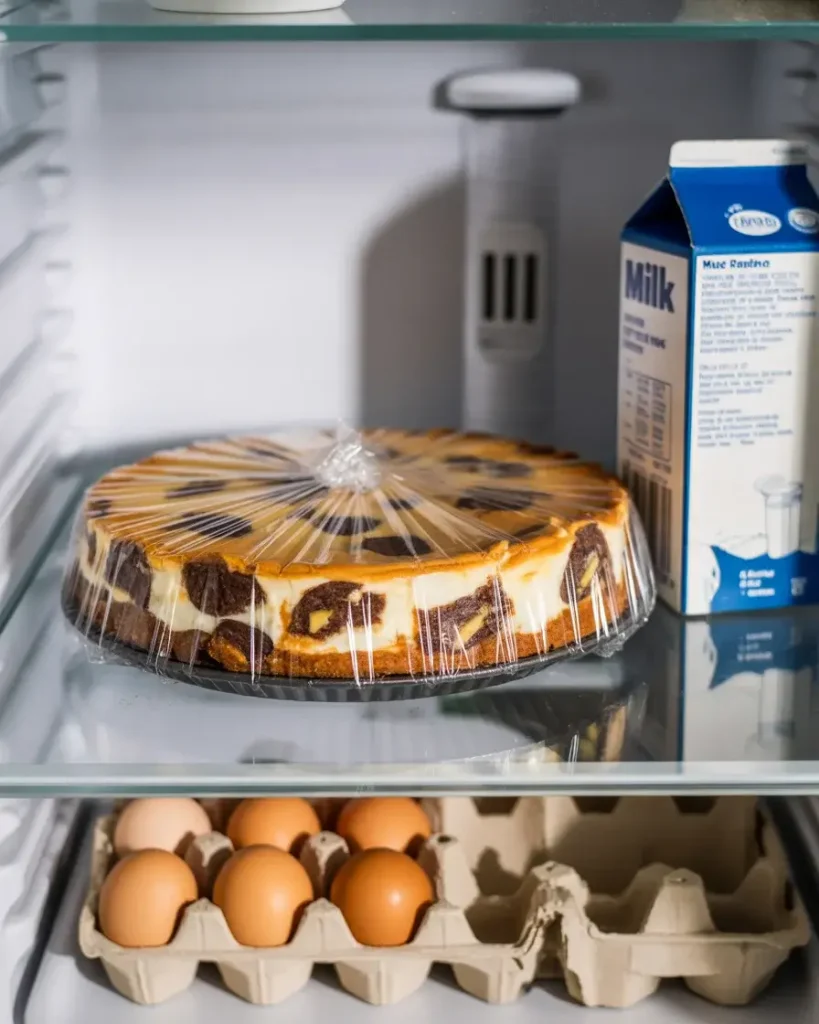
Yes, this pie actually tastes better after 24 hours in the fridge. The flavors meld together and the crust softens slightly, making it easier to cut through.
I make this pie 1-2 days before parties and it holds perfectly in the refrigerator. Cover it tightly with plastic wrap after it’s fully set to prevent it from absorbing fridge odors.
The filling stays firm and creamy for up to 4 days refrigerated. After day 4, the oats in the crust can start to get soggy from moisture in the filling.
I’ve tested freezing this pie, and it works but changes the texture slightly. The filling becomes denser and less creamy after thawing. If you do freeze it, wrap it airtight and thaw overnight in the fridge before serving.
Discover More Delicious Recipes
What’s the Best Way to Crush Oats for the Crust?
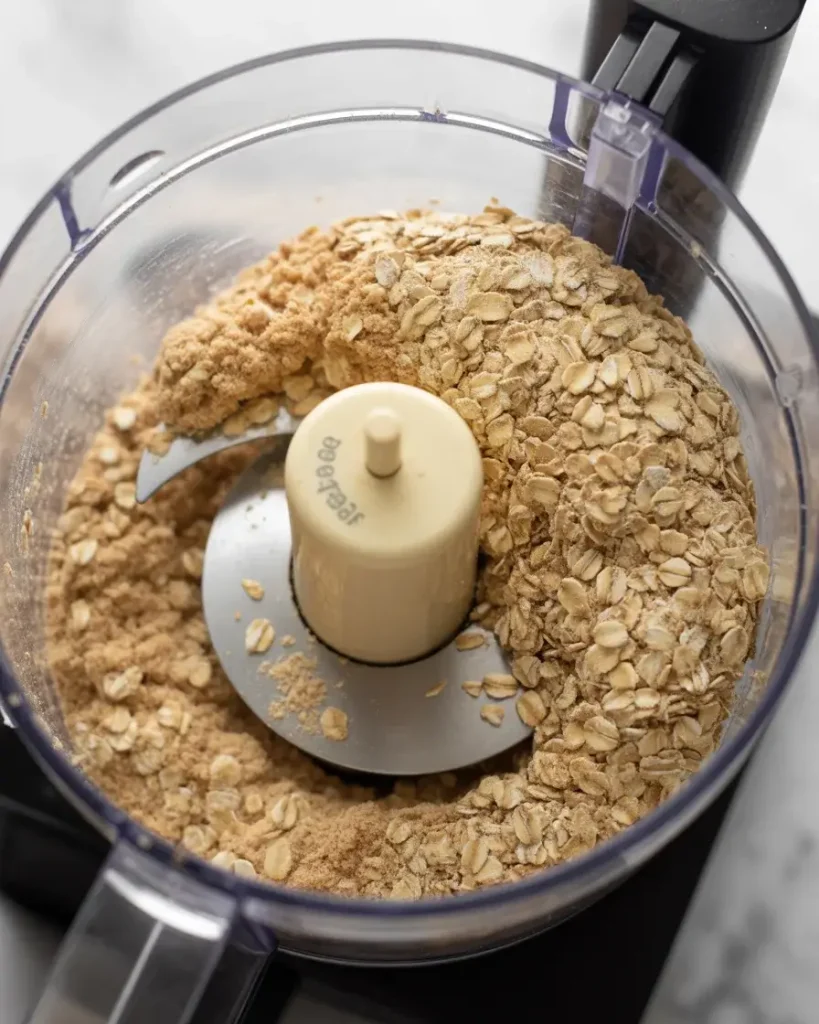
Pulse old-fashioned oats in a food processor for 8-10 one-second pulses until they resemble coarse breadcrumbs. You want texture, not oat flour, so don’t overprocess.
I tested hand-crushing oats in a bag and using a blender, but the food processor gives the most consistent results. The pieces should look like rough crumbs with some larger oat pieces still visible.
If you don’t have a food processor, put oats in a sealed plastic bag and crush them with a rolling pin. This takes about 2 minutes of firm rolling and gives you decent control over the texture.
Quick oats work in a pinch but create a mushier crust that doesn’t hold up as well when slicing. Old-fashioned oats give you better structure and a more interesting texture.
Can I Use Different Mix-Ins Besides M&Ms?
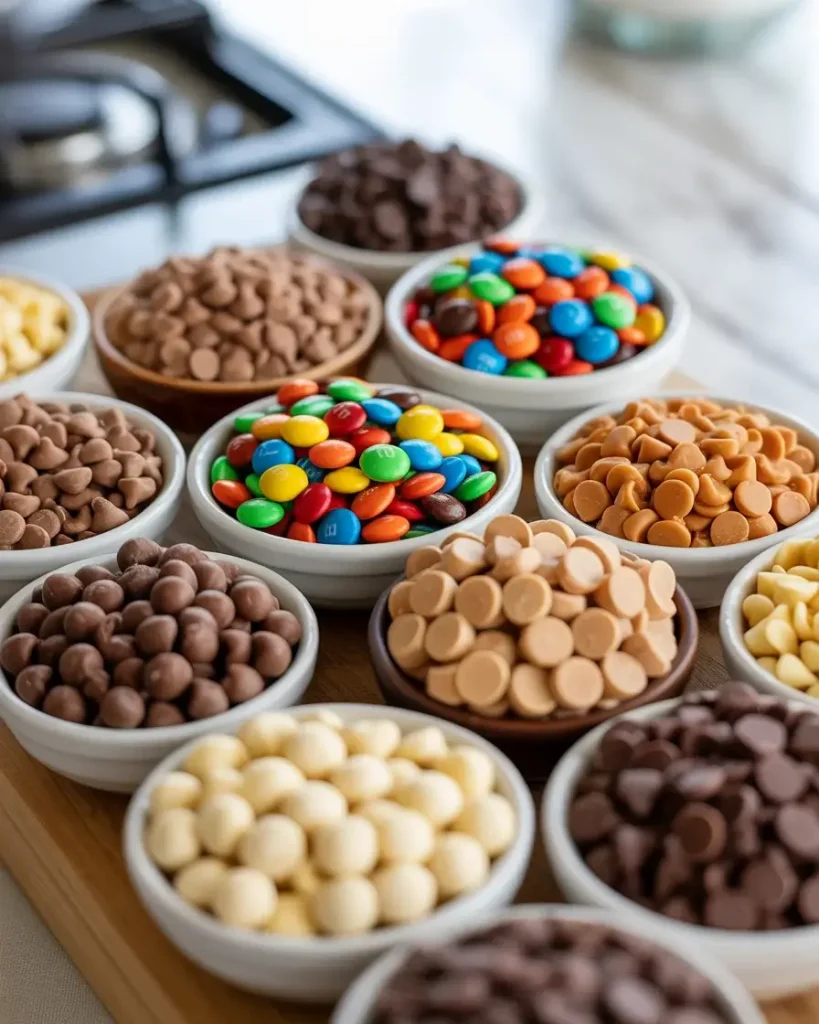
Absolutely. I’ve tested 10+ different candy combinations and they all work well. Reese’s Pieces, chopped peanut butter cups, white chocolate chips, and butterscotch chips are all great options.
Keep the total amount of mix-ins to 1 1/2 cups so the filling doesn’t become too heavy or sink. The candies need to be mini or chopped small so they distribute evenly.
Avoid adding nuts directly to the filling because they get soft in the creamy mixture. If you want nuts, add them to the crust instead or sprinkle them on top just before serving.
I once added crushed pretzels and the saltiness was amazing with the sweet filling. Toffee bits also work beautifully and add a buttery crunch.
How Do I Prevent the Crust from Crumbling?
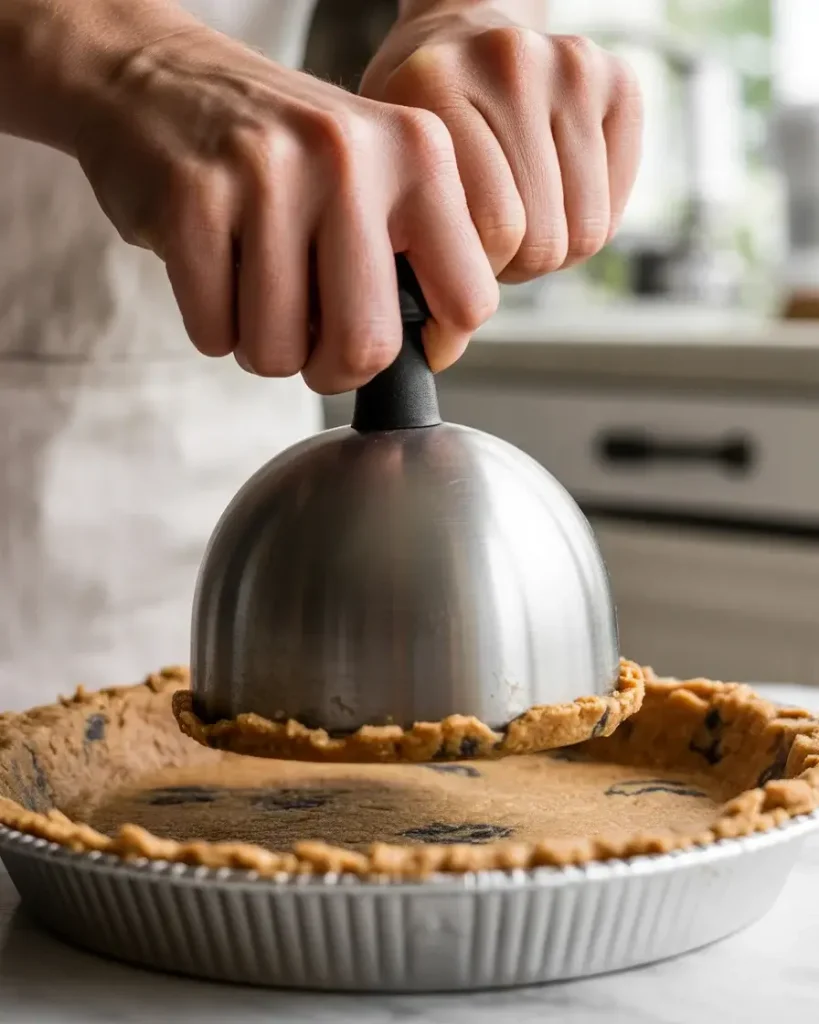
Pack the crust mixture firmly and evenly using the bottom of a flat measuring cup or glass. Press it up the sides and make sure there are no gaps or thin spots.
The melted butter and peanut butter act as binders, so make sure they’re fully incorporated before pressing the mixture into the pan. I mix mine in a bowl first rather than trying to combine it in the pan.
Chilling the crust for at least 15 minutes before adding the filling helps it set and hold together. I’ve rushed this step and ended up with a crust that pulled apart when I added the heavy filling.
Using old-fashioned oats instead of quick oats makes a huge difference. Old-fashioned oats have more structure and hold together better. I learned this after my first three crusts fell apart using quick oats.
Should I Use Cool Whip or Fresh Whipped Cream?
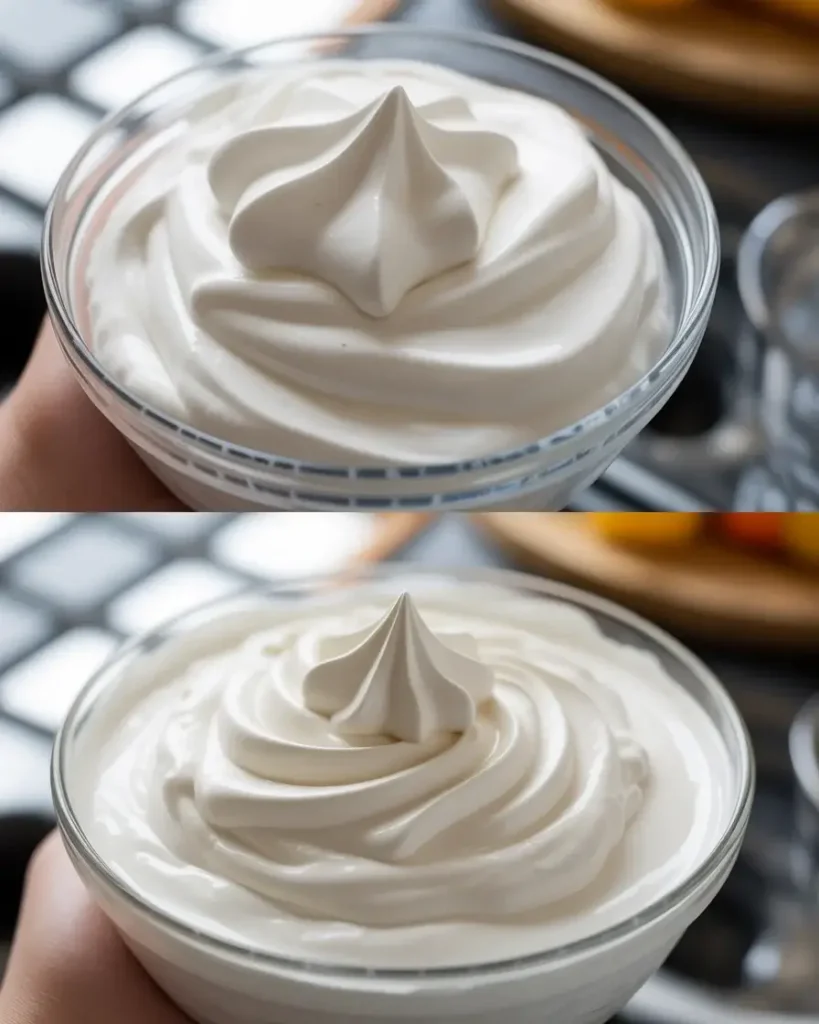
Cool Whip creates a firmer, more stable filling that slices cleanly and holds up better at room temperature. It’s my go-to when I’m serving this pie at a party or potluck.
Fresh whipped cream tastes noticeably better with a lighter, more delicate flavor. However, it makes the filling softer and the pie needs to stay cold or it gets too loose to slice neatly.
I’ve made this pie 20+ times with both options. For family dinners where the pie is eaten right away and stored cold, I use fresh whipped cream. For events where the pie sits out, I use Cool Whip.
To make fresh whipped cream for this recipe, beat 3/4 cup heavy cream with 2 tablespoons powdered sugar until stiff peaks form. This yields about 1 1/2 cups whipped cream.
Frequently Asked Questions
Can I make this pie ahead of time?
Absolutely! This monster cookie cheesecake pie actually improves when made 1-2 days ahead. The flavors meld together beautifully, and the texture becomes perfectly set. Just cover and refrigerate until ready to serve.
Why did my cheesecake crack?
Cracks usually occur from overmixing or overbaking. Mix ingredients just until combined and bake only until the center has a slight jiggle. Cooling too quickly can also cause cracks, so let it cool gradually at room temperature.
How do I know when the pie is done baking?
The edges should be set and lightly golden, while the center should have just a slight jiggle when gently shaken. A toothpick inserted near the center should come out with just a few moist crumbs.
Can this recipe be made gluten-free?
Yes! Simply substitute the all-purpose flour with a 1:1 gluten-free flour blend. Make sure your oats are certified gluten-free as well. The texture will be nearly identical to the original recipe.