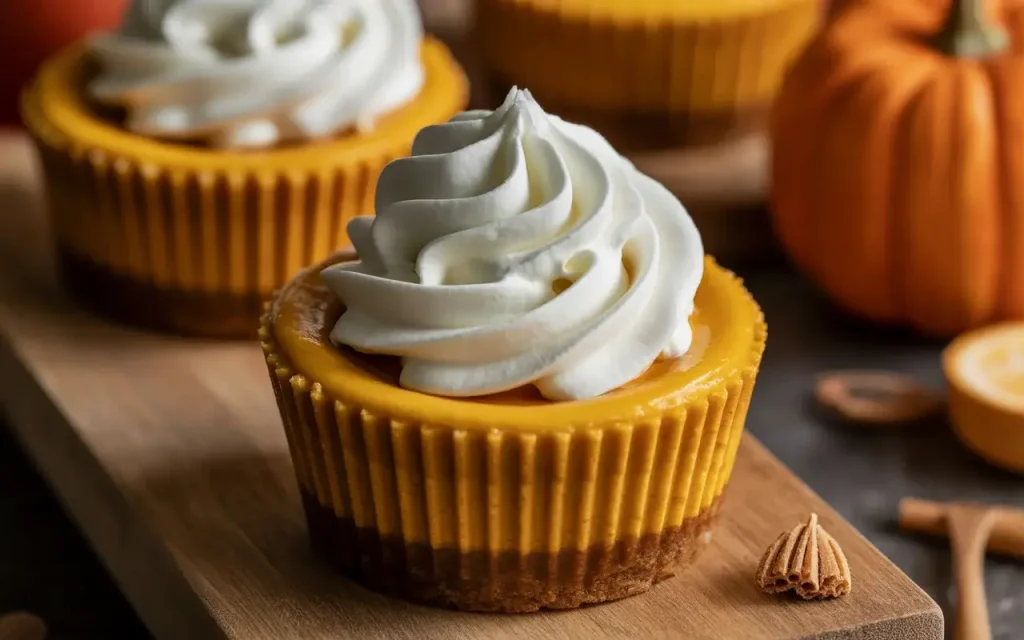
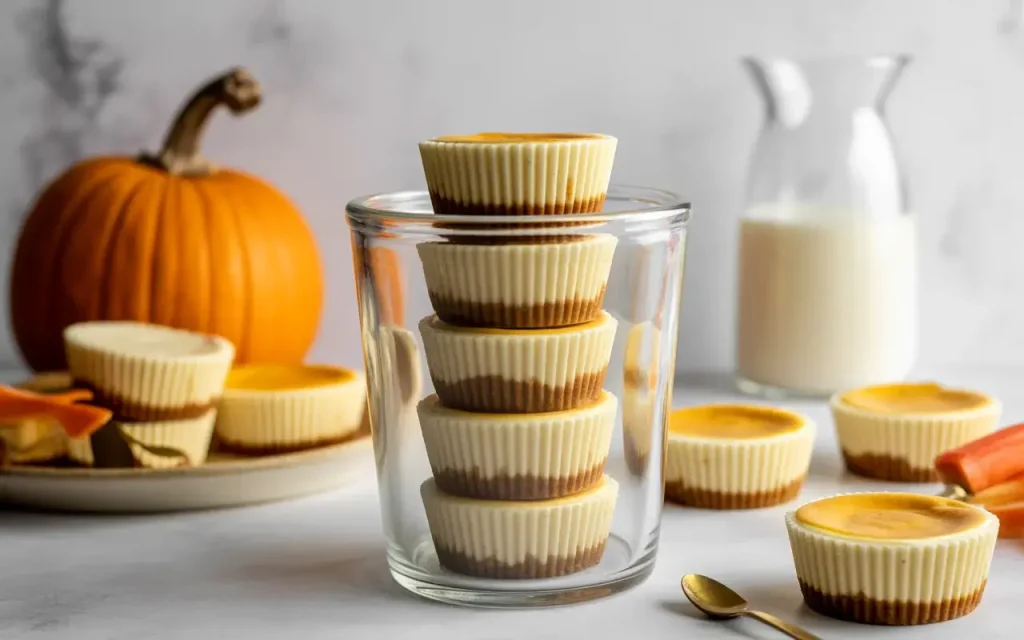
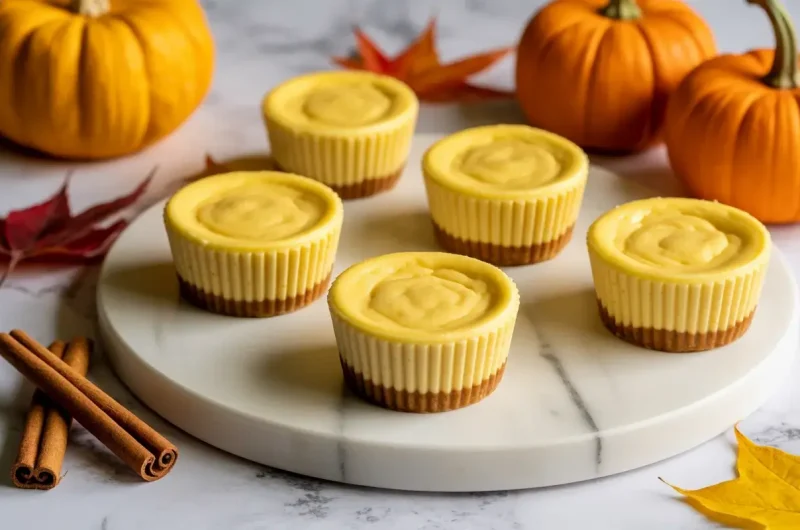
Mini Pumpkin Cheesecake Cups
These mini pumpkin cheesecake cups are the perfect fall dessert. Creamy pumpkin cheesecake filling sits on a buttery graham cracker crust, all baked in individual portions that make serving a breeze.
No water bath required, and they’re ready in under an hour. Each bite delivers rich pumpkin spice flavor with that signature cheesecake tang everyone loves.
Whether you’re hosting Thanksgiving dinner or just craving something seasonal, these portable treats are always a hit.
Why You’ll Love This Recipe
These individual cheesecakes eliminate the stress of slicing and serving. They bake faster than a full-size cheesecake and cool down quickly, so you can enjoy them sooner.
The pumpkin spice blend adds warmth without overwhelming the cream cheese base. They’re make-ahead friendly, store beautifully in the fridge, and travel well to potlucks or parties.
Plus, portion control is built right in. One cup per person means no guessing, no leftovers debate, just pure dessert satisfaction.
Read More: Pumpkin Cheesecake Brownies
Ingredients You’ll Need
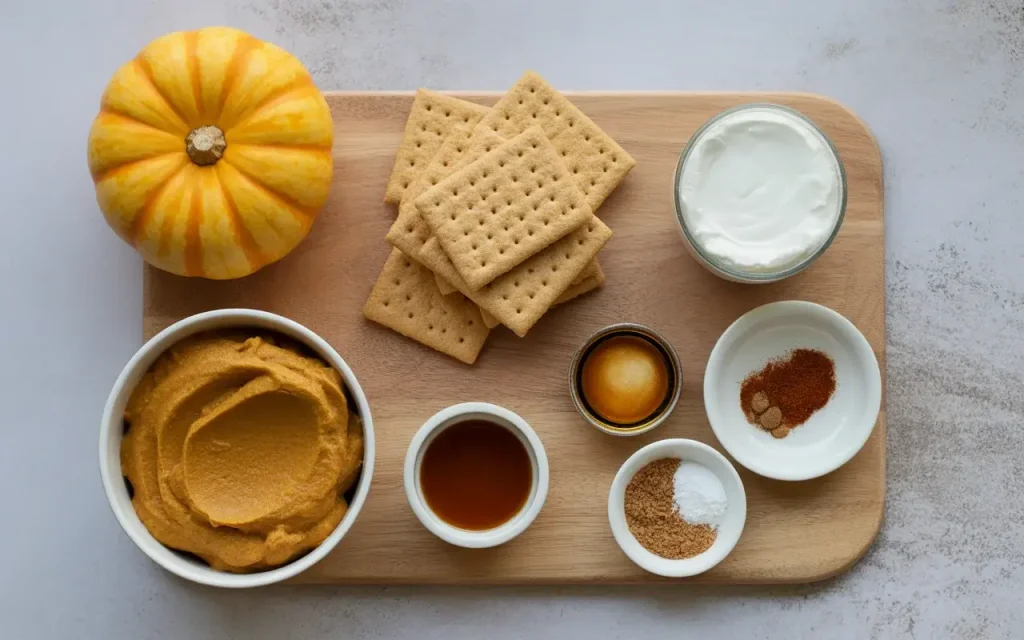
The ingredient list is straightforward and uses pantry staples. Graham cracker crumbs form the base, while cream cheese and pumpkin puree create the filling.
Pumpkin pie spice does the heavy lifting for flavor, but you can mix your own with cinnamon, nutmeg, and ginger. Regular or full-fat cream cheese works best for that ultra-creamy texture.
Don’t skip the vanilla extract. It balances the spices and enhances the overall flavor profile without adding sweetness.
Equipment Tips
A standard muffin tin lined with cupcake liners makes cleanup effortless. Foil liners work great if you want a sturdier base that peels away cleanly.
An electric mixer helps achieve a smooth, lump-free filling, but a sturdy whisk and some elbow grease work too. Just make sure your cream cheese is fully softened first.
A small cookie scoop or measuring cup ensures even crust portions in each liner. Consistency matters for uniform baking and presentation.
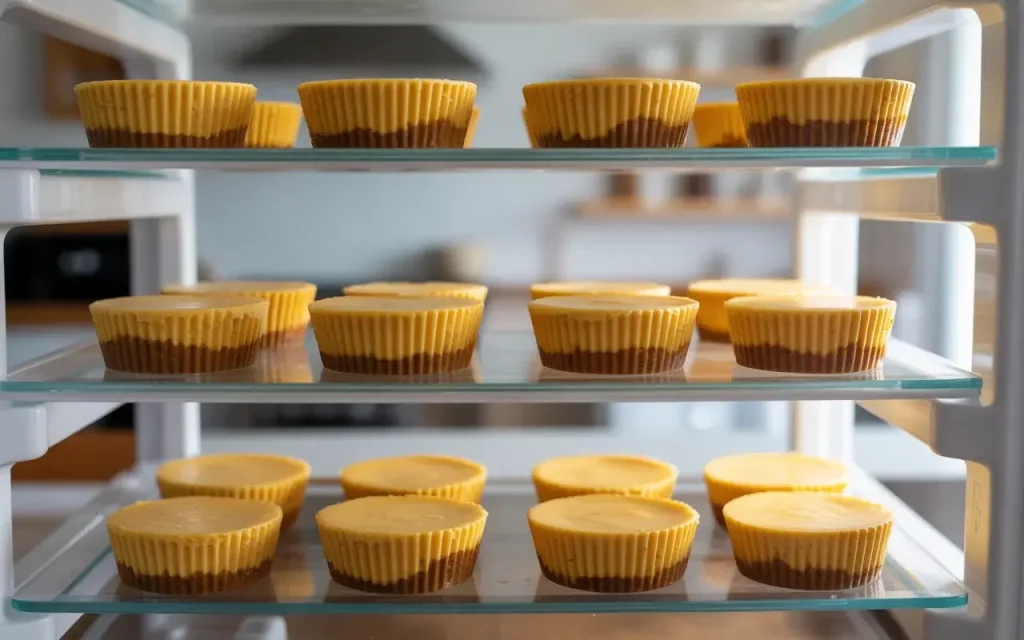
Make Ahead and Storage
These cheesecake cups actually taste better after chilling overnight. The flavors meld together and the texture firms up to perfection.
Store them in an airtight container in the refrigerator for up to 5 days. They also freeze beautifully for up to 3 months when wrapped individually in plastic wrap.
Thaw frozen cups in the fridge overnight before serving. Add your whipped cream or toppings right before eating for the freshest presentation.
Topping Ideas
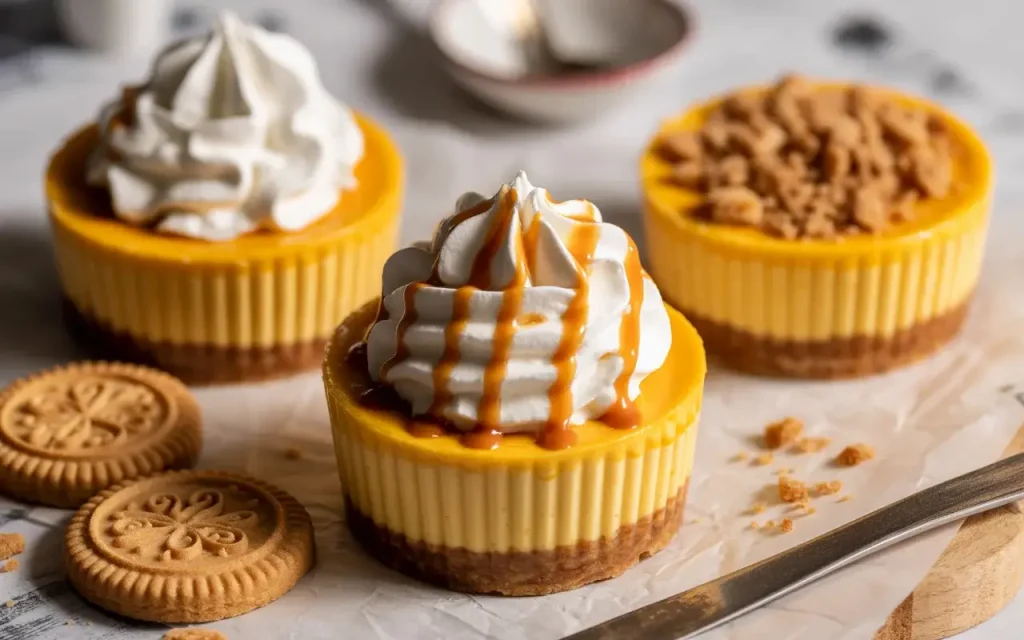
Classic whipped cream is always a winner, but try adding a pinch of cinnamon for extra fall flavor. Caramel drizzle adds sweetness and looks stunning in photos.
Crushed gingersnap cookies provide textural contrast and double down on the spice notes. A sprinkle of cinnamon sugar keeps things simple but elegant.
For something different, try candied pecans or a dollop of maple cream. Get creative and match your toppings to your occasion.
Mini Pumpkin Cheesecake Cups
Course: DessertCuisine: AmericanDifficulty: Easy12
cheesecake cups15
minutes3
hours20
minutes3
hours35
minutesIndividual pumpkin cheesecake cups with a graham cracker crust, perfect for fall gatherings and holiday dessert tables.
Ingredients
- For the Crust
1 cup graham cracker crumbs (about 8 full crackers)
3 tablespoons unsalted butter, melted
1 tablespoon granulated sugar
- For the Filling
16 oz cream cheese, softened to room temperature
½ cup granulated sugar
¾ cup pumpkin puree (not pumpkin pie filling)
2 large eggs, room temperature
1 teaspoon vanilla extract
1½ teaspoons pumpkin pie spice
Pinch of salt
- For Topping (optional)
Whipped cream
Caramel sauce
Ground cinnamon
Directions
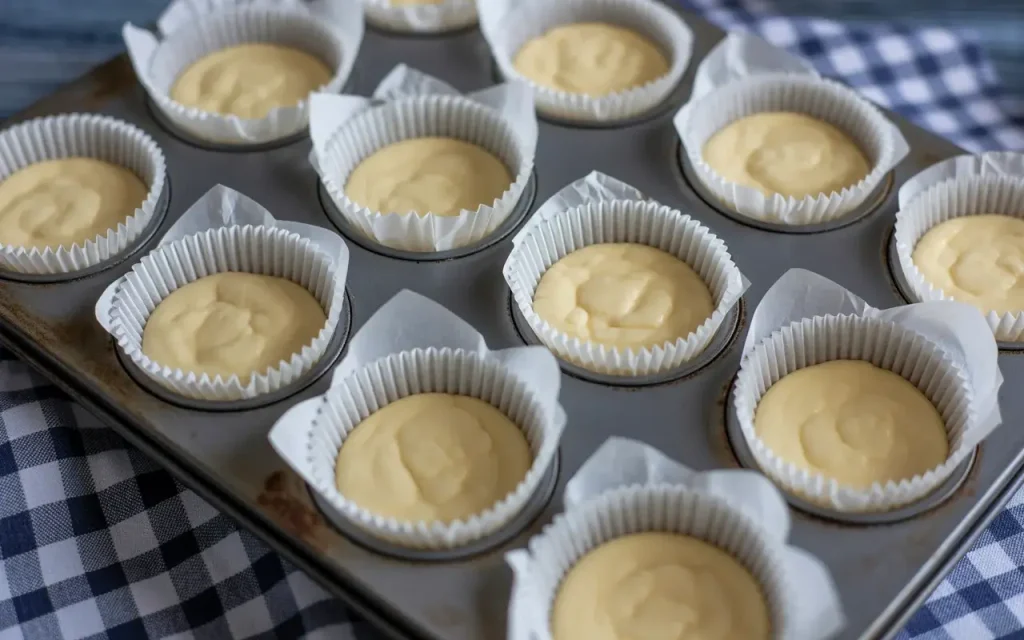
- Preheat oven to 325°F. Line a 12-cup muffin tin with cupcake liners.
- Mix graham cracker crumbs, melted butter, and 1 tablespoon sugar. Press about 1 tablespoon into the bottom of each liner.
- Beat cream cheese until smooth. Add ½ cup sugar and beat until fluffy.
- Mix in pumpkin puree, eggs one at a time, vanilla, pumpkin pie spice, and salt until just combined.
- Divide filling evenly among the 12 cups, filling each about three-quarters full.
- Bake for 18 to 22 minutes until edges are set but centers still jiggle slightly.
- Cool in the pan for 30 minutes, then refrigerate for at least 3 hours or overnight.
- Remove from liners, top with whipped cream or desired toppings, and serve cold.
Notes
- Storage: Keep refrigerated in an airtight container for up to 5 days. Freeze for up to 3 months.
Cream Cheese: Must be fully softened for a smooth filling. Leave it out for 1 hour before starting.
Pumpkin Puree: Use pure pumpkin, not pumpkin pie filling which contains added spices and sugar.
Prevent Cracks: Don’t overmix the batter once eggs are added, and don’t overbake. The centers should still wobble.
Make Ahead: These taste even better the next day after flavors have melded. Make up to 2 days in advance.
Nutrition (per serving)
| Nutrient | Amount |
|---|---|
| Calories | 185 |
| Total Fat | 12g |
| Sugars | 13g |
| Protein | 4g |
Step-by-Step Instructions
Step 1: Prepare the Crust
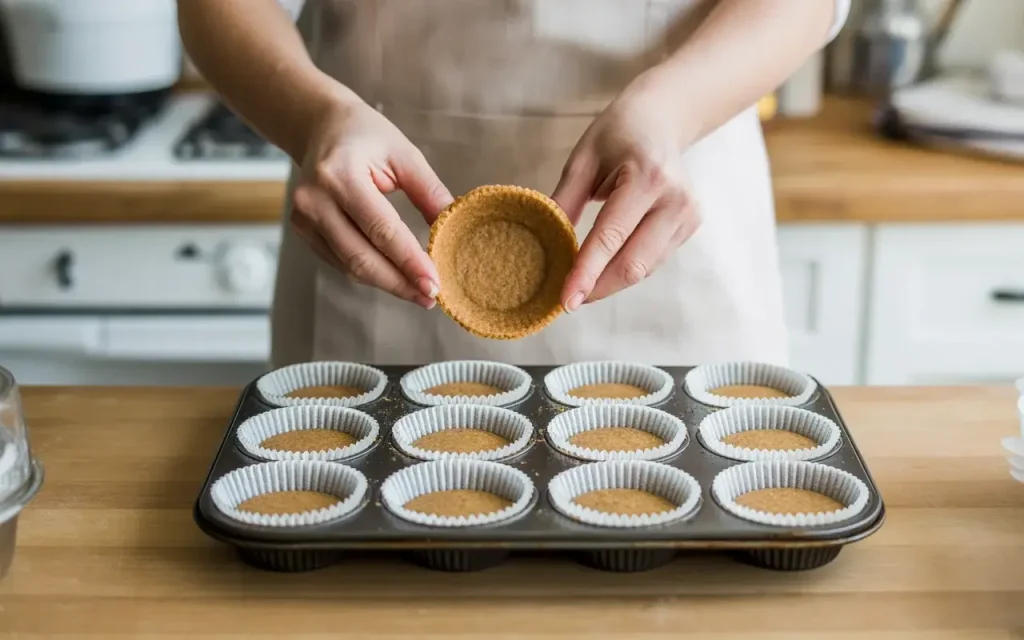
Start by preheating your oven to 325°F and lining a 12-cup muffin tin with cupcake liners. Mix graham cracker crumbs with melted butter and a touch of sugar until the mixture resembles wet sand.
Press about 1 tablespoon of the crust mixture firmly into the bottom of each liner using the back of a spoon or a small glass. You want it packed down tightly so it holds together after baking.
The crust should be even and flat across the bottom. This creates a stable foundation that won’t crumble when you bite into the finished cup.
Step 2: Make the Cheesecake Filling
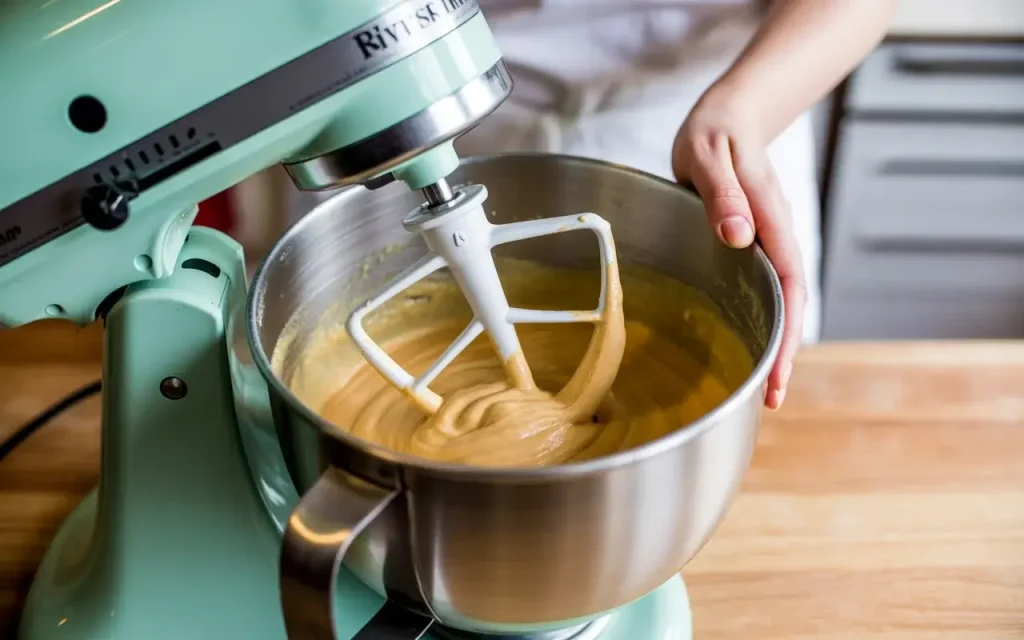
Beat softened cream cheese in a large bowl until smooth and creamy with no lumps remaining. This takes about 2 minutes on medium speed with an electric mixer.
Add sugar and beat until fully combined and fluffy. Scrape down the sides of the bowl to ensure everything incorporates evenly. The mixture should look light and airy.
Mix in pumpkin puree, eggs one at a time, vanilla extract, and pumpkin pie spice until just combined. Avoid overmixing once the eggs are added, as this can cause cracks during baking.
Step 3: Fill the Cups
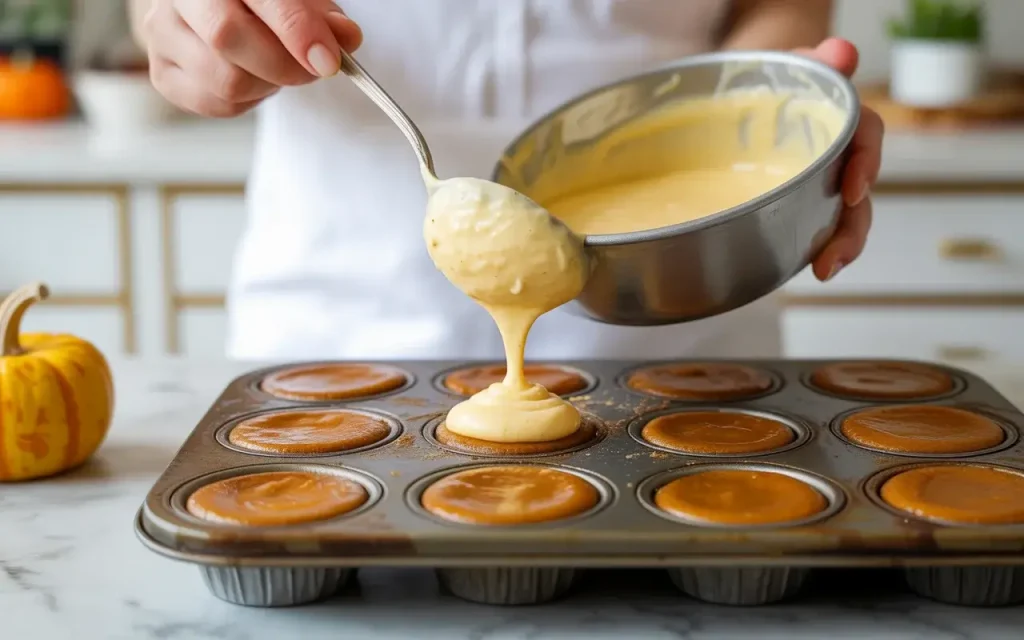
Spoon or pour the pumpkin cheesecake filling over each prepared crust, filling each liner about three-quarters full. Leave a little room at the top for the cheesecake to rise slightly during baking.
Use a small spoon or offset spatula to smooth the tops if needed. Try to distribute the filling evenly among all 12 cups for consistent baking times.
Tap the muffin tin gently on the counter a few times to release any air bubbles trapped in the filling. This helps create that smooth, professional finish.
Step 4: Bake the Cheesecakes
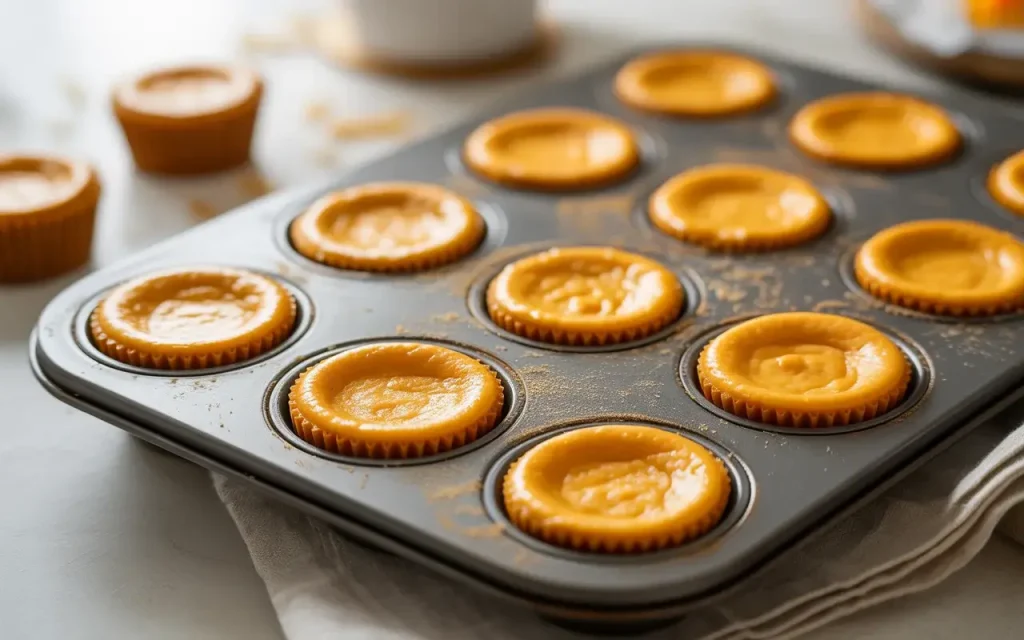
Place the muffin tin in your preheated oven and bake for 18 to 22 minutes. The cheesecakes are done when the edges are set but the centers still jiggle slightly when you gently shake the pan.
Watch them carefully in the last few minutes. Overbaking leads to dry, cracked cheesecakes. Remember, they’ll continue to set as they cool.
The tops should look matte rather than shiny and may have puffed up slightly. This is normal and they’ll settle back down as they cool.
Step 5: Cool Completely
Remove the muffin tin from the oven and let it cool on a wire rack for about 30 minutes at room temperature. This gradual cooling prevents sudden temperature changes that cause cracking.
Once cooled to room temperature, transfer the entire tin to the refrigerator. Chill for at least 3 hours or overnight until the cheesecakes are completely set and firm to the touch.
The filling will transform from soft and jiggly to perfectly sliceable. Patience here pays off with the best texture and cleanest release from the liners.
Step 6: Serve and Enjoy
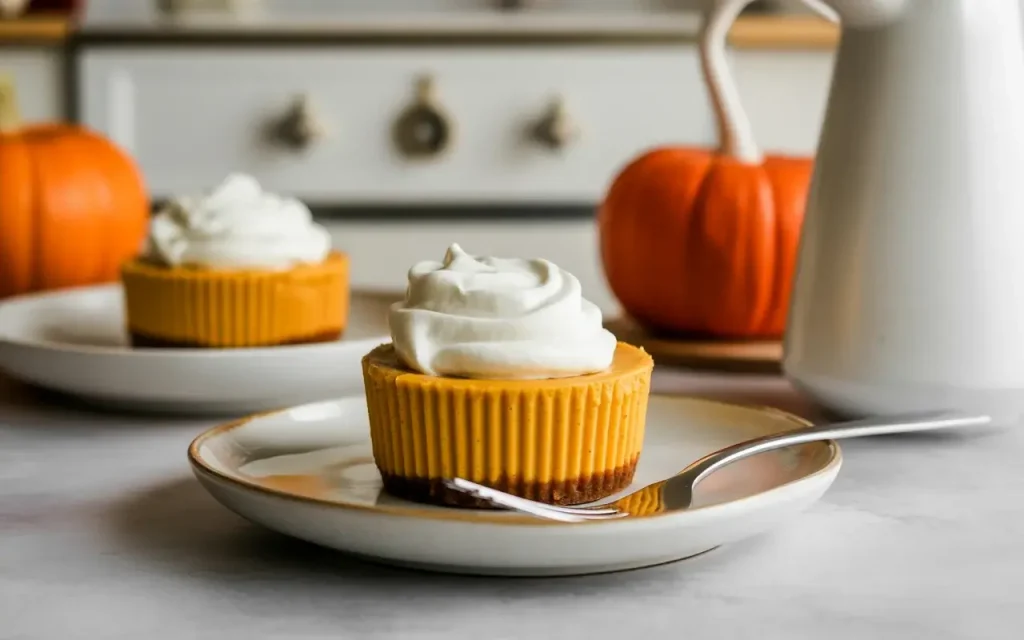
Once fully chilled, remove the cheesecake cups from the muffin tin. Peel away the paper liners carefully or leave them on for easier handling if serving at a party.
Top with your choice of whipped cream, caramel sauce, or a simple dusting of cinnamon. Serve them on a pretty platter or individual dessert plates.
These are best enjoyed cold straight from the fridge. The contrast of the creamy filling and crunchy crust is absolutely perfect.
Frequently Asked Questions
Can I use homemade pumpkin puree?
Yes, homemade pumpkin puree works perfectly. Just make sure it’s well-drained and not too watery, or your filling may be too loose. Canned pure pumpkin is more consistent in texture and moisture content.
Why did my cheesecakes crack on top?
Cracks usually happen from overmixing the batter after adding eggs or overbaking. Cheesecakes should still jiggle slightly in the center when you remove them from the oven. They’ll continue setting as they cool.
Can I make these in regular size instead of mini?
Absolutely. Use a standard springform pan lined with parchment paper. Double the crust, use the same filling, and bake at 325°F for about 45 to 55 minutes. Cooling and chilling times will be longer, so plan for at least 4 hours in the fridge.