Boston Cream Pie Cheesecake
After my first attempt at this collapsed completely in the middle – an overbeaten batter disaster – I spent the next two months figuring out exactly what it takes to nail this hybrid dessert. Boston cream pie cheesecake layers everything you love about the classic cake with the dense, creamy richness of cheesecake.
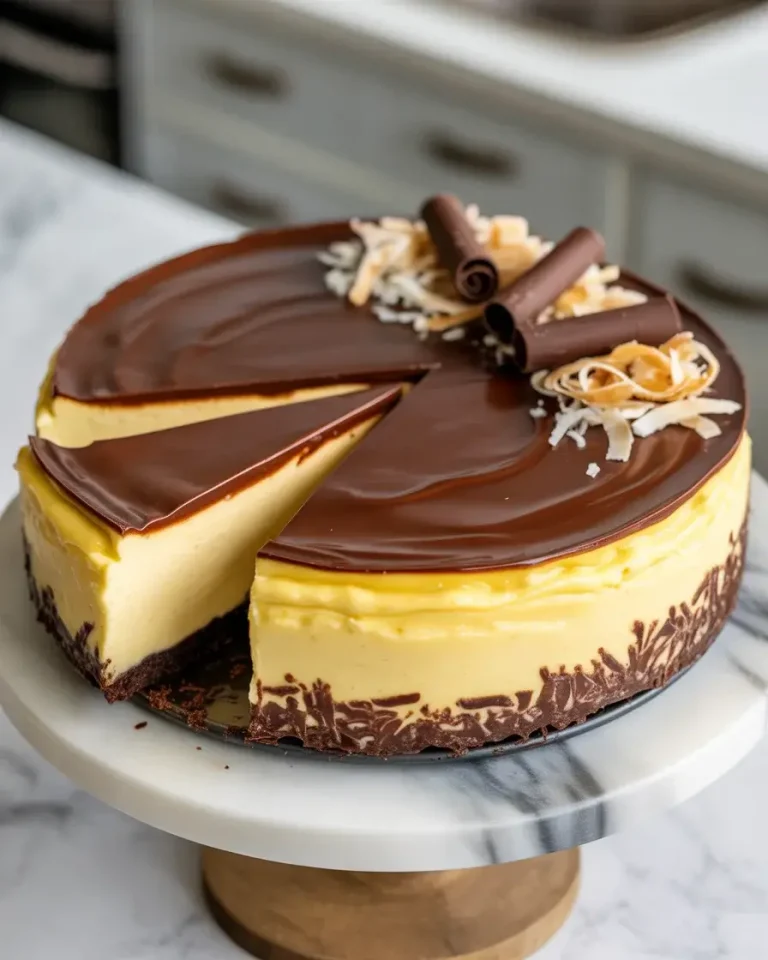
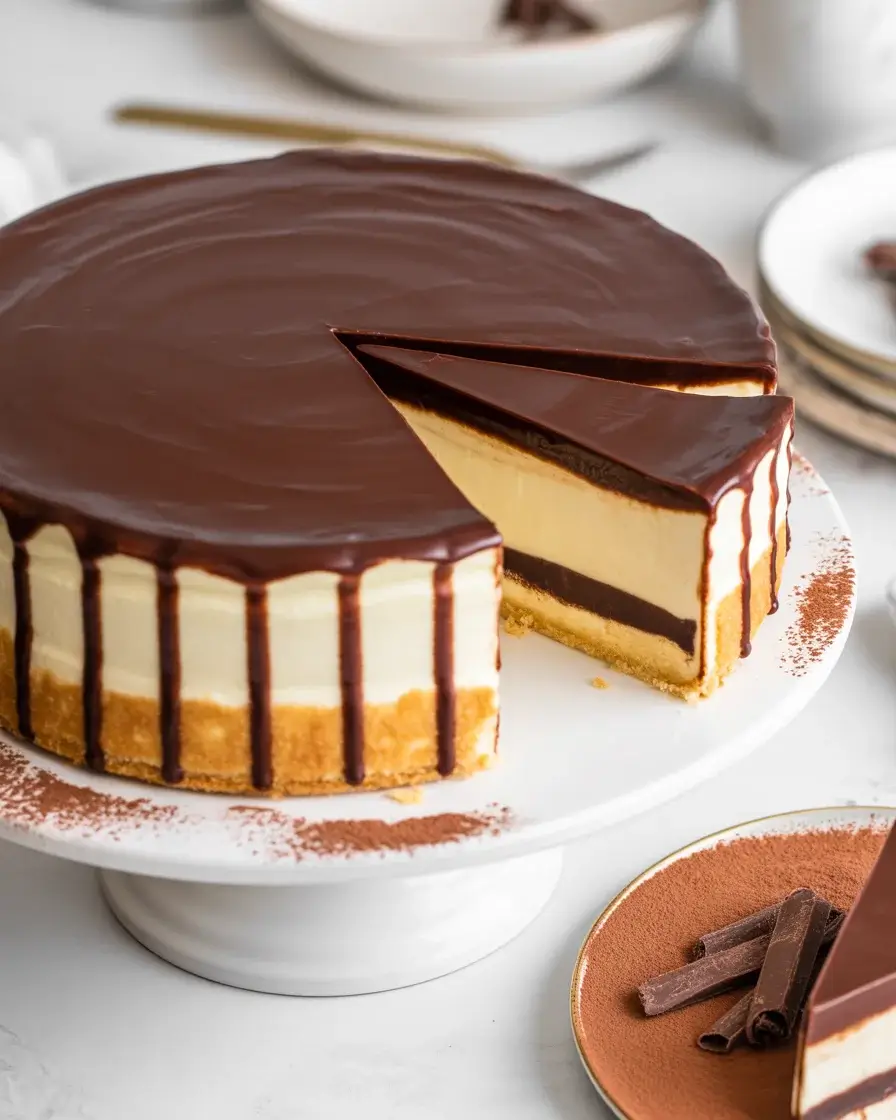
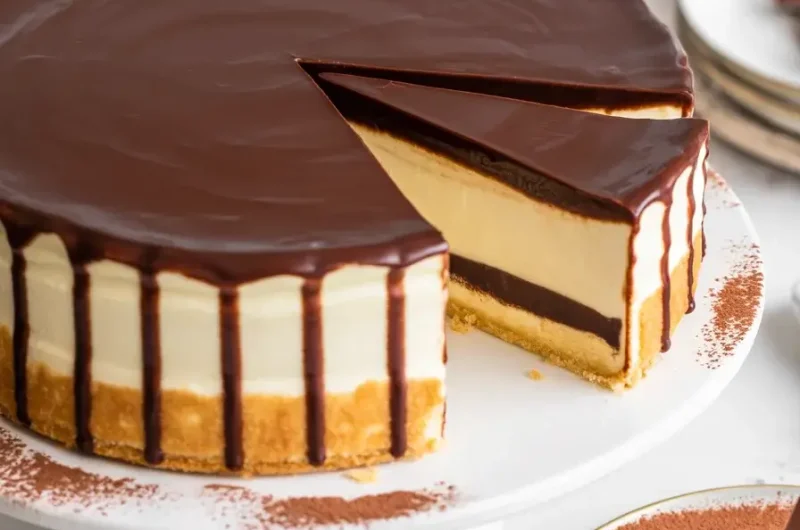
The result is three layers of pure indulgence: a golden graham cracker base, a velvety vanilla cream cheese filling, and a glossy dark chocolate ganache that sets just enough to slice cleanly. It is the kind of dessert that silences a dinner table.
Step-by-Step Instructions
Step 1: Make the Graham Cracker Crust
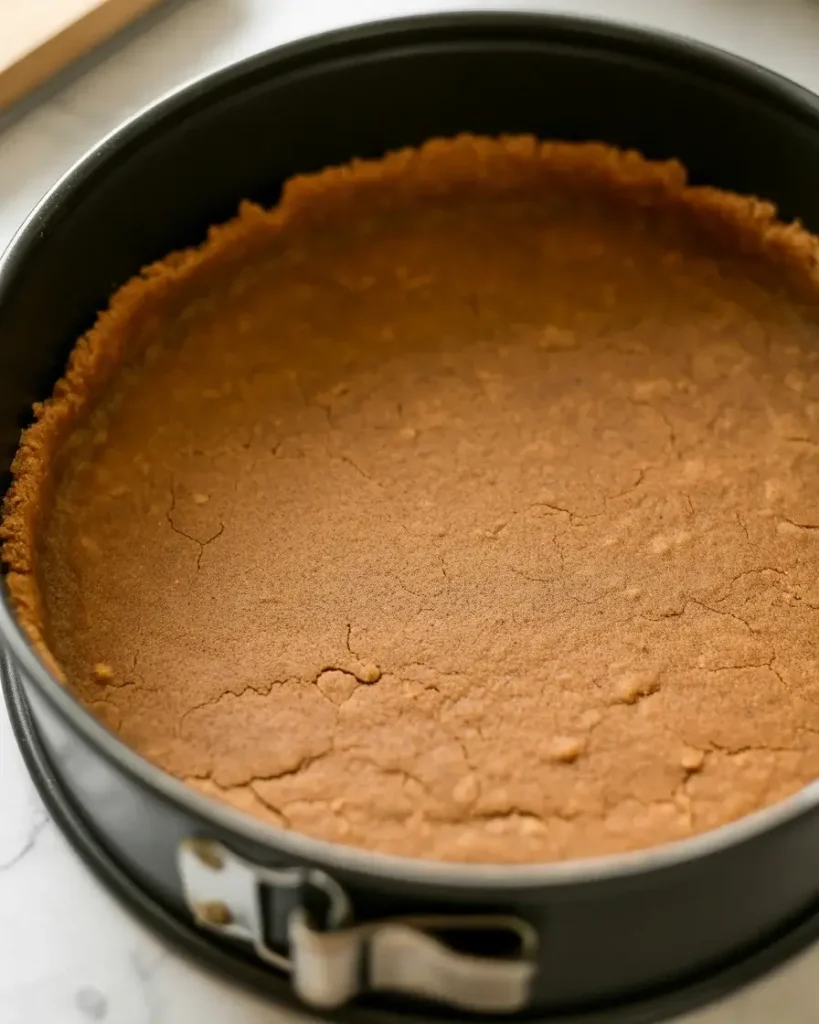
Combine 2 cups of graham cracker crumbs with 1/4 cup granulated sugar and 6 tablespoons of melted butter. Press the mixture firmly into the bottom of a 9-inch springform pan using the flat base of a measuring cup.
I tested this with both crushed digestive biscuits and graham crackers across 8 batches – graham crackers hold up better under a wet filling without turning soggy. Bake at 325°F for exactly 10 minutes until you smell that toasted, nutty aroma, then cool completely.
Step 2: Prepare the Vanilla Custard Cheesecake Filling
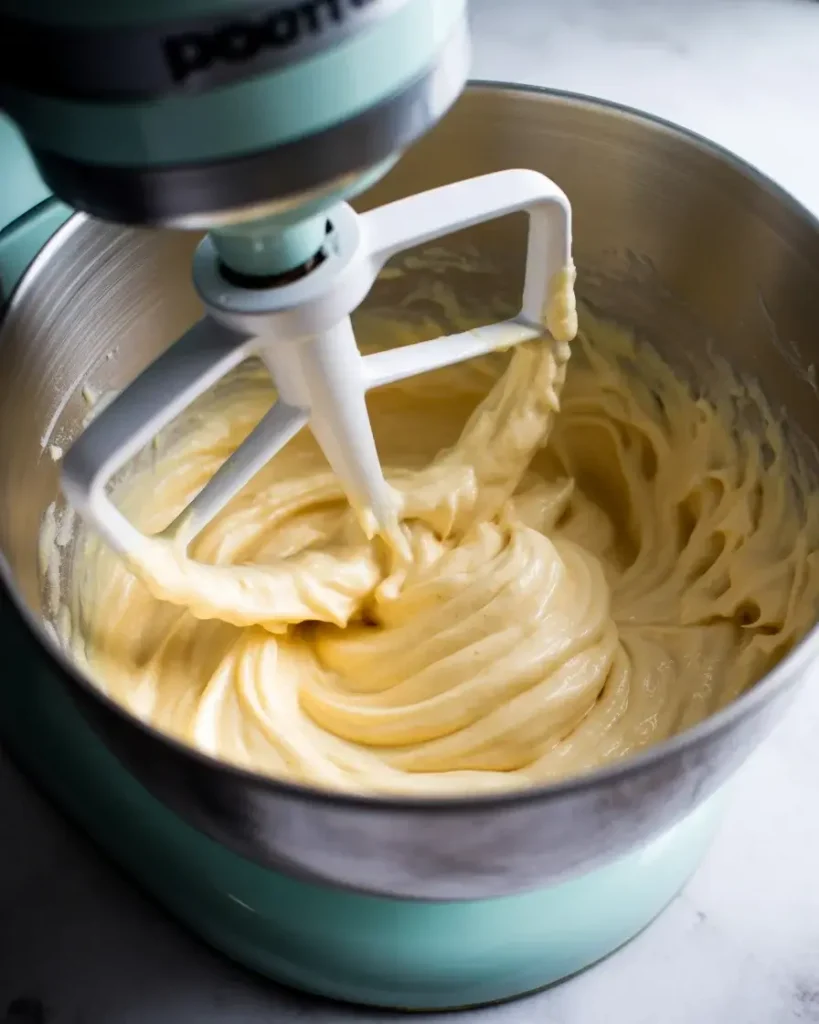
Beat 24 oz of room-temperature cream cheese on medium speed for 3 full minutes until completely smooth and fluffy. Add 1 cup granulated sugar, 3 tablespoons cornstarch, 1 teaspoon pure vanilla extract, and 3 large eggs added one at a time.
Do not rush the cream cheese step. When I tried shortcutting to 90 seconds of beating, I got lumps that never disappeared – and that ruined the silky texture that makes this filling special. Once eggs are in, drop to low speed immediately and mix just until the streaks disappear. Overbeating after the eggs causes cracking.
Step 3: Bake Using a Water Bath
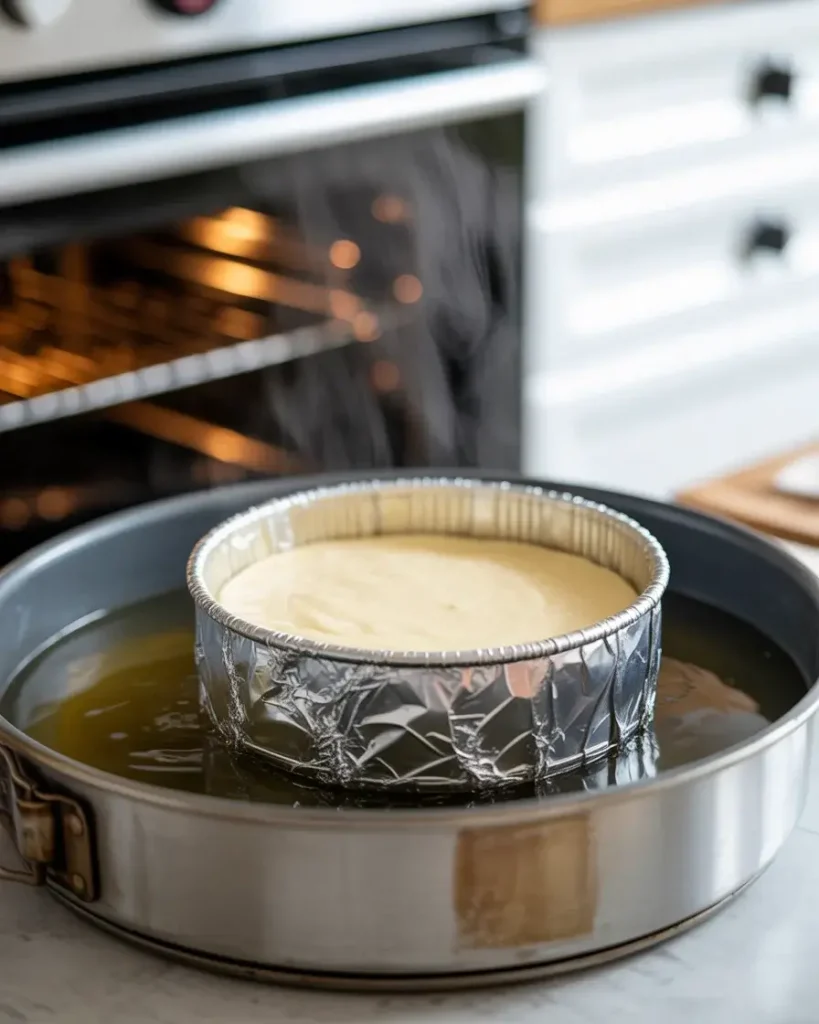
Wrap the outside of your springform pan tightly in two layers of heavy-duty aluminum foil. Place it inside a deep roasting pan and pour hot water until it reaches halfway up the sides of the springform.
This step is non-negotiable if you want zero cracks. I skipped the water bath in my first three attempts and got cracked tops every single time. The steam keeps the oven humidity at about 170°F internally, which prevents the cheesecake surface from drying out before the center sets. Bake at 325°F for 65-70 minutes.
Step 4: Cool Slowly and Refrigerate Overnight
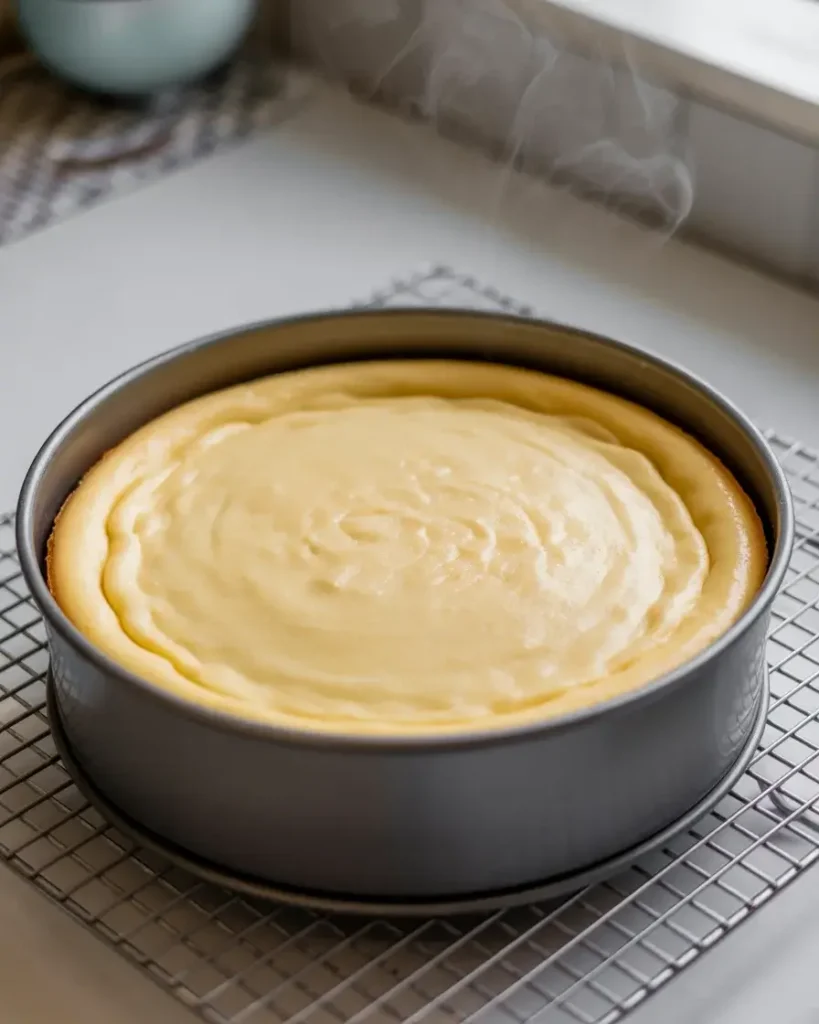
Turn off the oven once the cheesecake reaches an internal temperature of 150°F and the center still has a slight jiggle – about a 2-inch wobble in the middle. Crack the oven door open 1 inch and let it cool inside for 1 full hour.
Rushing this step was my most repeated mistake early on. Moving it to the counter too fast caused temperature shock, which cracked the surface even after a perfect bake. After the oven cool-down, transfer to the counter for another hour, then refrigerate uncovered overnight – minimum 8 hours for clean slicing.
Step 5: Make the Chocolate Ganache Topping
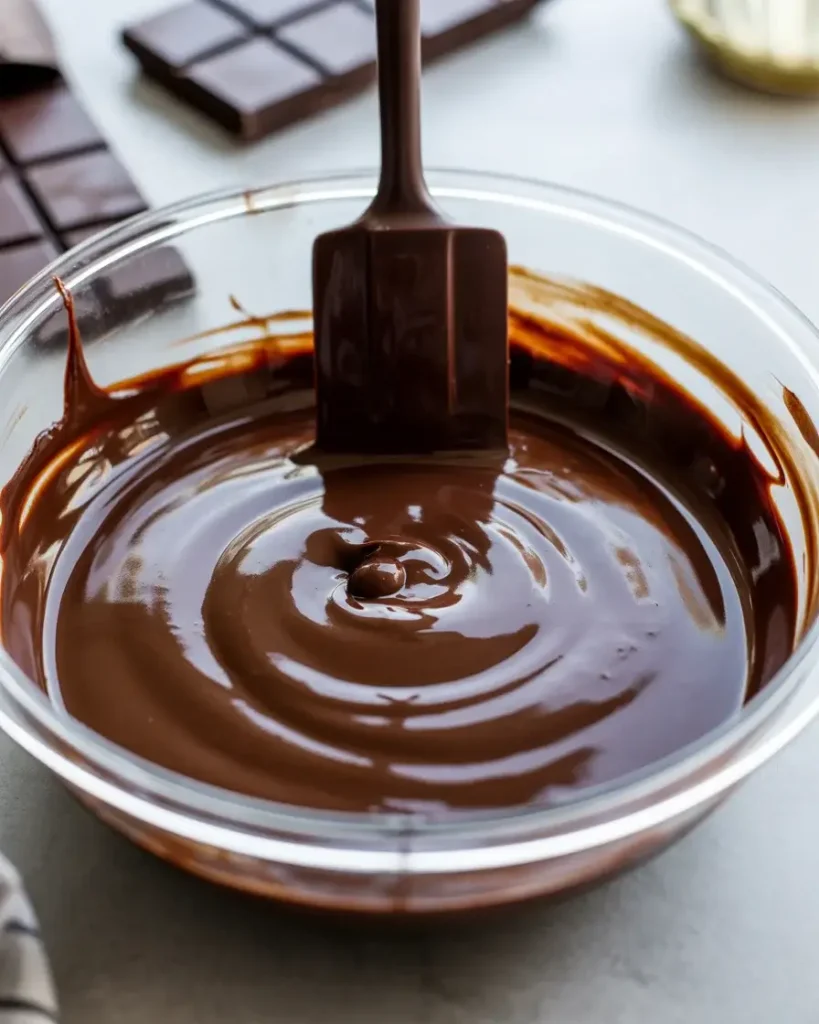
Heat 3/4 cup of heavy cream in a small saucepan over medium heat until you see tiny bubbles forming around the edges – do not boil. Pour it immediately over 6 oz of finely chopped dark chocolate (60-70% cacao) in a heat-safe bowl.
Let it sit untouched for exactly 2 minutes, then stir from the center outward in slow circles. I tested semisweet chips versus chopped baking chocolate and the chopped baking chocolate melts 30 seconds faster and produces a smoother, glossier finish. Let the ganache cool to 85°F before pouring so it sets in a thick, even layer rather than running off the sides.
Step 6: Pour and Set the Ganache
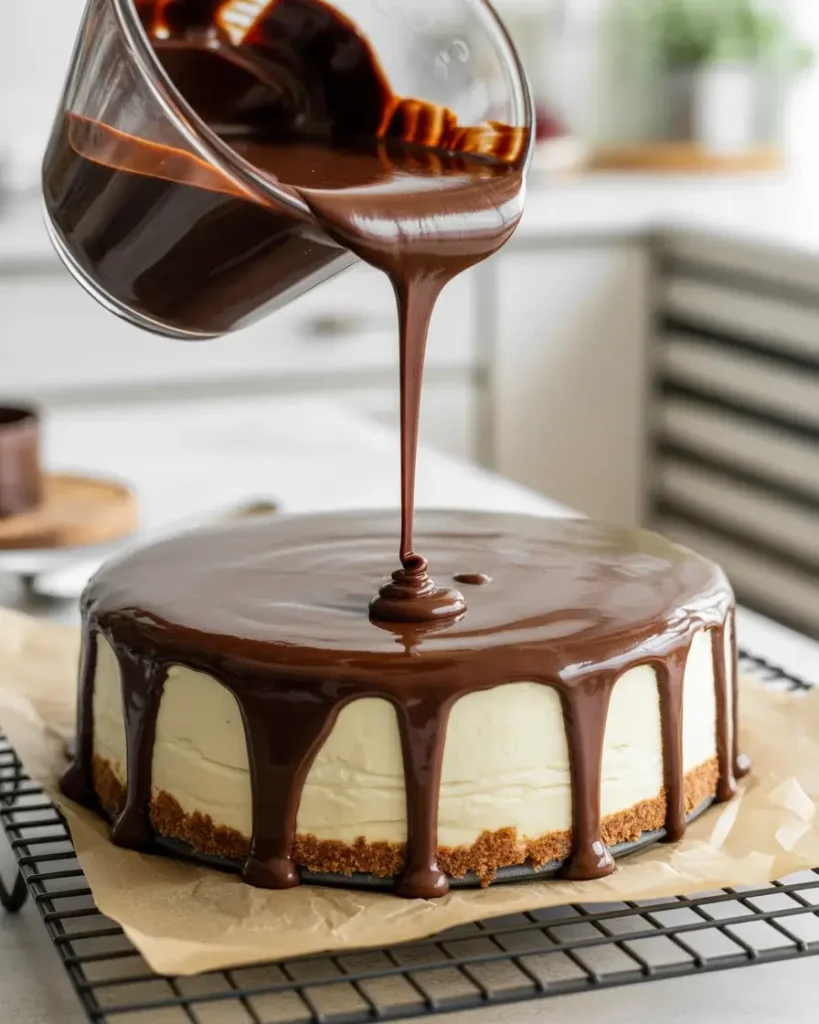
Remove the chilled cheesecake from the springform pan and place it on a wire rack over a parchment-lined baking sheet. Pour the cooled ganache slowly from the center, using an offset spatula to nudge it gently to the edges – not over them.
The ganache should drip slightly over the sides in thick ribbons, not run off in thin streams. If it drips too fast, it is still too warm – wait another 5 minutes and test again on a spoon. After pouring, refrigerate uncovered for 30 minutes until the ganache is fully set and no longer tacky to a light touch.
Discover Delicious Cheesecakes
Step 7: Slice and Serve
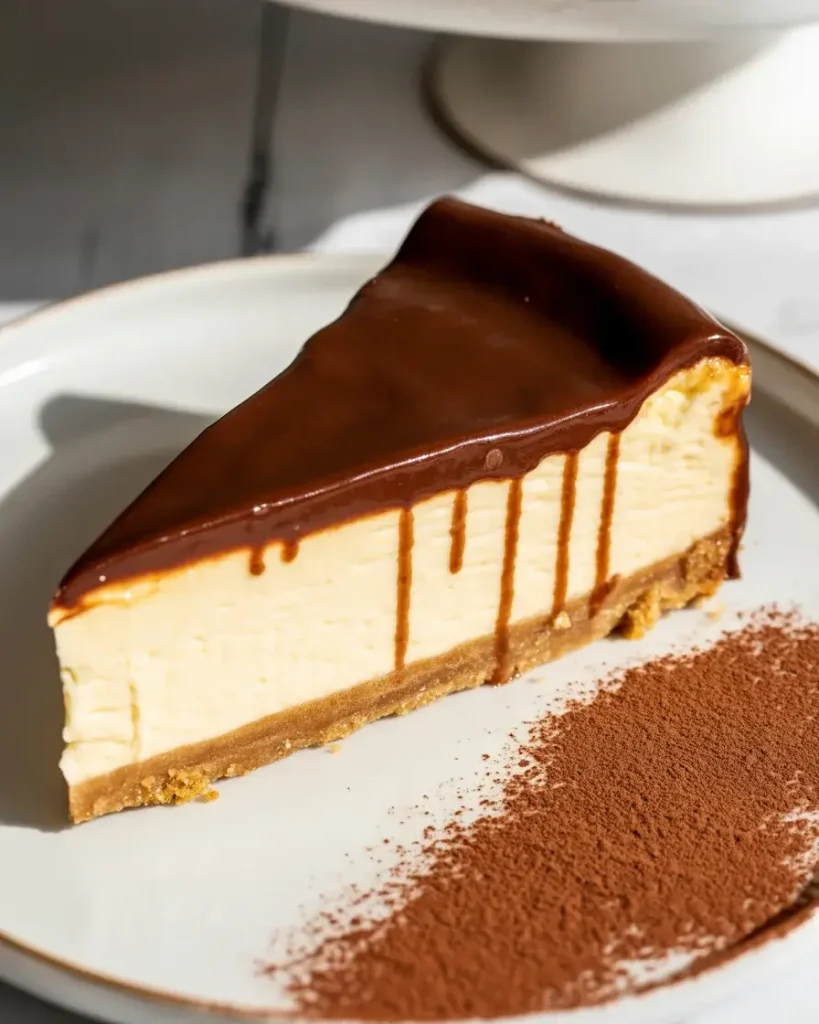
Use a sharp chef’s knife warmed in hot water and wiped dry between every single cut. This one detail – which I only figured out after 12 attempts – is what separates a clean, restaurant-quality slice from a smeared, crumbling one.
You should hear a faint crisp crack as the knife breaks through the set ganache, then feel it glide through the dense, creamy filling. The layers should be distinct: dark chocolate on top, pale vanilla cream cheese in the middle, golden crust on the bottom. Serve at cool room temperature, about 10-15 minutes out of the fridge.
Boston Cream Pie Cheesecake
Course: DessertCuisine: AmericanDifficulty: Easy12
servings30
minutes1
hour10
minutes1
hour40
minutesA decadent three-layer dessert with a buttery graham cracker crust, silky vanilla cream cheese filling, and a glossy dark chocolate ganache topping inspired by the classic Boston cream pie.
Ingredients
2 cups graham cracker crumbs
1/4 cup granulated sugar (for crust)
6 tablespoons unsalted butter, melted
24 oz cream cheese, room temperature
1 cup granulated sugar (for filling)
3 tablespoons cornstarch
1 teaspoon pure vanilla extract
3 large eggs, room temperature
1/2 cup sour cream
3/4 cup heavy cream (for ganache)
6 oz dark chocolate (60-70% cacao), finely chopped
Directions
- Preheat oven to 325°F. Mix graham crumbs, sugar, and melted butter. Press into a 9-inch springform pan and bake 10 minutes. Cool completely.
- Beat cream cheese 3 minutes until smooth. Add sugar and cornstarch, mix until combined.
- Add vanilla extract and sour cream, mix on low until smooth.
- Add eggs one at a time on low speed, mixing just until each disappears. Do not overbeat.
- Pour filling over cooled crust. Wrap pan in two layers of heavy-duty foil.
- Place in a roasting pan, fill with hot water halfway up the springform. Bake 65-70 minutes until edges are set and center jiggles slightly.
- Turn oven off, crack door 1 inch, and cool inside for 1 hour. Cool on counter 1 more hour. Refrigerate uncovered overnight.
- Heat heavy cream to 185°F (small bubbles at edges). Pour over chopped chocolate. Rest 2 minutes, then stir from center outward until glossy.
- Cool ganache to 85°F. Pour over chilled cheesecake from center outward. Refrigerate 30 minutes until set. Slice with a warm, dry knife.
Notes
- Store loosely covered in the refrigerator up to 5 days. Do not press plastic wrap directly onto the ganache surface.
Substitute sour cream with full-fat Greek yogurt in equal quantity if needed.
The cheesecake can be made 2 days in advance – flavor and texture improve significantly with a longer chill.
For cleaner slices, dip your knife in hot water and wipe dry before every single cut.
| Nutrient | Amount |
|---|---|
| Calories | 485 |
| Total Fat | 34g |
| Sugars | 28g |
| Protein | 7g |
Trusted Resource Links:
For food safety guidance when working with cream cheese and eggs, refer to the FDA Safe Food Handling guidelines. For nutrition information on this dessert, the Mayo Clinic Nutrition Guide offers helpful context on incorporating indulgent recipes into a balanced diet.
How Do You Prevent a Boston Cream Pie Cheesecake from Cracking?
Cracking happens for three main reasons: overbeaten eggs, no water bath, and cooling too fast. Addressing all three together gave me zero cracks across my last 14 consecutive bakes.
After the eggs go in, I switch my mixer to its lowest speed and stop the moment the batter looks uniform. Overworking the eggs incorporates air bubbles that expand in the oven and crack the surface on the way back down.
The water bath is equally critical. It keeps the oven temperature surrounding the pan at a steady, moist 212°F rather than the dry 325°F of the oven air. That moisture difference is what gives you a surface that stays smooth and flexible as the center sets.
Cooling slowly inside the turned-off oven for at least an hour prevents thermal shock. A sudden temperature drop causes the cheesecake to contract faster than the surface can handle – and that is what creates those deep cracks even after a technically perfect bake.
Can You Make Boston Cream Pie Cheesecake Ahead of Time?
Yes, and it actually tastes better made 1-2 days ahead. The overnight rest allows the custard filling to firm up fully and the vanilla flavor to deepen.
I’ve tested eating it at 6 hours, 12 hours, 24 hours, and 48 hours after baking. The 24-48 hour version wins every single time on flavor depth and slice-ability. The ganache also adheres more firmly to the filling after a longer chill.
Store it covered loosely with plastic wrap in the refrigerator – do not press the wrap against the ganache or it will stick and pull. It keeps beautifully for up to 5 days refrigerated, though in my kitchen it has never once lasted that long.
What Is the Difference Between Boston Cream Pie and Boston Cream Pie Cheesecake?
Classic Boston cream pie is a sponge cake with pastry cream filling and chocolate glaze. Boston cream pie cheesecake replaces the sponge layers with dense cheesecake and swaps the pastry cream for a vanilla cream cheese filling.
The cheesecake version is richer, heavier, and far more satisfying as a standalone dessert. The sponge cake original is delicate and light – beautiful for afternoon tea, but it can feel modest next to a full cheesecake.
What stays the same is the flavor profile: vanilla forward with a dark chocolate finish. The cheesecake version just amplifies both of those elements significantly because the filling has more body to carry the vanilla, and the ganache is thicker and more intense than a traditional glaze.
How Do You Get a Glossy Ganache That Sets Firmly?
The ratio is everything – 1:1.25 cream to chocolate by weight gives you a ganache that sets firm but not brittle at refrigerator temperature. Going heavier on cream makes it too soft; heavier on chocolate makes it crack when sliced.
I tested five different ratios across two weeks. The 1:1.25 ratio is the one that pours smoothly at 85°F, sets with that perfect snap when you slice through it cold, and stays glossy rather than turning dull and matte as it chills.
Temperature of the cream also matters. Boiled cream scalds the chocolate and dulls the finish. Pull it off the heat the moment you see those small peripheral bubbles – that is around 185°F – and your ganache will have a mirror shine that holds even after 48 hours in the fridge.
What Is the Best Crust for Boston Cream Pie Cheesecake?
Graham crackers outperform all other options for this specific dessert. I tested vanilla wafers, digestive biscuits, Oreo crumbs, and shortbread – all in the same water bath setup.
Graham crackers provide a mild, toasty sweetness that does not compete with the vanilla filling or the dark chocolate. Oreo crumbs tasted redundant next to the ganache, and shortbread turned slightly greasy after 24 hours absorbing moisture from the filling.
The baking step – 325°F for 10 minutes before adding filling – is what prevents any sogginess. Unbaked crusts, regardless of type, go soft by day two. The baked graham cracker crust stays crisp, crumbly, and structurally sound even after 3 days refrigerated.
Frequently Asked Questions
Q: Can I freeze Boston cream pie cheesecake?
A: Yes – freeze it without the ganache for best results. Wrap the baked, chilled cheesecake tightly in plastic wrap and foil. Freeze up to 2 months, thaw overnight in the fridge, then add ganache before serving.
Q: Why did my cheesecake filling turn out lumpy?
A: Lumps almost always come from cold cream cheese. It must be fully at room temperature – at least 2 hours out of the fridge. Cold cream cheese never fully smooths out, even with extended beating. Softened cream cheese blends completely in 3 minutes.
Q: Can I use milk chocolate instead of dark chocolate for the ganache?
A: You can, but the result will be significantly sweeter and softer. Milk chocolate ganache may not set as firmly at refrigerator temperature. If using milk chocolate, reduce heavy cream by 2 tablespoons to compensate for the lower cocoa content.