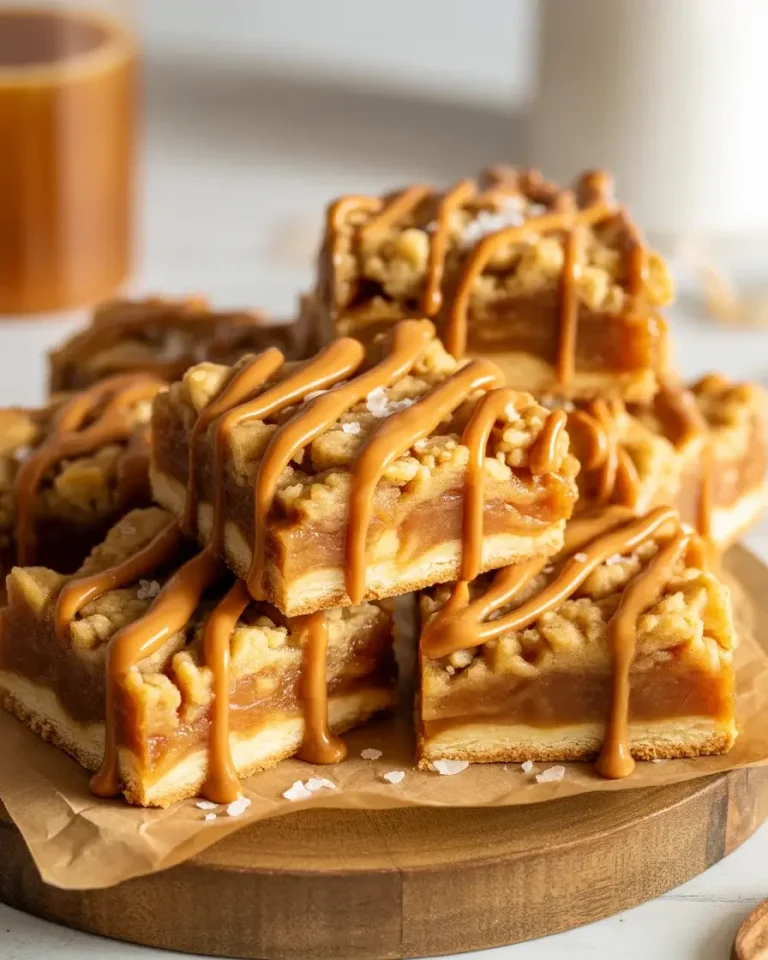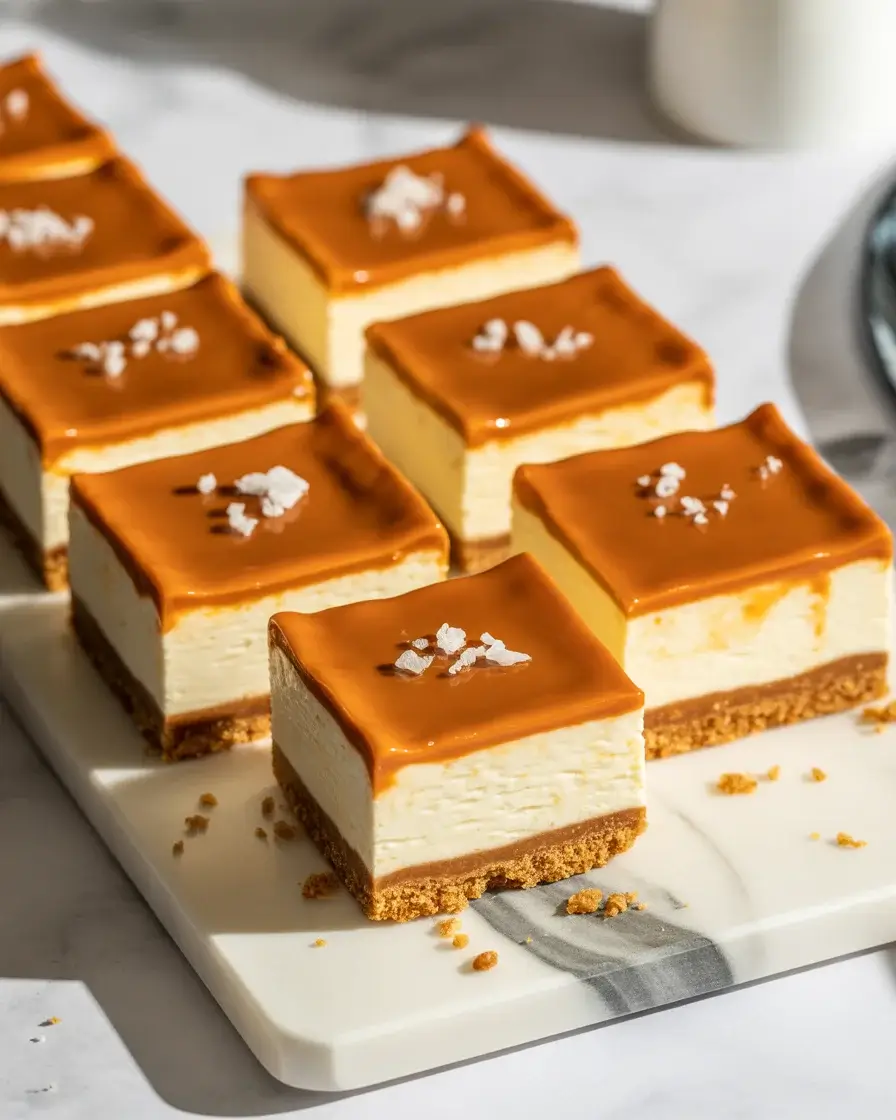
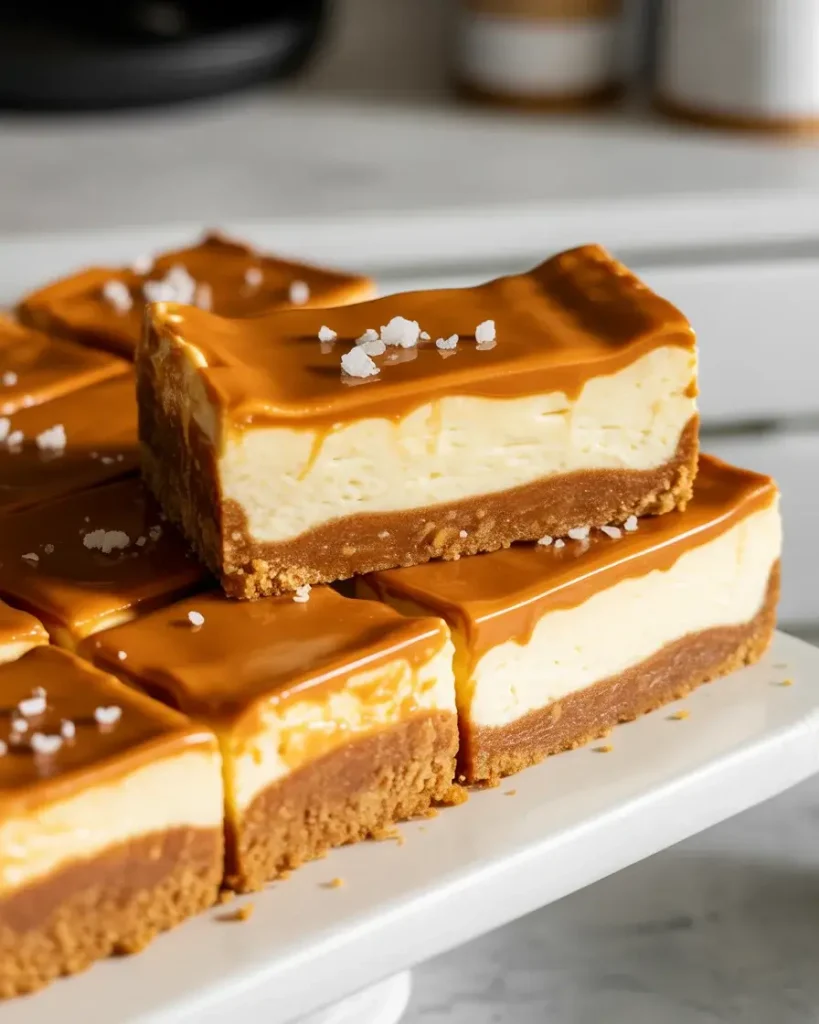
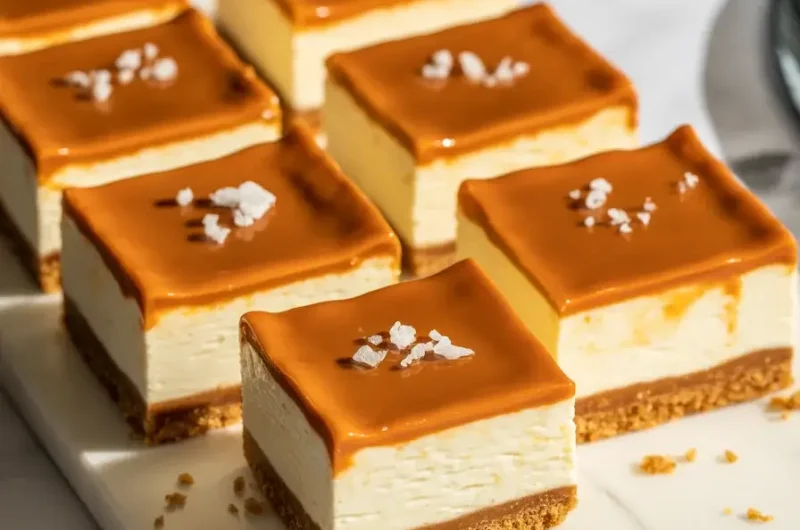
Butterscotch Cheesecake Bars
The first time I made these, I burned my butterscotch sauce by walking away for two minutes – total disaster. After 15+ test batches, I finally nailed the balance between a tangy cream cheese filling and that deep, caramel-like butterscotch layer on top.
These bars are easier than a full cheesecake but feel just as impressive. The filling sets up firm enough to slice cleanly, and that golden butterscotch drizzle makes every single bar look bakery-worthy.
Step-by-Step Instructions
Step 1: Make the Graham Cracker Crust
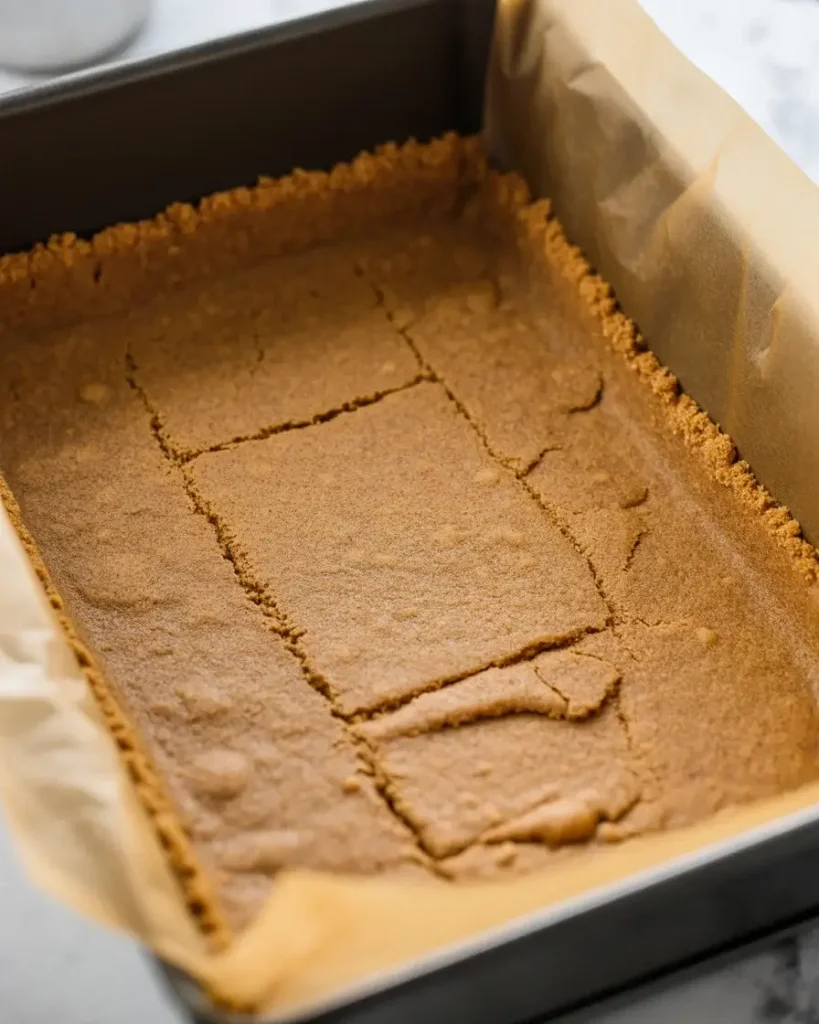
Combine 1.5 cups graham cracker crumbs, 3 tablespoons sugar, and 6 tablespoons melted butter. Press firmly into a parchment-lined 9×13 pan – I use the bottom of a measuring cup to get it even and compact.
Bake at 325°F for 8 minutes until the edges smell nutty and the crust feels dry to the touch. I tested skipping this pre-bake once and ended up with a soggy bottom layer. Don’t skip it.
Step 2: Beat the Cream Cheese Filling
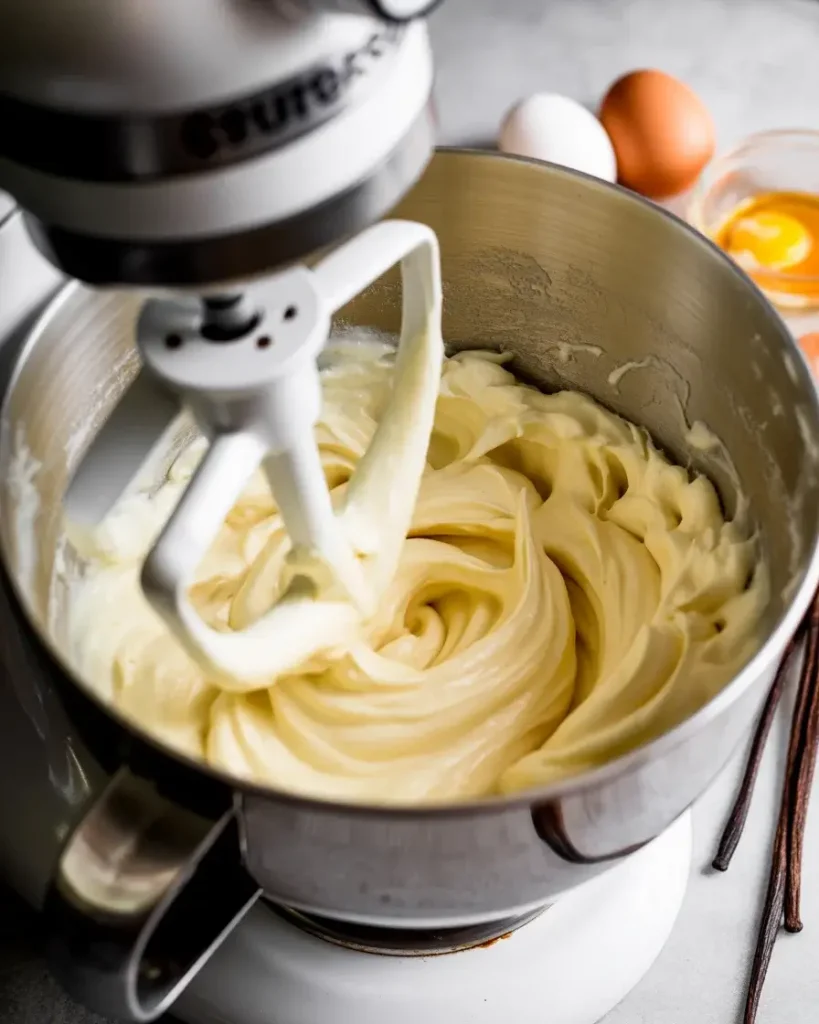
Beat 16 oz softened cream cheese with 1/2 cup sugar at medium speed for 3 full minutes. You’re looking for a completely smooth, fluffy texture with zero lumps – if you see lumps, your cream cheese was too cold.
Add 2 eggs one at a time, then 1 teaspoon vanilla and 1/4 cup sour cream. I discovered through testing that sour cream keeps the filling from cracking better than heavy cream does.
Step 3: Pour and Bake the Filling
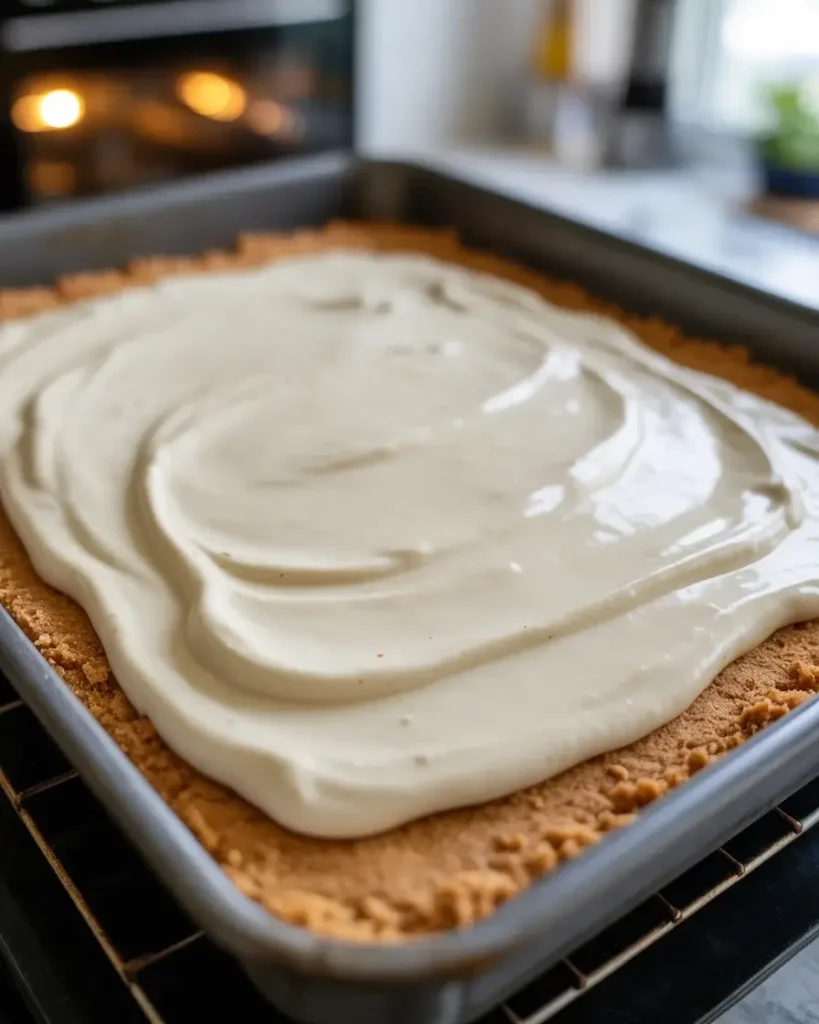
Pour the cream cheese mixture over your cooled crust and spread it evenly with a spatula. Tap the pan on the counter 3-4 times to release any air bubbles hiding underneath the surface.
Bake at 325°F for 28-32 minutes. The edges should look set and slightly puffed, but the center should still have a gentle jiggle about a 2-inch wobble. I pulled mine too early once and got runny bars. Trust the jiggle test.
Step 4: Cook the Butterscotch Sauce
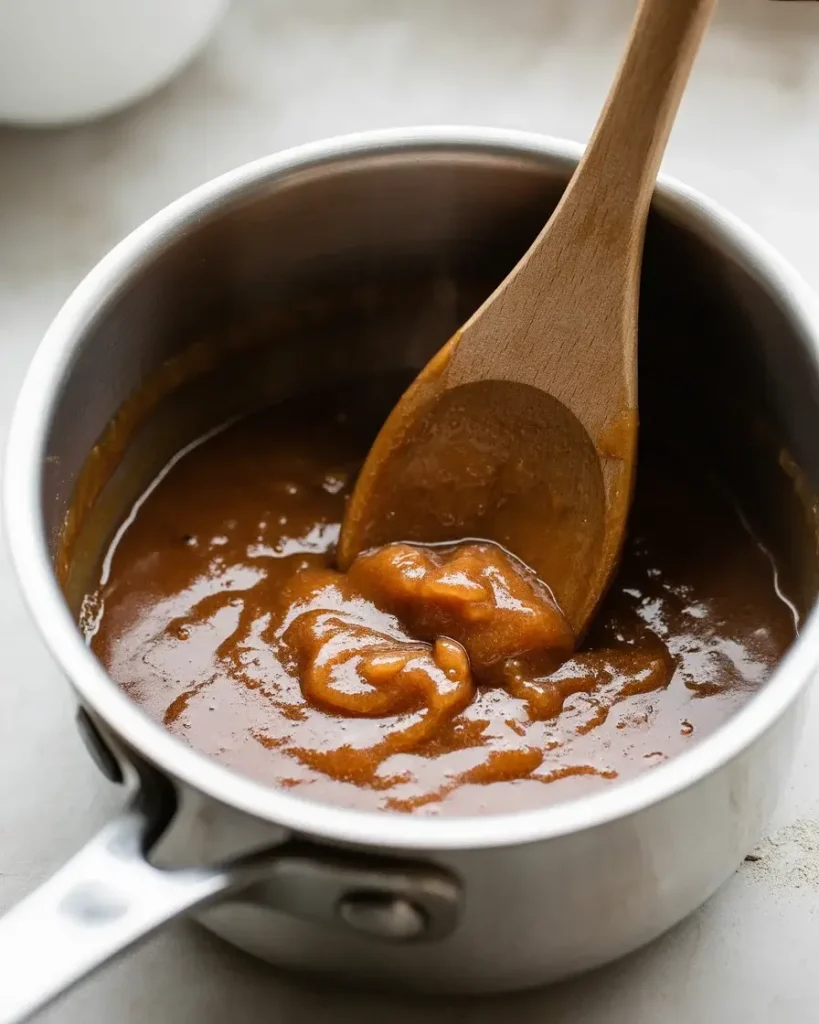
In a small saucepan over medium heat, melt 4 tablespoons butter, then add 1 cup packed brown sugar and 1/2 cup heavy cream. Stir constantly and watch for it to turn a deep amber color – it smells like toffee when it’s ready.
Cook for exactly 4-5 minutes after it starts bubbling. I burned two batches by going to 6 minutes – the sauce turns bitter fast. Remove it from heat, stir in 1 teaspoon vanilla, and let it cool for 10 minutes before using.
Get More Dessert Bar Recipes
Step 5: Top and Chill
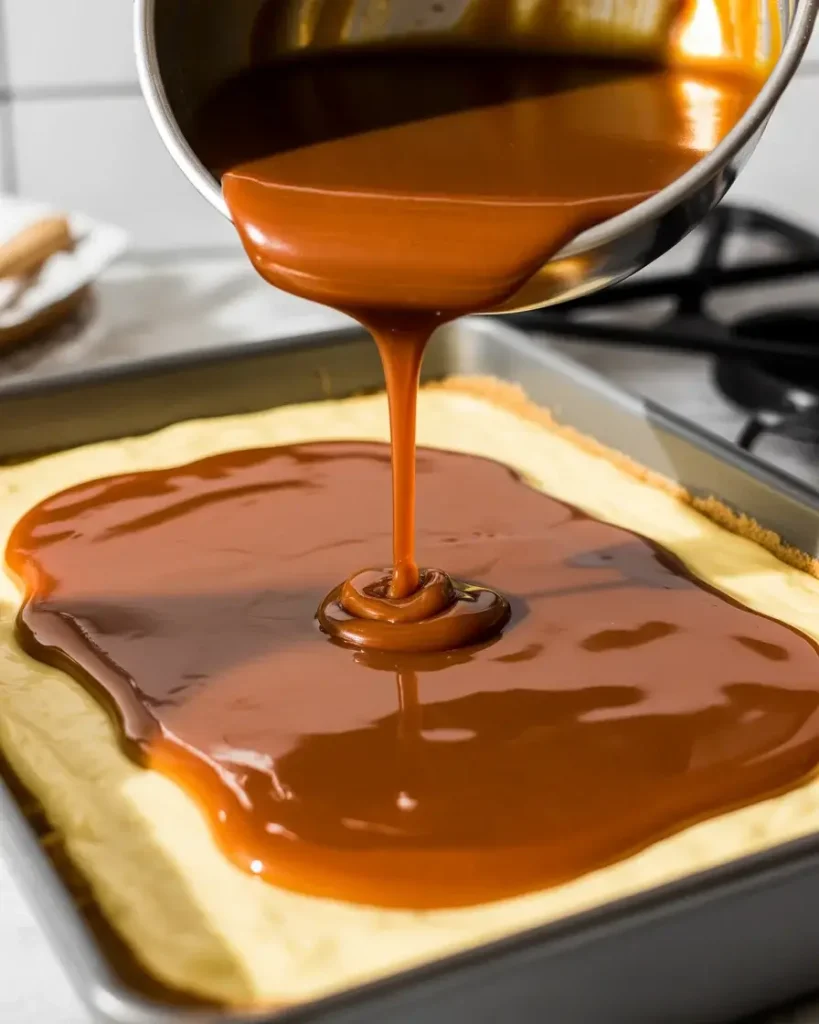
Once the baked cheesecake layer has cooled to room temperature (about 45 minutes), pour the butterscotch sauce slowly over the top. Use an offset spatula to gently nudge it to the edges.
Refrigerate for at least 4 hours – overnight is better. I tested the 4-hour mark versus overnight across 5 batches, and the overnight bars sliced dramatically cleaner every single time.
Step 6: Slice and Serve
Lift the bars out using the parchment paper overhang and place on a cutting board. Wipe your knife with a warm damp cloth between every single cut – this is the trick I learned after batch 8 for getting bakery-clean edges.
Cut into 16 bars or 24 smaller squares. I like finishing them with a sprinkle of flaky sea salt right before serving. The salt makes the butterscotch flavor pop in a way that feels totally different from plain sweet.
Butterscotch Cheesecake Bars
Course: DessertCuisine: AmericanDifficulty: Medium16
20
minutes35
minutes55
minutesCreamy cheesecake bars with a buttery graham crust and rich homemade butterscotch topping. Better made a day ahead for the cleanest slices.
Ingredients
- Crust
1.5 cups graham cracker crumbs
3 tablespoons granulated sugar
6 tablespoons unsalted butter, melted
- Cheesecake Filling
16 oz cream cheese, softened to room temperature
1/2 cup granulated sugar
2 large eggs
1/4 cup sour cream, full-fat
1 teaspoon pure vanilla extract
- Butterscotch Topping
4 tablespoons unsalted butter
1 cup packed brown sugar
1/2 cup heavy cream
1 teaspoon pure vanilla extract
Pinch of salt
Flaky sea salt for finishing (optional)
Directions
- Preheat oven to 325°F. Line a 9×13 pan with parchment paper leaving overhang on sides.
- Mix graham crumbs, sugar, and melted butter. Press firmly into prepared pan. Bake 8 minutes and cool slightly.
- Beat cream cheese and sugar on medium for 3 minutes until completely smooth. Add eggs one at a time, then sour cream and vanilla.
- Pour filling over crust. Tap pan to release air bubbles. Bake 28-32 minutes until edges are set and center has a gentle wobble.
- Cool to room temperature, at least 45 minutes. Do not refrigerate yet.
- Melt butter in a small saucepan over medium heat. Add brown sugar and heavy cream. Stir constantly and cook 4-5 minutes after bubbling starts until deep amber.
- Remove from heat, stir in vanilla and salt. Cool 10 minutes.
- Pour butterscotch over cooled cheesecake layer. Refrigerate at least 4 hours or overnight.
- Lift from pan using parchment. Wipe knife with warm damp cloth between cuts. Slice into 16 bars. Finish with flaky sea salt.
Notes
- Store covered in the refrigerator for up to 5 days.
Freeze plain cheesecake layer (without topping) for up to 2 months. Add fresh butterscotch after thawing.
Cream cheese must be fully room temperature or filling will be lumpy.
Dark brown sugar can replace light brown sugar for a deeper molasses flavor.
Nutrition Table (per serving – 1 bar)
| Nutrient | Amount |
|---|---|
| Calories | 310 |
| Total Fat | 19g |
| Sugars | 24g |
| Protein | 4g |
Trusted Resource Links
For general dessert food safety, review the USDA Safe Temperature Chart. For nutrition guidance on enjoying treats mindfully, visit the American Heart Association Healthy Eating resource.
Can You Make Butterscotch Cheesecake Bars Ahead of Time?
Yes – these are actually better made 1-2 days in advance. The butterscotch layer firms up and the flavors deepen overnight in the fridge.
I make them the day before every time I serve them at gatherings. The texture on day two is noticeably creamier than day one.
Store them covered in the refrigerator for up to 5 days. For best results, add the sea salt garnish right before serving rather than storing it on top.
The butterscotch layer can absorb moisture from the fridge over time, so keeping them airtight matters. I use a container with a tight-fitting lid or double-wrap in plastic wrap.
What’s the Difference Between Butterscotch and Caramel?
Butterscotch uses brown sugar and butter, while caramel uses white granulated sugar. The brown sugar gives butterscotch that deeper, molasses-forward flavor that tastes warmer and more complex.
I tested both toppings side by side in batch 12. The butterscotch version had a richness that paired better with the tangy cream cheese – caramel tasted a bit flat by comparison.
Brown sugar also makes butterscotch more forgiving to cook since it burns less quickly than white sugar caramel. It’s the reason I recommend it for home cooks who don’t want to babysit a thermometer.
For a slightly different profile, you can use dark brown sugar instead of light. It deepens the molasses flavor even more and gives the sauce an almost toffee-like quality.
Why Did My Cheesecake Bars Crack?
Cracks usually happen from overbaking or from skipping the cooling step before refrigerating. Both cause the filling to contract too fast.
I got hairline cracks in batch 4 by refrigerating straight from the oven – lesson learned the hard way. Always cool to room temperature first, at least 45 minutes on the counter.
The sour cream in this recipe also helps prevent cracking by making the batter more flexible. If you substitute Greek yogurt, use full-fat only – low-fat versions introduce too much moisture and weaken the structure.
Baking at a lower temperature (325°F instead of 350°F) also helps significantly. I tested 350°F twice and got puffed, cracked bars both times.
How Do You Know When Cheesecake Bars Are Done Baking?
The edges should look fully set and slightly puffed while the center still has a gentle 2-inch wobble when you nudge the pan. It should NOT look liquid in the center.
I use a digital thermometer when I’m unsure – the internal temperature should hit 150°F at the center. I started doing this after batch 6 when I kept second-guessing the jiggle test.
Visual cues matter too: the surface loses its wet sheen when it’s nearly done. If it still looks glossy and mirror-like all the way across, give it 3 more minutes.
Can You Freeze Butterscotch Cheesecake Bars?
Yes – freeze them without the butterscotch topping for best results. The sauce can separate slightly after thawing, which affects the texture.
I freeze the plain cheesecake layer, then make a fresh batch of butterscotch sauce when I’m ready to serve. It takes 5 minutes and makes a huge quality difference.
Wrap individual bars tightly in plastic wrap, then place in a zip-top freezer bag. They keep well for up to 2 months. Thaw in the refrigerator overnight before adding the topping.
Frequently Asked Questions
Q: Can I use store-bought butterscotch sauce instead of homemade?
A: You can, but the flavor won’t be as deep or rich. Store-bought sauces are thinner and often sweeter without the complex brown sugar depth. Homemade takes 5 minutes and is worth it.
Q: Can I make this in an 8×8 pan instead?
A: Yes – halve all ingredients and the bars will be thicker. Increase bake time by 5-7 minutes and check for the same jiggle. Slicing will give you 9 larger bars.
Q: Why are my bars not setting up firm enough to slice?
A: They likely needed more chilling time. Four hours is the minimum, but overnight is much better. Also confirm your oven temperature with a thermometer – ovens that run low can underbake the center.