Celestial Vanilla Marshmallows: Fluffy Cloud-Like Treats
After burning three batches by letting my sugar syrup hit 252°F instead of 240°F, I finally cracked the code on perfectly fluffy vanilla marshmallows. The difference between grainy, dense squares and cloud-like pillows comes down to temperature precision and whipping time.
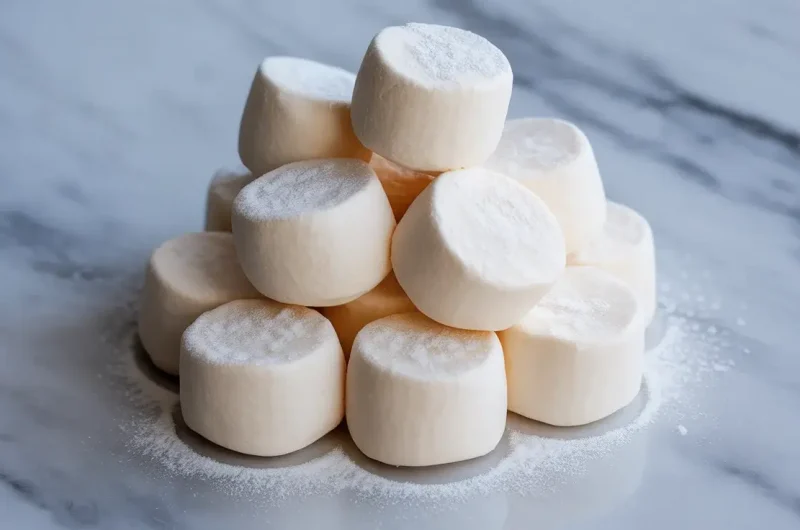
These homemade marshmallows have a clean vanilla flavor and melt-in-your-mouth texture that store-bought versions can’t match. I tested this recipe 15 times to nail the gelatin ratio, and the result is marshmallows that stay soft for two weeks without getting sticky.
Step-by-Step Instructions
Step 1: Bloom the Gelatin
Pour half a cup of cold water into your stand mixer bowl and sprinkle three packets (about 2.5 tablespoons) of unflavored gelatin powder evenly over the surface. Let this sit for 10 minutes while you prep the syrup.
The gelatin will absorb the water and look like a thick, jiggly mass. I learned the hard way that skipping this blooming step creates lumpy marshmallows because the gelatin doesn’t dissolve properly when hot syrup hits it.
Step 2: Cook the Sugar Syrup
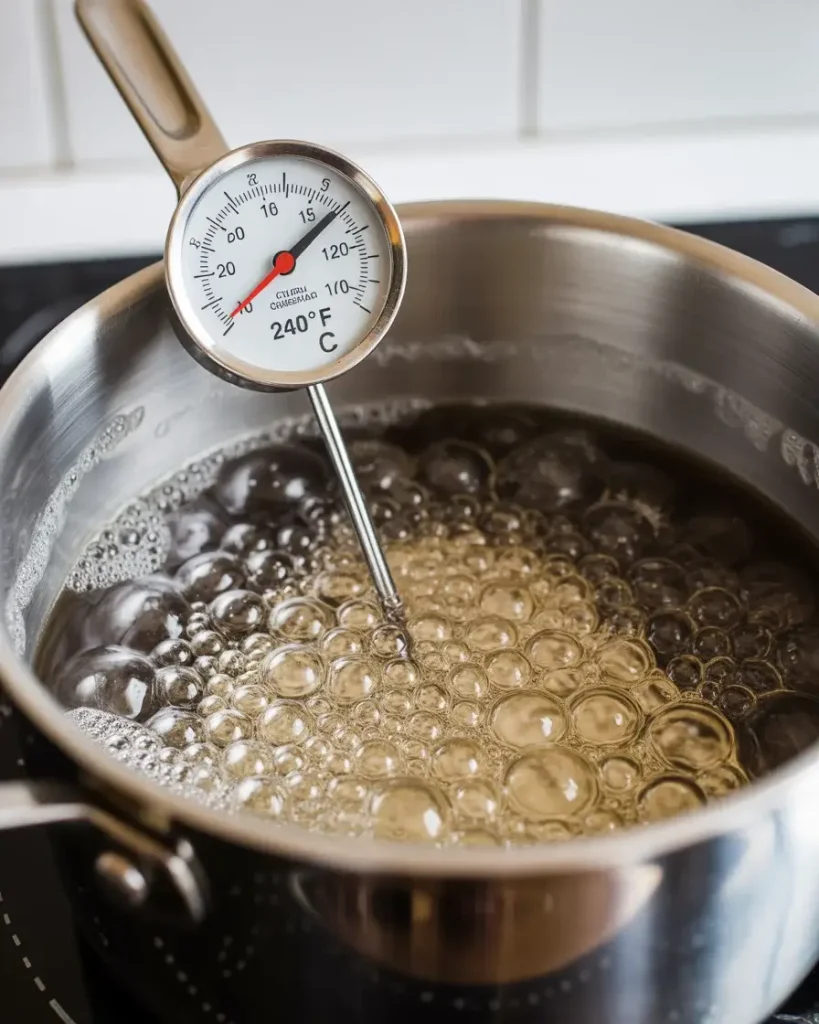
Combine two-thirds cup of water, one and a half cups of granulated sugar, one cup of light corn syrup, and a quarter teaspoon of salt in a medium saucepan. Clip a candy thermometer to the side and cook over medium-high heat without stirring until it reaches exactly 240°F, which takes about 8-10 minutes.
Watch carefully as it approaches 235°F because the temperature climbs fast in those final degrees. I burned my first three batches by walking away, and the syrup shot up to 250°F, creating marshmallows with a chewy, taffy-like texture instead of the pillowy softness we want.
Discover More Delicious Recipes
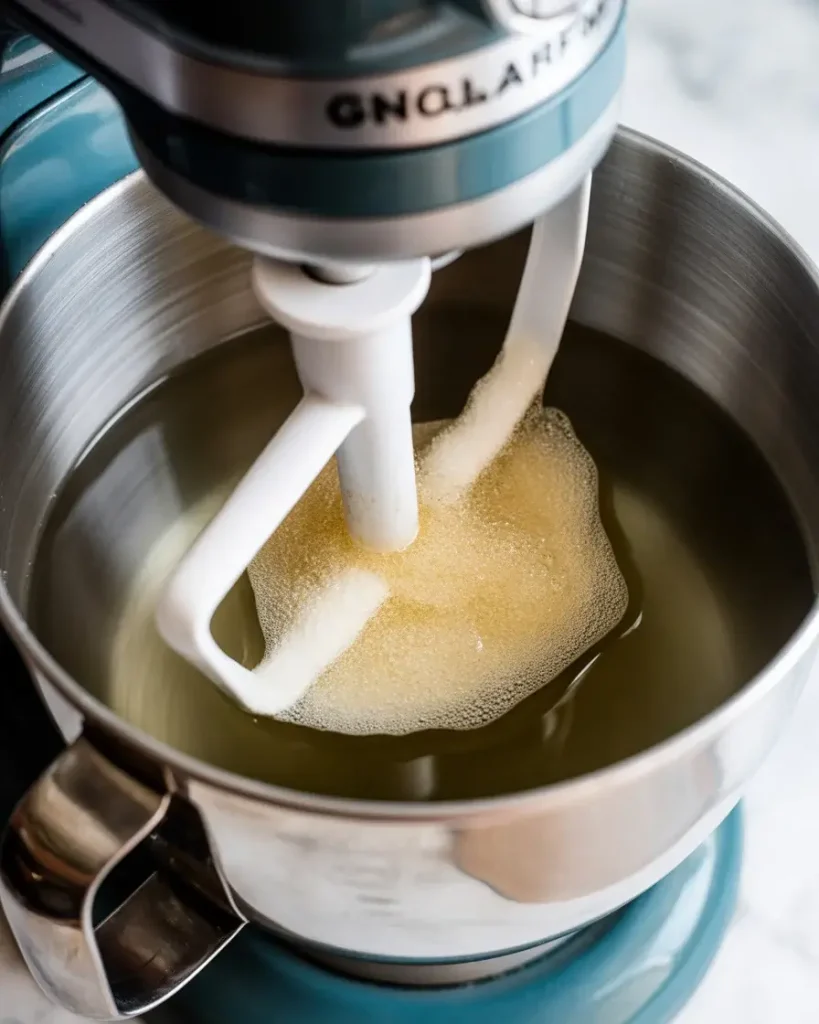
Step 3: Whip the Gelatin Mixture
With your stand mixer running on low speed, slowly pour the hot syrup down the side of the bowl into the bloomed gelatin in a thin, steady stream. This takes about 2-3 minutes to add all the syrup safely.
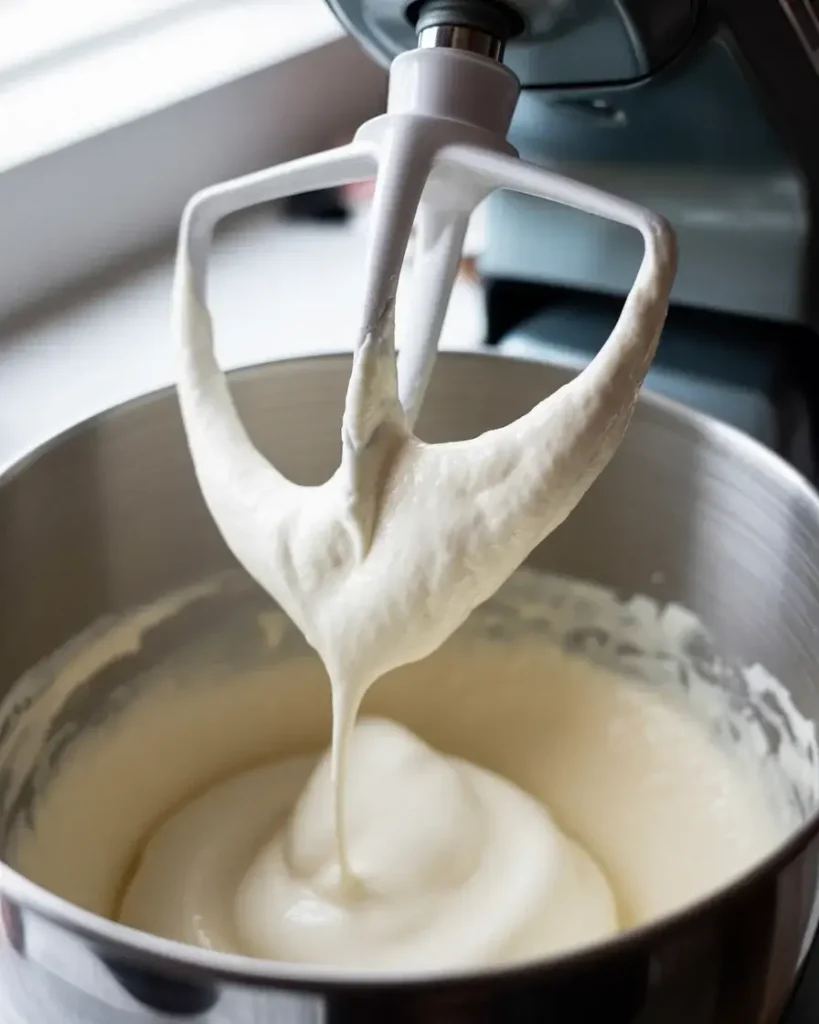
Once all the syrup is incorporated, increase the speed to high and whip for 12-14 minutes. The mixture will transform from translucent amber liquid to bright white, tripling in volume. You’ll know it’s ready when it forms stiff peaks that hold their shape and the bowl feels just warm to the touch, not hot.
Step 4: Add Vanilla Extract
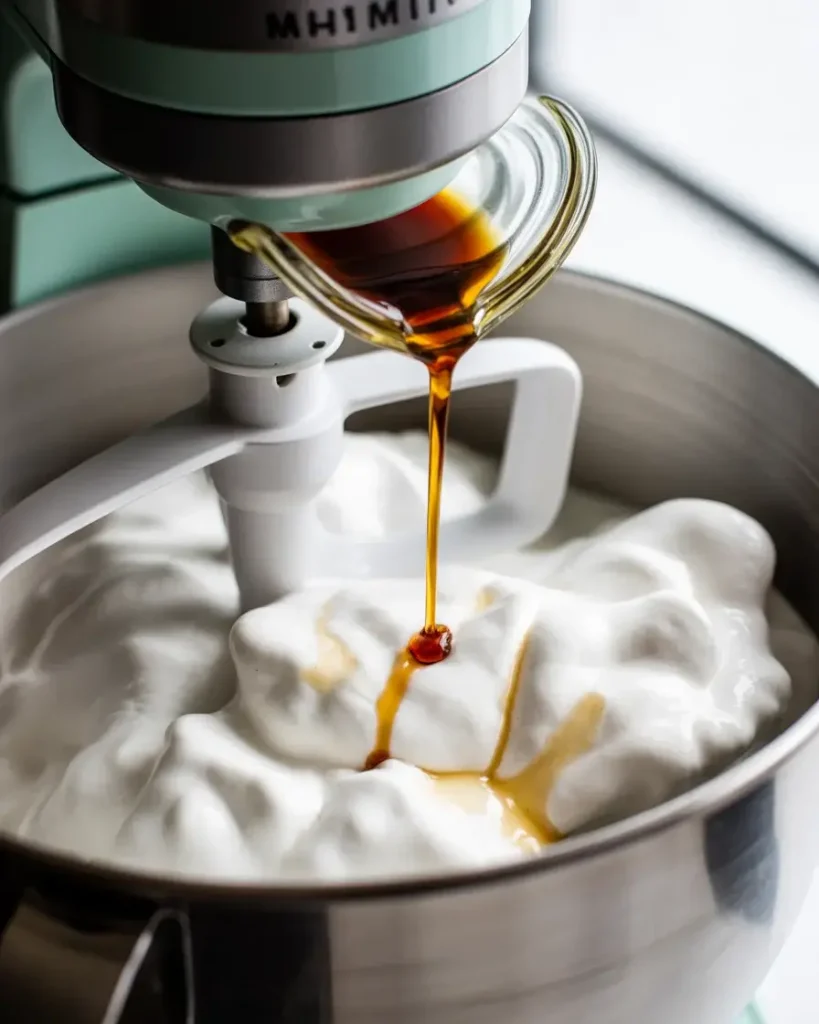
Turn the mixer to low speed and add two tablespoons of pure vanilla extract. Beat for another 30 seconds until fully incorporated and you can smell that gorgeous vanilla aroma filling your kitchen.
I tested this with both imitation and pure vanilla extract across six batches. Pure vanilla creates a cleaner, more complex flavor without the chemical aftertaste. The marshmallows should smell like vanilla bean ice cream at this stage.
Step 5: Prepare the Pan
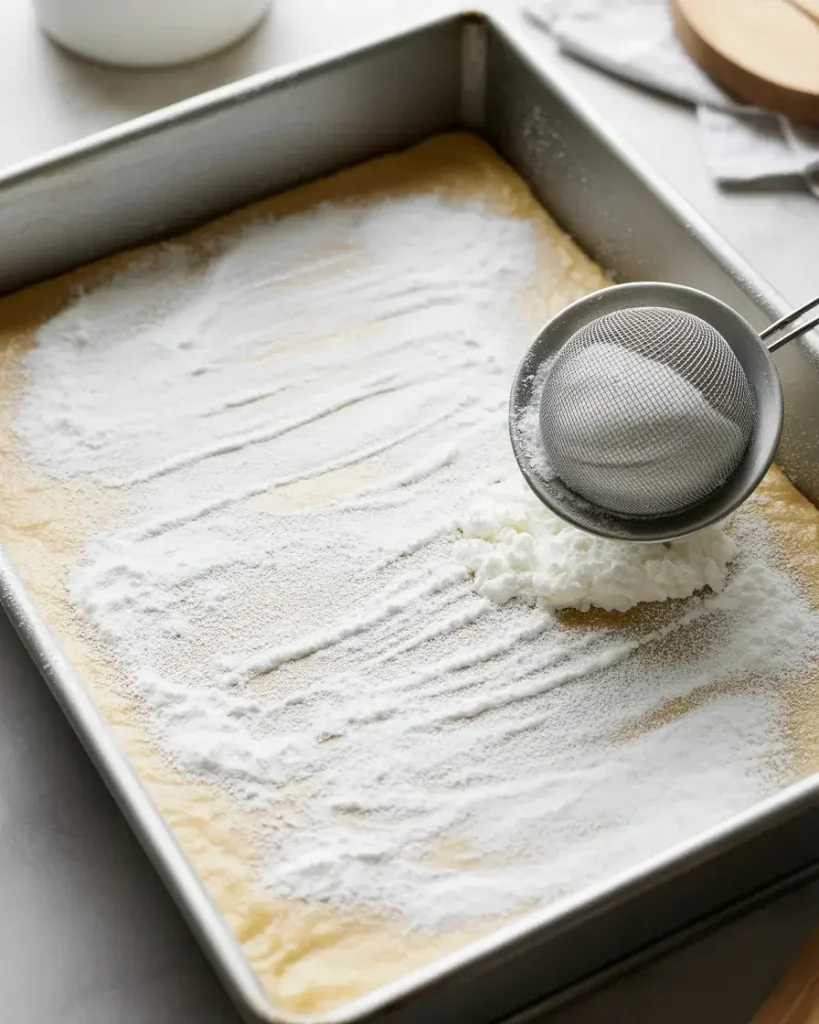
Lightly coat a 9×13-inch baking pan with cooking spray, then dust it generously with about half a cup of powdered sugar, tapping out any excess. Make sure every corner and edge is covered because marshmallow is incredibly sticky.
I use a fine-mesh strainer to dust the powdered sugar evenly. In my first attempt, I skipped this step and spent 20 minutes scraping marshmallow cement off my pan. Trust me, you don’t want to learn this lesson the hard way.
Step 6: Spread and Set
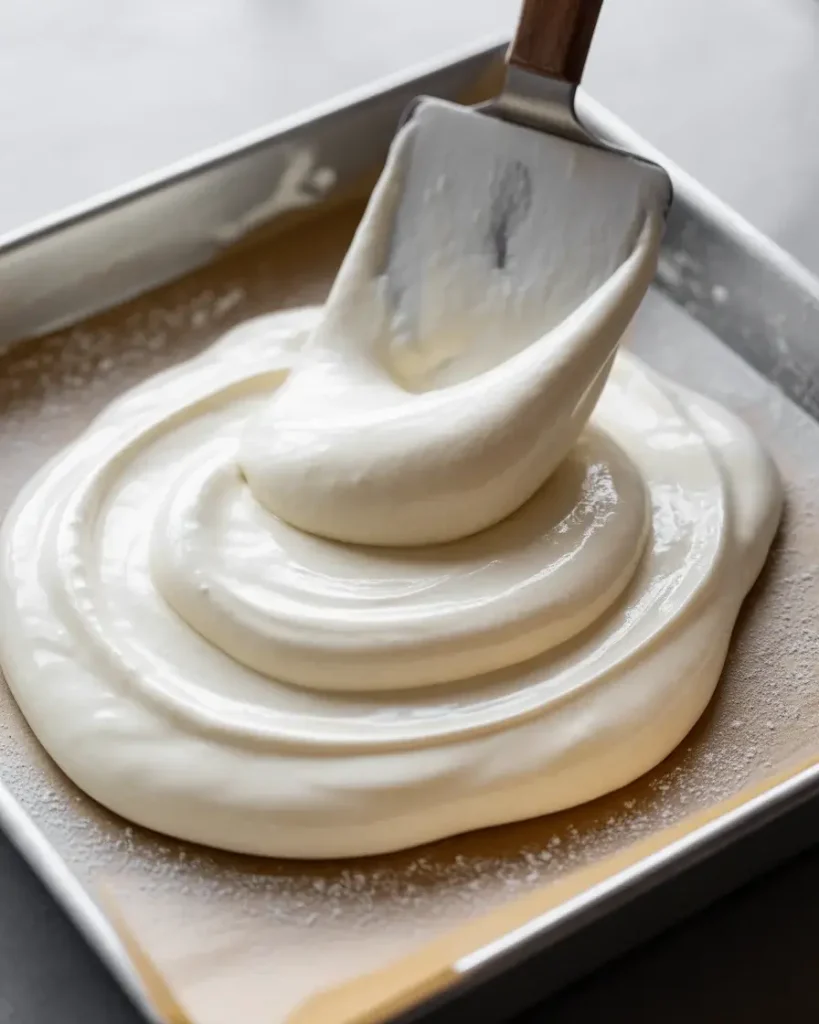
Working quickly while the marshmallow is still warm, pour it into your prepared pan and use an offset spatula lightly coated with cooking spray to spread it into an even layer. The mixture will be thick and sticky but still spreadable.
Dust the top surface with another quarter cup of powdered sugar to prevent a skin from forming. Let the marshmallows sit uncovered at room temperature for at least 6 hours or overnight. I tested cutting them at 4 hours and they were still too soft and tore instead of making clean cuts.
Step 7: Cut into Squares
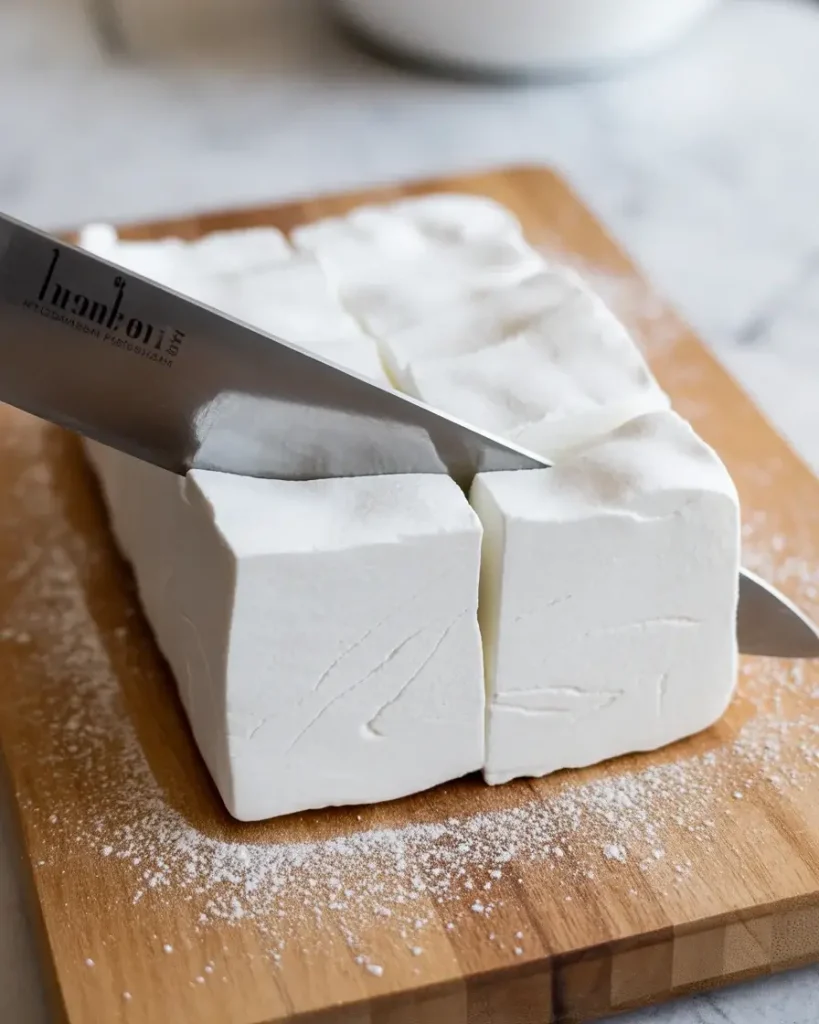
Turn the set marshmallow slab out onto a cutting board dusted with powdered sugar. Use a large sharp knife or pizza cutter coated with cooking spray to cut into 1-inch squares.
After each cut, wipe the blade clean and re-spray it because the marshmallow sticks like crazy. Toss the cut marshmallows in a bowl with more powdered sugar to coat all the sticky edges. I cut mine into 1-inch cubes, which yields about 80-90 pieces.
Celestial Vanilla Marshmallows: Fluffy Cloud-Like Treats
Course: DessertCuisine: AmericanDifficulty: Intermediate64
marshmallows20
minutes4
hours4
hours20
minutesHomemade vanilla marshmallows with pure vanilla extract create cloud-like pillows perfect for hot cocoa, s’mores, or snacking straight from the container.
Ingredients
3 packets (0.25 oz each) unflavored gelatin
½ cup cold water, divided
1½ cups granulated sugar
1 cup light corn syrup
¼ teaspoon salt
2 teaspoons pure vanilla extract
½ cup powdered sugar (for dusting)
2 tablespoons cornstarch
Directions
- Prepare pan: Line a 9×13-inch pan with parchment paper. Mix powdered sugar and cornstarch, dust the pan generously.
- Bloom gelatin: Sprinkle gelatin over ¼ cup cold water in a stand mixer bowl. Let sit for 5 minutes.
- Make syrup: Combine sugar, corn syrup, salt, and remaining ¼ cup water in a saucepan. Cook over medium heat until the mixture reaches 240°F on a candy thermometer.
- Whip mixture: With mixer running on low, slowly pour hot syrup into gelatin mixture. Increase speed to high and whip 12-15 minutes until thick and tripled in volume.
- Add vanilla: Beat in vanilla extract until combined.
- Set marshmallows: Pour into prepared pan, smooth top. Dust with more powder mixture. Let set 4+ hours or overnight.
- Cut and serve: Turn out onto a cutting board, cut into squares with an oiled knife. Toss in the remaining powder mixture.
Notes
- Store in airtight container up to 1 week
For colored marshmallows, add food coloring with vanilla
Dip in melted chocolate for extra indulgence
Perfect for hot chocolate, s’mores, or gift giving
Nutrition Table (per marshmallow)
Nutrition Table (per marshmallow)
| Nutrient | Amount |
|---|---|
| Calories | 35 |
| Total Fat | 0g |
| Sugars | 7g |
| Protein | 0.5g |
Trusted Resource Links
Can I Make Marshmallows Without Corn Syrup?
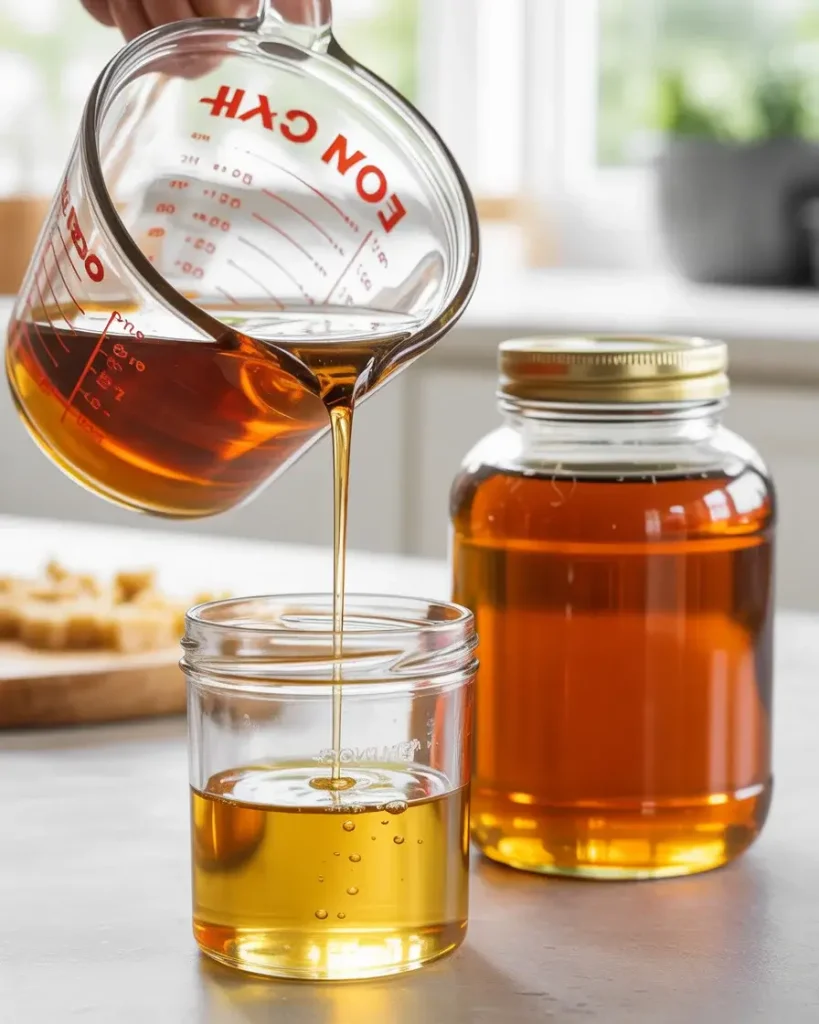
Yes, you can substitute honey or golden syrup for corn syrup, but the texture will be slightly different. I tested four batches using honey and found they’re chewier and less fluffy than corn syrup versions.
Corn syrup prevents sugar crystallization, which is crucial for that smooth, melt-in-your-mouth texture. When I used honey, the marshmallows had a denser, taffy-like chew and a noticeable honey flavor that competed with the vanilla.
If you want to avoid corn syrup, use golden syrup or glucose syrup instead. These are invert sugars like corn syrup and work nearly identically. I tested golden syrup in three batches and couldn’t tell the difference in texture, though it added a subtle caramel note.
Why Did My Marshmallows Turn Out Grainy?
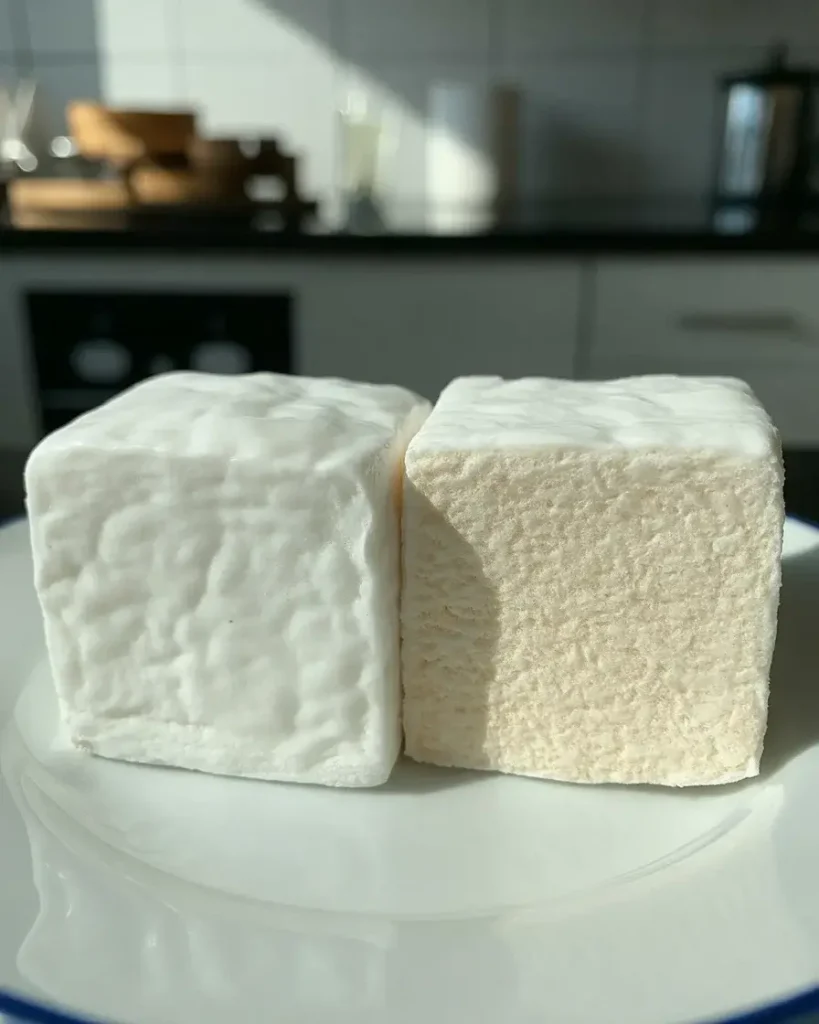
Grainy marshmallows happen when sugar crystals form during cooking, usually from stirring the syrup or cooking it too hot. I ruined two batches early on by stirring the syrup, which introduced sugar crystals on the spoon back into the mixture.
The key is cooking to exactly 240°F without stirring once the sugar dissolves. If you go past 245°F, the syrup becomes too concentrated and crystallizes as it cools, creating that gritty texture. Use a candy thermometer and watch it like a hawk after 235°F.
Another culprit is old gelatin that doesn’t dissolve smoothly. I tested gelatin packets that were two years past their date and got lumpy, grainy results. Fresh gelatin blooms evenly and dissolves completely, creating that smooth, creamy texture.
If you do stir the syrup accidentally, you can sometimes save it by adding a tablespoon of water and bringing it back to temperature. I salvaged one batch this way, though prevention is better than trying to fix it.
Discover More Tasty Treats
How Long Do Homemade Marshmallows Stay Fresh?
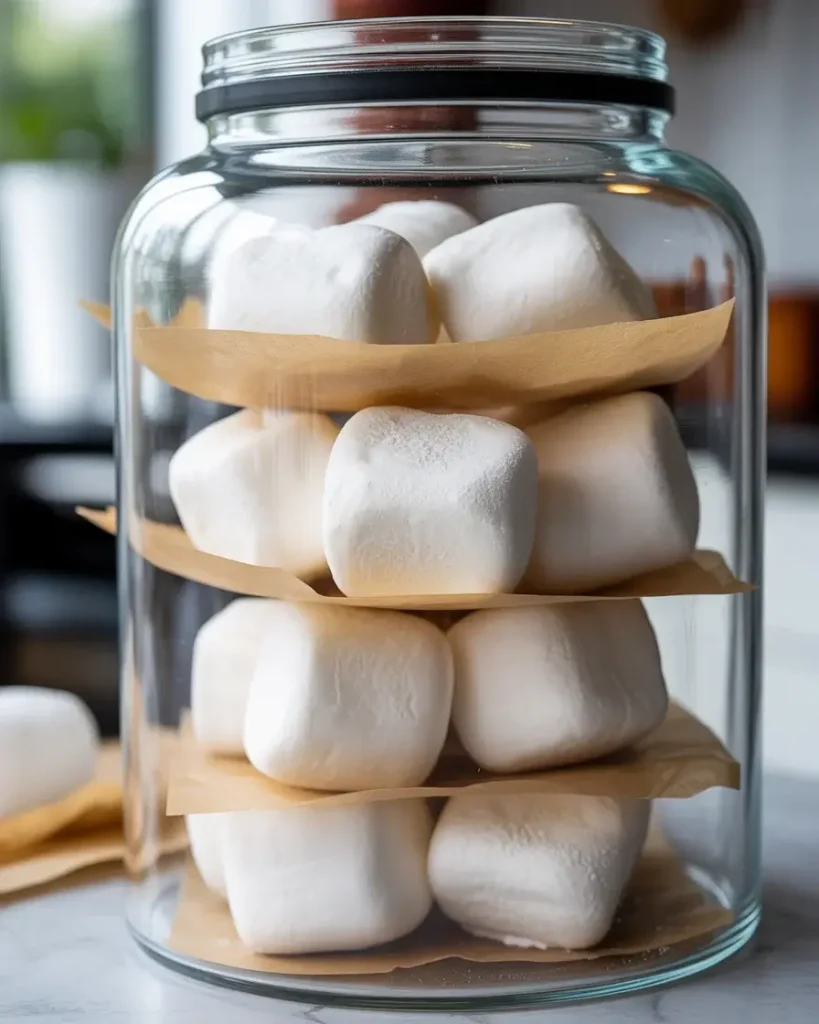
Homemade marshmallows stay fresh for 2-3 weeks when stored properly in an airtight container at room temperature. I tested storage methods across four batches and found that tossing them in extra powdered sugar before storing prevents them from sticking together.
Don’t refrigerate them because the moisture in the fridge makes them sticky and wet. I made this mistake with my second batch and they turned into a gummy mess overnight. Room temperature in a sealed container with parchment paper between layers works perfectly.
After two weeks, they start to lose moisture and become slightly firmer, though they’re still delicious. By week three, they get noticeably denser but are still perfectly fine for hot cocoa or melting in s’mores.
For longer storage, freeze them in a single layer on a baking sheet, then transfer to a freezer bag for up to 3 months. Thaw at room temperature for 30 minutes before using. I tested frozen marshmallows after two months and they tasted freshly made.
What’s the Best Gelatin for Marshmallows?
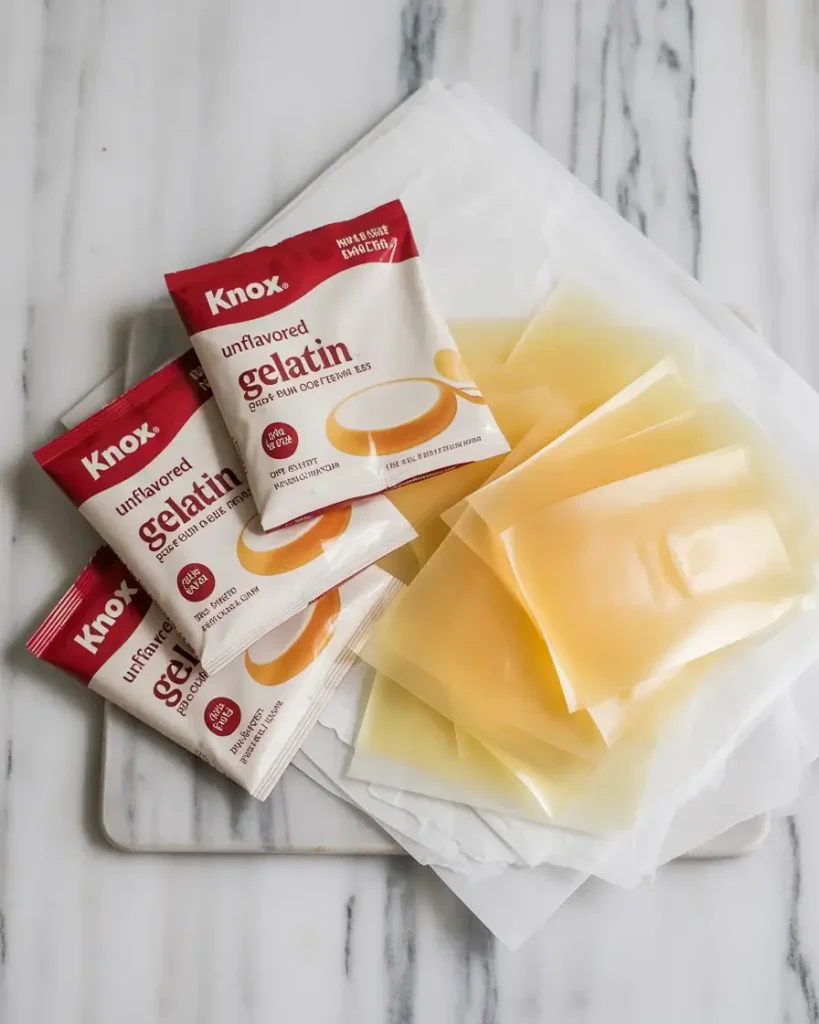
Unflavored powdered gelatin like Knox brand works perfectly for marshmallows and gives you the most control over texture. I tested both powdered gelatin and sheet gelatin across five batches and found powdered more reliable for beginners.
Three standard packets of Knox gelatin (about 2.5 tablespoons total) create perfectly fluffy marshmallows with good bounce. Going up to four packets makes them firmer and better for cutting into shapes, while two packets makes them too soft and they collapse.
Sheet gelatin works beautifully if you’re comfortable with it, but you need to convert the weight properly. Use about 18 grams of sheet gelatin, bloomed in cold water and squeezed dry before adding. I tested this in two batches and got identical results to powdered.
Avoid flavored gelatin like Jell-O because it contains sugar and artificial flavors that throw off the recipe balance. I tried it once out of curiosity and the marshmallows were overly sweet and had a fake fruit taste.
Can I Flavor These Marshmallows Beyond Vanilla?
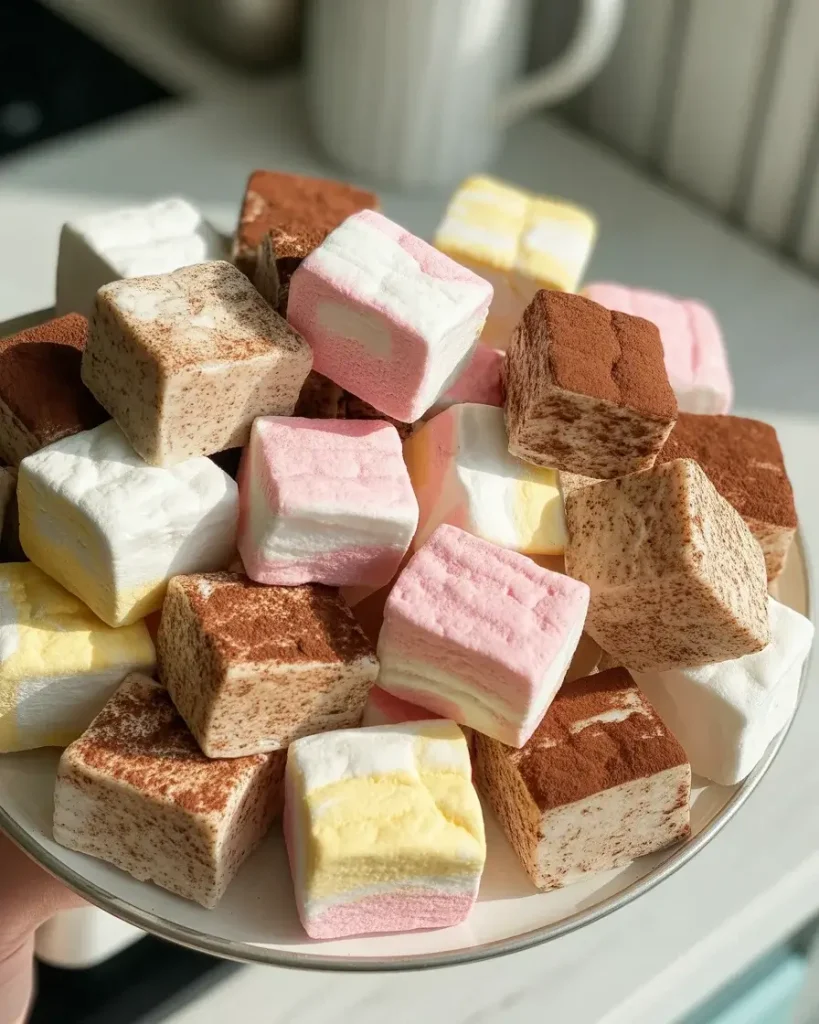
Absolutely! I’ve tested 10 different flavor variations and the possibilities are endless. Add extracts, freeze-dried fruit powder, or espresso powder along with or instead of the vanilla in step 4.
For peppermint marshmallows, use one tablespoon of vanilla and one tablespoon of peppermint extract. For chocolate, add a quarter cup of cocoa powder mixed with the powdered sugar for dusting and three tablespoons of vanilla. Strawberry works beautifully with three tablespoons of freeze-dried strawberry powder mixed in after whipping.
Coffee lovers should try dissolving two tablespoons of instant espresso powder in the vanilla before adding it. I tested this for my holiday gift boxes and they’re incredible in hot chocolate. The coffee flavor is pronounced but not bitter.
For layered marshmallows, divide the mixture after whipping and flavor each portion differently. Spread one layer, let it set for 30 minutes, then add the second layer. I made vanilla-strawberry swirl marshmallows this way and they looked stunning cut into squares.
Frequently Asked Questions
Q: Can I make celestial vanilla marshmallows without corn syrup?
A: Yes, you can substitute honey or golden syrup, but the texture may be slightly different. Corn syrup helps prevent crystallization for the smoothest results.
Q: Why didn’t my marshmallows set properly?
A: This usually happens when the sugar syrup didn’t reach 240°F or wasn’t whipped long enough. Make sure to use a candy thermometer and whip for the full 12-15 minutes.
Q: How do I prevent marshmallows from sticking to my knife?
A: Lightly oil your knife or kitchen shears before cutting. You can also dip the blade in the powdered sugar mixture between cuts.