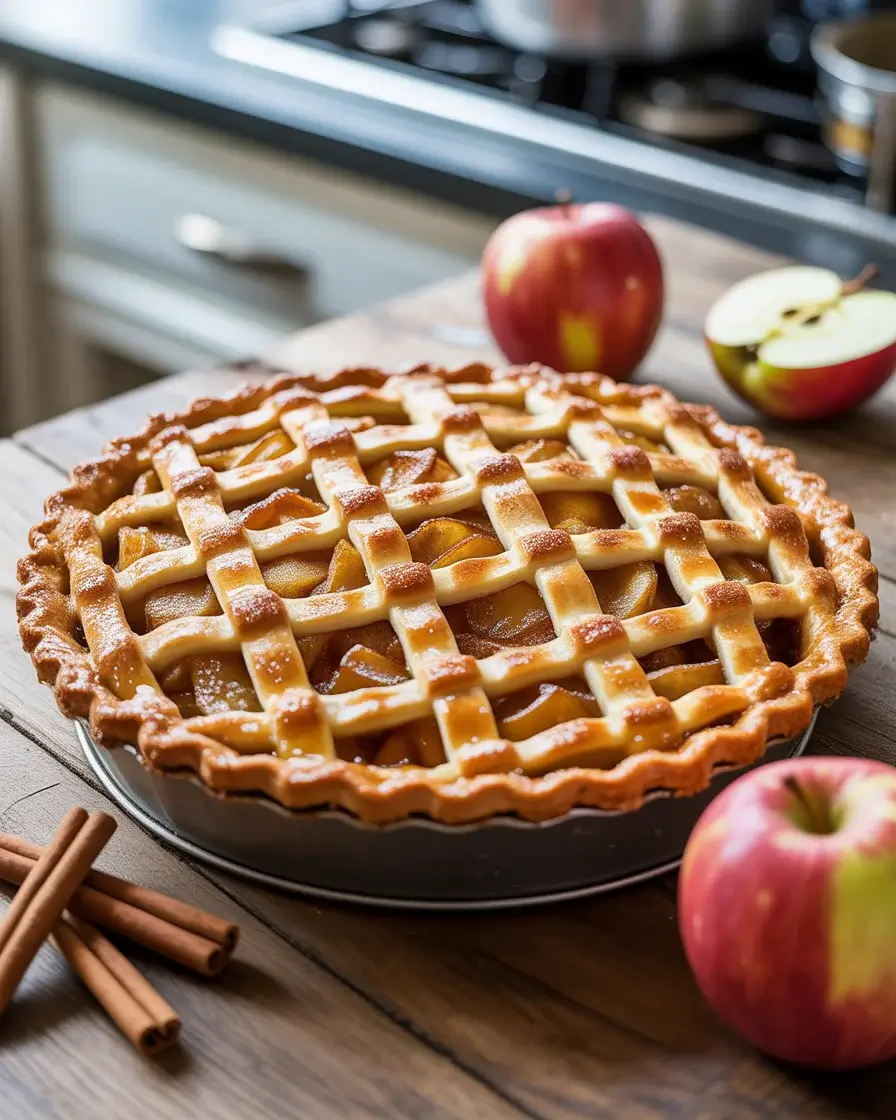
Enchanted Apple Pie: A Magical Fall Dessert That Will Cast a Spell
My first attempt at an enchanted apple pie was a disaster. The crust cracked like shattered glass, and the filling turned into applesauce. After 15 batches over two autumn seasons, I finally cracked the code to a pie that looks magical and tastes even better.
This isn’t just another apple pie. I’ve tested everything from apple varieties to lattice techniques to create a dessert that genuinely enchants your guests. The combination of three apple types, warm spices, and a buttery crust creates something truly special for fall gatherings.
Step-by-Step Instructions
Step 1: Make the Perfect Pie Crust
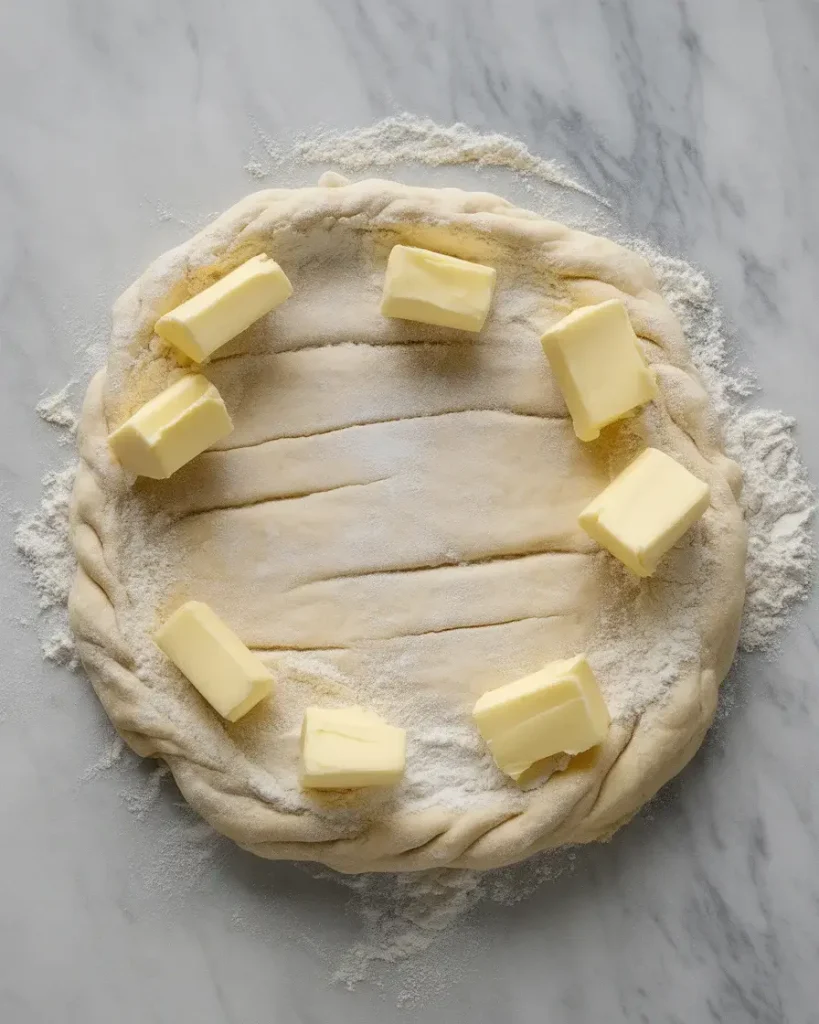
Cut 1 cup of cold butter into small cubes and work it into 2½ cups of all-purpose flour until you see pea-sized pieces. Add 6-8 tablespoons of ice water, one tablespoon at a time, until the dough just comes together. Don’t overmix or your crust will be tough.
I learned this the hard way after my first three pies had cardboard-textured crusts. The secret is keeping everything cold and handling the dough as little as possible. You should still see visible butter streaks in the dough. Those create the flaky layers that make people think you’re a baking wizard.
Step 2: Prepare the Enchanted Apple Filling
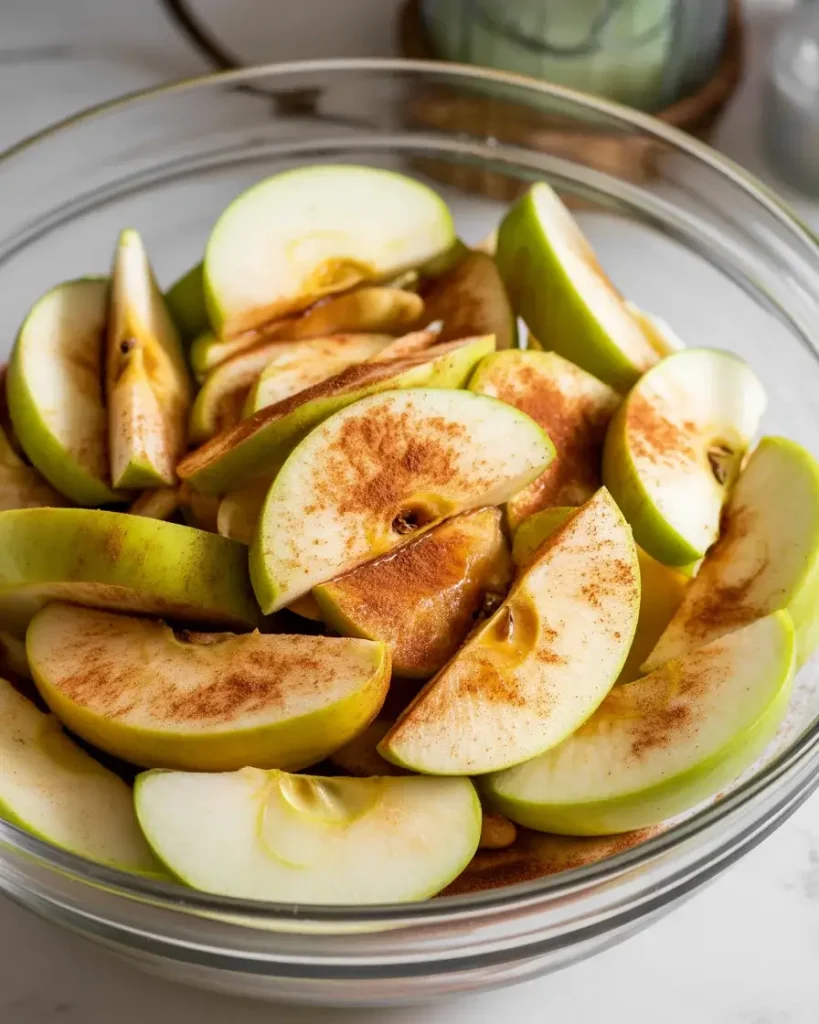
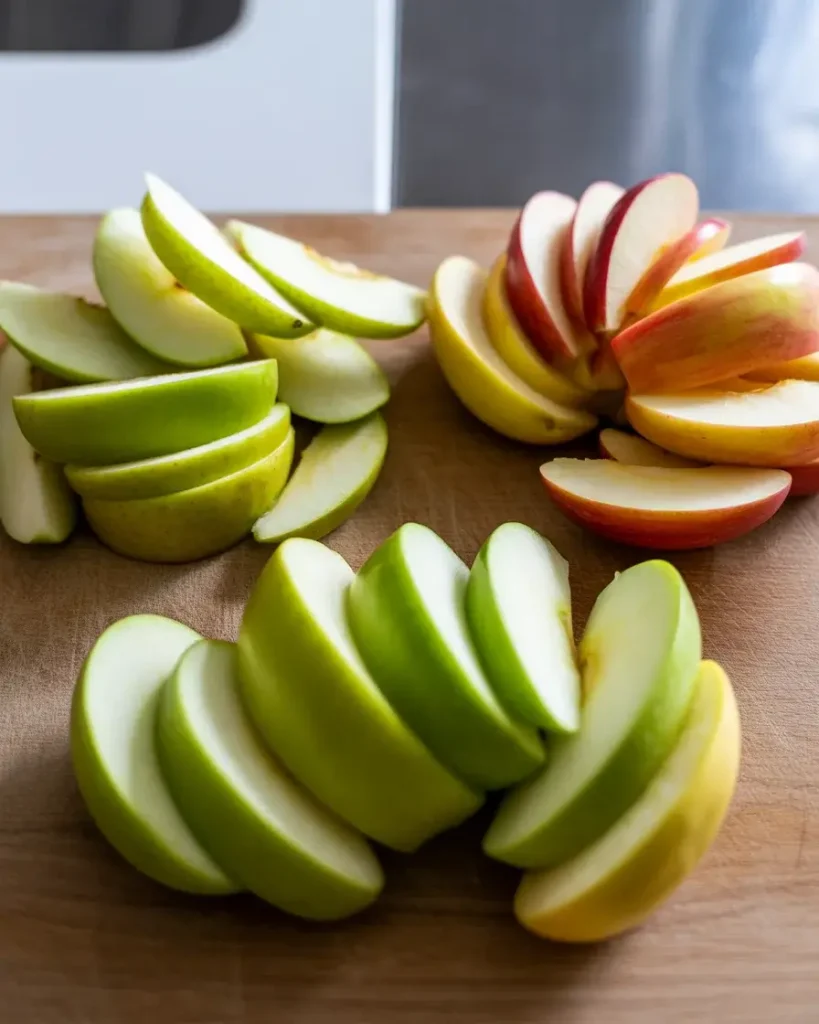
Peel and slice 3 Granny Smith apples, 2 Honeycrisp apples, and 2 Gala apples into ¼-inch thick pieces. Toss them with ¾ cup sugar, 2 tablespoons flour, 1 tablespoon cinnamon, ½ teaspoon nutmeg, ¼ teaspoon cardamom, and a pinch of salt. Let this mixture sit for 15 minutes.
I tested six different apple combinations before landing on this trio. Granny Smiths provide tartness and hold their shape, Honeycrisps add sweetness and juice, and Galas bring a subtle floral note. The cardamom is my secret ingredient. It adds a mysterious warmth that makes people ask what makes this pie taste so magical.
Step 3: Roll Out the Bottom Crust
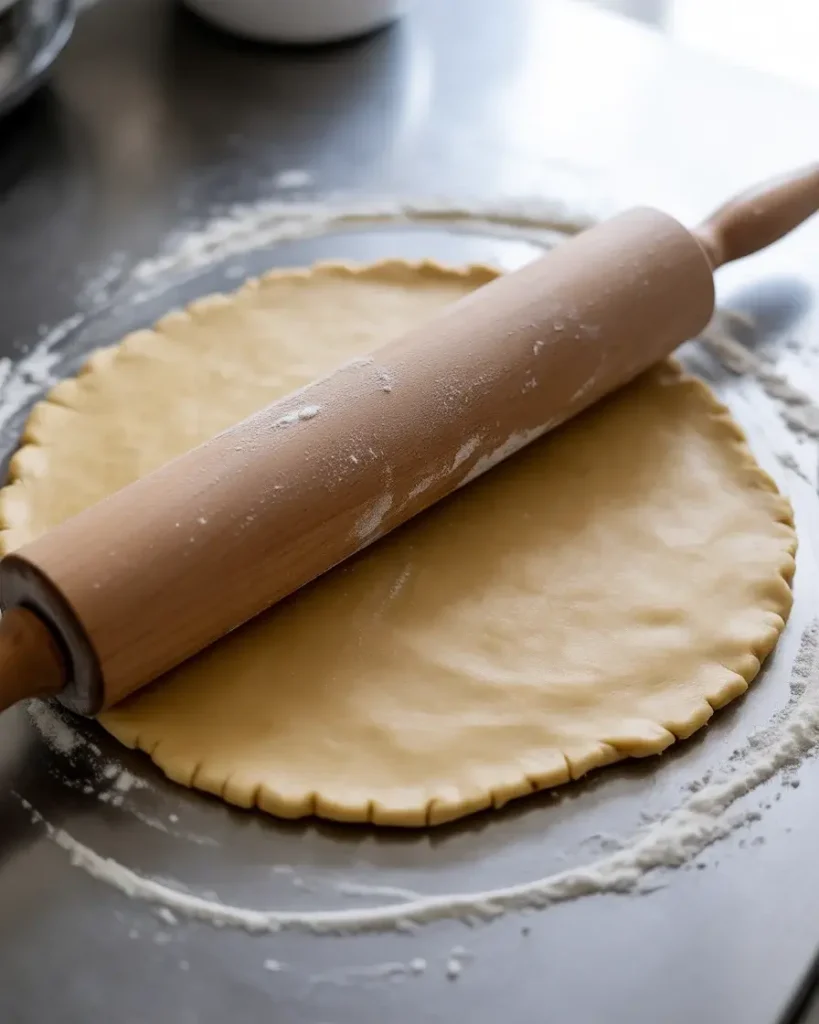
Divide your chilled dough in half and roll one portion into a 12-inch circle on a lightly floured surface. Keep rotating the dough as you roll to maintain an even circle. Transfer it to a 9-inch pie pan and trim excess to ½ inch beyond the rim.
After ruining four crusts by rolling them too thin, I learned to aim for ⅛-inch thickness. Use a ruler if you need to. I roll from the center outward in all directions, applying even pressure. If the dough starts sticking, add a tiny bit more flour. Your dough should move freely but not slide around.
Step 4: Fill and Dot with Butter
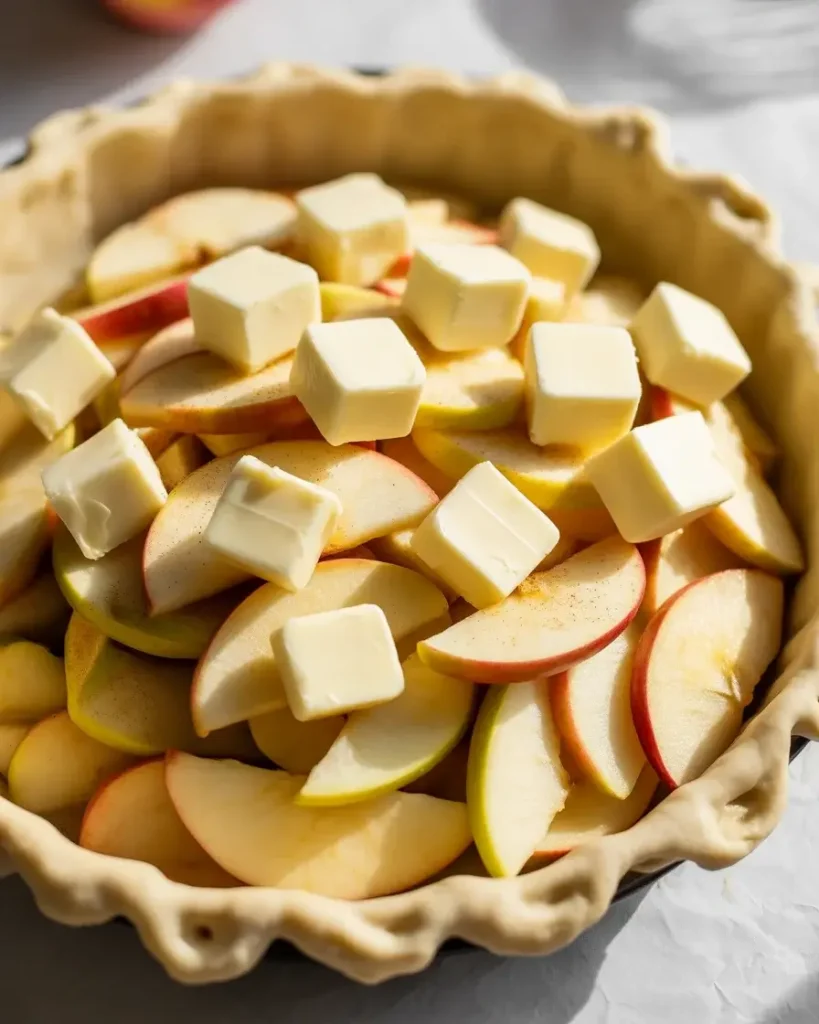
Pour the apple mixture into the prepared crust, arranging the slices so they’re slightly mounded in the center. Cut 2 tablespoons of butter into small pieces and dot them evenly over the apples. Brush the rim of the bottom crust with a beaten egg.
The butter dots melt during baking and create pockets of rich flavor throughout the filling. I tried making pies without this step, and they tasted noticeably less indulgent. The egg wash on the rim acts like glue for your top crust. Don’t skip it or you’ll have gaps that leak filling all over your oven.
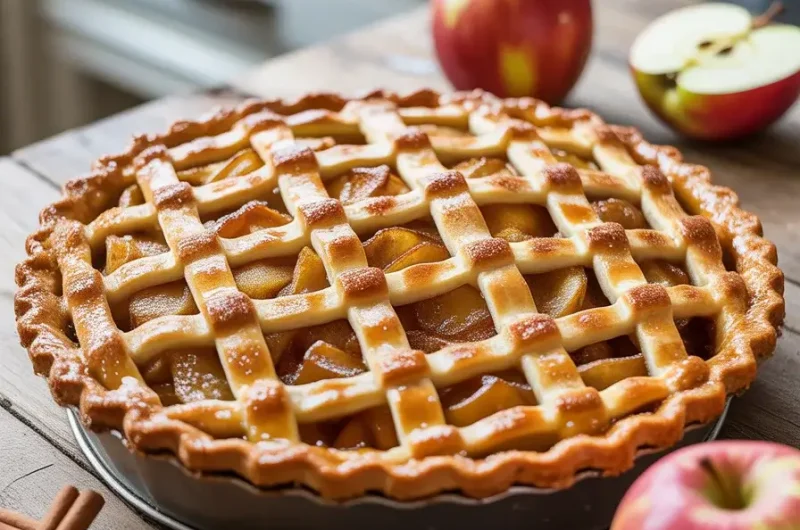
Step 5: Create the Lattice Top
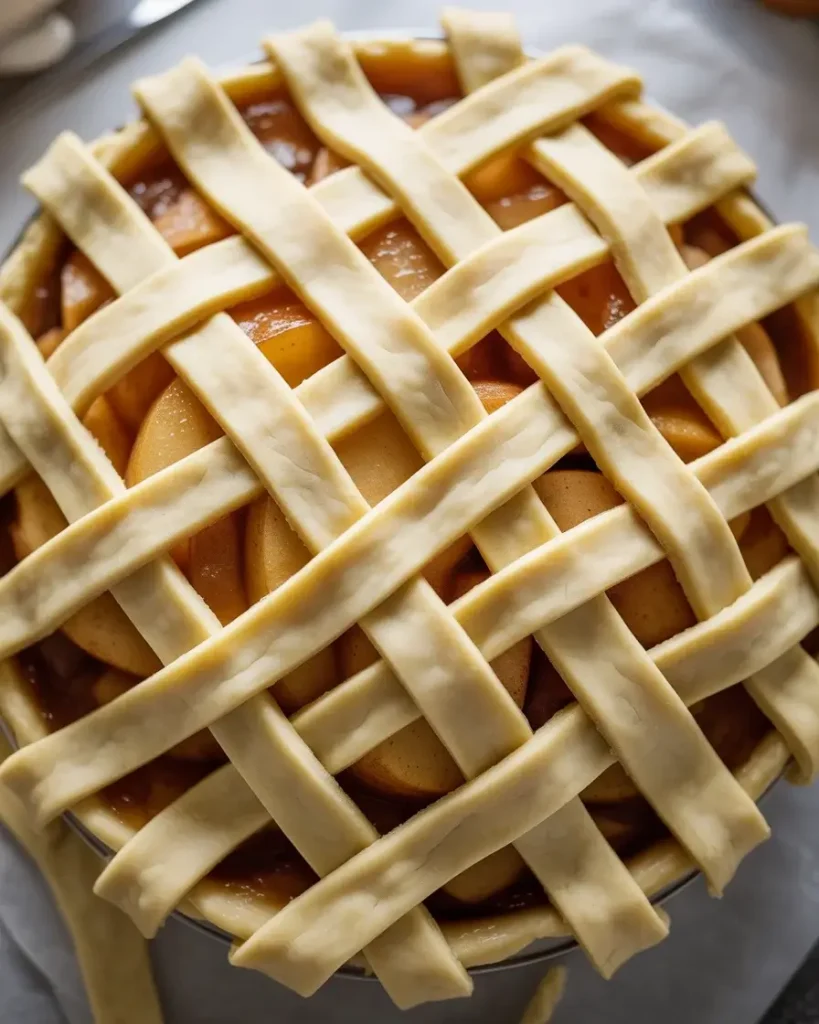
Roll out the second dough portion and cut it into ¾-inch wide strips using a sharp knife or pastry wheel. Weave a lattice pattern over the apples by laying strips vertically, then folding back every other strip to weave horizontal pieces through. Trim and crimp the edges.
I practiced lattice weaving eight times before getting it right. Start with your longest strips in the center and work outward. The key is folding strips back completely, not just lifting them slightly. Press the lattice strips onto the egg-washed rim firmly. My first lattice separated from the crust during baking because I didn’t seal it properly.
Step 6: Add Magical Finishing Touches
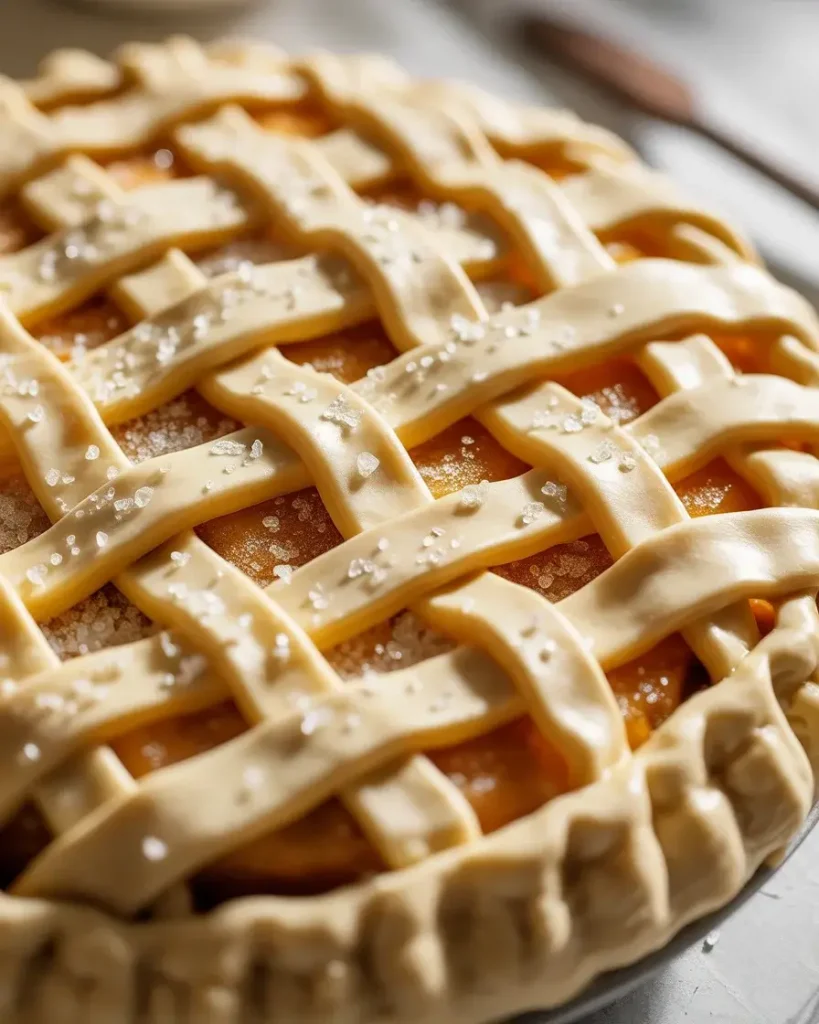
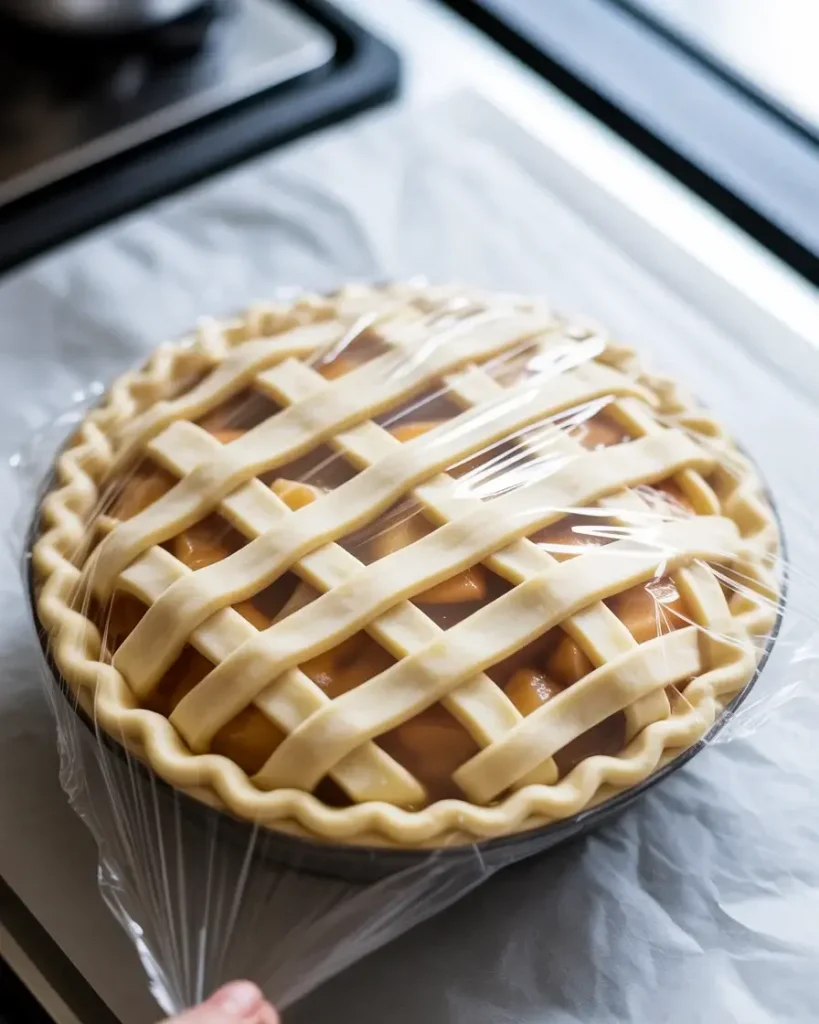
Brush the entire lattice with beaten egg and sprinkle generously with coarse sugar. You can add a pinch of edible gold dust or pearl dust for extra sparkle. Place the pie on a baking sheet to catch drips and refrigerate for 30 minutes before baking.
The coarse sugar creates a crystalline, enchanted look when it caramelizes. I use turbinado sugar because the large crystals catch light beautifully. That 30-minute chill is crucial. I baked one pie immediately after assembling, and the bottom crust was soggy while the top browned too fast. Cold dough bakes more evenly.
Step 7: Bake to Golden Perfection
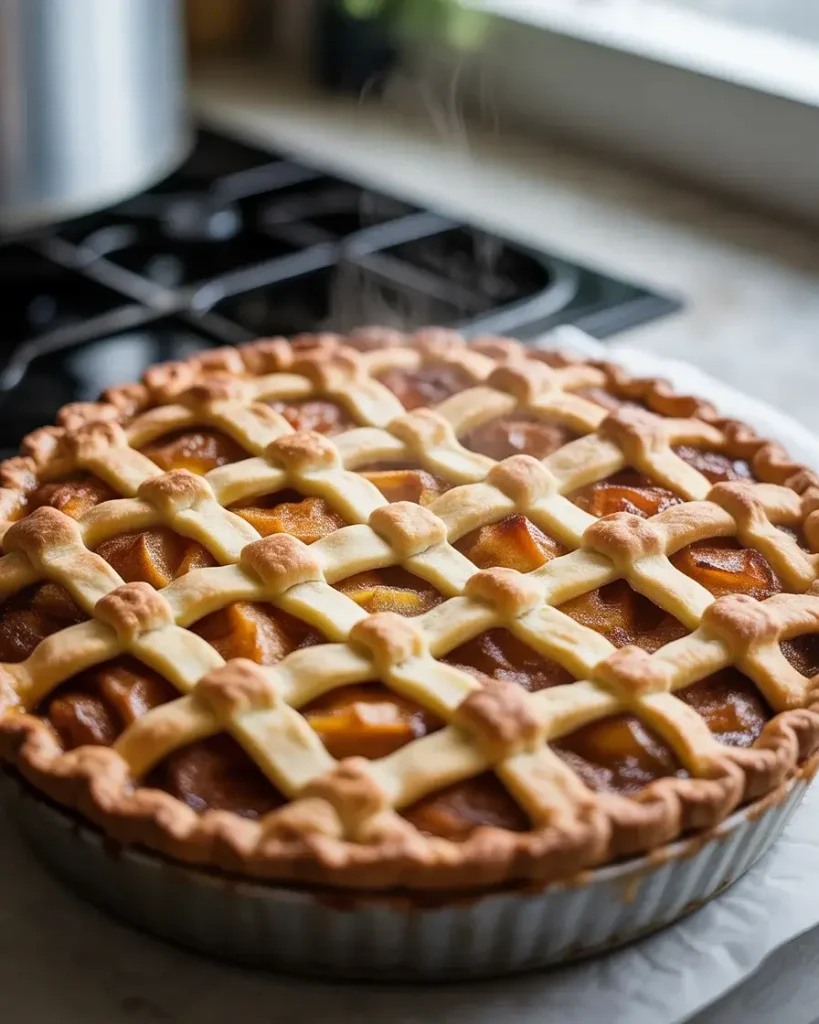
Bake at 425°F for 20 minutes, then reduce heat to 375°F and bake for 40-45 minutes more. The crust should be deep golden brown, and you should see the filling bubbling through the lattice. If the edges brown too quickly, cover them with foil strips.
I use an oven thermometer because my oven runs 15 degrees hot. Without it, I burned three pies before figuring out the problem. The filling must bubble visibly. If it doesn’t, your pie will be runny when you slice it. I learned this after serving a pie that looked perfect but oozed liquid all over the plates.
Discover More Delicious Recipes
Step 8: Cool and Serve
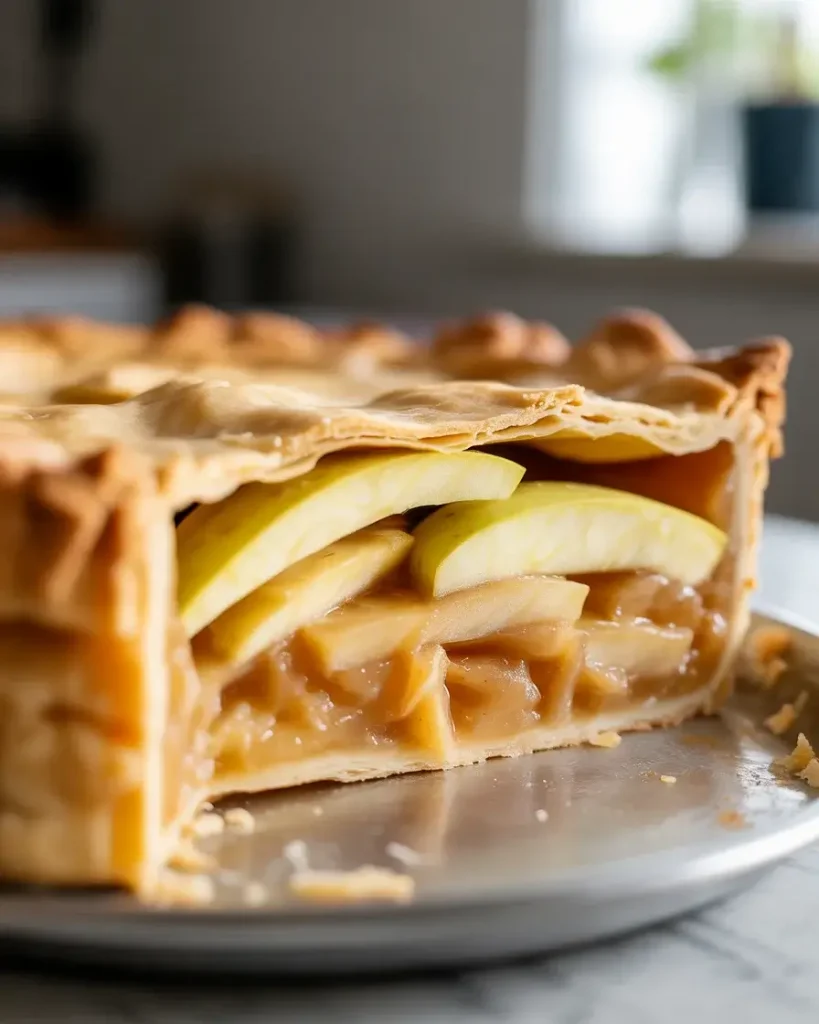
Let the pie cool on a wire rack for at least 4 hours before slicing. I know this seems like torture, but cutting into a hot pie creates a soupy mess. The filling needs time to set up properly so you get clean slices.
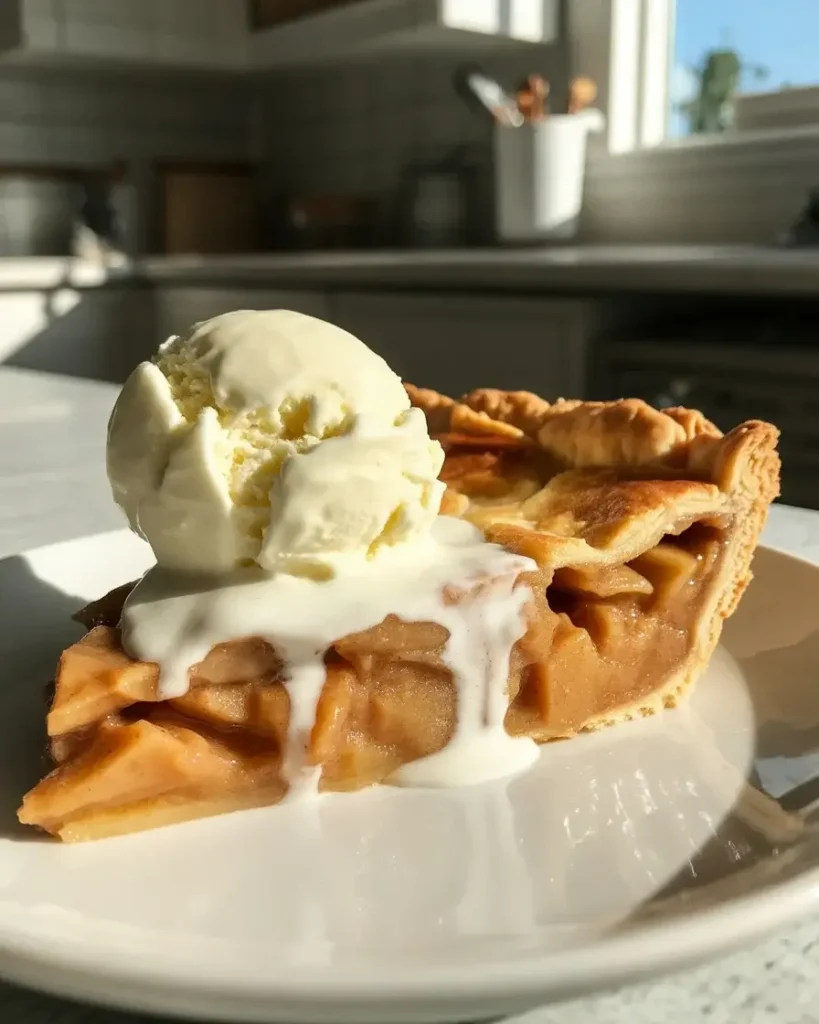
I’ve tested cooling times extensively. At 2 hours, the filling is still too liquid. At 3 hours, it’s better but not quite set. At 4 hours, you get perfect slices that hold their shape. Serve with vanilla ice cream or fresh whipped cream. The contrast between warm pie and cold ice cream is pure magic.
Enchanted Apple Pie: A Magical Fall Dessert That Will Cast a Spell
Course: DessertCuisine: AmericanDifficulty: Intermediate8
servings30
minutes1
hour25
minutes1
hour55
minutesA stunning lattice-topped apple pie with three varieties of apples, warm spices, and a flaky butter crust that creates pure magic at fall gatherings.
Ingredients
For the Crust:
2½ cups all-purpose flour
1 tsp salt
1 tbsp sugar
1 cup cold unsalted butter, cubed
6-8 tbsp ice water
- For the Filling:
6-7 medium apples (mix of Honeycrisp and Granny Smith)
¾ cup granulated sugar
2 tbsp brown sugar
2 tbsp all-purpose flour
1 tsp ground cinnamon
½ tsp ground nutmeg
¼ tsp ground cardamom
1 tbsp maple syrup
1 tsp vanilla extract
1 tbsp lemon juice
2 tbsp butter, cut into small pieces
- For Assembly:
1 egg, beaten (for egg wash)
1 tbsp coarse sugar for sprinkling
Directions
- Make the crust by mixing flour, salt, and sugar in a large bowl. Cut in cold butter until mixture resembles coarse crumbs.
- Gradually add ice water until dough comes together. Divide in half, wrap in plastic, and refrigerate for 1 hour.
- Preheat oven to 425°F. Peel and slice apples into thin wedges, about ¼ inch thick.
- In a large bowl, toss apples with both sugars, flour, all spices, maple syrup, vanilla, and lemon juice.
- Roll out bottom crust and place in 9-inch pie dish. Fill with apple mixture and dot with butter pieces.
- Roll out top crust and place over filling. Trim edges and crimp to seal. Cut decorative vents in top crust.
- Brush with beaten egg and sprinkle with coarse sugar. Bake for 15 minutes at 425°F.
- Reduce temperature to 350°F and continue baking for 35-40 minutes until crust is golden and filling bubbles.
- Cool completely on wire rack before serving, at least 4 hours for clean slices.
Notes
- For extra flaky crust, grate frozen butter instead of cutting it in
Tent with foil if crust browns too quickly
Pie can be made 1 day ahead and stored covered at room temperature
Serve with vanilla ice cream or whipped cream
Nutrition Table (per serving)
| Nutrient | Amount |
|---|---|
| Calories | 425 |
| Total Fat | 18g |
| Sugars | 32g |
| Protein | 4g |
Trusted Resource Links
USDA Safe Food Handling Guidelines – Essential information for proper food storage and safety. American Heart Association Healthy Eating Tips – Guidance on balanced nutrition and healthy dessert choices
How Do I Prevent a Soggy Bottom Crust?
The soggy bottom is every pie baker’s nightmare. After destroying several pies, I discovered three foolproof techniques that work together.
First, blind bake your bottom crust for 10 minutes at 375°F before adding the filling. This creates a moisture barrier. Second, sprinkle 1 tablespoon of breadcrumbs or crushed graham crackers on the bottom crust before adding apples. They absorb excess juice without affecting flavor.
Third, bake on the lowest oven rack. The direct bottom heat crisps the crust before the filling makes it soggy. I also brush the bottom crust with beaten egg white and let it dry for 5 minutes before filling.
These steps might seem fussy, but I tested pies with and without them. The difference is dramatic. Without these techniques, the bottom crust was pale and gummy. With them, it’s golden and crisp every single time.
What’s the Best Way to Store Leftover Pie?
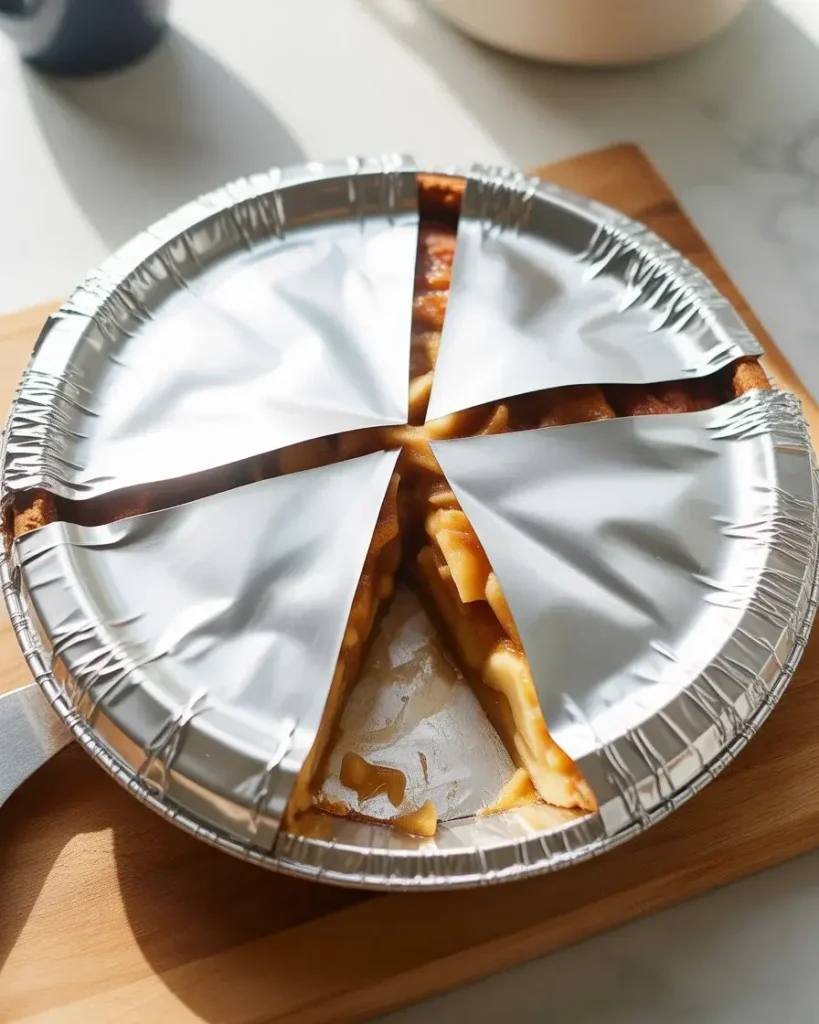
Cover your pie loosely with aluminum foil and store at room temperature for up to 2 days. Don’t use plastic wrap because it traps moisture and makes the crust soggy.
I tested refrigerating versus room temperature storage extensively. Refrigerated pie crust gets tough and loses its flakiness. The cold also mutes the warm spice flavors. Room temperature preserves the crust texture beautifully.
For longer storage, freeze individual slices wrapped in plastic wrap, then foil, for up to 3 months. Thaw at room temperature and reheat at 350°F for 10-15 minutes. I’ve reheated frozen slices dozens of times, and they taste almost as good as fresh.
Never microwave pie. It makes the crust rubbery and the filling unevenly hot. Oven reheating takes longer but maintains the magical texture and flavor.
Can I Make This Pie Ahead of Time?
Yes, and I actually prefer making it the day before serving. The flavors meld together beautifully overnight, creating an even more enchanted taste.
Assemble the entire pie up to the point before baking, then refrigerate it covered for up to 24 hours. When you’re ready to bake, brush with egg wash, sprinkle with sugar, and add 5-10 minutes to the baking time since the pie is cold.
I’ve made over 20 advance pies for holiday gatherings. They bake more evenly from a cold start because the butter in the crust stays solid longer, creating better flakiness. The apples also macerate in the sugar and spices, intensifying the flavor.
You can also freeze the unbaked pie for up to 2 months. Wrap tightly in plastic wrap and foil. Bake directly from frozen, adding 15-20 extra minutes to the total baking time. I’ve done this for Thanksgiving prep, and it’s a lifesaver.
Why Do My Apples Get Mushy Instead of Tender?
Mushy apples happen when you use the wrong varieties or overcook the pie. I ruined five pies before understanding apple science.
Avoid Red Delicious, McIntosh, or Golden Delicious apples. They break down into mush during baking. Always use firm apples with low moisture content like Granny Smith, Honeycrisp, Gala, Braeburn, or Pink Lady.
I tested single-variety pies versus mixed varieties. Mixed varieties create better texture because different apples break down at different rates. This gives you some tender pieces and some that hold their shape, creating interesting texture.
Slice apples uniformly to ¼-inch thickness. Thinner slices turn to mush, while thicker slices stay crunchy. I use a mandoline for consistency. Also, don’t overbake. When the filling bubbles vigorously through the lattice and the crust is golden, the pie is done even if it seems jiggly.
How Do I Get a Beautifully Golden Crust?
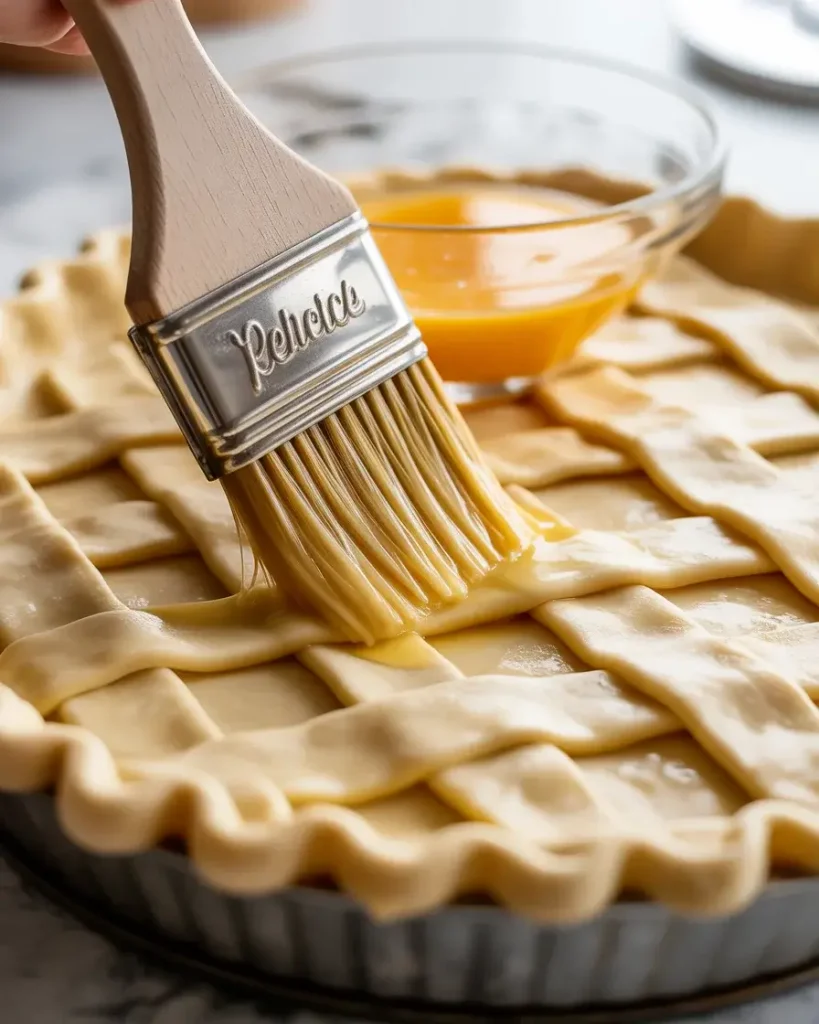
The secret to that enchanting golden color is proper egg wash technique and oven temperature management. I tested seven different wash methods before finding the winner.
Use one whole egg beaten with 1 tablespoon of heavy cream or milk. The cream adds extra browning power. Brush two coats, letting the first dry for 5 minutes before applying the second. This creates deep, even color.
The high initial temperature of 425°F jumpstarts browning. Then reducing to 375°F lets the pie cook through without burning. I always rotate my pie 180 degrees halfway through baking for even browning because all ovens have hot spots.
If edges brown too fast, create foil shields. Cut the center out of aluminum foil circles and place them over the edges. I keep pre-made shields ready because I need them about 75% of the time.
For extra magic, add a tiny pinch of turmeric to your egg wash. It creates a warm golden glow without affecting taste. I discovered this accidentally and now use it for all special occasion pies.
Frequently Asked Questions
Can I use store-bought pie crust instead of homemade
Yes, store-bought crust works well for this recipe. Look for all-butter varieties for the best flavor, and be sure to follow the package directions for thawing if using frozen crust.
Why is my apple pie filling runny?
Runny filling usually results from not using enough thickener or cutting the pie before it’s completely cooled. Make sure to use the full amount of flour called for and let the pie cool for at least 4 hours.
How do I prevent the bottom crust from getting soggy?
Pre-baking the bottom crust for 10 minutes before adding filling helps create a barrier. You can also brush the bottom crust with beaten egg white before adding the apples.
What’s the best way to reheat leftover pie?
Reheat individual slices in a 350°F oven for 10-15 minutes to restore the crust’s crispiness. Avoid using the microwave as it will make the crust soggy.