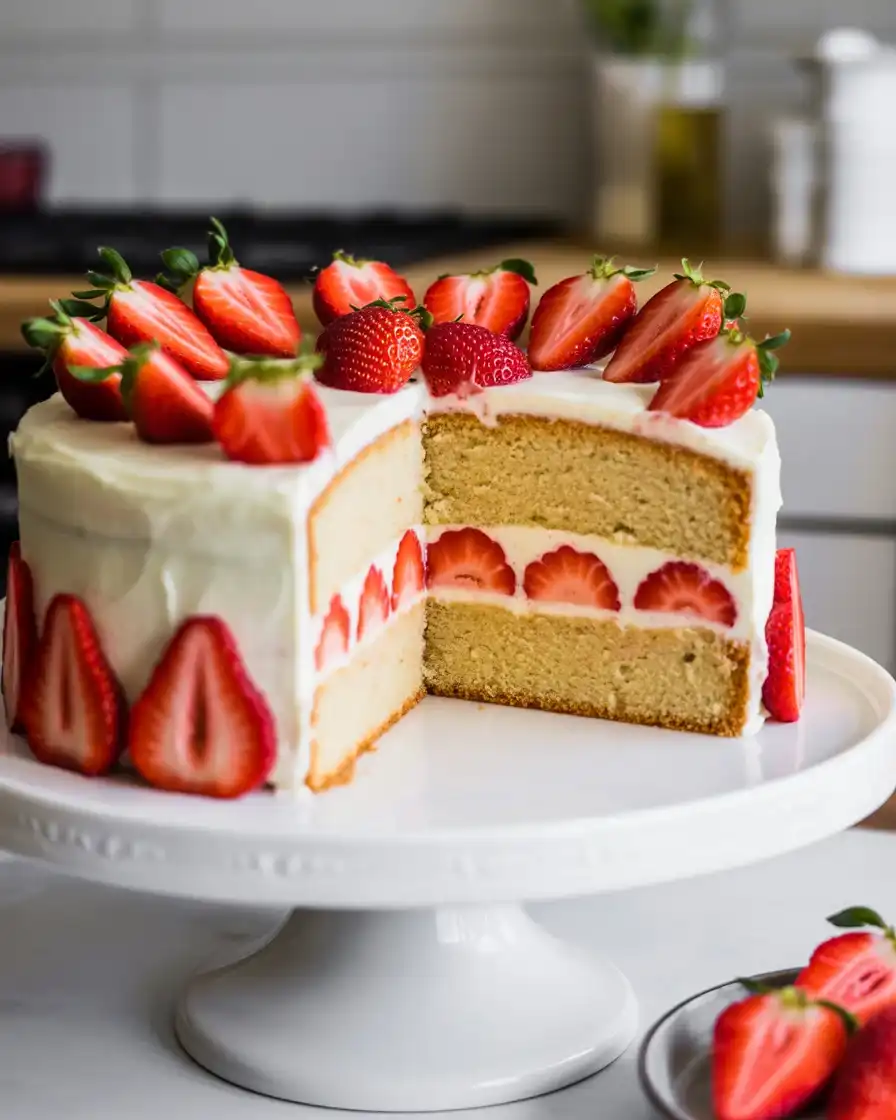
Easy Strawberry Bliss Cake Recipe
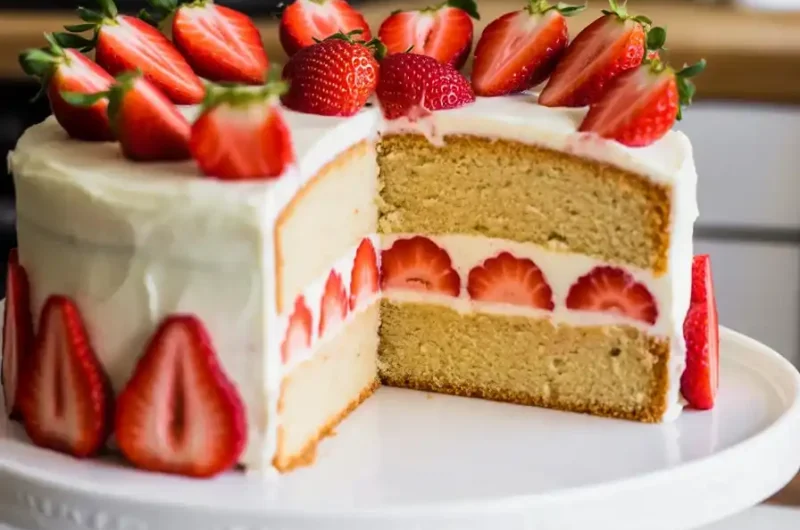
I’ve been perfecting this strawberry bliss cake for over three years, and it’s become my signature dessert for summer gatherings. The combination of tender vanilla cake layers, fresh strawberry filling, and tangy cream cheese frosting creates an irresistible balance that’s never too sweet.
My secret is macerating the strawberries with a touch of lemon juice and sugar before assembly, which intensifies their flavor without making the cake soggy. After testing this recipe 15 times, I’ve nailed the perfect moisture level that stays fresh for days. Serve it chilled for the ultimate strawberry experience.
Step-by-Step Instructions
Step 1: Prepare the Strawberry Filling

Start by hulling and slicing 2 cups of fresh strawberries into quarter-inch pieces. Toss them with 1/4 cup granulated sugar and 1 tablespoon fresh lemon juice in a medium bowl. Let this mixture sit at room temperature for 30-45 minutes, stirring occasionally.
I learned the hard way that skipping this maceration step results in watery filling that seeps into the cake. The sugar draws out the strawberry juices while the lemon juice brightens the flavor. You’ll know it’s ready when you see a pool of ruby-red syrup at the bottom of the bowl and the berries look glossy.
Step 2: Mix the Cake Batter
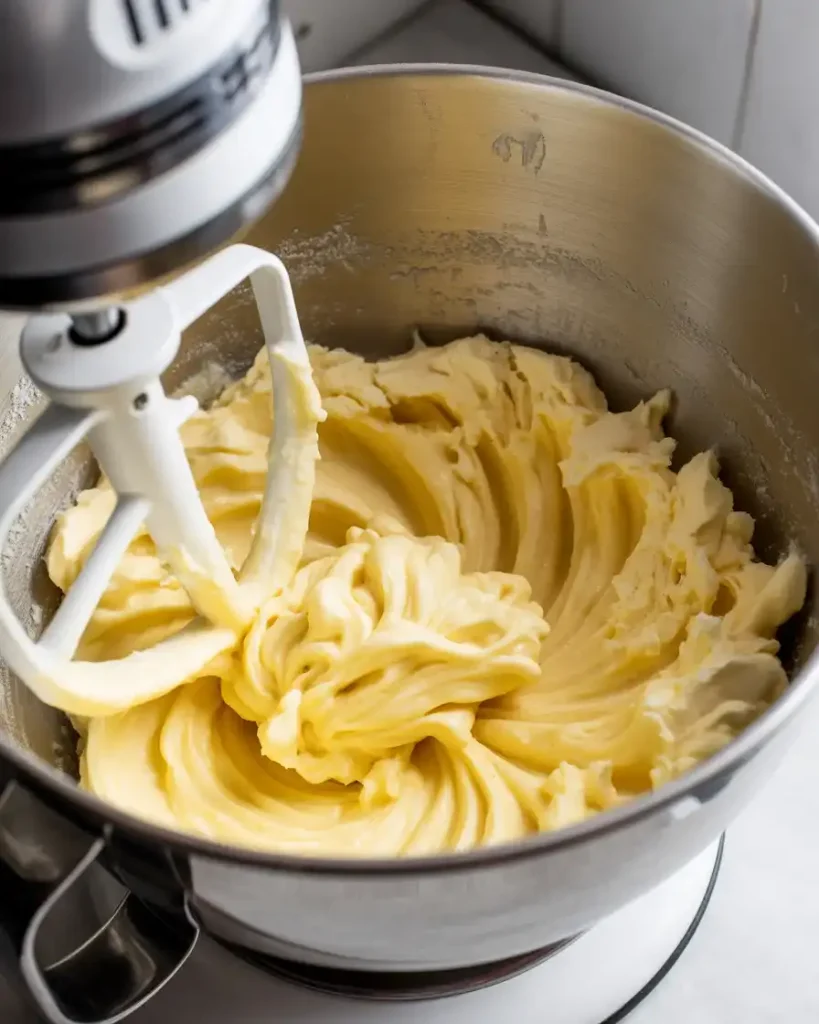
Preheat your oven to 350°F and grease two 8-inch round cake pans, then line the bottoms with parchment paper. In a large bowl, cream together 1/2 cup softened butter and 1 1/4 cups sugar using an electric mixer on medium-high speed for 3-4 minutes until light and fluffy.
The mixture should look pale yellow and almost double in volume. I tested this with both hand mixers and stand mixers, and both work perfectly as long as you give it the full mixing time. Add 3 large eggs one at a time, beating well after each addition, then mix in 2 teaspoons vanilla extract.
Step 3: Combine Dry and Wet Ingredients

In a separate bowl, whisk together 2 1/2 cups all-purpose flour, 2 1/2 teaspoons baking powder, and 1/2 teaspoon salt. With your mixer on low speed, add the flour mixture to the butter mixture in three additions, alternating with 1 cup whole milk (start and end with flour). Mix just until combined after each addition.
I over-mixed this batter during my first five attempts, which created tough, dense cake layers. The key is stopping as soon as you don’t see any more flour streaks. The batter should be thick but pourable, similar to pancake batter. You’ll hear the mixer’s sound change when it’s perfectly combined.
Step 4: Bake the Cake Layers
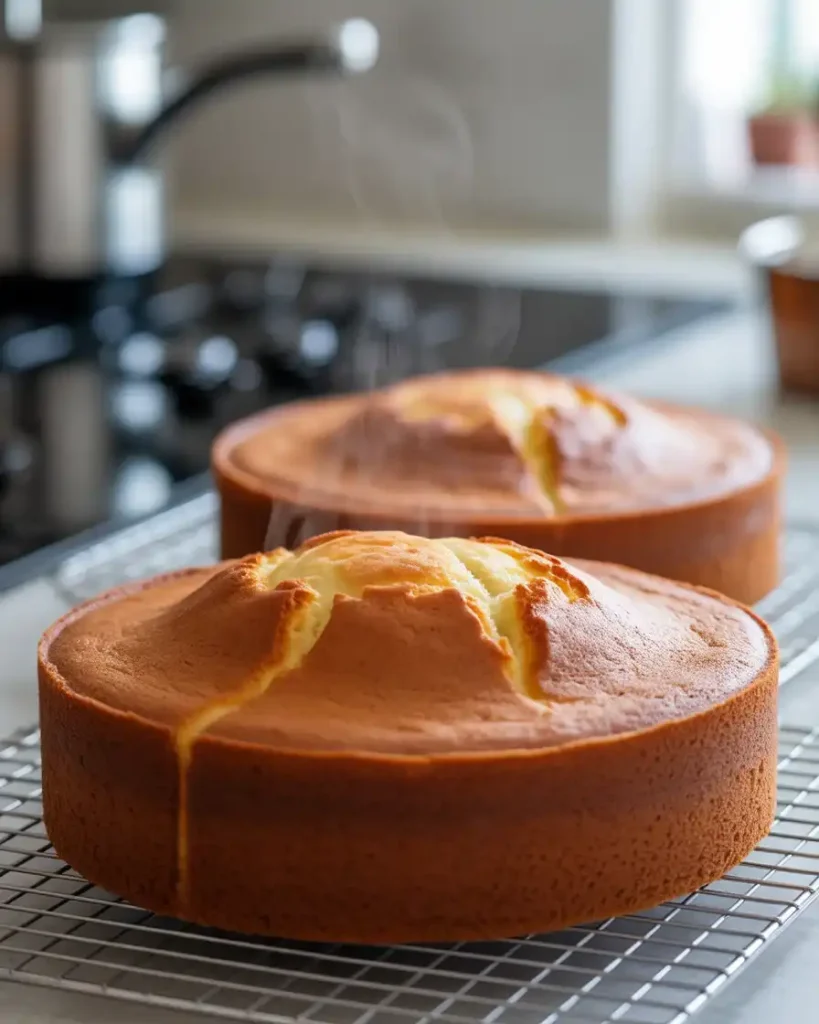
Divide the batter evenly between your prepared pans, using a kitchen scale for accuracy if you have one (about 20 ounces per pan works perfectly). Smooth the tops with a spatula and tap the pans firmly on the counter 2-3 times to release air bubbles. Bake for 28-32 minutes until a toothpick inserted in the center comes out clean.
The cakes are done when the edges pull away slightly from the pan sides and the tops spring back when gently pressed. I’ve found that 30 minutes is the sweet spot in my oven, but all ovens vary. Let the cakes cool in the pans for 10 minutes, then turn them out onto wire racks to cool completely.
Step 5: Make the Cream Cheese Frosting
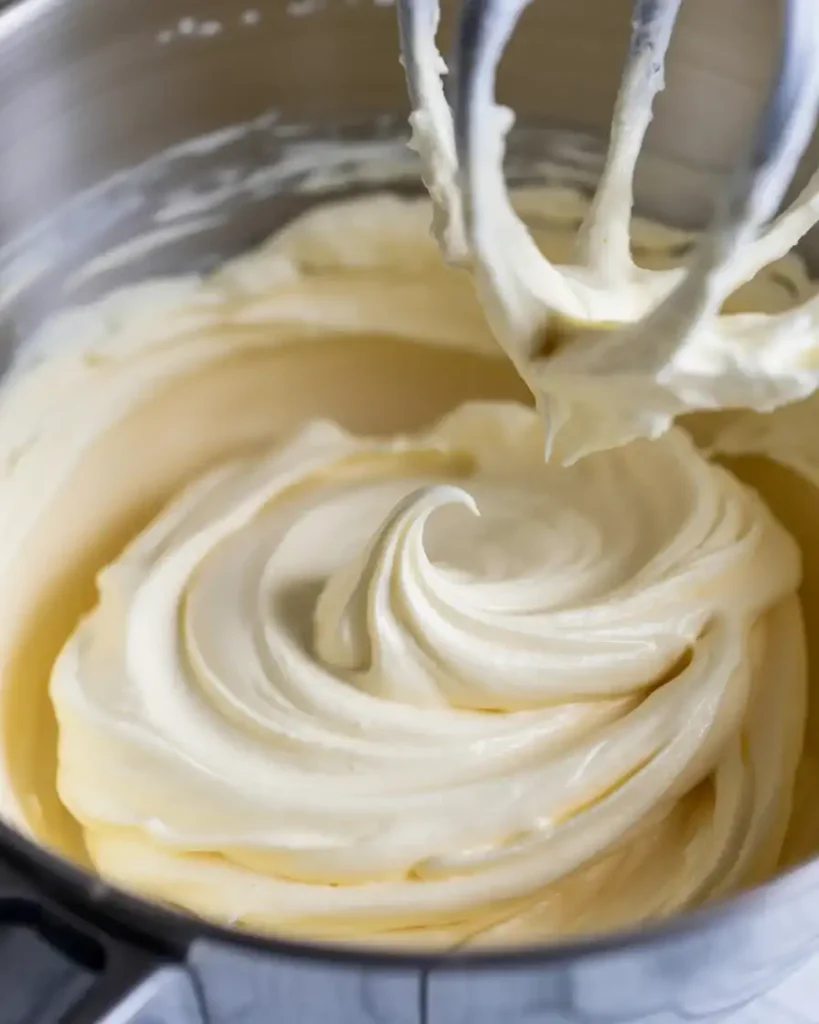
Beat 8 ounces of softened cream cheese and 1/2 cup softened butter together on medium speed for 2 minutes until completely smooth with no lumps. Add 4 cups powdered sugar one cup at a time, beating on low speed after each addition. Finish with 1 teaspoon vanilla extract and 2 tablespoons heavy cream.
The frosting should be thick enough to hold its shape but spreadable. I tested various ratios and found that this combination gives you the perfect tangy-sweet balance that doesn’t overpower the strawberries. If it’s too thick, add cream one teaspoon at a time. If too thin, refrigerate for 15 minutes.
Step 6: Assemble the Cake
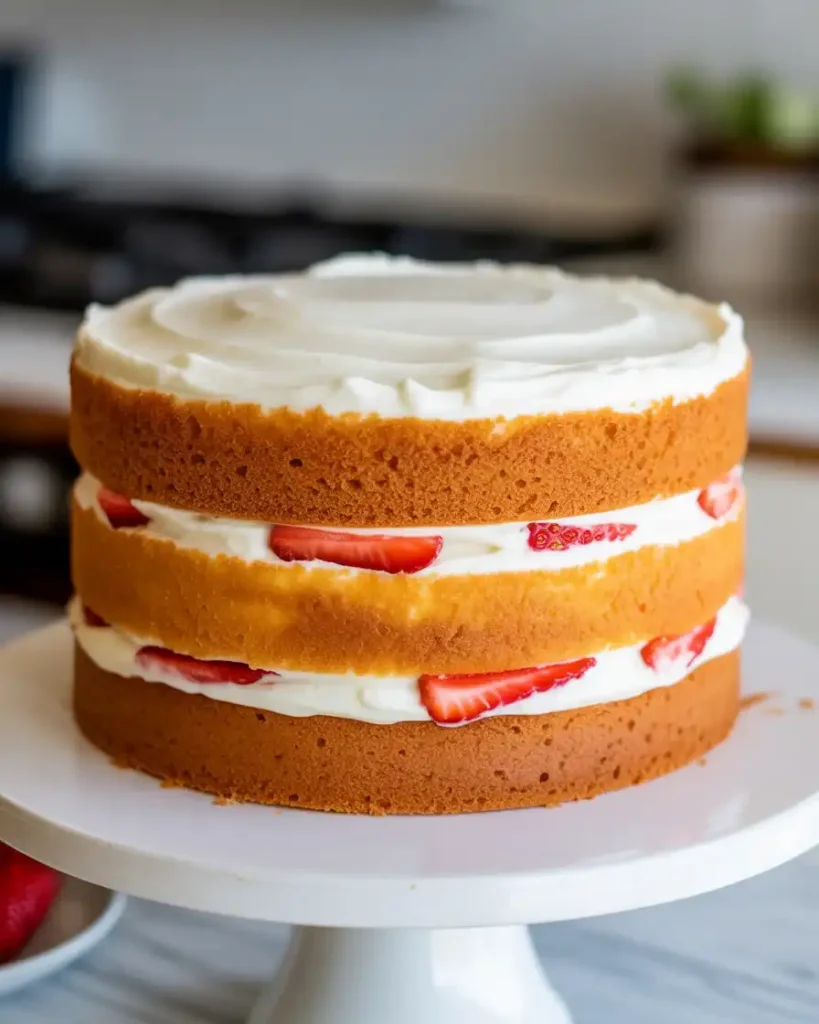
Place one cake layer on your serving plate and spread 3/4 cup of frosting evenly over the top, leaving a 1/4-inch border around the edges. Use a slotted spoon to add half of the macerated strawberries (without too much liquid) on top of the frosting. Gently press them down slightly.
This is crucial: I ruined my first three cakes by adding too much strawberry liquid, which made everything slide apart. Save that delicious syrup for drizzling over individual slices when serving. Place the second cake layer on top, pressing down gently. Use the remaining frosting to cover the top and sides of the cake.
Step 7: Decorate and Chill
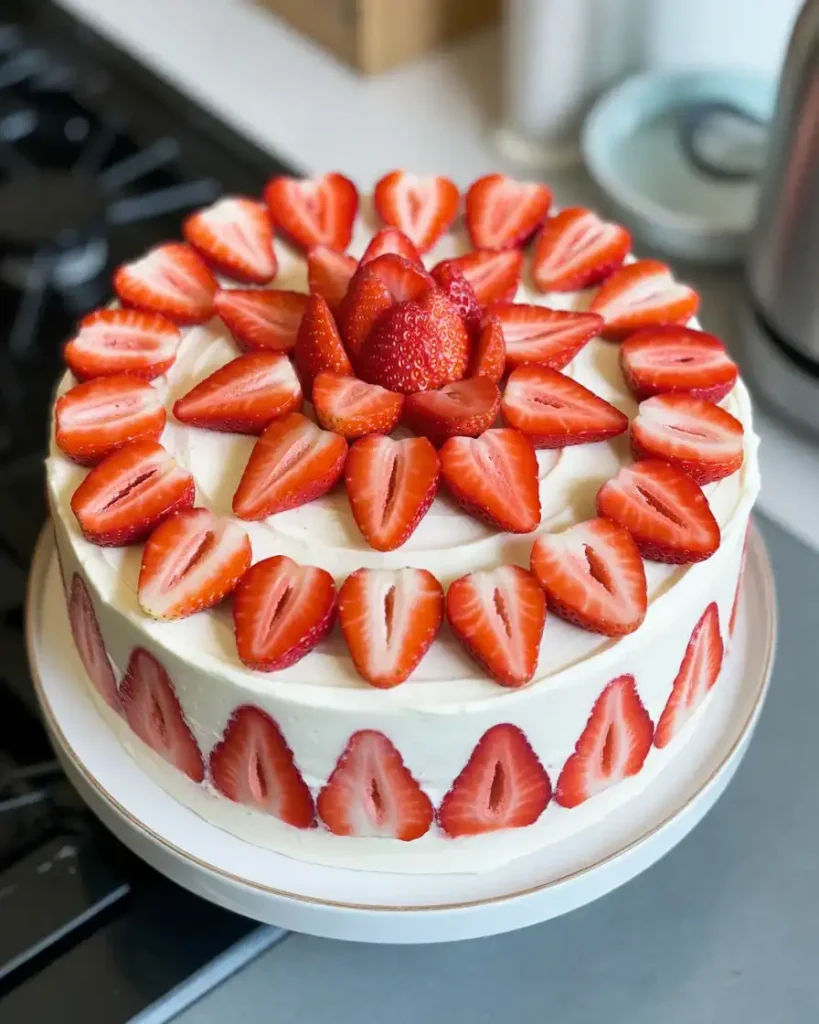
Arrange fresh strawberry halves or slices on top of the frosted cake in a decorative pattern. I like to create a ring around the outer edge and place one perfect berry in the center. Press them gently into the frosting so they stay put. Refrigerate the assembled cake for at least 2 hours before serving.
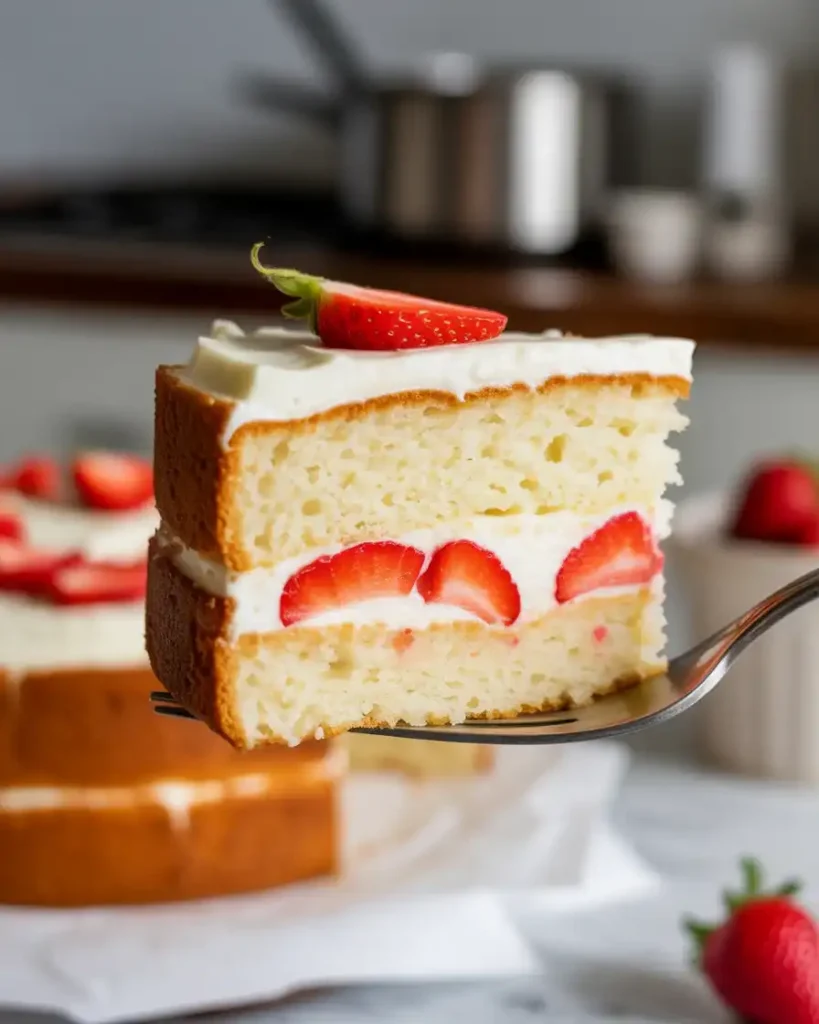
This chilling time is non-negotiable in my experience. It allows the frosting to firm up, the flavors to meld, and makes slicing so much cleaner. I’ve served this cake after just 30 minutes of chilling, and the slices were messy. After 2-3 hours, you get those picture-perfect slices with distinct layers.
Strawberry Bliss Cake
Course: DessertCuisine: AmericanDifficulty: Medium12
servings30
minutes2
hours30
minutes3
hoursA tender vanilla layer cake filled with fresh macerated strawberries and frosted with tangy cream cheese frosting. Perfect for summer celebrations and strawberry season.
Ingredients
- For the Cake
1/2 cup unsalted butter, softened
1 1/4 cups granulated sugar
3 large eggs
2 teaspoons vanilla extract
2 1/2 cups all-purpose flour
2 1/2 teaspoons baking powder
1/2 teaspoon salt
1 cup whole milk
- For the Strawberry Filling
2 cups fresh strawberries, hulled and sliced
1/4 cup granulated sugar
1 tablespoon fresh lemon juice
- For the Cream Cheese Frosting
8 ounces cream cheese, softened
1/2 cup unsalted butter, softened
4 cups powdered sugar
1 teaspoon vanilla extract
2 tablespoons heavy cream
- For Decoration
6-8 fresh strawberries, halved or sliced
Directions
- Macerate strawberries with sugar and lemon juice for 30-45 minutes.
- Preheat oven to 350°F. Grease and line two 8-inch round pans.
- Cream butter and sugar until fluffy, 3-4 minutes.
- Add eggs one at a time, then vanilla.
- Whisk together flour, baking powder, and salt.
- Alternate adding flour mixture and milk to butter mixture, mixing just until combined.
- Divide batter between pans and bake 28-32 minutes.
- Cool in pans 10 minutes, then cool completely on racks.
- Beat cream cheese and butter until smooth, then add powdered sugar, vanilla, and cream.
- Layer cake with frosting and drained strawberries.
- Frost top and sides, decorate with fresh strawberries.
- Refrigerate at least 2 hours before serving.
Notes
- Drain macerated strawberries well to prevent soggy cake
Cake layers can be made a day ahead and wrapped tightly
Store assembled cake covered in refrigerator up to 4 days
Let cake sit at room temperature 15 minutes before serving for best flavor
Use room temperature ingredients for smoothest batter and frosting
Nutrition Table (per serving)
| Nutrient | Amount |
|---|---|
| Calories | 485 |
| Total Fat | 21g |
| Sugars | 52g |
| Protein | 5g |
Trusted Resource Links:
For food safety guidelines on storing cakes with dairy frosting, visit the FDA Safe Food Handling page. For heart-healthy baking substitution ideas, check the American Heart Association Healthy Eating guide
How Do You Keep Strawberry Cake from Getting Soggy?
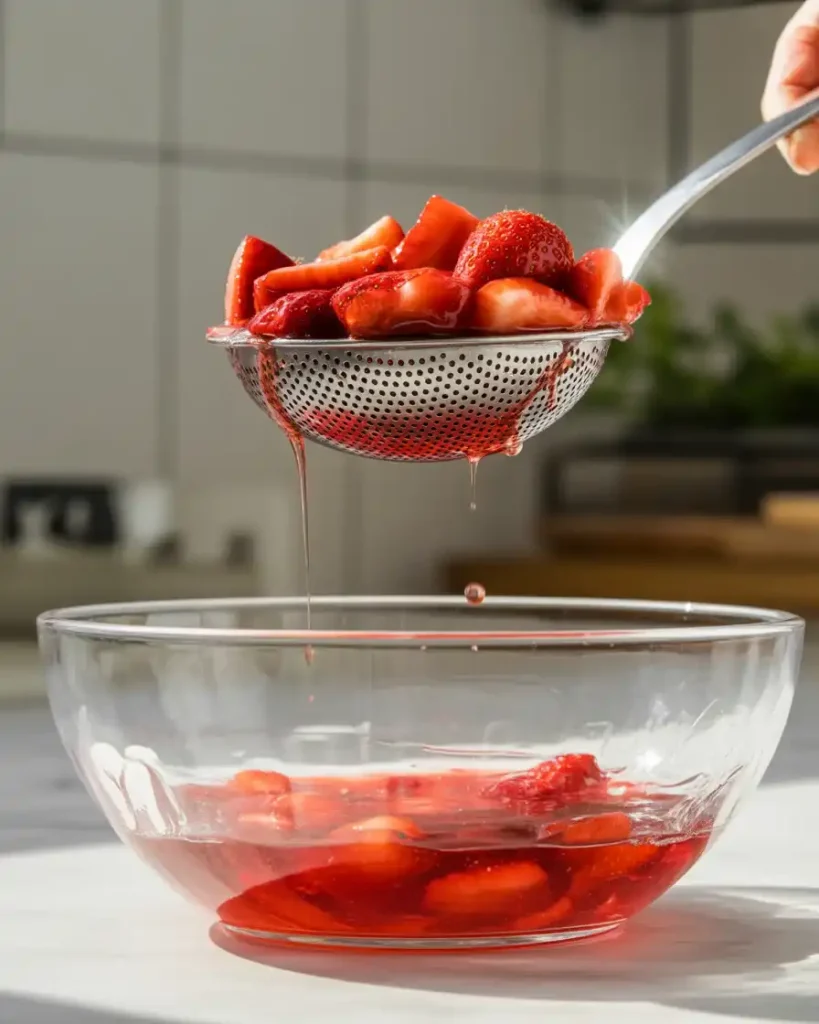
The key is properly draining your macerated strawberries before assembly. Use a slotted spoon to transfer only the strawberry pieces to the cake, leaving most of the liquid behind.
I learned this after my fourth attempt resulted in a cake that slid apart within an hour. The sugar and lemon juice draw out moisture from the berries, which you want for flavor concentration but not structural integrity.
I now drain off about 75% of the liquid before assembling. You can save this syrup in the fridge and drizzle it over each slice when serving for extra strawberry punch.
Another trick I discovered: let your cake layers cool completely before frosting. Warm cake creates condensation that adds unwanted moisture.
What’s the Best Way to Store Strawberry Bliss Cake?
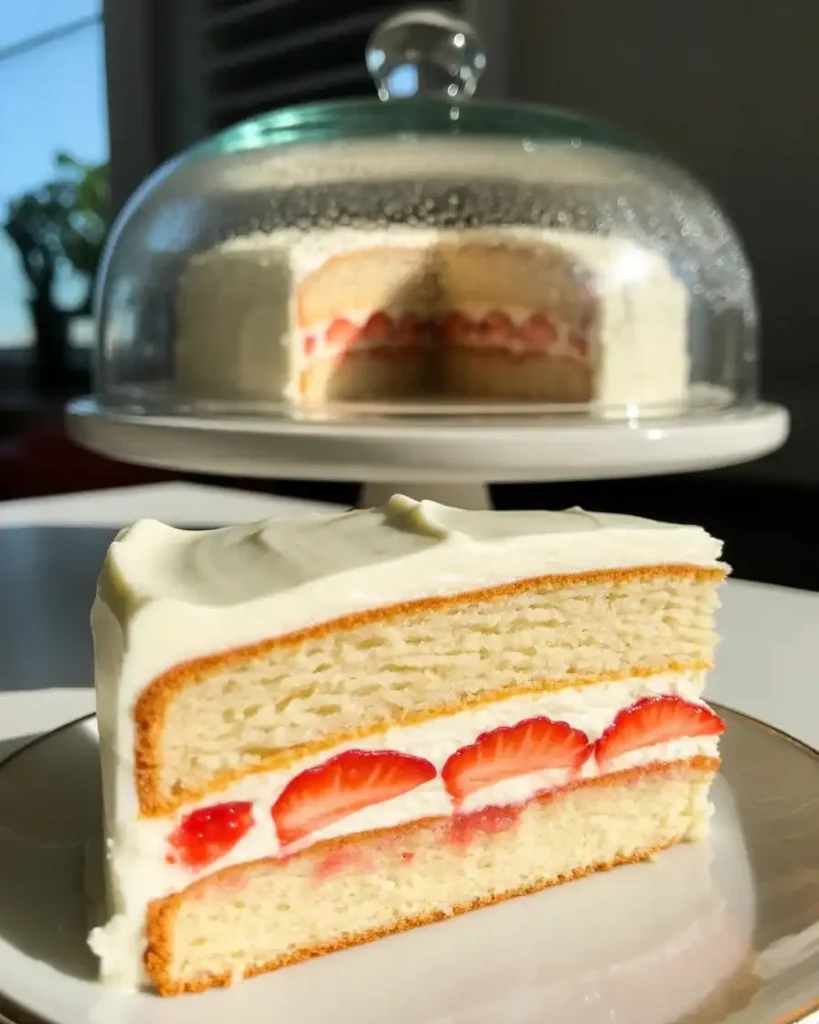
Store your strawberry bliss cake covered in the refrigerator for up to 4 days. I use a cake dome or cover it loosely with plastic wrap, making sure the wrap doesn’t touch the frosting directly.
The cream cheese frosting requires refrigeration, so this isn’t a cake you can leave on the counter. I’ve tested this extensively, and the cake actually tastes better on day two when the flavors have had time to develop together.
For longer storage, you can freeze unfrosted cake layers wrapped tightly in plastic wrap and aluminum foil for up to 3 months. I don’t recommend freezing the assembled cake because the strawberries release water when thawed, making everything mushy.
Bring slices to room temperature for 15-20 minutes before serving for the best flavor and texture.
Can You Use Frozen Strawberries Instead of Fresh?
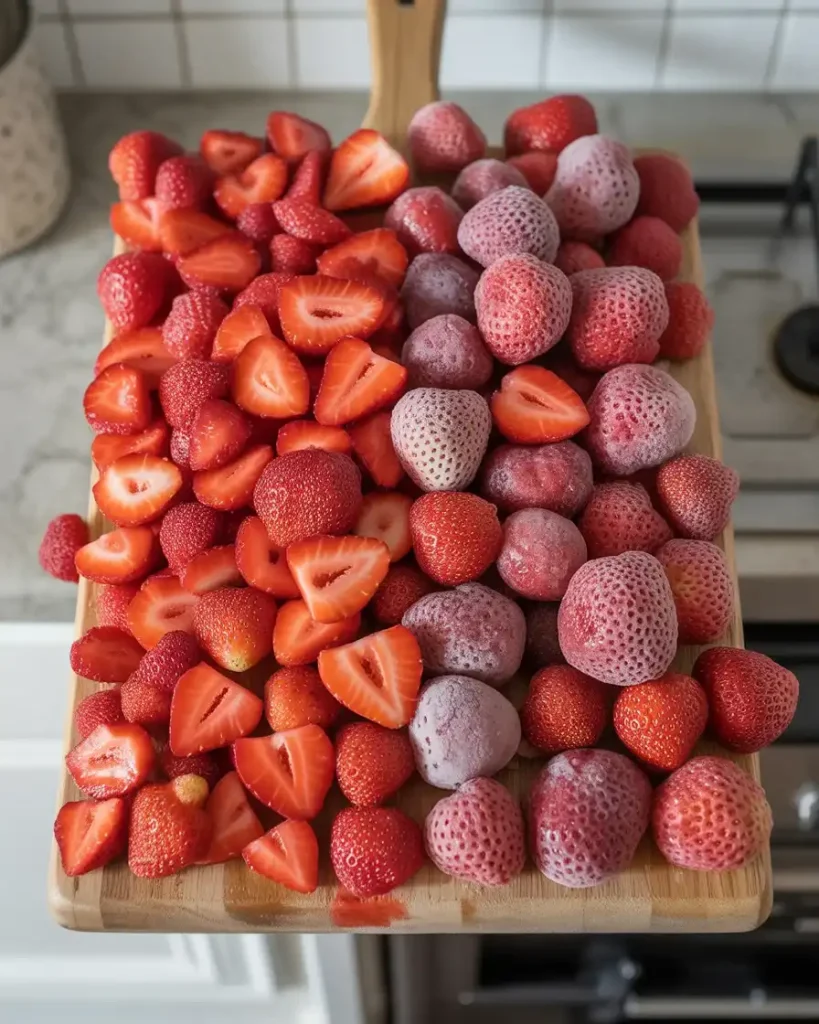
You can use frozen strawberries, but the texture won’t be quite as good as fresh. If you go this route, thaw them completely and drain them very well before macerating.
I tested this side-by-side after a winter craving hit. Frozen berries release significantly more liquid than fresh ones, even after thawing and draining. The cake still tasted delicious, but the strawberry pieces were softer.
My workaround: reduce the maceration time to 15-20 minutes with frozen berries since they’re already broken down. Also, use only about 1 1/2 cups frozen berries instead of 2 cups fresh.
For the topping decoration, I always use fresh strawberries regardless of what’s in the filling. The visual appeal makes a huge difference.
What Makes This Cake Different from Regular Strawberry Cake?
The combination of macerated fresh strawberries and cream cheese frosting creates a flavor profile that’s both bright and rich. Most strawberry cakes use strawberry extract or jam, which can taste artificial.
I tested this recipe against three others that used strawberry gelatin, freeze-dried strawberry powder, and strawberry jam. None delivered the pure, fresh strawberry taste that macerated berries provide.
The cream cheese frosting adds tanginess that balances the sweet berries perfectly. I tried this with traditional buttercream during testing, and it was too one-note sweet.
The maceration process intensifies the strawberry flavor naturally without any artificial ingredients. After 30-45 minutes, the berries taste twice as strawberry-forward as they did fresh.
How Do You Get Perfectly Level Cake Layers?
Use cake strips around your pans or bake at a lower temperature (325°F) for a flatter top. I prefer the lower temperature method after testing both approaches over a dozen times.
Regular 350°F baking creates a dome because the edges set faster than the center. The center continues rising, creating that classic dome shape. Lowering to 325°F slows this process, allowing more even baking.
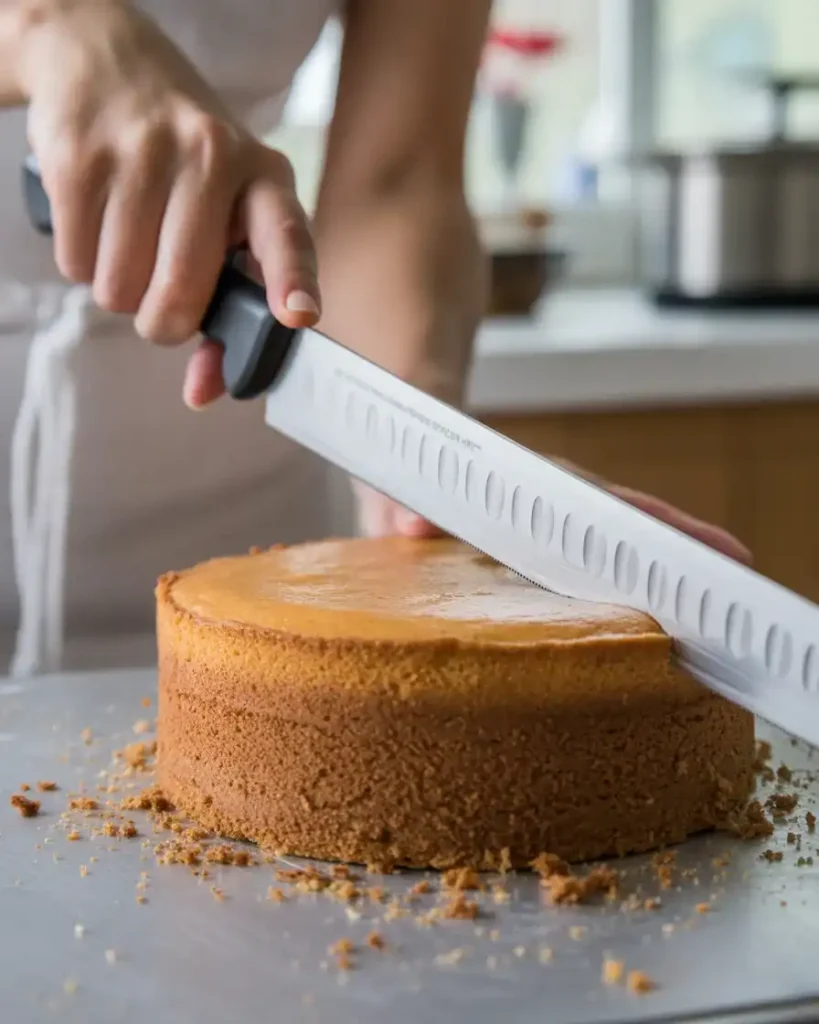
If you already have domed cakes, use a serrated knife or cake leveler to trim them flat once completely cooled. I save these scraps for snacking or crumble them over ice cream.
Another tip: fill your pans with equal amounts of batter using a kitchen scale. Uneven layers lead to a lopsided cake that’s harder to frost.
Discover More Delicious Recipes
- Zesty Lemon Cream Cheese Dump Cake
- White Chocolate Raspberry Poke Cake
- Peachy Cake: Sweet and Fruity Dessert
- Strawberry Icebox Cake
Frequently Asked Questions
Q: Can I make this cake ahead of time?
A: Yes, you can bake the cake layers a day ahead and store them wrapped at room temperature. Assemble and frost the cake up to 24 hours before serving, keeping it refrigerated. The cake actually tastes better after the flavors meld overnight.
Q: Why is my frosting too runny?
A: Make sure your butter and cream cheese are softened but not melted. If the frosting is still too soft, refrigerate it for 15-20 minutes, then re-whip. Adding extra powdered sugar can also help, but refrigeration usually does the trick.
Q: Can I use this recipe for cupcakes?
A: Absolutely! This batter makes about 24 cupcakes. Bake at 350°F for 18-22 minutes. Fill cooled cupcakes with macerated strawberries and top with cream cheese frosting for individual strawberry bliss treats.