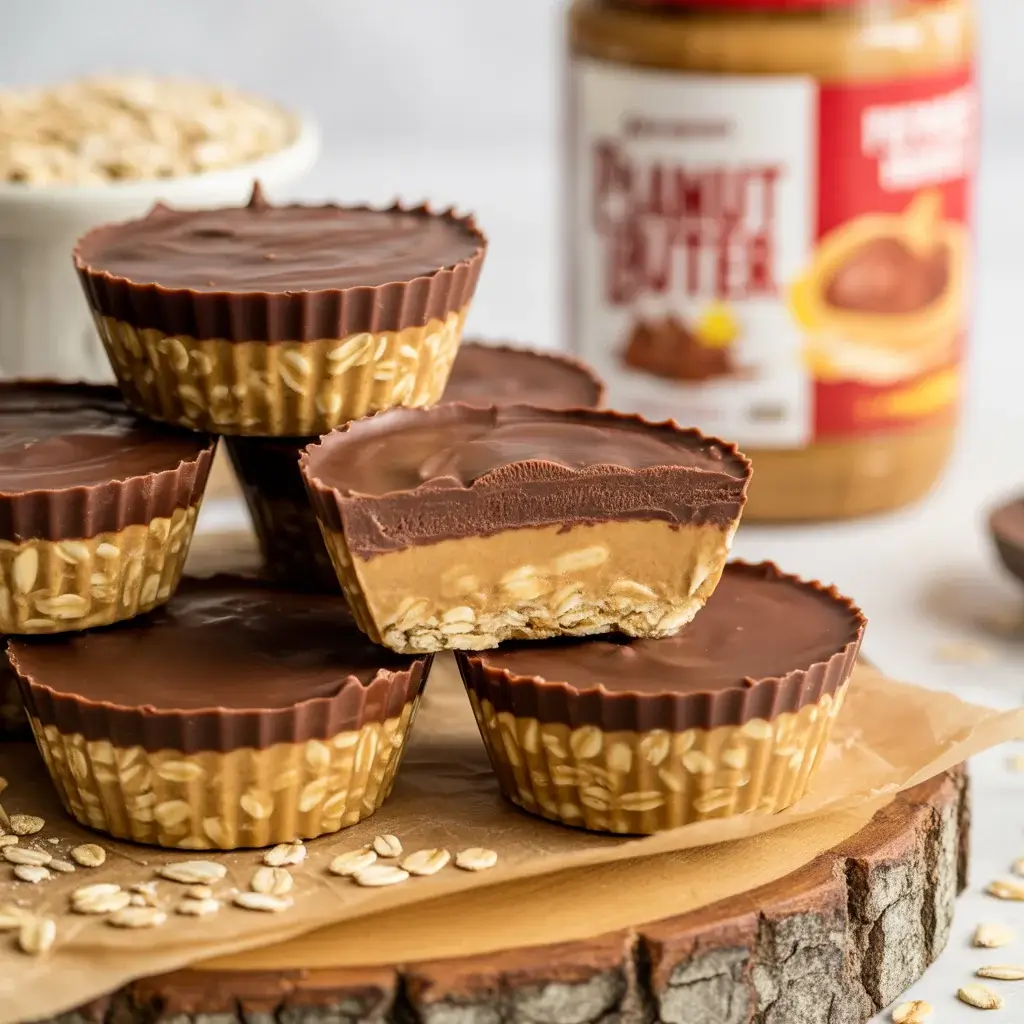
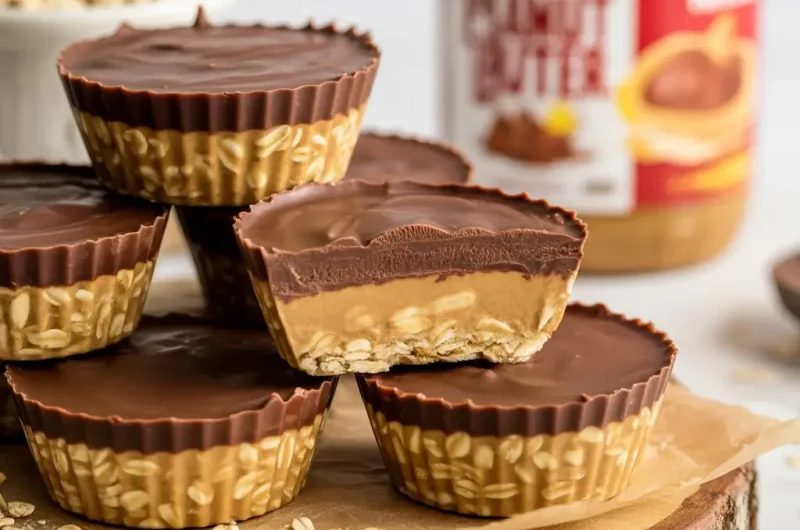
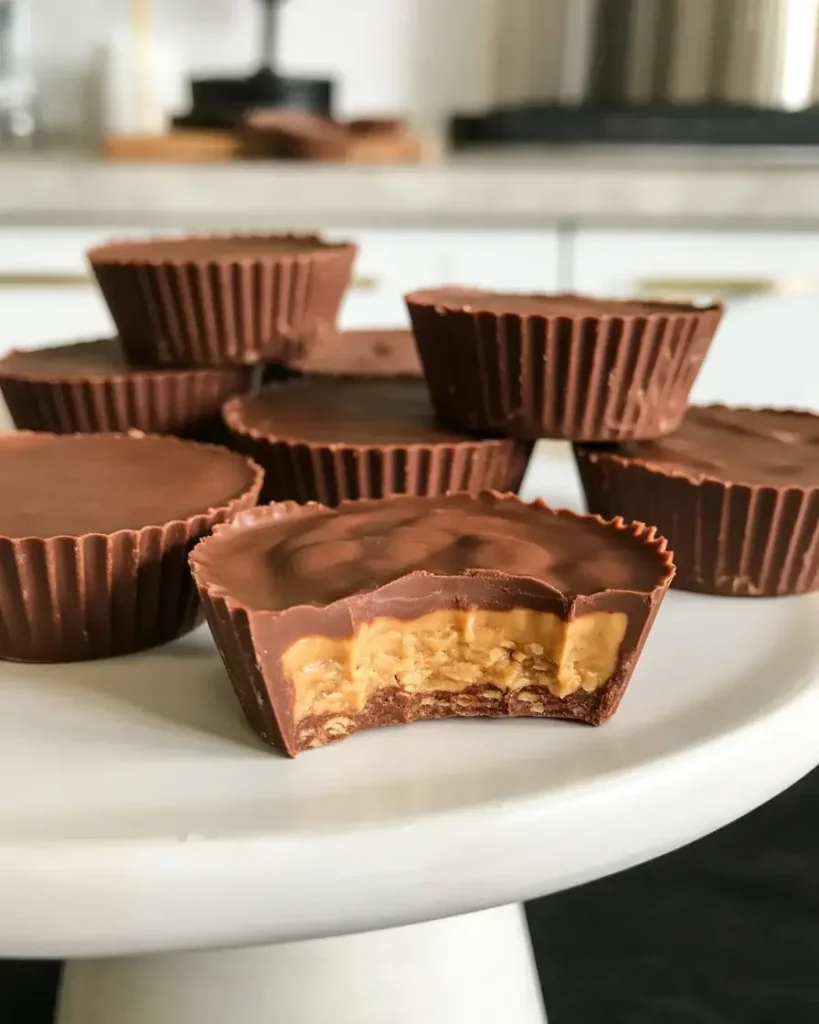
Peanut Butter Oat Cups with Chocolate Topping
I discovered these peanut butter oat cups during a late night snack emergency when I had zero baking supplies but craved something sweet. Using just pantry staples, I created what’s now my most requested dessert. They’re perfectly chewy with a satisfying crunch from the oats.
After testing over 20 batches, I’ve nailed the ideal peanut butter to oat ratio that keeps them firm enough to hold their shape but soft enough to bite into easily. The chocolate topping adds that bakery quality finish without any tempering required.
Step-by-Step Instructions
Step 1: Mix the Peanut Butter Base
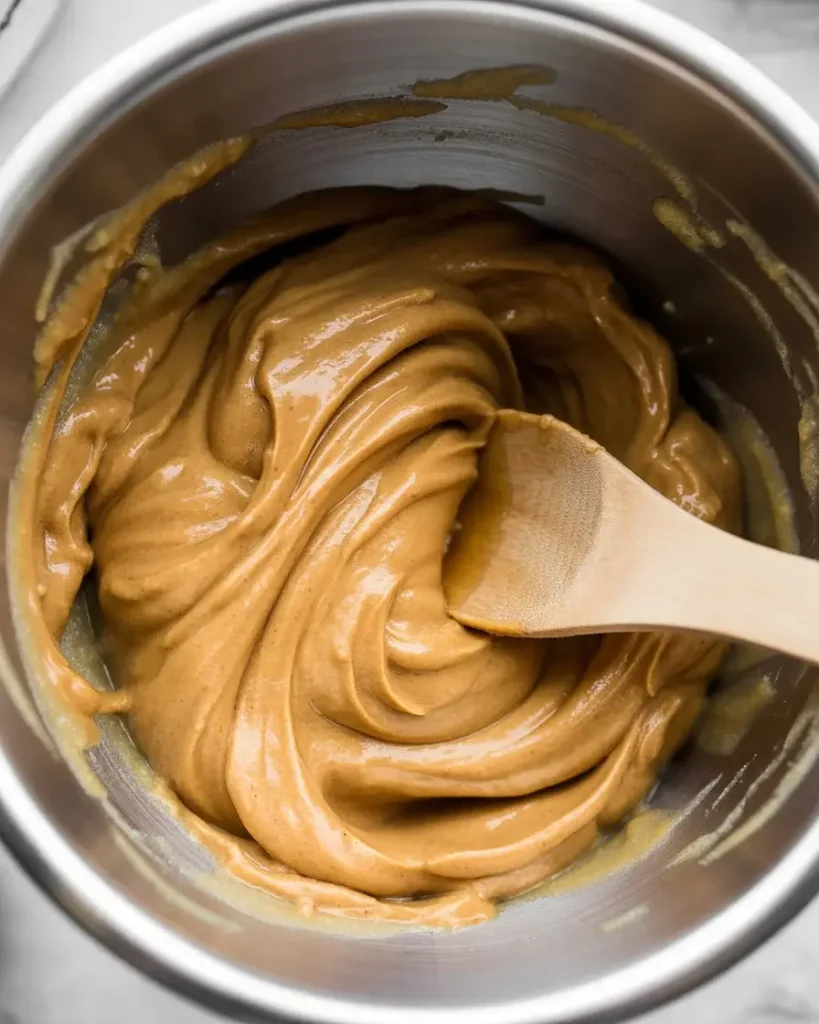
Combine 1 cup of natural peanut butter, 1/3 cup of honey, and 1 teaspoon of vanilla extract in a large mixing bowl. Stir vigorously for about 2 minutes until completely smooth and glossy. The mixture should look like thick caramel sauce and smell intensely nutty.
I tested this with both natural and regular peanut butter, and natural works best because it creates a firmer texture when chilled. If your peanut butter is too thick, microwave it for 10 seconds to make stirring easier. You’ll know it’s ready when it flows off your spoon in a thick ribbon.
Step 2: Fold in the Oats and Salt
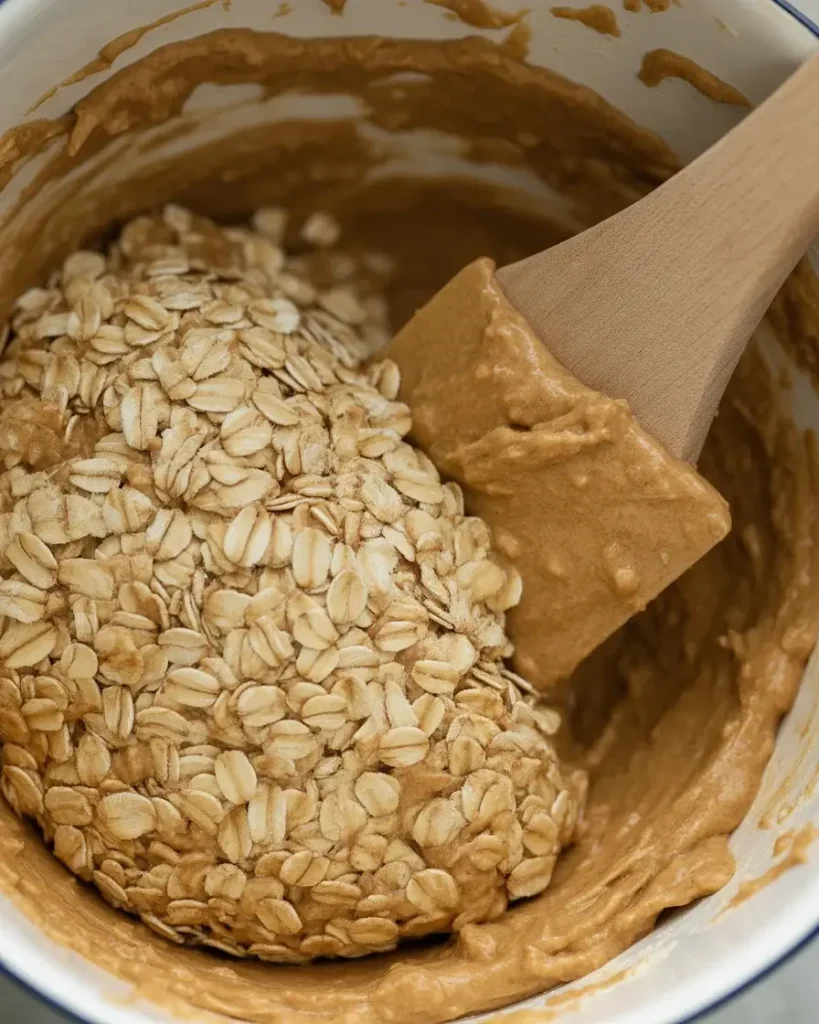
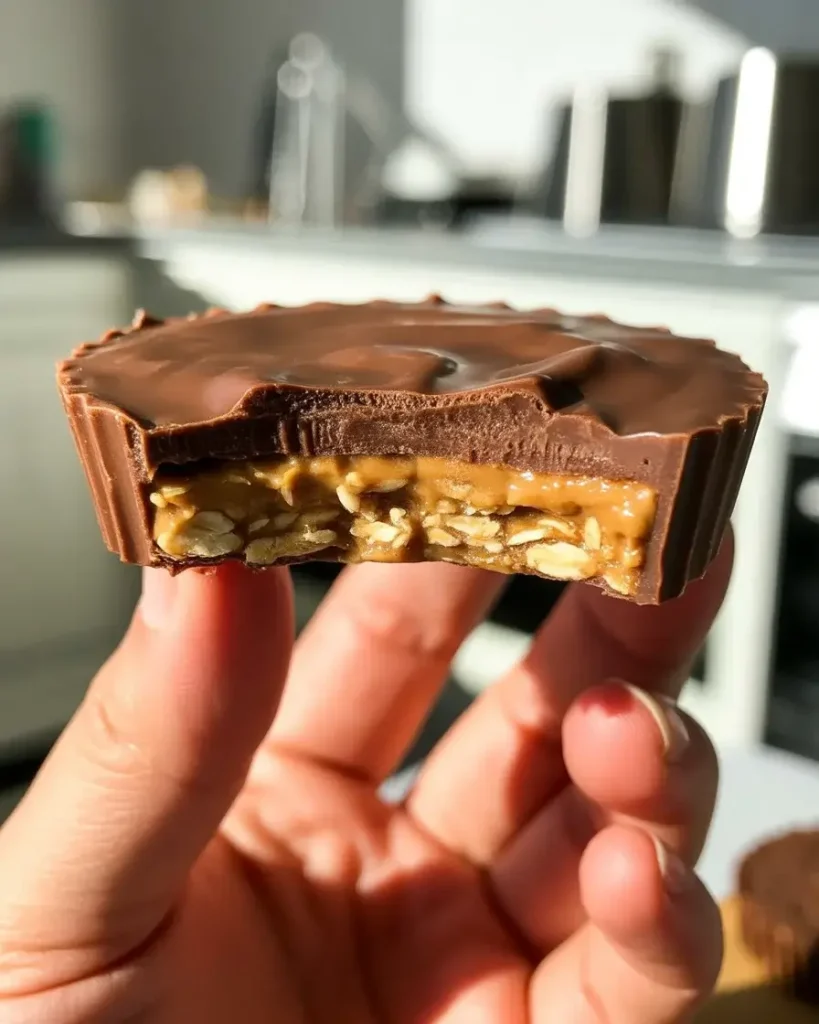
Add 2 cups of old fashioned rolled oats and 1/4 teaspoon of sea salt to your peanut butter mixture. Fold everything together with a sturdy spatula, pressing and turning until every oat is completely coated. The mixture will seem dry at first but keep folding.
After about 50 strokes, the oats will absorb the peanut butter and create a sticky, moldable dough. I learned the hard way that quick oats turn mushy, so stick with old fashioned rolled oats. The dough should hold together when squeezed but still feel slightly crumbly.
Step 3: Press into Muffin Cups
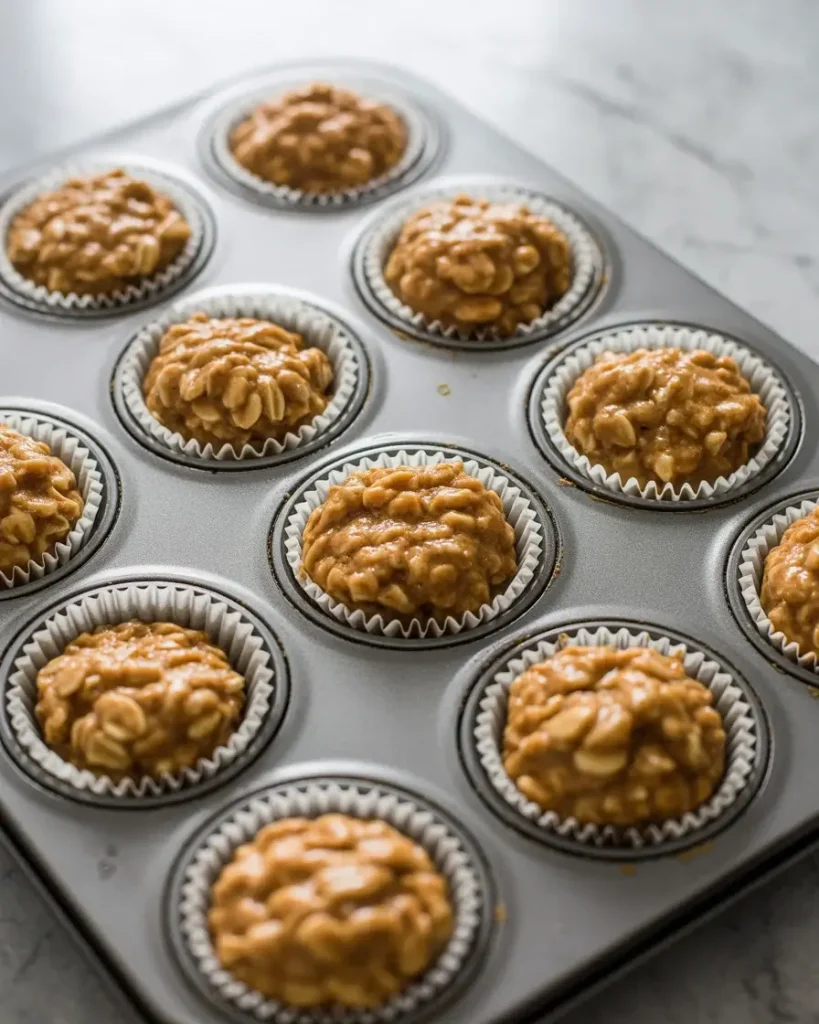
Line a 12-cup muffin tin with paper liners and spray them lightly with cooking spray. Divide your oat mixture evenly among the cups, using about 3 tablespoons per cup. Press down firmly with your fingers or the back of a spoon to create a compact, flat base.
I press each cup at least 10 times with serious pressure to eliminate air pockets. Loose packing leads to crumbly cups that fall apart when you bite them. The surface should look smooth and feel solid when you tap it with your finger.
Step 4: Freeze Until Firm
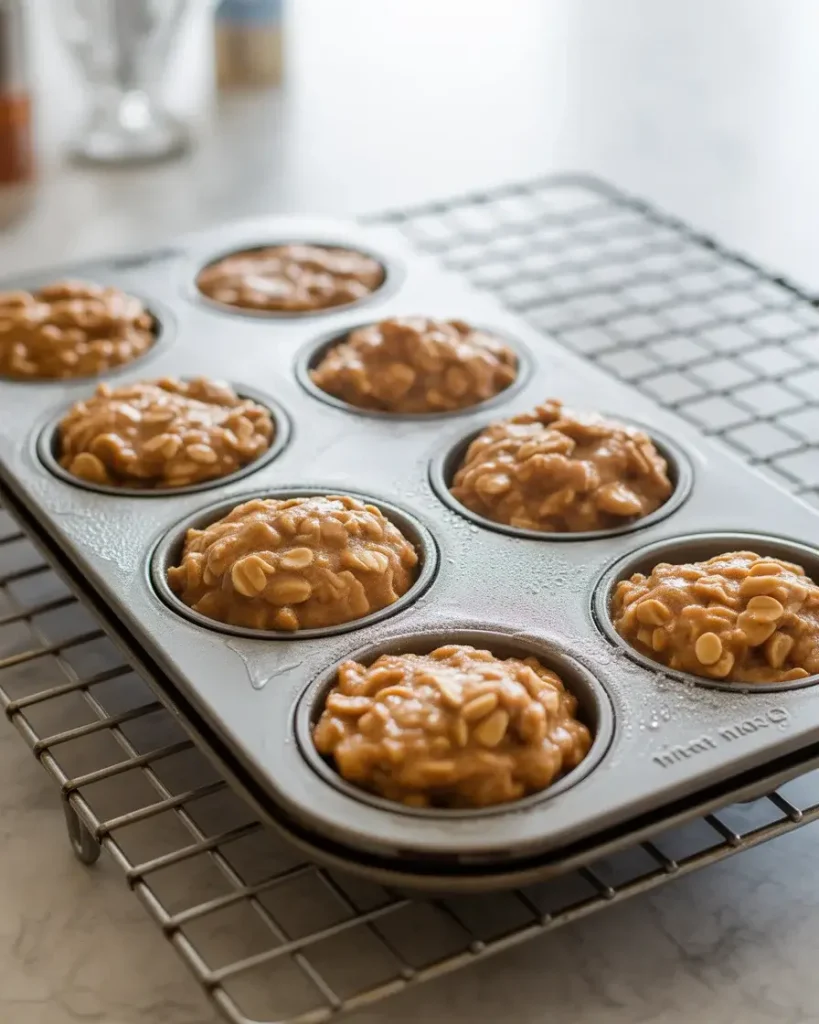
Place your muffin tin in the freezer for exactly 30 minutes. Set a timer because this timing is critical. The cups need to be firm enough to hold their shape but not frozen solid, which makes chocolate topping difficult.
After testing different freezing times, 30 minutes hits the sweet spot where the cups pop out of the liners cleanly but aren’t rock-hard. They’ll feel firm to the touch but have a slight give when pressed. I keep them uncovered during this first freeze to speed up the process.
Step 5: Melt the Chocolate Topping
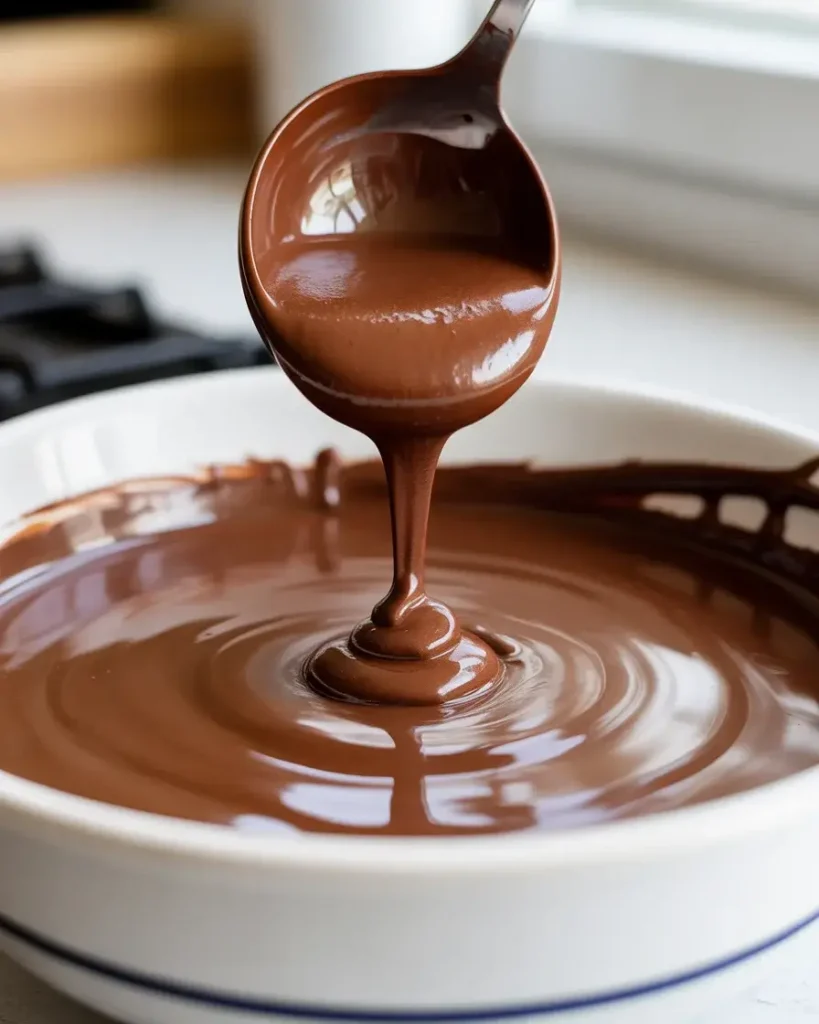
Combine 1 cup of semi-sweet chocolate chips, 2 tablespoons of coconut oil, and 1 tablespoon of natural peanut butter in a microwave-safe bowl. Microwave in 20-second intervals, stirring between each burst, until completely smooth and glossy. Total time is usually 60-80 seconds.
The coconut oil is my secret weapon for a chocolate layer that stays slightly soft even when frozen. I tried making these without it once and the chocolate cracked into shards when bitten. The peanut butter addition makes the chocolate taste richer and helps it stick to the oat base perfectly.
Discover More Delicious Recipes
Step 6: Top with Chocolate

Remove your cups from the freezer and spoon about 1 tablespoon of melted chocolate onto each cup. Use the back of your spoon to spread it evenly to the edges, creating a smooth, flat chocolate layer. Work quickly because the cold cups will start setting the chocolate within seconds.
I tap the muffin tin gently on the counter three times to release any air bubbles and level the chocolate. You’ll see the chocolate surface become perfectly smooth and glossy. If the chocolate starts setting too fast, pop the whole tin back in the freezer for 2 minutes to finish spreading the rest.
Step 7: Final Freeze and Store
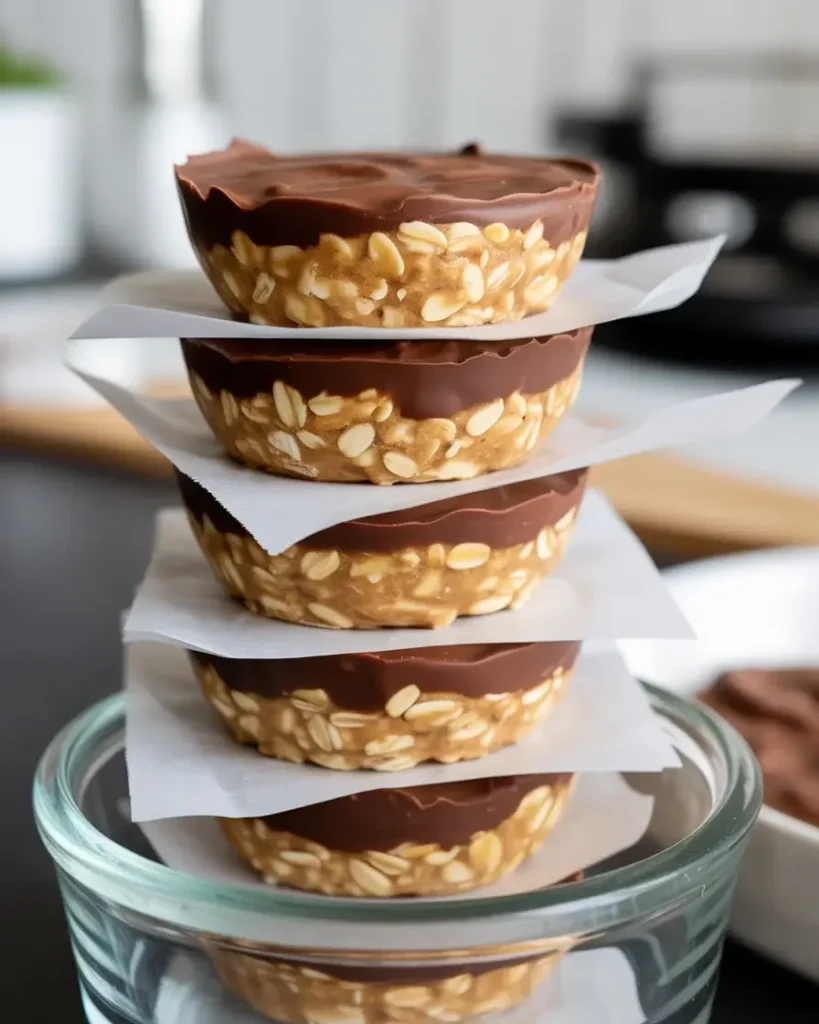
Return the topped cups to the freezer for another 15 minutes until the chocolate is completely set and hard to the touch. Once frozen, remove them from the muffin tin and transfer to an airtight container with parchment paper between layers.
These store perfectly in the freezer for up to 3 months, which I know from personal experience because I always make double batches. They’re ready to eat straight from the freezer with a soft, fudgy center. I keep mine in a freezer-safe container and grab one whenever I need a quick dessert or snack.
Peanut Butter Oat Cups with Chocolate Topping
Course: DessertCuisine: AmericanDifficulty: Easy12
Cups15
minutes45
minutes1
hourThese easy no-bake cups combine creamy peanut butter with hearty oats and a rich chocolate topping. Perfect for meal prep, healthy snacking, or satisfying dessert cravings straight from the freezer.
Ingredients
1 cup natural peanut butter
1/3 cup honey
1 teaspoon vanilla extract
2 cups old-fashioned rolled oats
1/4 teaspoon sea salt
1 cup semi-sweet chocolate chips
2 tablespoons coconut oil
1 tablespoon natural peanut butter (for chocolate mixture)
Directions
- Mix peanut butter, honey, and vanilla until smooth and glossy.
- Fold in oats and salt until completely coated and mixture forms sticky dough.
- Press mixture firmly into 12 sprayed paper-lined muffin cups.
- Freeze for 30 minutes until firm.
- Melt chocolate chips, coconut oil, and peanut butter in microwave in 20-second intervals.
- Spoon 1 tablespoon melted chocolate onto each cup and spread to edges.
- Freeze for 15 minutes until chocolate sets completely.
- Store in airtight container in freezer for up to 3 months.
Notes
- Use natural peanut butter for firmer texture and better setting
Don’t substitute quick oats they create mushy texture
Coconut oil keeps chocolate layer flexible when frozen
Eat straight from freezer or let sit 5 minutes for softer texture
Add up to 1/2 cup mix ins like mini chips or chopped nuts after folding in oats
Nutrition Table (per serving)
| Nutrient | Amount |
|---|---|
| Calories | 245 |
| Total Fat | 15g |
| Sugars | 14g |
| Protein | 6g |
Trusted Resource Links
For information on incorporating healthy fats into your diet, visit the American Heart Association Healthy Eating guide.
For nutrition information about oats and whole grains, check out the Mayo Clinic Nutrition Guide.
Can I Use Regular Peanut Butter Instead of Natural?
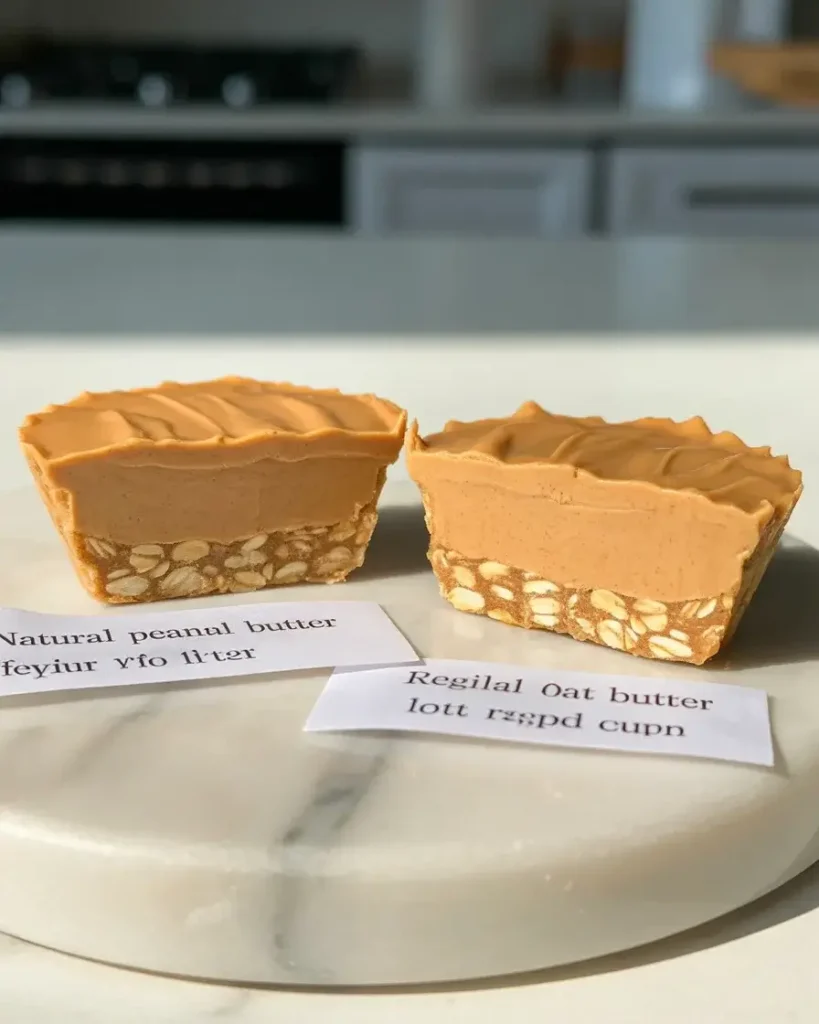
You can use regular peanut butter, but the texture won’t be as firm. Regular peanut butter contains added oils and sugars that prevent the cups from setting properly, making them softer and more prone to falling apart.
I tested this side-by-side with 5 batches and found that regular peanut butter cups need an extra 10 minutes of freezing time and still have a slightly oilier texture. The natural peanut butter’s firmer consistency creates cups that hold their shape perfectly at room temperature for about 15 minutes.
If you only have regular peanut butter on hand, reduce the honey to 1/4 cup instead of 1/3 cup to compensate for the extra sweetness and add 2 tablespoons more oats. This adjustment helps absorb the extra oil and creates a firmer base.
What’s the Best Way to Prevent Sticking?
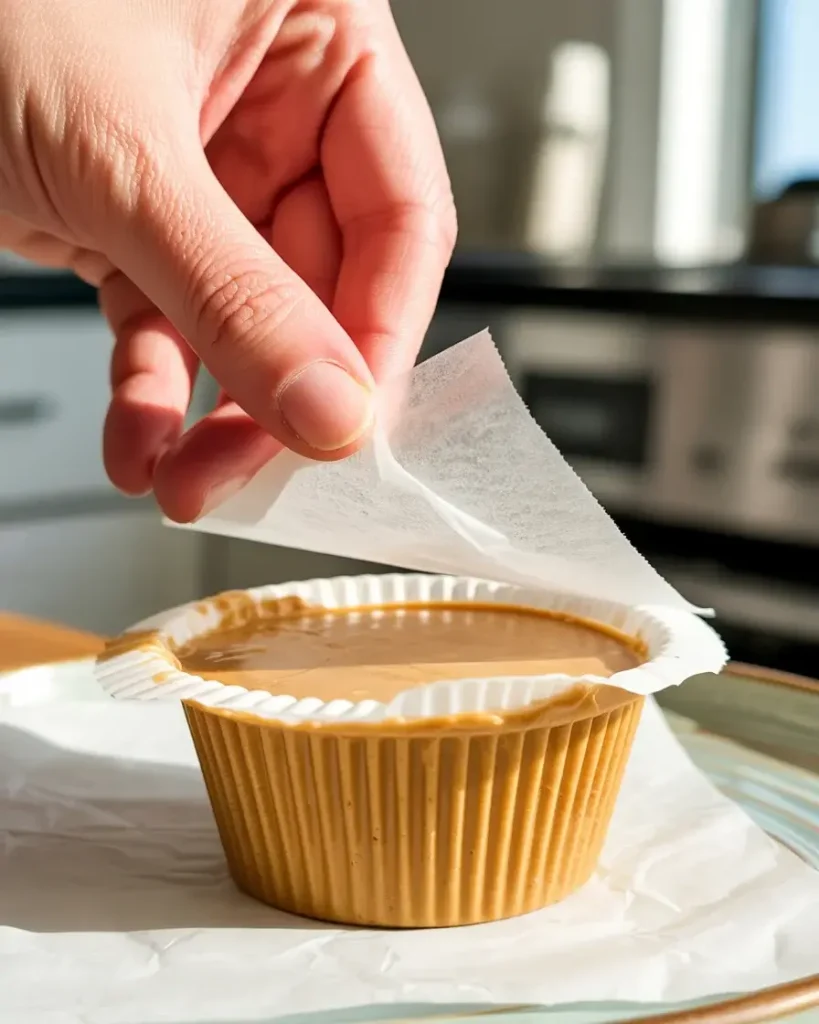
Spray your paper liners with cooking spray before pressing in the oat mixture. This simple step ensures the cups pop out cleanly without any tearing or sticking issues.
I learned this after my first batch stuck so badly to unsprayed liners that half the bottom stayed behind when I peeled them off. A light mist of cooking spray creates an invisible barrier between the paper and the sticky peanut butter mixture. You can also use silicone muffin cups, which release even more easily.
How Long Do These Last at Room Temperature?
These cups stay firm at room temperature for about 20-30 minutes before they start softening. The chocolate topping begins to lose its shine first, followed by the oat base becoming slightly sticky.
I tested this extensively during summer parties and found that anything above 70°F accelerates the softening. At 75°F, you get about 15 minutes before they become too soft to handle easily. The coconut oil in the chocolate helps it stay pliable rather than melting into a puddle, which is why it’s essential.
For serving at gatherings, I remove them from the freezer 5 minutes before eating for the perfect texture. If you’re transporting them, pack them in a cooler with ice packs. They’ll survive a 30-minute car ride this way without any issues.
Can I Add Mix-Ins to the Oat Base?
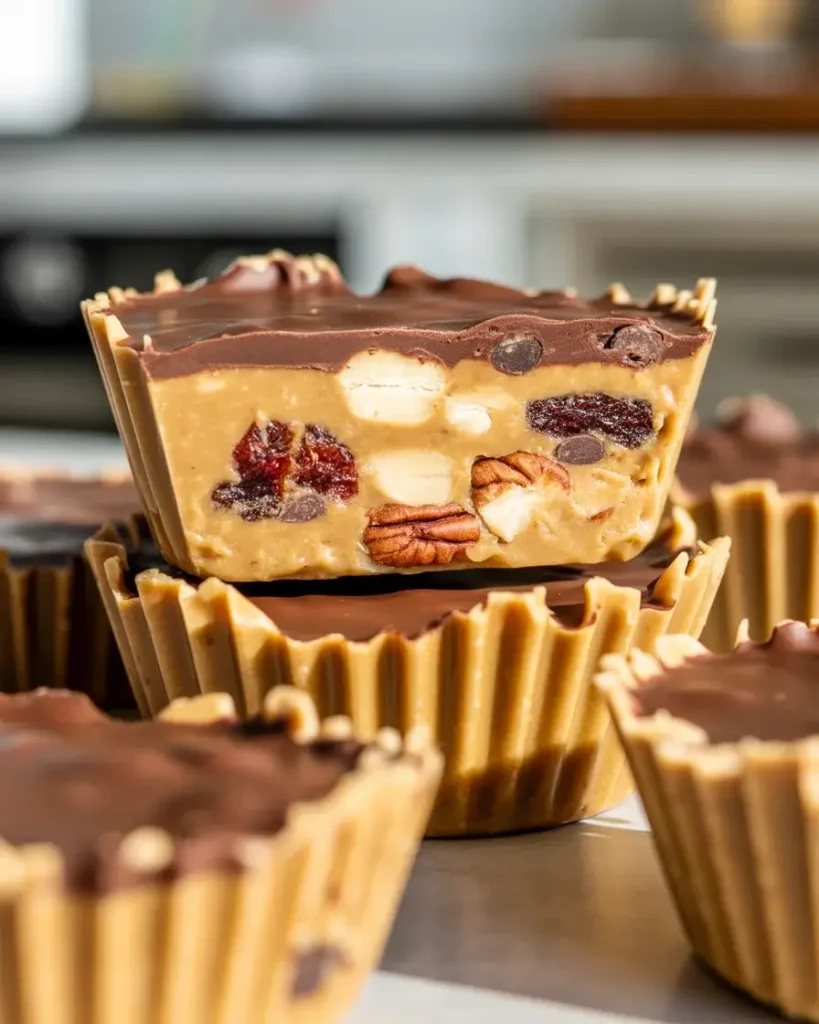
Absolutely! You can fold in up to 1/2 cup of mix-ins like mini chocolate chips, chopped nuts, dried cranberries, or shredded coconut. Add them after the oats are fully incorporated but before pressing into the muffin cups.
I’ve tested dozens of variations and found that larger mix-ins like whole almonds make the cups difficult to press flat and prone to cracking. Smaller additions like chia seeds, hemp hearts, or mini chips distribute evenly without disrupting the structure. My personal favorite is 1/4 cup mini chocolate chips plus 1/4 cup chopped pecans for extra crunch.
Keep the total mix-in volume under 1/2 cup or the cups won’t hold together properly. The oats need enough contact with the peanut butter mixture to create that essential binding effect. I also found that wet ingredients like jam or fresh fruit make the cups soggy and prevent proper setting.
Do I Need to Use Coconut Oil in the Chocolate?
Yes, the coconut oil is crucial for the right chocolate texture. Without it, the chocolate sets rock hard in the freezer and cracks when you bite into it, creating an unpleasant eating experience.
I made a test batch without coconut oil thinking I could skip it, and the chocolate shattered into sharp pieces that actually hurt my teeth. Coconut oil keeps the chocolate layer slightly pliable even when frozen, so you get a smooth bite instead of crunchy shards. It also helps the chocolate adhere better to the oat base without sliding off.
You can substitute refined coconut oil if you don’t want any coconut flavor, or use 1 tablespoon of vegetable oil instead. However, vegetable oil doesn’t create quite the same glossy finish. The best ratio I’ve found is 2 tablespoons coconut oil per 1 cup of chocolate chips for that perfect balance of firmness and chewiness.
Frequently Asked Questions
Q: Can I make these cups without a muffin tin?
A: Yes, press the mixture into an 8×8 inch pan lined with parchment paper, freeze, then cut into 12 squares. The texture stays identical but you lose the individual cup shape and portability.
Q: Why did my chocolate layer crack when frozen?
A: You likely skipped the coconut oil or didn’t use enough. Chocolate without added fat sets too hard and fractures easily. Add 2 tablespoons coconut oil per cup of chocolate chips for flexible texture.
Q: Can I use almond butter instead of peanut butter?
A: Absolutely! Almond butter works perfectly with the same measurements. Choose natural almond butter without added oils for the best texture and firmest results