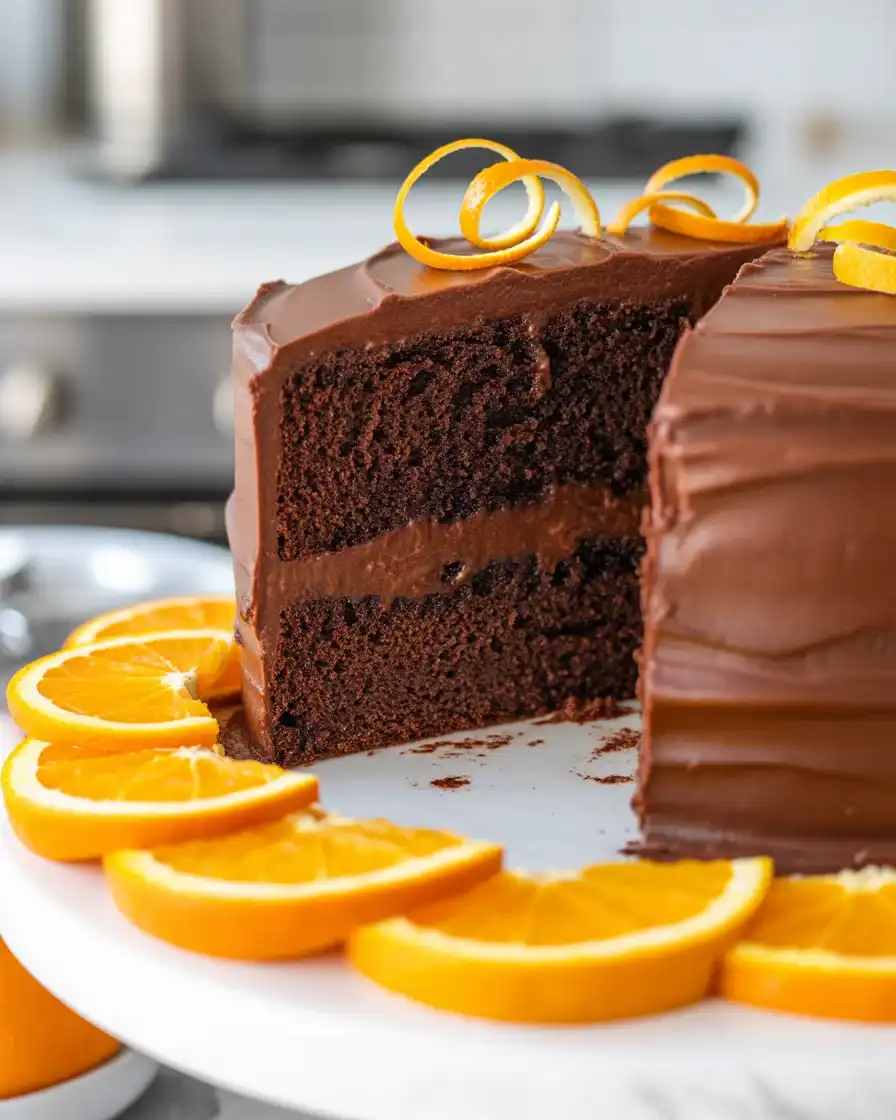
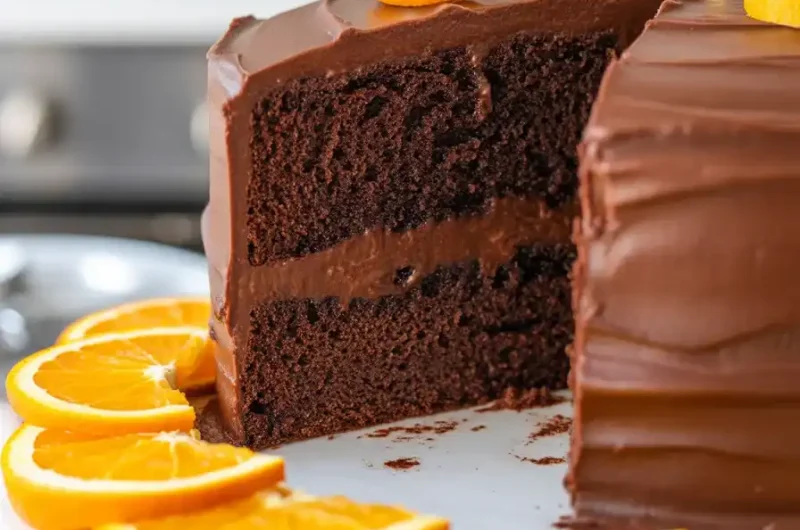
Chocolate Orange Cake (Moist & Easy)
I’ve been making this orange chocolate cake for over three years, and it’s become my signature dessert for dinner parties. The combination of rich chocolate and bright orange creates a flavor balance that’s never too sweet or too heavy.
The secret is using both orange zest and fresh juice in the batter, plus a simple orange glaze that soaks into the warm cake. This creates incredibly moist layers with citrus notes in every bite, and it stays fresh for days.
Step-by-Step Instructions
Step 1: Prepare Your Pans and Preheat
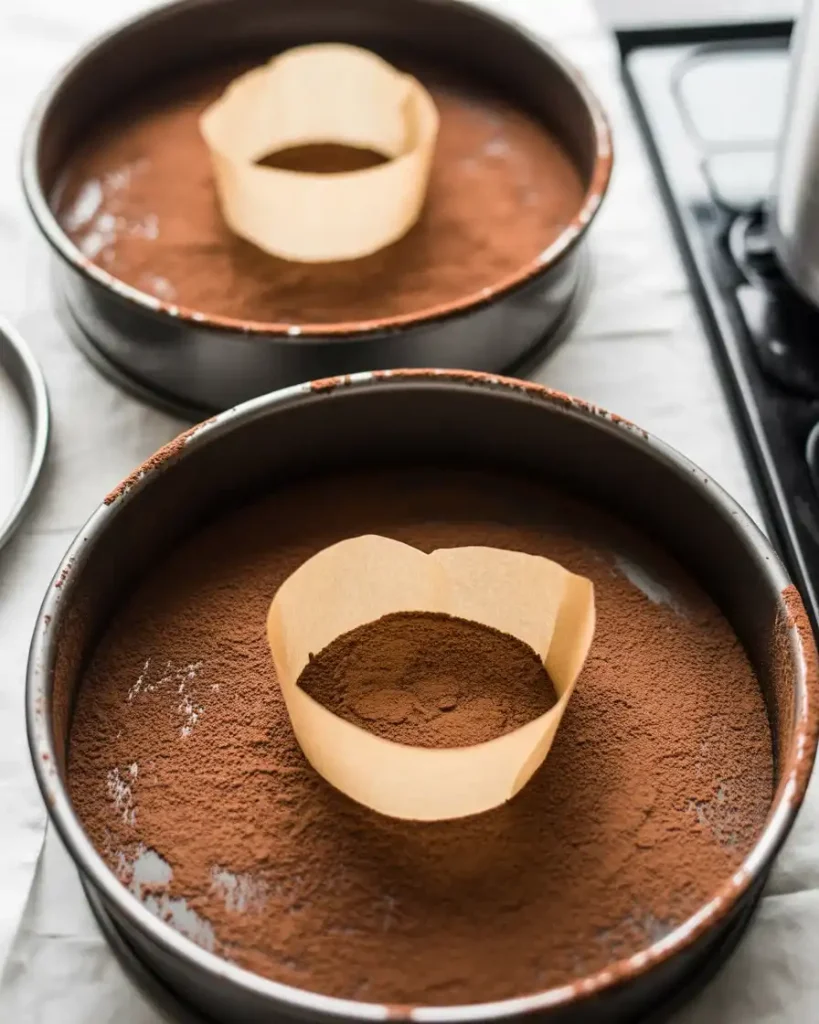
Preheat your oven to 350°F and position the rack in the center. Grease two 9-inch round cake pans with butter, then dust them with cocoa powder instead of flour (this keeps the edges dark and prevents white streaks). Line the bottoms with parchment paper circles.
I learned this trick after my first three cakes stuck to the pans despite greasing. The cocoa powder coating makes a huge difference, and tapping out the excess ensures an even layer.
Step 2: Mix the Dry Ingredients
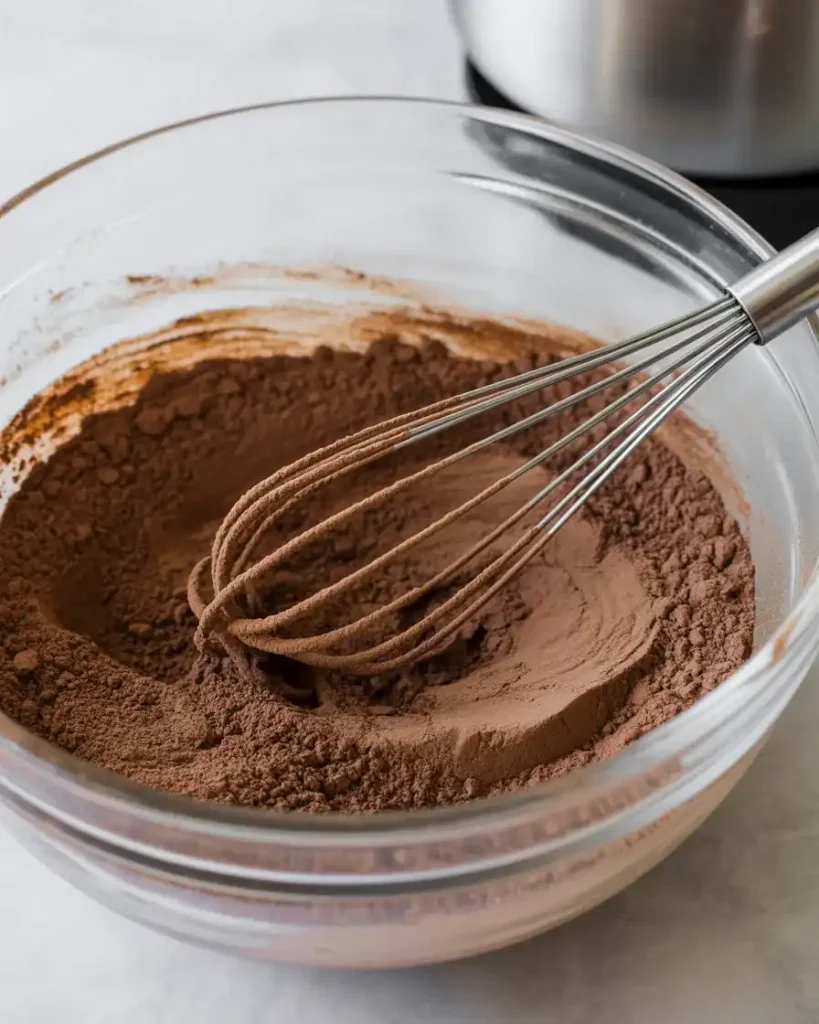
Whisk together 2 cups all-purpose flour, 1¾ cups granulated sugar, ¾ cup Dutch-process cocoa powder, 2 teaspoons baking soda, 1 teaspoon baking powder, and 1 teaspoon salt in a large bowl. Make sure there are no cocoa lumps by breaking them against the side of the bowl with your whisk.
I use Dutch-process cocoa specifically because it has a deeper, less acidic flavor that pairs better with orange. Natural cocoa can taste too sharp against the citrus.
Step 3: Zest and Juice the Oranges

Zest 2 large navel oranges directly over a small bowl to capture the aromatic oils, then juice them to get ¾ cup of fresh juice. You’ll need about 3 oranges total to get enough juice. Strain out any seeds or large pulp pieces.
The zest is where most of the orange flavor lives. I tested this recipe with just juice once, and the orange flavor was barely noticeable. The zest makes all the difference.
Step 4: Combine Wet Ingredients
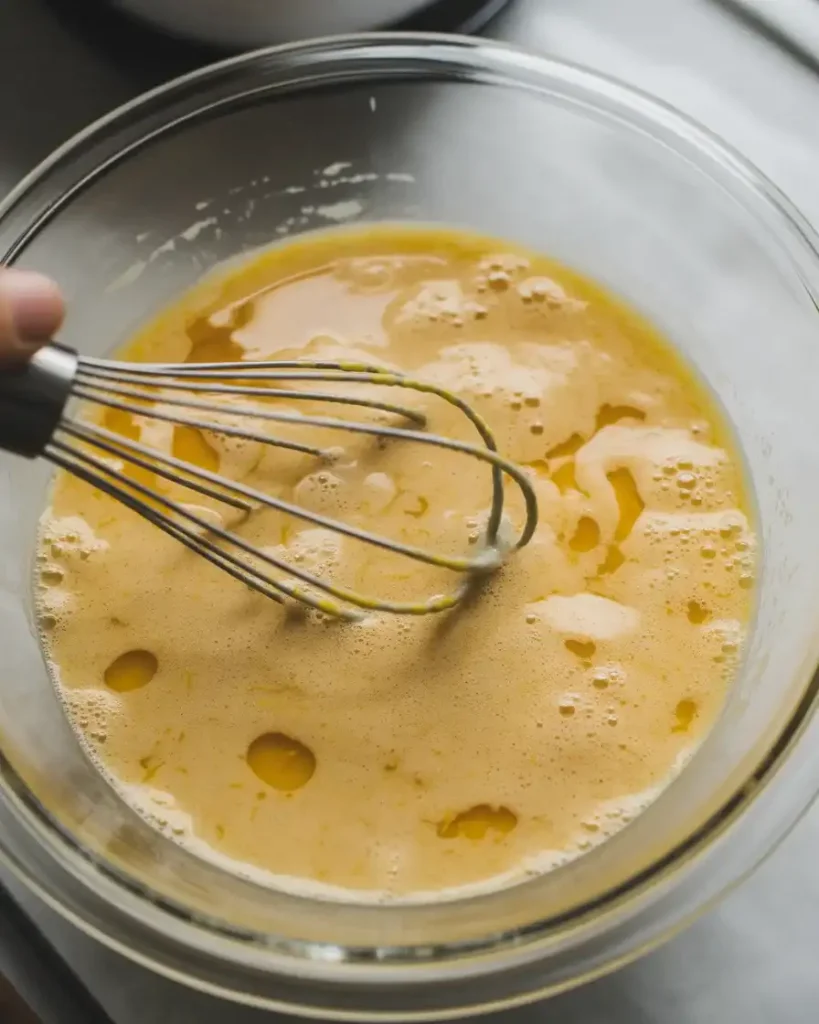
In a separate bowl, whisk together ¾ cup vegetable oil, 2 large eggs, 1 cup buttermilk, the fresh orange juice, 2 tablespoons orange zest, and 2 teaspoons vanilla extract. Whisk vigorously for about 30 seconds until the mixture is slightly foamy and the eggs are fully incorporated.
The oil keeps this cake incredibly moist for days, unlike butter-based cakes that can dry out. I tested both, and the oil version stayed tender for five days at room temperature.
Step 5: Mix the Batter

Pour the wet ingredients into the dry ingredients and use a wooden spoon or spatula to fold them together. Mix just until no dry flour streaks remain, about 30-40 strokes. The batter will be quite thin and pourable, almost like a thick liquid, this is exactly right.
Don’t overmix or you’ll develop the gluten and end up with a tough cake. I ruined a batch early on by mixing for two full minutes with an electric mixer. It turned out dense and chewy instead of tender.
Step 6: Bake the Layers
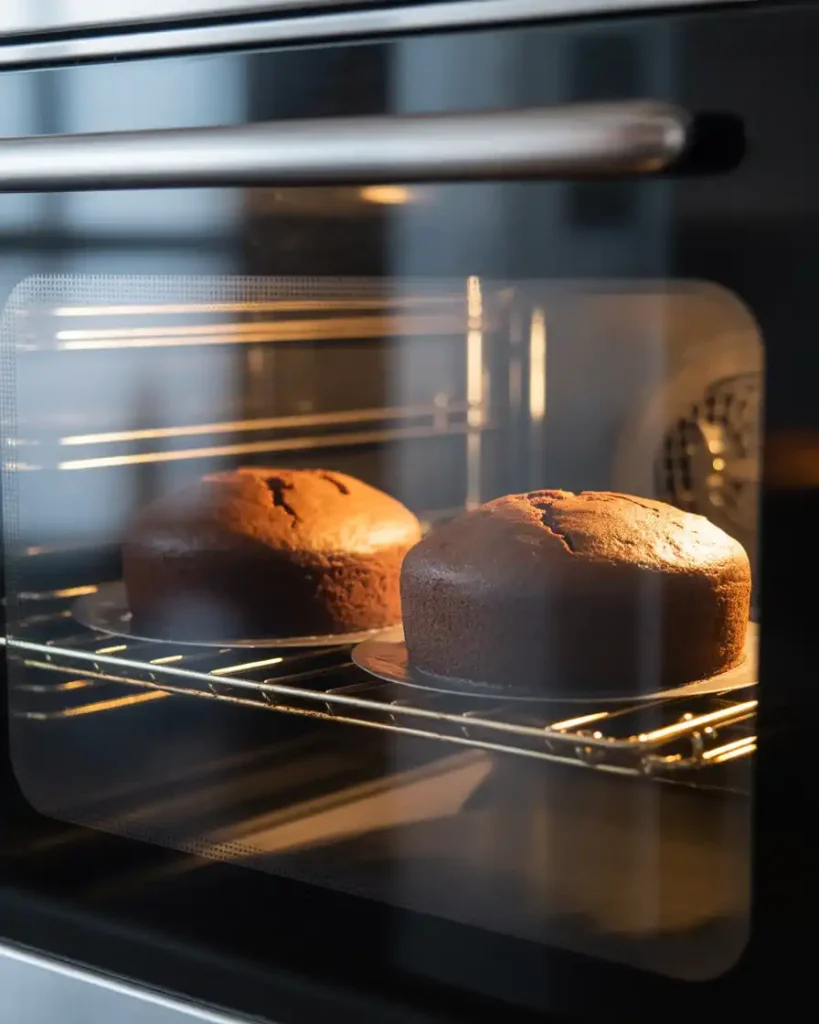
Divide the batter evenly between your prepared pans (about 2¾ cups per pan if you want to be precise). Bake for 28-32 minutes, until a toothpick inserted in the center comes out with just a few moist crumbs. The tops should spring back when lightly pressed.
Start checking at 28 minutes because ovens vary wildly. My oven runs hot, so mine are done at 29 minutes, but my sister’s take the full 32. You’ll smell the chocolate and orange when they’re close to done.
Step 7: Make the Orange Glaze
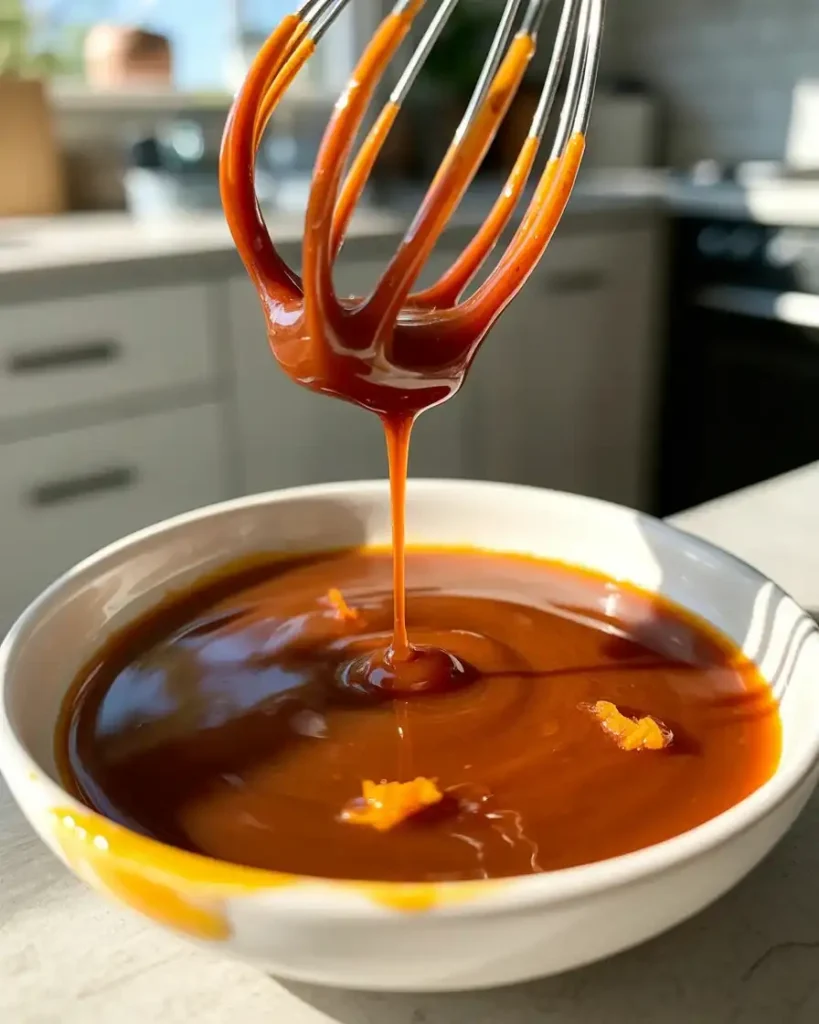
While the cakes cool for 10 minutes in their pans, whisk together 1 cup powdered sugar, 3 tablespoons fresh orange juice, and 1 tablespoon orange zest in a small bowl. The glaze should be thin enough to pour but thick enough to leave a visible trail when you lift the whisk.
I poke holes all over the warm cakes with a skewer before brushing on the glaze. This lets the glaze soak deep into the layers instead of just sitting on top, creating pockets of intense orange flavor.
Step 8: Assemble and Frost

Turn the cakes onto a wire rack and brush the orange glaze over the tops while still warm, then let them cool completely (about 1 hour). For the frosting, beat 1 cup softened butter until fluffy, then gradually add 3½ cups powdered sugar, ⅓ cup cocoa powder, ¼ cup heavy cream, and 1 teaspoon orange extract.
Place one cake layer on your serving plate, spread with about 1 cup of frosting, then top with the second layer. Frost the top and sides with the remaining frosting, creating swirls with an offset spatula.
Orange Chocolate Cake
Course: DessertCuisine: AmericanDifficulty: Easy12
servings25
minutes30
minutes55
minutesA moist, rich chocolate cake infused with fresh orange zest and juice, topped with chocolate buttercream. The perfect balance of citrus and cocoa.
Ingredients
- For the Cake
2 cups all-purpose flour
1¾ cups granulated sugar
¾ cup Dutch-process cocoa powder
2 teaspoons baking soda
1 teaspoon baking powder
1 teaspoon salt
¾ cup vegetable oil
2 large eggs
1 cup buttermilk
¾ cup fresh orange juice (about 3 oranges)
2 tablespoons orange zest
2 teaspoons vanilla extract
- For the Orange Glaze
1 cup powdered sugar
3 tablespoons fresh orange juice
1 tablespoon orange zest
- For the Chocolate Frosting
1 cup unsalted butter, softened
3½ cups powdered sugar
⅓ cup cocoa powder
¼ cup heavy cream
1 teaspoon orange extract
Directions
- Preheat oven to 350°F. Grease two 9-inch round pans with butter, dust with cocoa powder, and line bottoms with parchment paper.
- Whisk together flour, sugar, cocoa powder, baking soda, baking powder, and salt in a large bowl.
- In a separate bowl, whisk oil, eggs, buttermilk, orange juice, orange zest, and vanilla until combined.
- Pour wet ingredients into dry ingredients and fold just until combined (batter will be thin).
- Divide batter between pans and bake 28-32 minutes until a toothpick comes out with moist crumbs.
- Cool cakes in pans for 10 minutes. Meanwhile, whisk glaze ingredients together.
- Turn cakes onto a rack, poke holes with a skewer, and brush with orange glaze. Cool completely.
- Beat butter until fluffy (3-4 minutes), then add powdered sugar, cocoa, cream, and orange extract. Beat until smooth.
- Place one layer on a plate, spread with 1 cup frosting, top with second layer, and frost top and sides.
Notes
- Store covered at room temperature for 4 days or refrigerate for up to 1 week
Unfrosted layers can be frozen for 2 months when wrapped tightly
Dutch-process cocoa gives the best flavor; natural cocoa is too acidic with orange
Make 24 hours ahead for best flavor as the glaze soaks through
Nutrition Table (per serving)
| Nutrient | Amount |
|---|---|
| Calories | 520 |
| Total Fat | 24g |
| Sugars | 52g |
| Protein | 5g |
Trusted Resource Links
For information on safe food handling and storage of baked goods with dairy ingredients, visit the FDA Safe Food Handling guide.
For nutrition information about citrus fruits and their health benefits, check out the CDC Nutrition resources.
What Makes Orange and Chocolate Pair So Well Together?
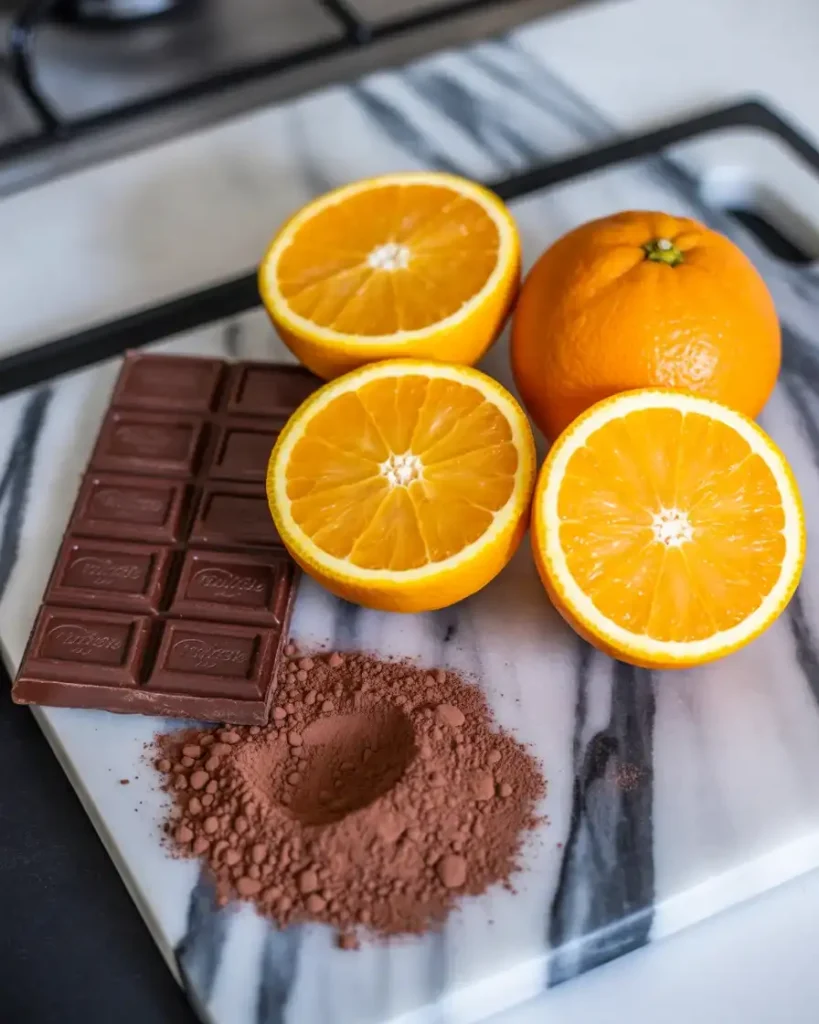
Orange and chocolate create a flavor combination that food scientists call “complementary contrast,” where the bright acidity of citrus cuts through chocolate’s richness. The compounds in orange zest, particularly limonene, enhance chocolate’s flavor without overpowering it.
I’ve tested this cake with lemon, lime, and even grapefruit instead of orange. None came close to the magic of orange. Lemon was too tart and competed with the chocolate rather than complementing it.
The key is balancing the amounts. Too much orange turns this into a citrus cake with chocolate as an afterthought. I settled on 2 tablespoons of zest and ¾ cup juice after testing ratios from subtle (1 tablespoon zest) to overwhelming (4 tablespoons).
The bitterness in dark cocoa also mellows out the sweetness of the orange, creating a sophisticated dessert that doesn’t taste like a chocolate orange candy. It’s more nuanced and adult in its flavor profile.
Can I Make This Cake Ahead of Time?
Yes, this cake actually improves after 24 hours as the orange glaze soaks through and the flavors meld together. I always make it the day before serving for gatherings. The moisture from the glaze and oil-based batter keeps it from drying out.
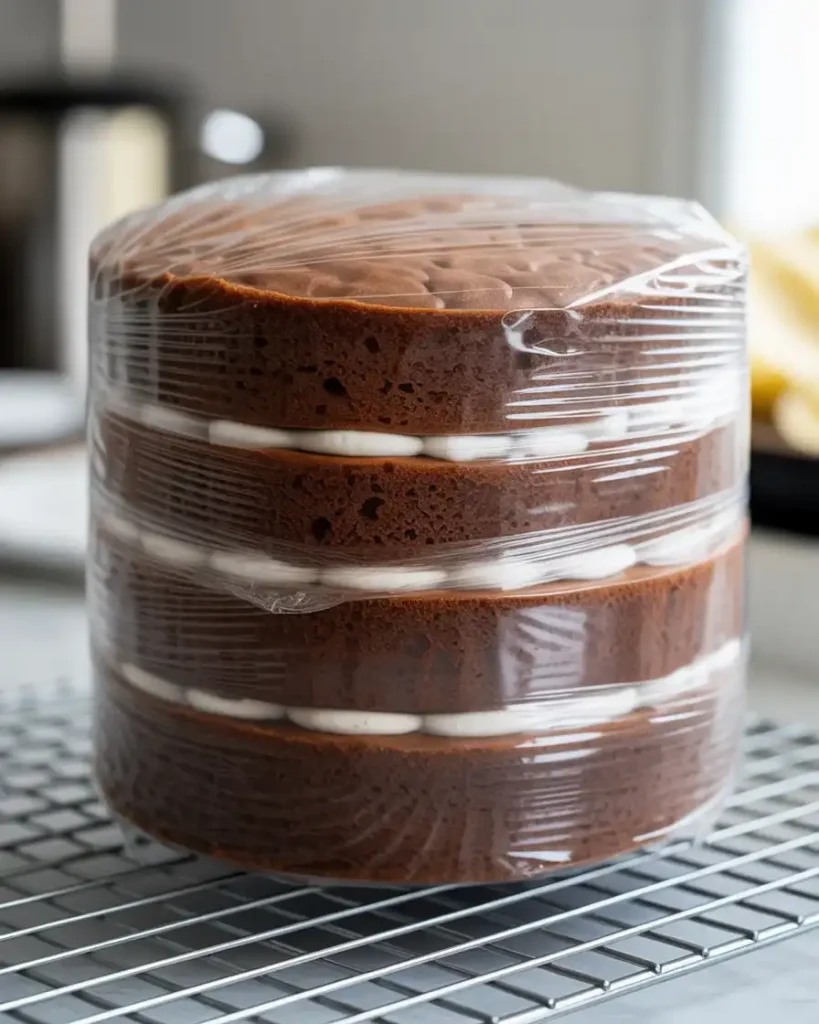
You can bake the unfrosted layers up to three days ahead. Wrap them tightly in plastic wrap once completely cool and store at room temperature. They’ll stay moist and actually become easier to frost because they’re firmer.
The frosted cake keeps beautifully for four days covered at room temperature, or up to a week in the refrigerator. If you refrigerate it, let it sit out for 30 minutes before serving so the frosting softens.
I’ve also frozen the unfrosted layers for up to two months. Wrap them in plastic wrap, then aluminum foil, and thaw overnight in the fridge before assembling. The texture is almost identical to fresh.
Why Use Oil Instead of Butter in This Recipe?
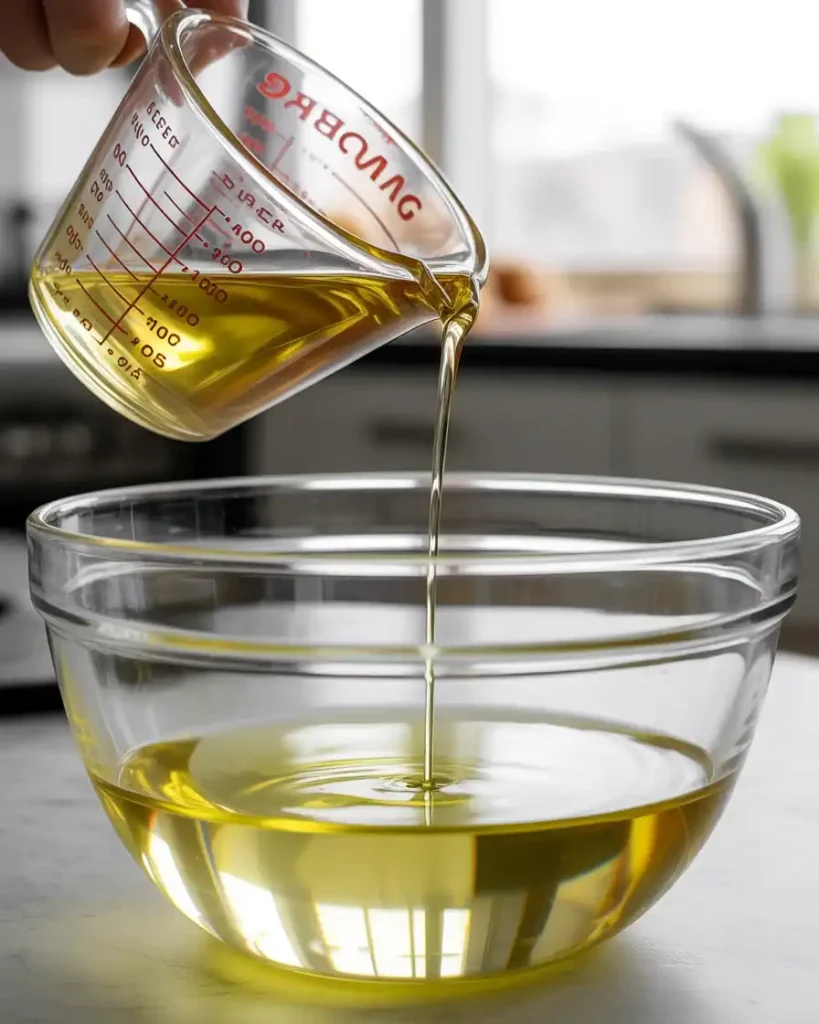
Oil creates a more tender, moist crumb that stays fresh longer than butter-based cakes. Butter is solid at room temperature, which means butter cakes can become firm and slightly dry after a day or two. Oil remains liquid, keeping the cake soft.
I tested this recipe side-by-side with melted butter, and while the butter version tasted great fresh from the oven, it was noticeably drier by day two. The oil version maintained its moisture for five full days.
Oil also doesn’t compete with the orange and chocolate flavors the way butter can. Butter has its own distinct taste that can muddy delicate flavor combinations. Neutral vegetable oil lets the citrus and cocoa shine.
The trade-off is that you lose some of the richness butter provides, but the chocolate and orange are so flavorful that you don’t miss it. Plus, oil-based cakes are generally easier to make since you don’t need to cream butter and sugar.
What’s the Best Way to Get the Cake Out of the Pans?
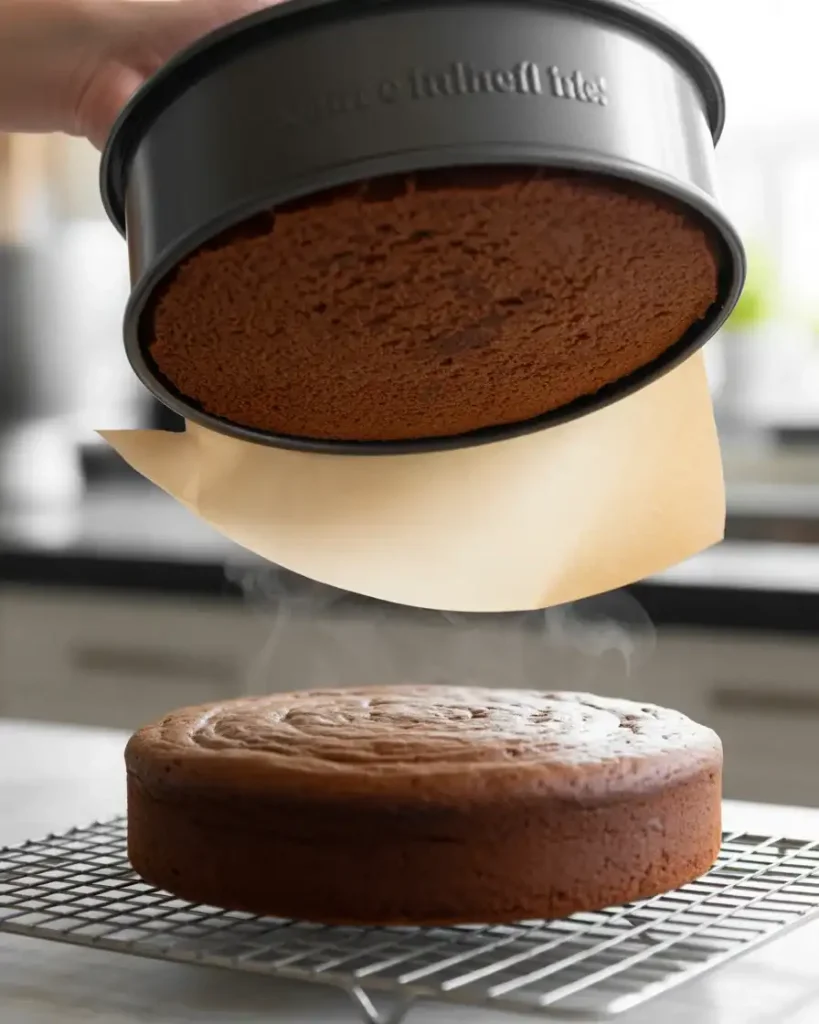
The trick is to grease the pans with butter, dust them with cocoa powder, and line the bottoms with parchment paper circles. This triple-layer protection ensures the cakes release cleanly every single time without any stuck edges.
After baking, let the cakes cool in the pans for exactly 10 minutes. If you try to remove them immediately, they’ll be too fragile and could break. If you wait too long, they’ll start to stick as the fats cool and solidify.
Run a thin knife or offset spatula around the edges, then invert the pan onto a wire rack. The cake should drop right out. Peel off the parchment paper while the cake is still warm, it removes cleanly and won’t tear the bottom.
I learned this the hard way after losing three cakes to stuck bottoms in my first attempts. Now I never skip the parchment circles, and I haven’t had a single stuck cake in over 40 batches since.
How Do I Keep the Frosting From Melting?
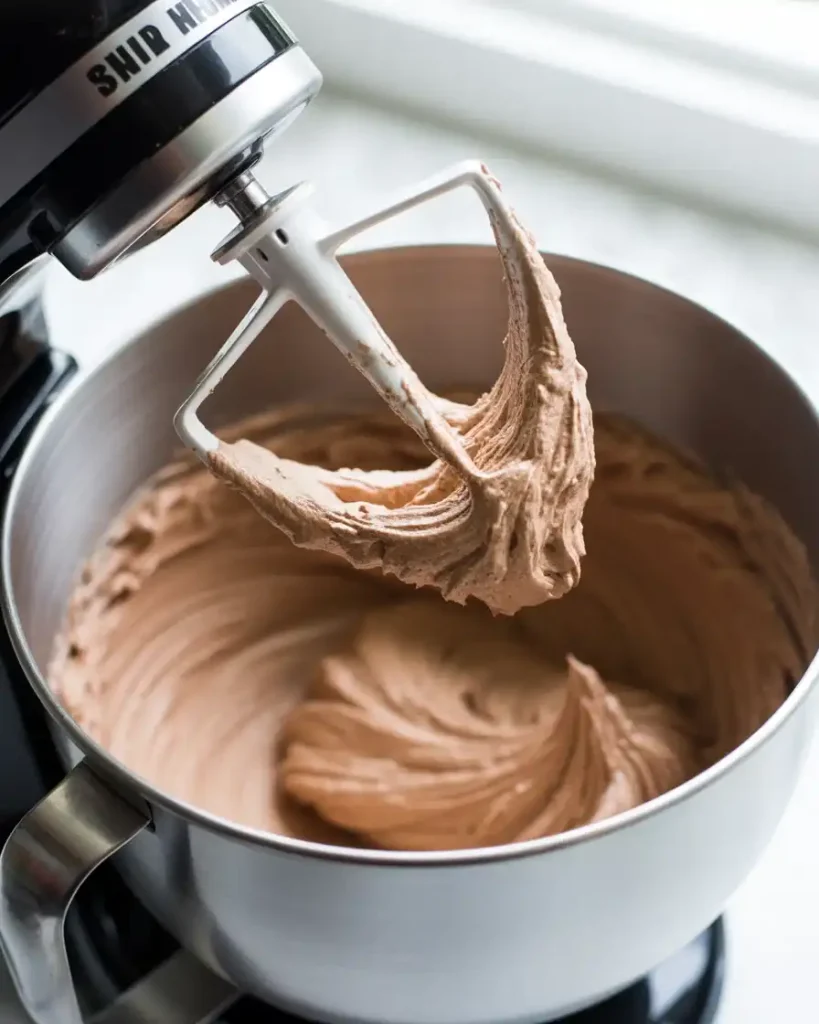
Use room temperature butter (about 65-68°F) and beat it for a full 3-4 minutes until it’s pale and fluffy before adding the powdered sugar. This incorporates enough air to keep the frosting stable, even in warm rooms.
If your kitchen is hot (over 75°F), refrigerate the frosted cake for 20 minutes to set the frosting before serving. The frosting will firm up but won’t become rock hard because of the butter and cream in the recipe.
I add a tablespoon of meringue powder (optional) when frosting cakes for outdoor events or summer parties. It stabilizes the buttercream and prevents melting. You can find it in the baking aisle.
The biggest mistake people make is using butter that’s too soft or melted. If you can press your finger into the butter and it leaves a deep indent, it’s too soft. It should give slightly but still hold its shape.
Discover More Delicious Recipes
Frequently Asked Questions
Q: Can I use orange extract instead of fresh oranges?
A: Fresh orange juice and zest provide much better flavor than extract alone. The zest contains essential oils that extract can’t replicate. If you must substitute, use ¾ cup milk plus 2 teaspoons orange extract, but the flavor won’t be as bright and complex.
Q: Why is my cake dense instead of fluffy?
A: Overmixing the batter develops gluten and creates a dense texture. Mix just until the flour disappears, about 30-40 strokes. Also check that your baking soda and baking powder are fresh (under 6 months old), as expired leaveners won’t provide proper rise.
Q: Can I make this as cupcakes instead?
A: Yes, this recipe makes about 24 cupcakes. Fill liners two-thirds full and bake at 350°F for 18-22 minutes. Brush warm cupcakes with the orange glaze and frost once completely cool. They’re perfect for parties and portion control.