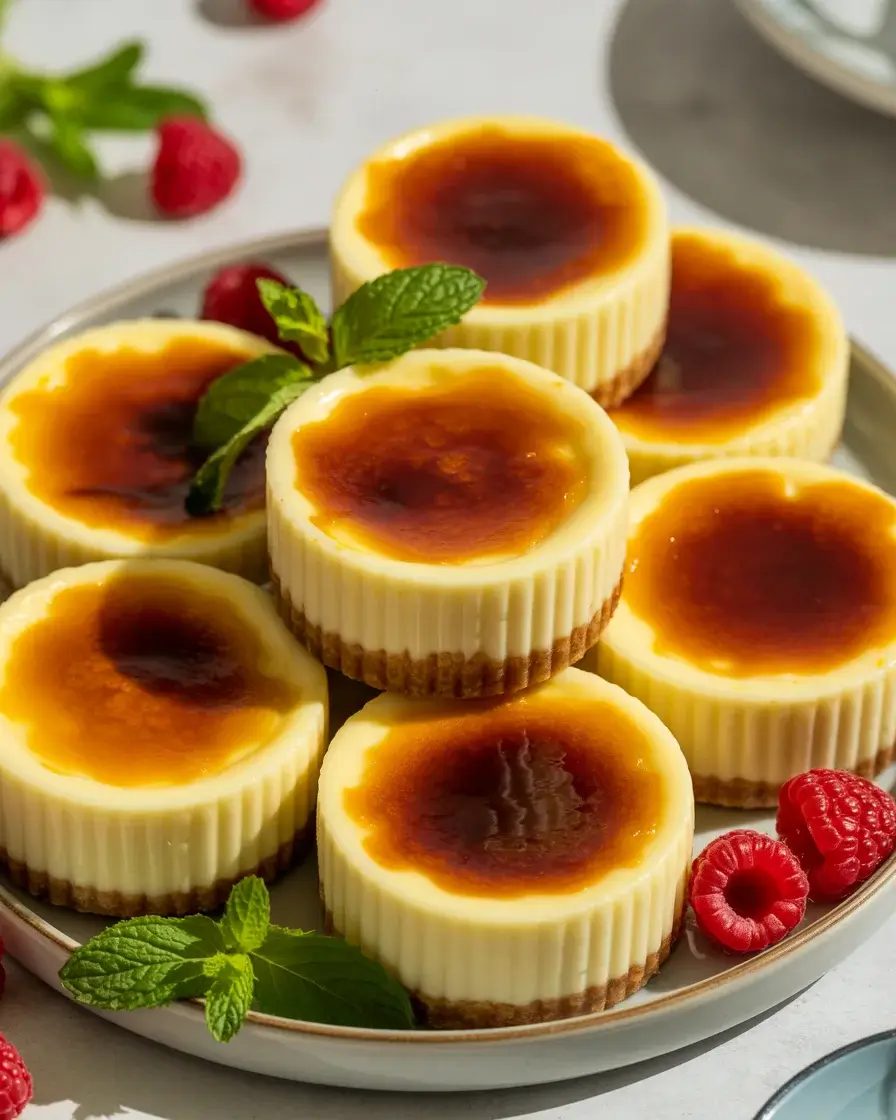
Mini Creme Brulee Cheesecakes
The first time I tried torching the tops of cheesecakes, I burned three batches before realizing my torch was too close. That failure taught me everything I now know about getting that perfect crackly caramel sugar crust without curdling the cheesecake beneath. These mini versions changed my dessert game completely.
What you get is impossibly creamy individual cheesecakes with a thin, glassy brulee top that shatters under a spoon – all without a water bath or springform pan. After 15+ test batches, I’ve nailed the exact texture and timing that makes these foolproof.
Step-by-Step Instructions
Step 1: Make the Graham Cracker Crust
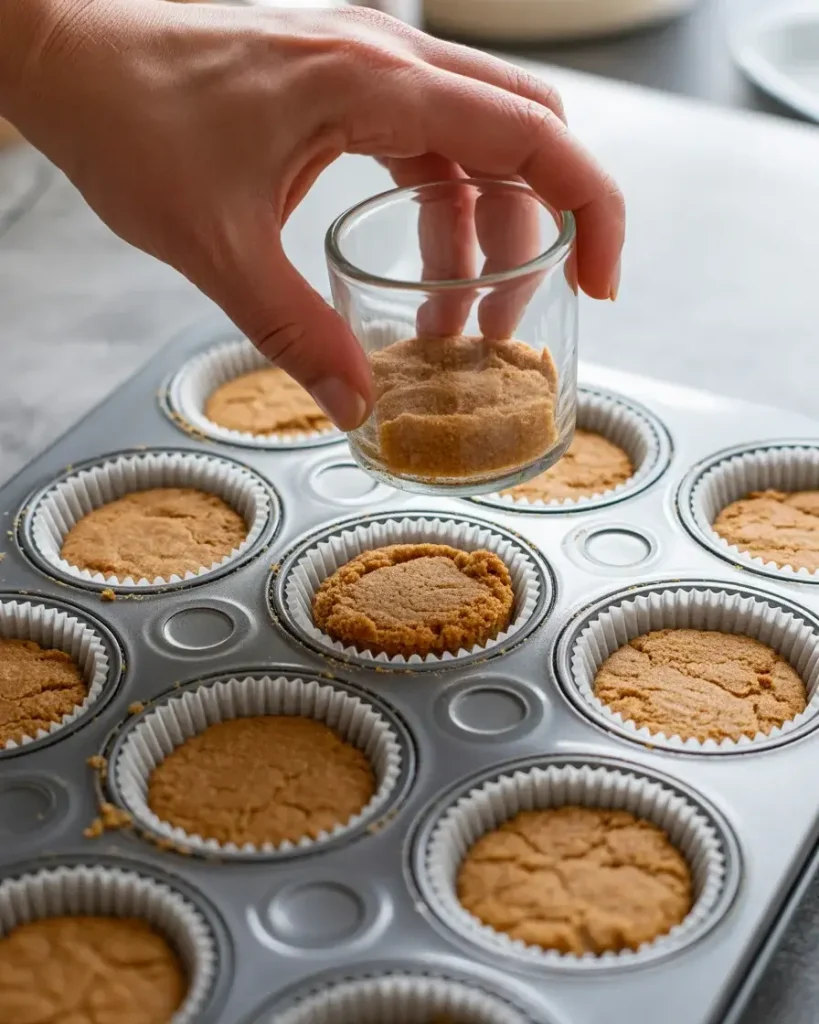
Combine 1 cup graham cracker crumbs with 2 tablespoons sugar and 4 tablespoons melted butter in a bowl. Mix until the texture resembles wet sand and holds together when pressed. I tested both 3 and 4 tablespoons of butter – 4 gives a crust that stays firm without crumbling when you bite in.
Press about 1 tablespoon firmly into each cup of a 12-count muffin tin lined with paper liners. Use the back of a shot glass to pack it tightly. You should smell the buttery graham aroma as you press – that’s your cue it’s ready.
Step 2: Prepare the Cheesecake Filling
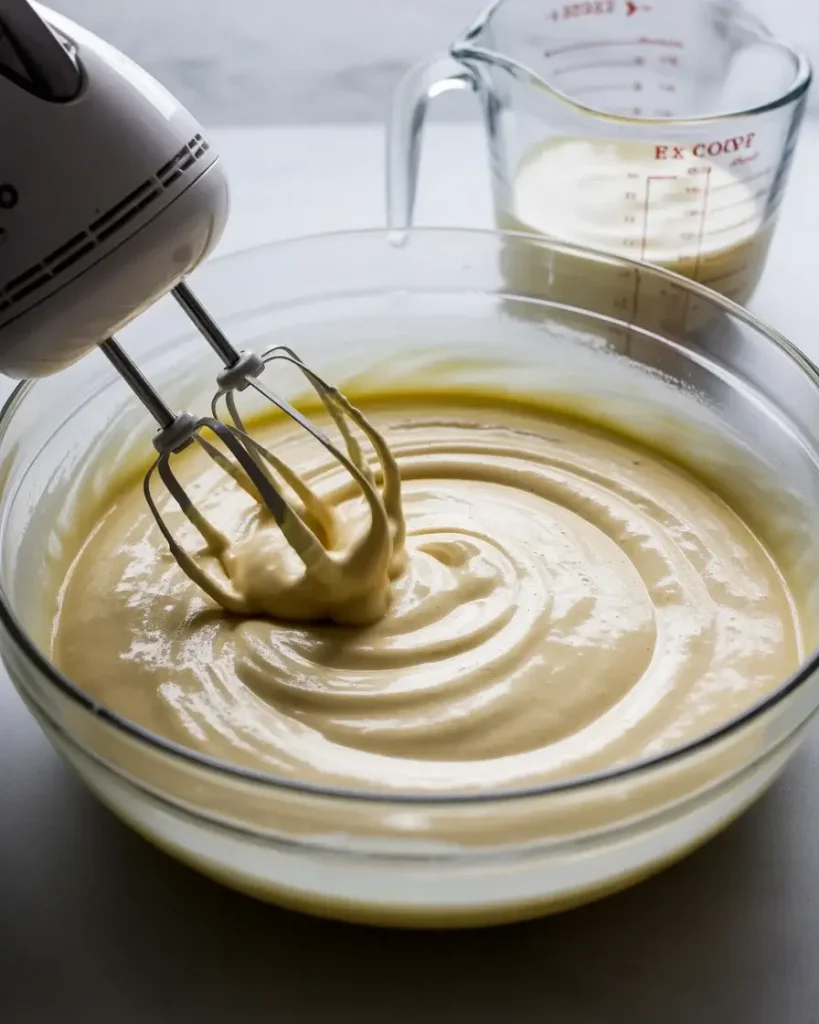
Beat 16 oz of room-temperature cream cheese on medium speed for 2 minutes until completely smooth – no lumps. Cold cream cheese is my number one enemy here; I learned the hard way after a lumpy batch that even 10 minutes at room temperature isn’t enough. Pull it out at least 1 hour ahead.
Add 1/2 cup sugar, 2 eggs, 1 teaspoon vanilla, and 1/4 cup heavy cream. Mix on low until just combined – overmixing incorporates air that causes cracks. The batter should look silky, pale, and ribbon off the beater slowly.
Step 3: Fill and Bake the Cheesecakes
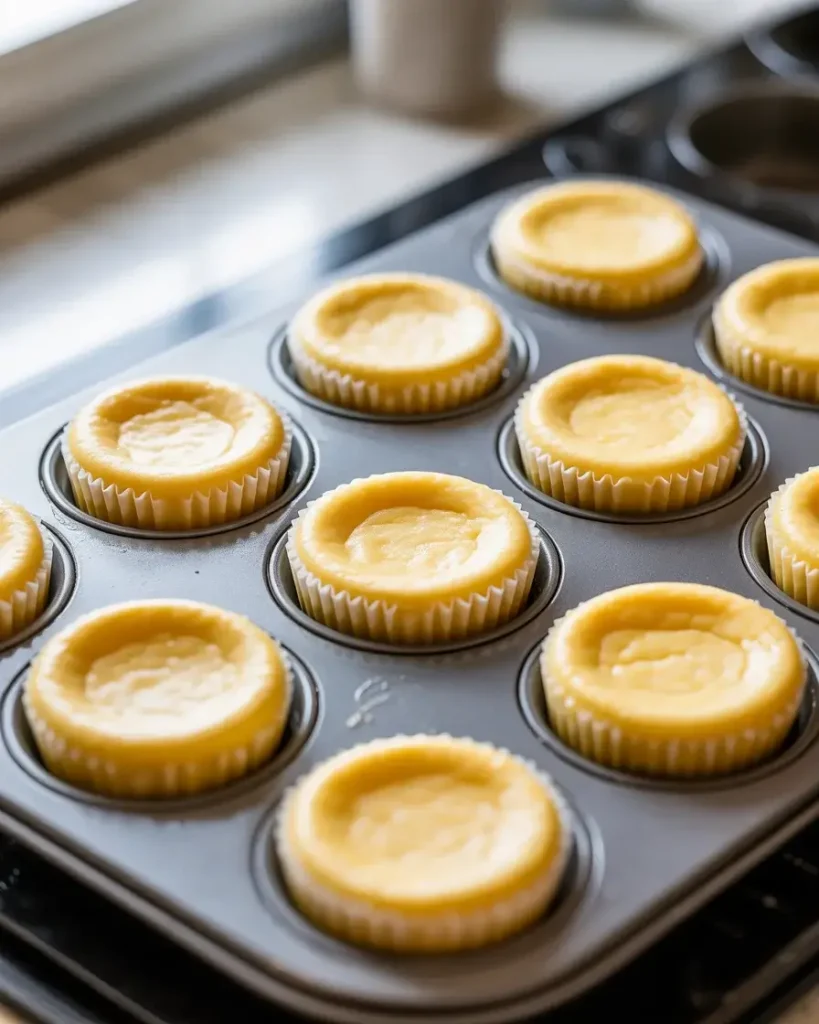
Spoon the batter evenly over each crust, filling cups about 3/4 full. They puff slightly during baking and settle as they cool, so don’t overfill. I use a cookie scoop for this – it’s the fastest way to get equal portions across all 12 cups.
Bake at 325°F for 18-20 minutes. The edges will look set and slightly matte while the centers still have a gentle jiggle – like a soft wobble, not a liquid slosh. Pull them at that exact moment. Overbaking makes them rubbery, and I ruined two batches finding that line.
Step 4: Chill Completely
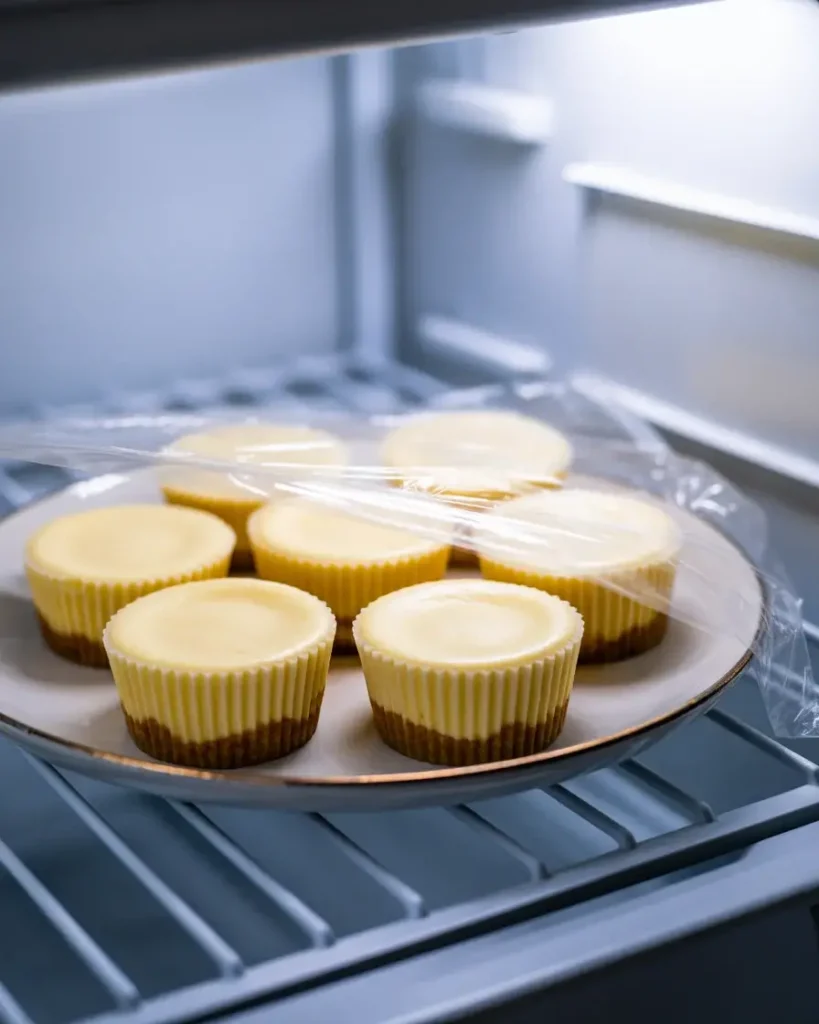
Let the cheesecakes cool in the pan at room temperature for 30 minutes, then refrigerate for at least 4 hours – overnight is better. I tested 2-hour chilling and the texture was too soft to hold the brulee topping cleanly. The overnight chill makes a noticeably firmer, creamier result.
Do not skip this step. The cold, firm surface is what allows the sugar to caramelize without the heat sinking into the cheesecake underneath. You should feel no softness when you gently press the center before torching.
Step 5: Torch the Brulee Top
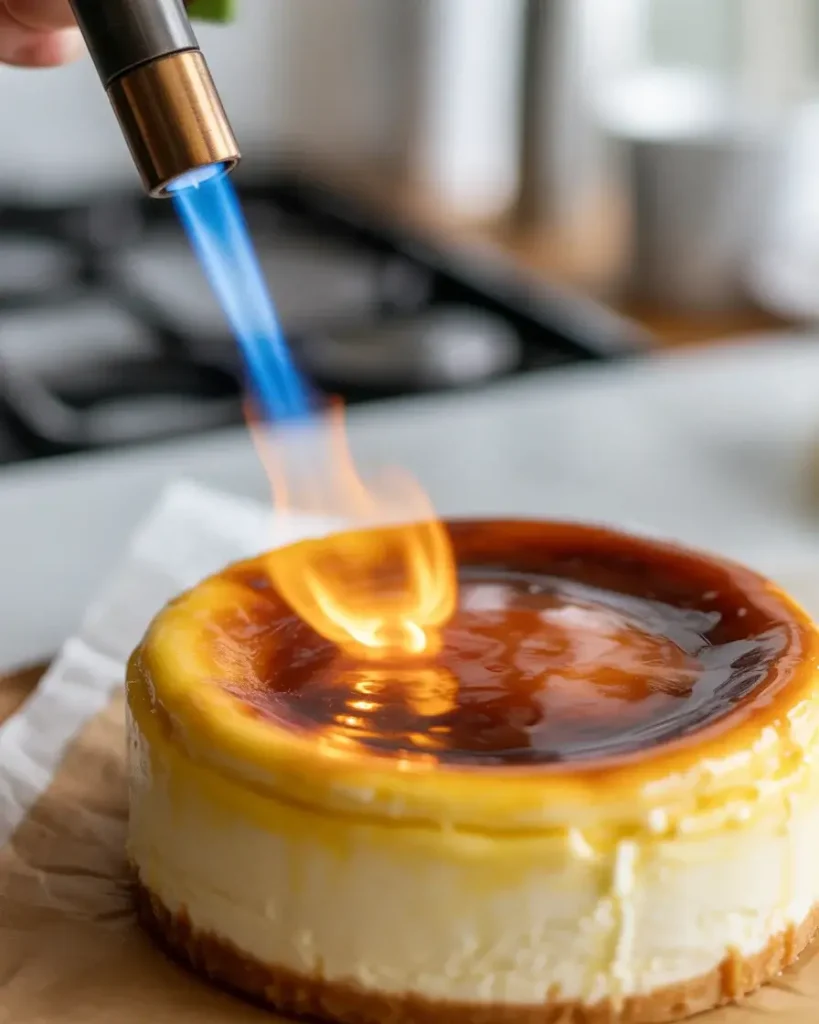
Remove cheesecakes from the fridge and sprinkle exactly 1 teaspoon of superfine sugar evenly over each top. Regular granulated sugar works but takes longer to melt and scorches in spots – superfine is worth finding. Tilt each cup slightly and tap to spread the sugar in an even, thin layer.
Hold your kitchen torch 2-3 inches from the surface and move in slow, circular motions. Watch the sugar go from white, to melting, to golden amber – stop the moment you see deep amber. The crust will harden in about 30 seconds. Tap it with your fingernail; it should click and feel like glass.
Discover Delicious Cheesecakes
Step 6: Serve Immediately
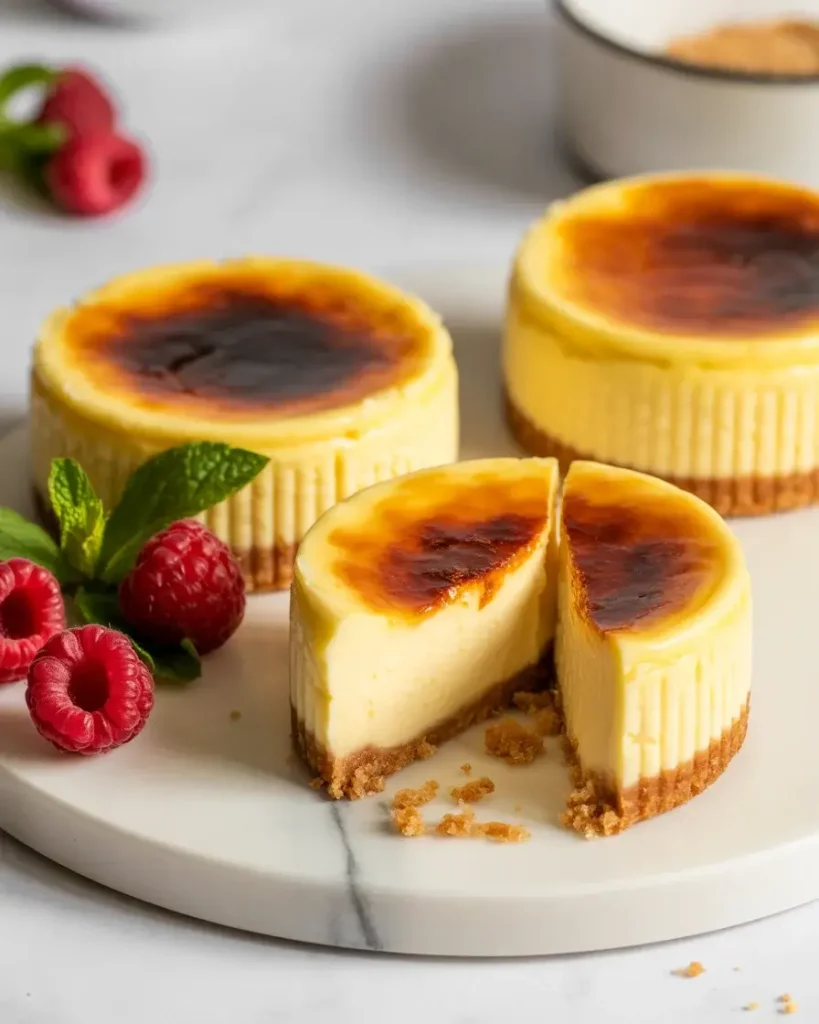
Serve the cheesecakes within 15 minutes of torching. I tested holding them for 45 minutes after torching and the sugar crust softens and loses its snap as the cold cheesecake draws moisture upward. That shattering crack when a spoon breaks through should be your reward.
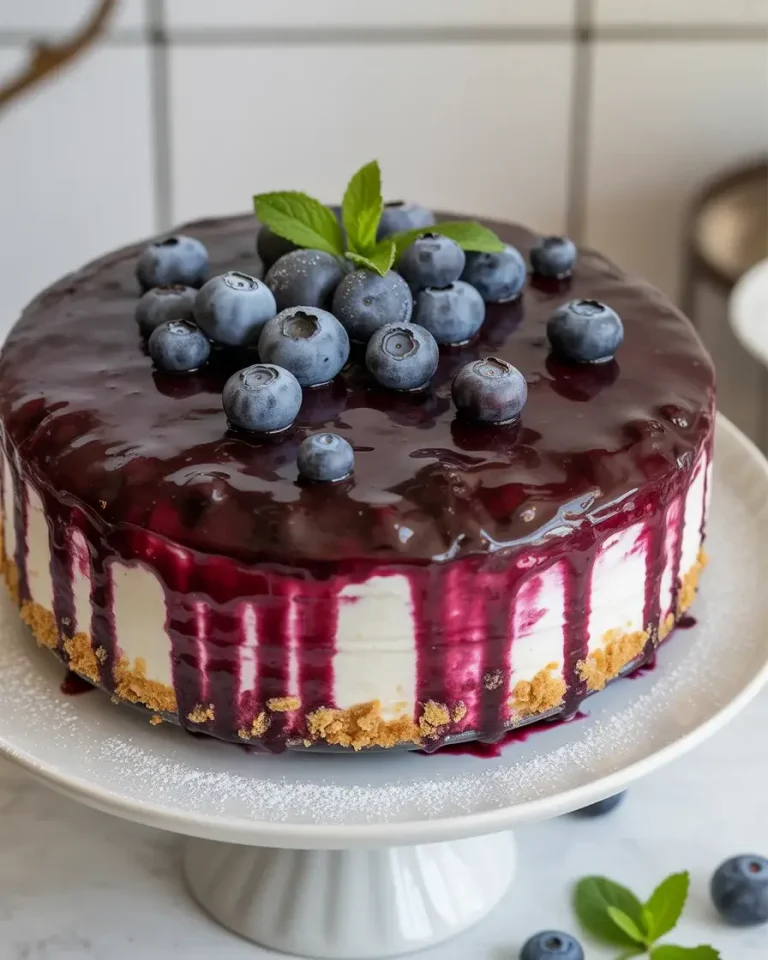
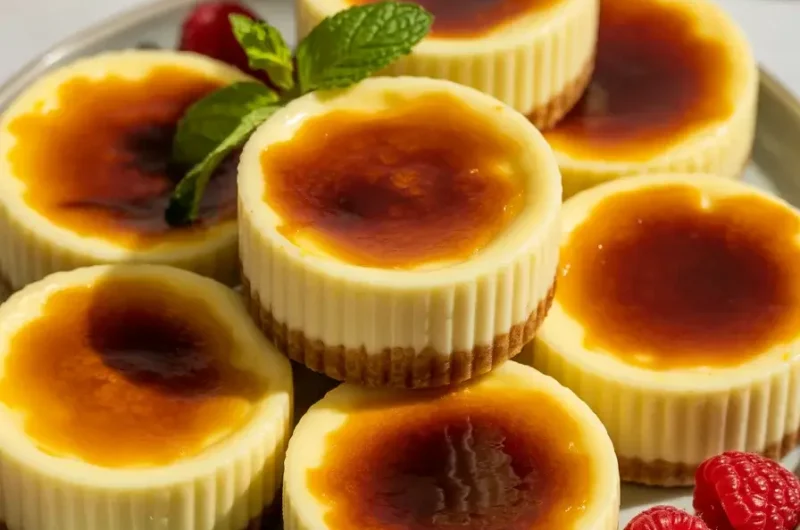
Peel back the paper liner and plate on a flat surface. Optional garnishes I love: a tiny sprig of fresh mint, a thin curl of lemon zest pressed gently into the side, or a few fresh raspberries on the plate for color contrast.
Mini Creme Brulee Cheesecakes
Course: DessertCuisine: French-AmericanDifficulty: Medium4
20
minutes4
hours4
hours20
minutesCreamy individual cheesecakes with a crispy caramel brulee top – the best of both classic desserts in one perfectly portioned bite.
Ingredients
1 cup graham cracker crumbs
2 tablespoons granulated sugar (for crust)
4 tablespoons unsalted butter, melted
16 oz cream cheese, room temperature
1/2 cup granulated sugar (for filling)
2 large eggs, room temperature
1 teaspoon vanilla extract
1/4 cup heavy cream
12 teaspoons superfine sugar (for brulee topping)
Directions
- Preheat oven to 325°F. Line a 12-cup muffin tin with paper liners.
- Mix graham cracker crumbs, 2 tablespoons sugar, and melted butter until combined. Press 1 tablespoon into each liner and pack firmly.
- Beat cream cheese on medium speed for 2 minutes until smooth. Add 1/2 cup sugar, eggs, vanilla, and heavy cream. Mix on low until just combined.
- Fill each cup 3/4 full with batter. Bake 18-20 minutes until edges are set and center jiggles gently.
- Cool in pan for 30 minutes at room temperature, then refrigerate at least 4 hours or overnight.
- Sprinkle 1 teaspoon superfine sugar evenly over each chilled cheesecake. Torch in circular motions 2-3 inches away until deep amber.
- Serve within 15 minutes of torching.
Notes
- Store unbaked cheesecakes covered in the fridge up to 2 days. Brulee only before serving.
Superfine sugar can be made by blending regular sugar in a food processor for 30 seconds.
For the broiler method: set to high, position rack 4 inches from heat, and watch closely for 60-90 seconds max.
Cream cheese must be fully at room temperature – at least 60 minutes out of the fridge.
Nutrition Table (per serving)
| Nutrient | Amount |
|---|---|
| Calories | 285 |
| Total Fat | 20g |
| Sugars | 18g |
| Protein | 5g |
Trusted Resource Links:
For food safety guidance on dairy-based desserts, refer to the FDA Safe Food Handling guidelines. For nutritional information on this dessert, the Mayo Clinic Nutrition Guide offers helpful context on portion-conscious eating.
What Kind of Sugar Works Best for Brulee Topping?
Superfine (caster) sugar is the best choice for brulee topping on cheesecakes. It melts faster and more evenly than regular granulated sugar, reducing the risk of hot spots. Use exactly 1 teaspoon per mini cheesecake for the ideal thin, crisp crust.
Regular granulated sugar does work but requires slower torch movement and tends to create uneven browning. I found that raw or turbinado sugar burns too quickly and leaves a bitter, smoky flavor that overwhelms the delicate cheesecake.
After testing four sugar types, superfine is consistently the winner. It caramelizes within 20-30 seconds of steady torching with zero bitterness. You can make your own by blending regular sugar in a food processor for 30 seconds – a trick I use when I run out.
Can You Make Mini Creme Brulee Cheesecakes Without a Torch?
Yes, but the results are significantly less reliable. A broiler set to high can caramelize the sugar, but you must work extremely fast – 60-90 seconds maximum – and watch constantly to avoid burning. The cheesecake surface begins warming at around 90 seconds under a broiler, which softens the texture.
I tested the broiler method twice and found it stressful. The sugar caramelizes unevenly across the pan because heat distribution varies. The torch gives you precise control over every single cheesecake individually, which is why I recommend investing in an inexpensive kitchen torch if you plan to make these regularly.
The broiler works in a pinch if you chill the cheesecakes for an extra 2 hours before attempting it. A colder cheesecake better resists the ambient heat during the few seconds needed to caramelize.
How Do You Prevent Cracks in Mini Cheesecakes?
Three things cause cracks: overmixing the batter, overbaking, and cooling too fast. I battled cracking across my first five test batches before identifying all three culprits. The fix for each is simple once you know what to watch for.
Overmixing whips air into the batter. That air expands in the oven and cracks the surface as it escapes. Once you add the eggs, mix only on low speed and stop as soon as the batter is smooth. Overbaking dries the top layer, which shrinks and cracks – pull them at that gentle center jiggle every time.
Cooling slowly matters more than most people realize. Never refrigerate these hot from the oven. Room temperature rest for 30 minutes before refrigerating lets the structure set gradually. Placing a hot cheesecake directly into the fridge causes thermal shock and almost guarantees a cracked top.
How Far in Advance Can You Make These?
You can make the baked, unchilled cheesecakes up to 2 days ahead and store them covered in the refrigerator. Do not brulee the tops until the day you plan to serve them – sugar absorbs moisture overnight and turns sticky rather than crisp.
I tested pre-bruleed cheesecakes stored for 4 hours and the crust lost 70% of its snap. All that satisfying crack disappears. The baked bases actually improve with an extra day in the fridge, becoming even creamier and more set.
For events, my workflow is: bake and chill 1-2 days ahead, torch the tops 10-15 minutes before serving. It takes less than 5 minutes to torch all 12 and you’ll have perfect crispy crusts every time.
What Makes the Cheesecake Texture Ultra-Creamy?
Heavy cream is the secret ingredient that separates silky from dense. Adding 1/4 cup to the batter lowers the overall protein content of the filling, which means the texture stays soft and custardy rather than tight and rubbery after baking.
I tested batches with and without heavy cream, at 325°F versus 350°F. The lower temperature combined with the cream gave the smoothest, most luxurious texture – similar to a baked custard. Higher temperatures firmed up the proteins too aggressively.
Room temperature ingredients also matter hugely. Cold eggs or cream cheese create pockets of unblended fat in the batter. Even one cold egg can leave tiny firm specks in the final texture. Pull all dairy from the fridge 60 minutes before you start mixing for the creamiest possible result.
Frequently Asked Questions
Q: Can I use low-fat cream cheese for mini creme brulee cheesecakes?
A: Technically yes, but I don’t recommend it. Low-fat cream cheese has higher water content, which makes the filling looser and more prone to cracking. Full-fat gives the dense, creamy texture these need.
Q: Do I need a kitchen torch to make creme brulee cheesecakes?
A: A broiler can work in a pinch but results are inconsistent. A basic kitchen torch costs around $15 and gives you precise, even caramelization every time. It’s worth the investment if you make these regularly.
Q: Why did my brulee topping turn soft after a few hours?
A: Sugar is hygroscopic – it pulls moisture from the air and from the cheesecake below. Torch the tops no more than 15 minutes before serving to keep that crispy, glassy crack intact.